Progress stops being a straight climb once Units, Totems and permanent upgrades start competing for the same run. I use each wall to decide whether I need Gold, a better formation, another milestone or a reset.
Dark Rebirth works best when I treat it as a breakpoint decision. I keep a healthy run alive while levels and Gold still improve the payout, then reset once the Blight reaches a permanent upgrade I actually want.
My strongest runs come from matching Unit roles, Power cost and Totem triggers rather than chasing rarity. I build enough frontline to buy time, protect the damage that is actually carrying the run, and reroll cards that cannot contribute to the current plan.
I spend Blight on upgrades that improve more than one good roll: broad stats, economy, better card access and major unlocks first, then specialize once a Unit has proved it belongs in my runs.
Trials make me rebuild around a restriction instead of carrying my normal army inside. I unlock them through the Blight Tree, read the rule first, then spend only on Units, spells and survival tools that can still contribute.
Most achievements are easier once permanent progression has made older content trivial. I let milestones unlock naturally, then clean up boss conditions, dense-wave challenges, Warpath, unusual survivor states and Trials with builds suited to each requirement.
Open the Portal, build a Warband whose Units and Totems actually work together, and give a stalled fight one meaningful formation or Gold change before resetting. When those temporary fixes stop moving the wall, take the Dark Rebirth, spend the new Blight with the next run in mind, and rebuild from there.
Get to the Portal Before Worrying About a Perfect Build
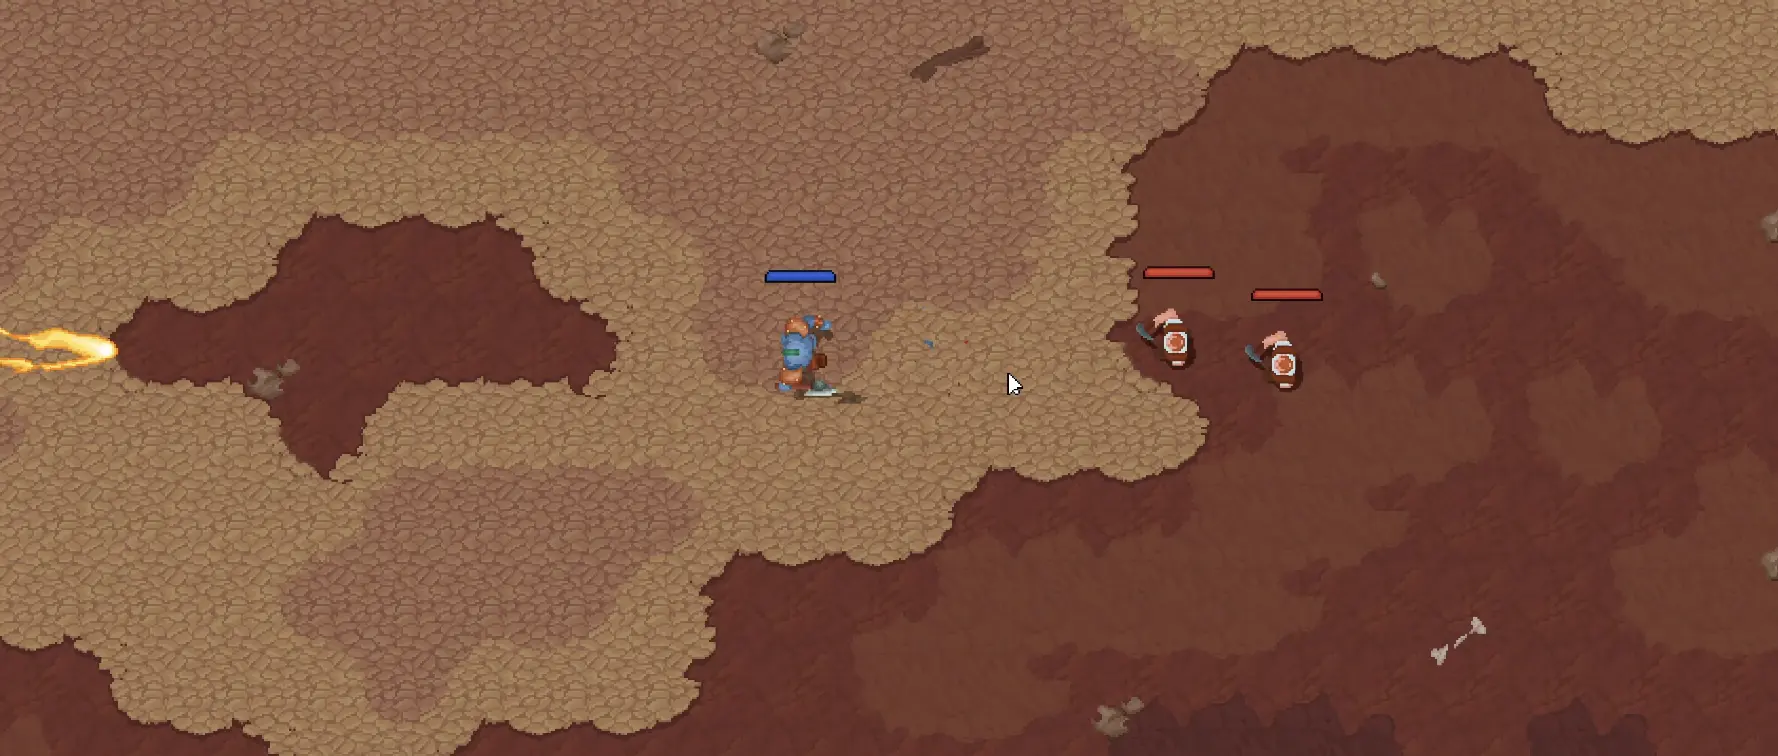
Orc Incremental starts much smaller than it eventually becomes. My first fights are one Orc pushing into the enemy line while I support him with Fireballs and a short list of upgrades.
The opening is simple enough that I can see whether a loss came from low damage, poor survival or a dangerous enemy I should have removed with Fireballs.
That opening taught me a habit that stays useful after the screen fills with Units: I watch the failed fight before buying anything.
An enemy surviving on almost no health may only need a small offensive increase. A frontline that collapses while Archers keep firing usually needs a different answer. Spending Gold without knowing which of those happened can make the numbers larger without fixing the loss.
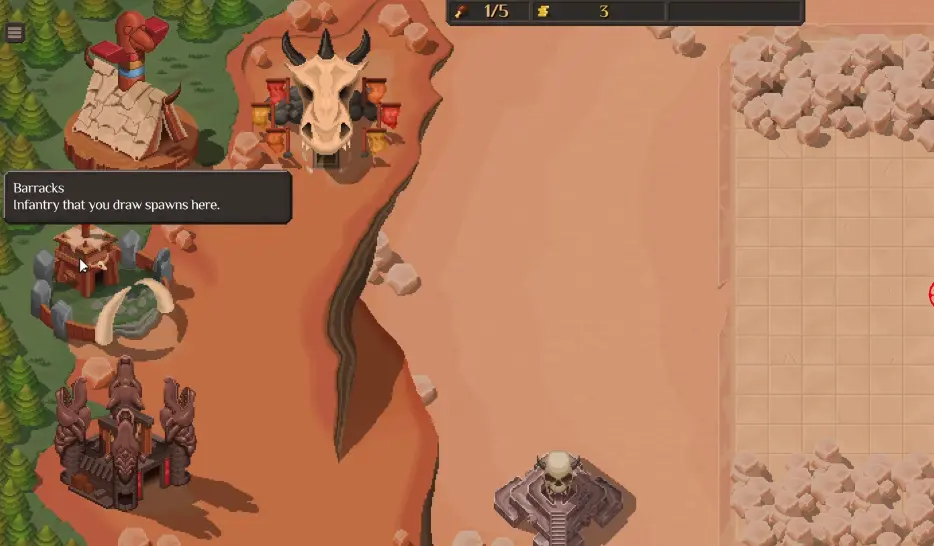
The first important destination is the Portal. I would rather reach the point where Units and Totems become available than spend too long polishing the opening Orc with upgrades that will soon be only one part of a much larger army.
The Portal Turns Progression Into a Warband Problem
Once the Portal opens, every card draw competes for space and Power.
Portal draws introduce Units and Totems, so I start judging every card by the job it adds to the current Warband rather than by rarity alone.
A Rare card can still be the wrong pick. Another damage dealer does not help much when the frontline disappears before it can attack, while a second support Unit may add very little to an army that is already surviving but cannot kill the boss.
Power makes those mistakes expensive. A card that enters the formation has to justify the space it consumes.
During this part of the game, I use the progression guide when the question is where to push next, when to farm and which unlock is worth extending the current run for.
When the level is reachable but the army itself keeps failing, I look at the formation instead.
Change the Fight Before You Abandon the Run
Some walls disappear after a surprisingly small rearrangement.
Moving a ranged Unit farther from first contact can give it several extra attacks. Another body in front of an expensive carry can buy enough time to finish a boss. Healing becomes far more useful when the Units that need it remain close enough to benefit.
That is why a close loss does not send me straight to Dark Rebirth.
I change one meaningful part of the army and watch the next attempt. A noticeable improvement tells me the run still has room to grow. Repeated losses that barely change after sensible adjustments are a much stronger sign that temporary progression is running out of value.
For Unit roles, positioning, Catapult, Shaman, Witch Doctor, Dragon, Life Steal, Reflection and Rupture setups, I use the build and formation guide.
A Totem Is Only Strong When Its Trigger Exists
Totems are where I made some of my most expensive-looking mistakes for almost no benefit.
A powerful passive tied to Machine of War does nothing while the Warband has no Machine of War Unit. Fighter and Spellcaster effects have the same issue: the card may be excellent, but the required event still has to happen often enough in real combat.
The reverse can be dramatic. A Totem whose trigger already matches the army can contribute more than another Unit occupying similar Power.
I check the category, trigger, radius and Power cost before accepting the card, then run a fight before building further around it. The Totems guide covers Iron Snake, Silver Idol, Rage interactions, stacking and the situations where a Totem should be removed again.
Dark Rebirth Makes Sense When Gold Stops Changing the Wall
There is usually a point where the current cycle still offers upgrades, but another purchase no longer changes the outcome enough to justify the time spent earning it.
That is the moment I start thinking seriously about Dark Rebirth.
A bad boss attempt by itself is not enough. I want to see the same wall survive several reasonable responses: a formation change, a useful temporary upgrade or another card that should have addressed the weakness.
When those changes stop producing meaningful progress, preserving the current Warband matters less than starting the next cycle with stronger permanent progression.
The Dark Rebirth guide covers the reset decision, what is lost, how the Blight payout grows and when staying in the current run still pays more than leaving.
After the Reset, Blight Should Fix the Next Cycle
Dark Rebirth changes the question immediately.
Gold was temporary. Blight is permanent, so a purchase that only helps one narrow situation needs a stronger reason.
The early Tree gives me broad army stats, Fireball improvements, economy, card access and specialist Unit branches. Later routes become expensive enough that spending every affordable point can delay a much more important unlock.
I use the Blight Tree guide when deciding between broad damage or health, economy, better card access, Unit specialization and larger unlocks such as Warpath, Epic cards or Trials.
The useful connection to the current run is simple: the last cycle already showed me what was slow.
An army that reached the wall quickly but died too soon points toward a different permanent investment than an army that survived comfortably and could not finish the enemy. Slow rebuilding after every reset creates another answer again.
Warpath Exposes Weak Sustain Very Quickly
A formation that wins one level is not necessarily ready to keep winning without rebuilding.
Warpath makes that difference obvious.
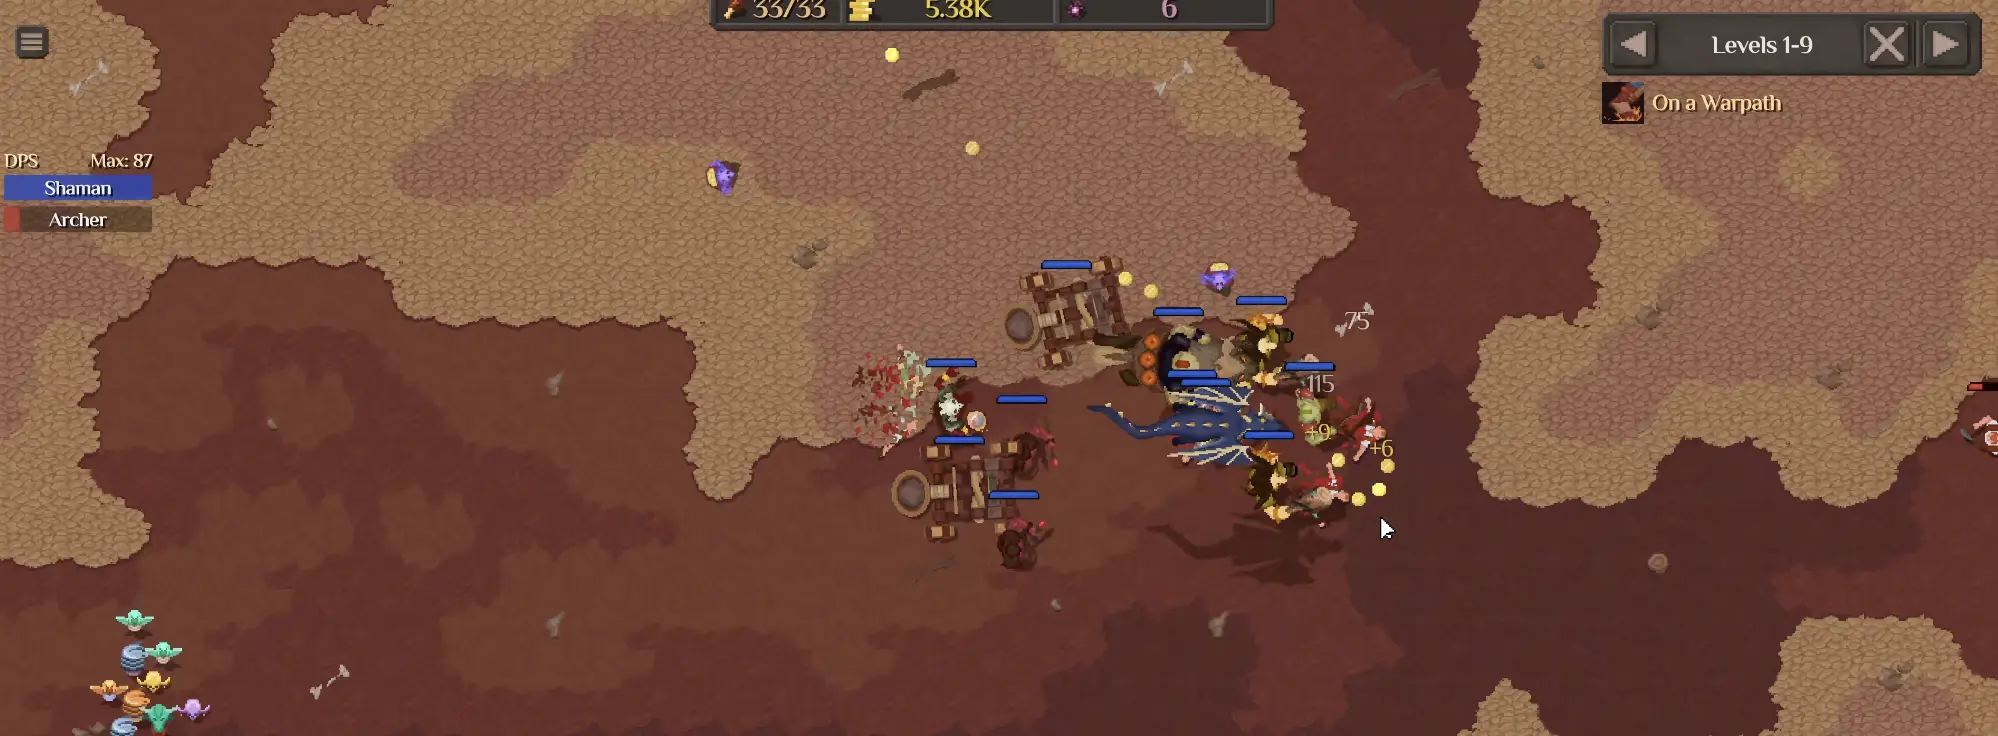
Warpath rewards a Warband that can preserve its frontline, healing and damage through repeated fights instead of barely surviving one encounter.
The runs that carry momentum tend to have more than raw damage. The frontline needs to stay functional, healing has to reach the Units that matter, and the damage engine cannot depend on one fragile card surviving a perfect engagement.
When Warpath ends immediately after it begins, I look for the part of the army that fails between fights. When it keeps moving comfortably, I usually let that formation continue producing progress rather than breaking it apart for a speculative new card.
Activation, progression behavior and the common reasons a Warpath stops are covered in the progression guide.
Trials Change the Rules Instead of Raising the Same Wall
Trials are not another normal stage with larger numbers.
Their conditions can remove the assumptions that made the main Warband work. Allied Unit damage may stop mattering, health and Life Steal can behave differently, or the player’s own attacks can become much more important.
I therefore read the Trial condition before touching the formation.
Trying to force the main-game build through a rule set that disables its strongest mechanic usually wastes more time than rebuilding around the condition from the start.
The Trials guide covers the individual challenge rules and the setups I use for them. I normally return to Trials once ordinary Dark Rebirth cycles are rebuilding reliably enough that a separate challenge is not stalling the main progression.
Chieftains Are Chosen for the Wall in Front of Me
Chieftains added another decision after Dark Rebirth, but I found the choice easier once I stopped looking for one universally best Bloodline.
The active ability matters immediately.
A Chieftain that freezes dangerous enemies can be far more useful during a control-heavy boss fight than another source of gradual damage. A Poison ability has more room to work when enemies remain inside its area long enough for stacks to build. Healing or protection becomes more attractive when the rest of the Warband already has enough damage.
Martyrdom introduces a second value later: eventually the Chieftain can be sacrificed for the reward shown on its card. That creates a real tradeoff when the active ability is still carrying fights.
I keep the Chieftain while losing that ability would make the current run worse. Once the ability is no longer solving the next wall, Martyrdom becomes much easier to justify.
The Chieftains and Bloodlines guide covers the first Chieftain choice, Ice Javelin, Poison Cloud, support abilities, Fighter interactions and the point where I finally sacrifice one at the Temple.
Bosses Tell Me Which Part of the Build Has Stopped Scaling
Boss fights strip away a lot of misleading success from ordinary waves.
A setup built around area damage can look excellent until one durable target becomes the entire fight. Ranged Units that were safe behind a large frontline may suddenly be reached. An expensive carry can post impressive numbers through normal stages and still disappear too early to justify its Power against the boss.
I watch which part fails first.
A dead frontline points toward survival, healing or positioning. A healthy army that barely moves the boss health bar needs more effective damage. One targeted change that produces a much better attempt is evidence that the current run still has useful progress available.
Several good changes producing almost the same failure point is when I begin comparing the value of another temporary grind against Dark Rebirth.
A Milestone Matters Because of What It Unlocks
Later progression gives me too many possible goals to chase every visible number.
The milestones I care about are the ones that change the next decision: another Unit enters the pool, a useful system opens, a new card rarity becomes available or the current run reaches a point where another reset would noticeably improve the account.
That is more useful than pushing simply because the next round number is close.
A run may technically be able to grind farther while another option—improving the formation, taking a profitable Dark Rebirth, opening a Trial or working toward a permanent unlock—would move the account more efficiently.
When I am unsure which of those should come first, I go back to the progression guide and look at what the next reachable milestone actually changes.
Leave Most Achievement Cleanup Until the Account Is Stronger
There are 28 achievements, but I never needed to turn all 28 into early progression goals.
A large part of the list happens naturally while the account opens new systems and clears higher levels. The awkward conditions become easier later, when older bosses can be controlled without risking a run that still matters for progression.
That is when I start manipulating the final kill, survivor state, Warpath condition or other special requirement deliberately.
The achievements guide covers all 28 requirements and the cleanup methods for the ones that need deliberate setup.
Until then, I only divert the run for an achievement when the required action already fits what the army is trying to do.
When I Get Stuck, I Find the Layer That Failed
By the later game, “I am stuck” can mean several completely different things.
A weak Warband can still have plenty of temporary progression left. A good Warband may simply need a different formation for one boss. A Totem may be consuming Power without ever triggering. The current cycle may have reached the point where another Gold purchase is barely visible in combat. After a reset, the new problem can be spending Blight without delaying the next major unlock.
I move through those problems in that order instead of changing everything at once.
Progression tells me whether there is still something useful to reach in the current cycle. Formation changes test whether the army itself is the blocker. Totems and Chieftains are judged by what they are actually contributing to that Warband. Dark Rebirth takes over when temporary fixes stop producing enough movement, and the Blight Tree decides what the next version of the account should improve.
That keeps the next action tied to the fight I just lost rather than to whichever menu happens to have a glowing button.