The Senda Fight I Won Before I Understood Its Best Opening
I beat Senda on my first attempt with Spear, but missed a safe damage window in the center phase. The rematch is simpler once that mistake is fixed.
Updated:
Quick Answer
For my first Senda clear, two potions were enough.
The safest improvement is in the center phase. I originally stopped attacking because it looked like Senda could not be hit there. With Spear, that wastes a good opening: leave Spearheads in useful positions and recall them through the center while staying focused on dodging.
Once the potions are gone, small safe hits are enough. I would rather repeat a clean opening than trade health trying to finish faster.
I beat Senda on the first attempt.
I also misunderstood one of the most useful parts of the fight until it was already over.
That makes this boss easier to explain than the clear itself made it feel.
The winning run was not built around huge damage. I entered with two potions, spent both before the end, survived the center sequence by playing cautiously, and finished the last stretch without healing.
The part I would change is not the build.
It is what I did while Senda was standing in the middle of the arena.
I Entered With Two Potions and Needed Both
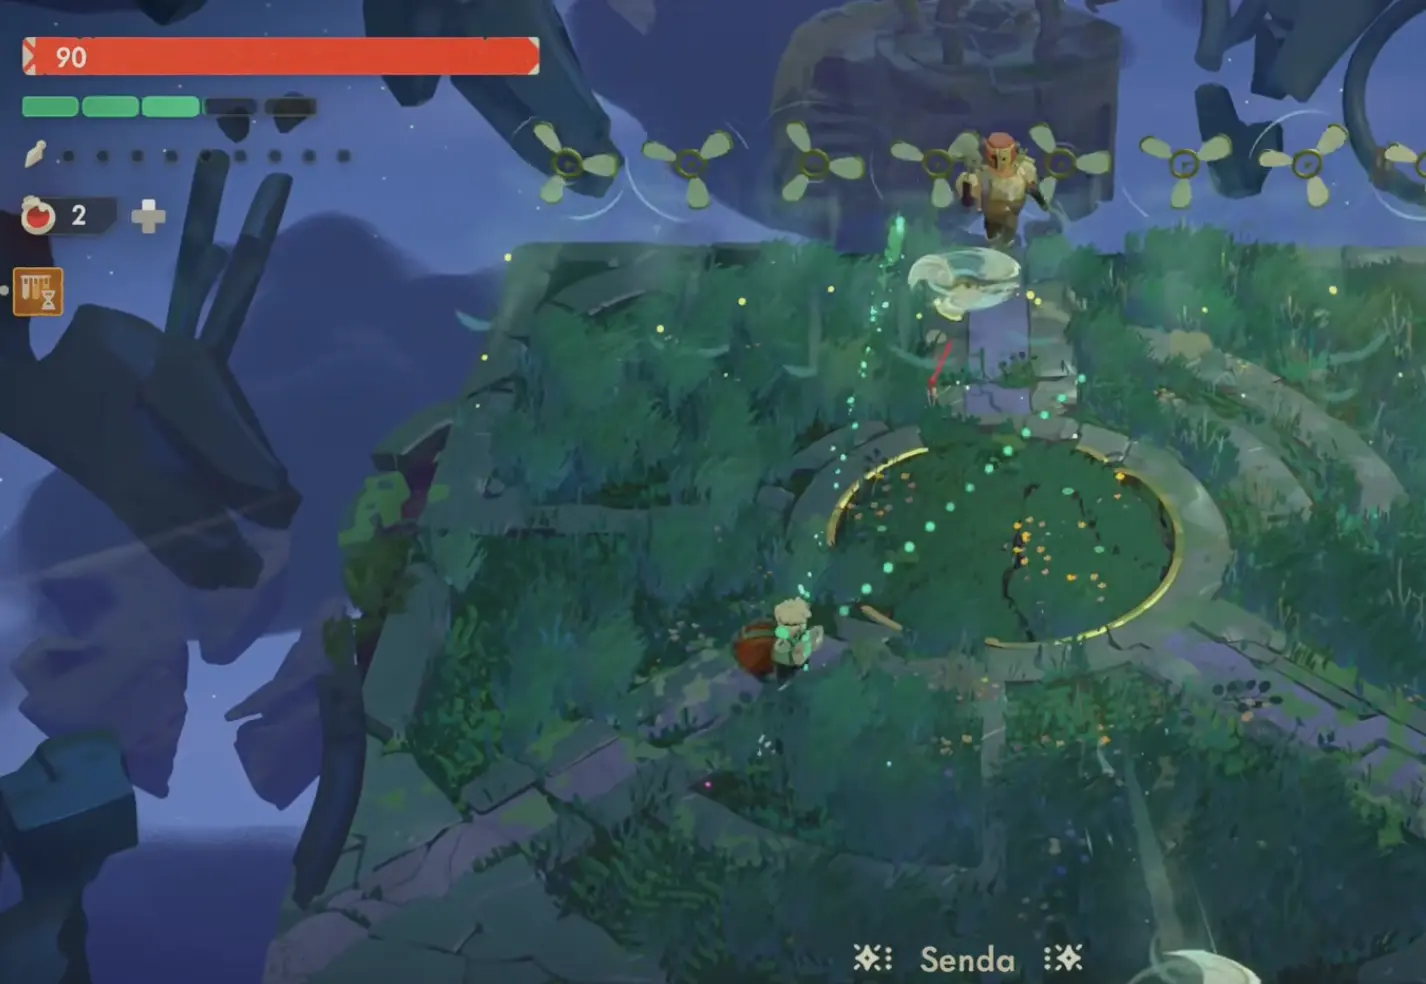
This was my starting position:
Two heals gave me room to learn.
They did not give me room to trade through every attack.
That distinction mattered because the fight lasted long enough for the entire potion reserve to disappear. By the final stretch, there was no recovery left to cover another bad exchange.
I got more value from the potions by treating them as insurance for mistakes rather than permission to attack through danger.
A small hit early in the fight was recoverable.
Burning a potion and then taking the same hit again because I forced another combo was much more expensive.
The Center Sequence Looked Like a Pure Dodge Phase
The strangest part of the fight came when Senda moved into the center.
My first read was immediate:
stop attacking and survive.
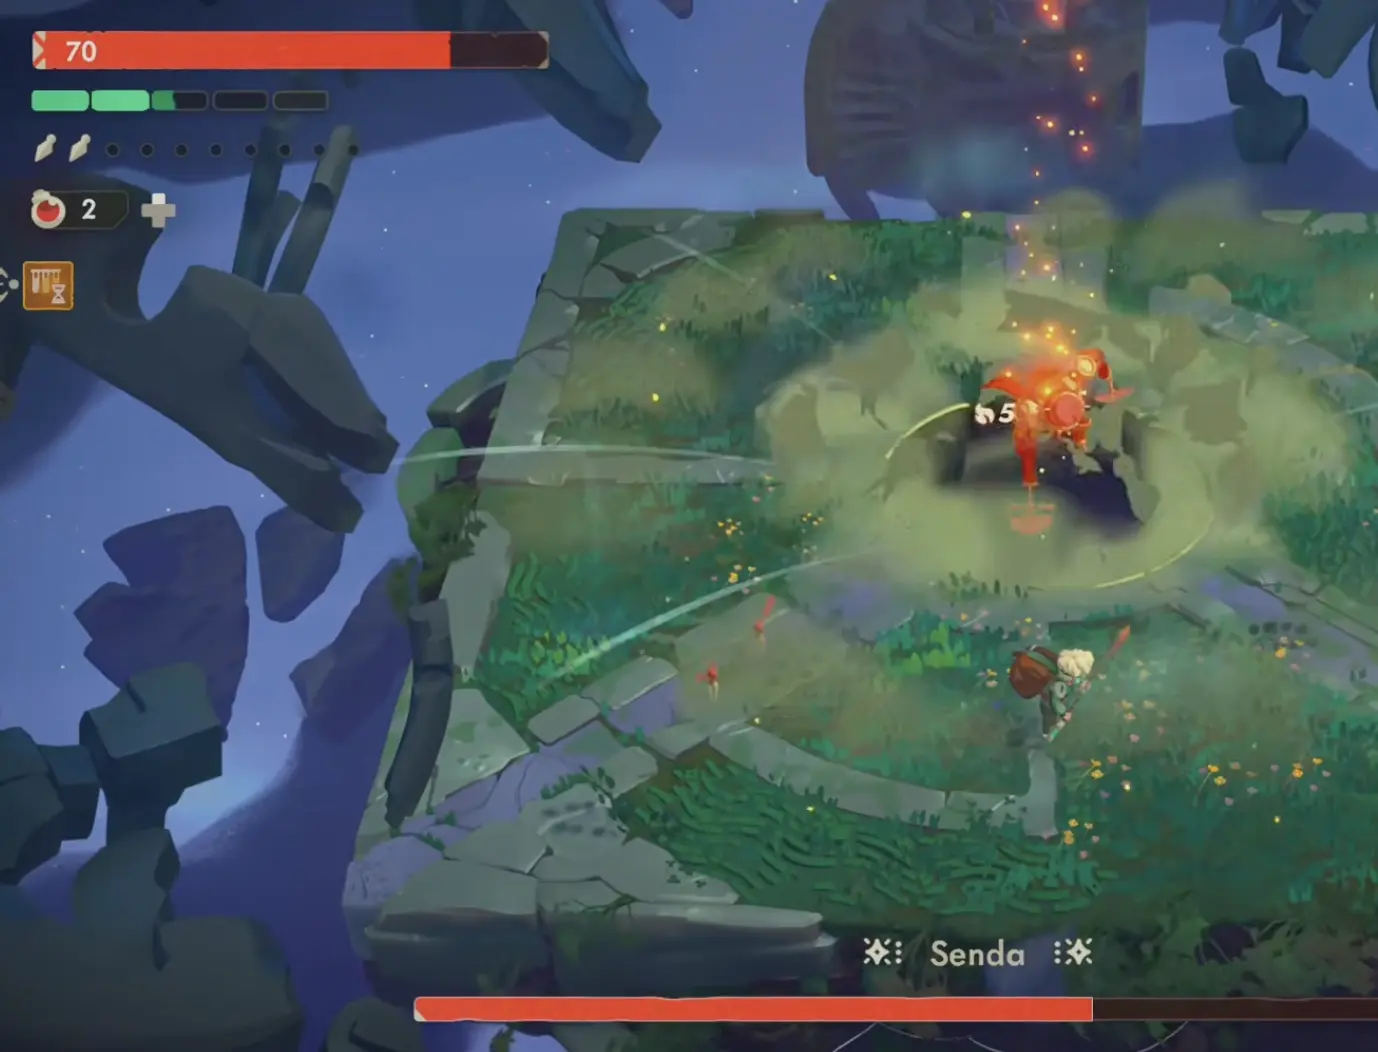
For a first attempt, that response was good enough.
I stopped chasing Senda, watched the arena instead of the health bar, and waited for a cleaner situation.
That kept the attempt alive.
What I realized afterward was that the conclusion behind it was wrong.
Senda was still hittable.
Spear Can Damage Senda Without Walking Into the Center
I was using Spear, which made the missed opportunity more obvious after the fight.
Spearheads do not need Will standing beside the boss to deal their return damage.
If the heads are already beyond Senda, recalling them creates a damage line through the center.
That means the phase has two jobs at once:
survive the arena pattern and use any safe Spearhead line that already exists.
I would not run toward Senda just to create that damage.
The improvement is much smaller and safer than that.
Before the center sequence develops, I want some Spearheads left in positions that can cross Senda on recall. When the line is good, I pull them back. When it is not, I keep moving and wait.
That preserves the reason my cautious first attempt worked while recovering damage I unnecessarily gave up.
The broader Spear mechanics are covered in the Weapons guide. Against Senda, the important application is simply that Spearhead recall remains useful even when normal melee pressure becomes awkward.
I Would Still Dodge First
Knowing that Senda can take damage in the middle does not turn the phase into a damage race.
That would be the wrong correction.
My first attempt survived because I respected the arena.
The better second attempt keeps that priority and adds damage only when it is almost free.
A clean recall from a safe position is worth taking.
Walking into the dangerous part of the arena because Senda technically remains vulnerable is not.
There were other parts of the fight where the same principle worked: a short opening that lets me land a little damage and leave cleanly is more useful than a longer combo that ends with me spending a potion.
That became critical later.
Zero Potions Made the Last Part Simpler
By the final stretch, I had used everything.
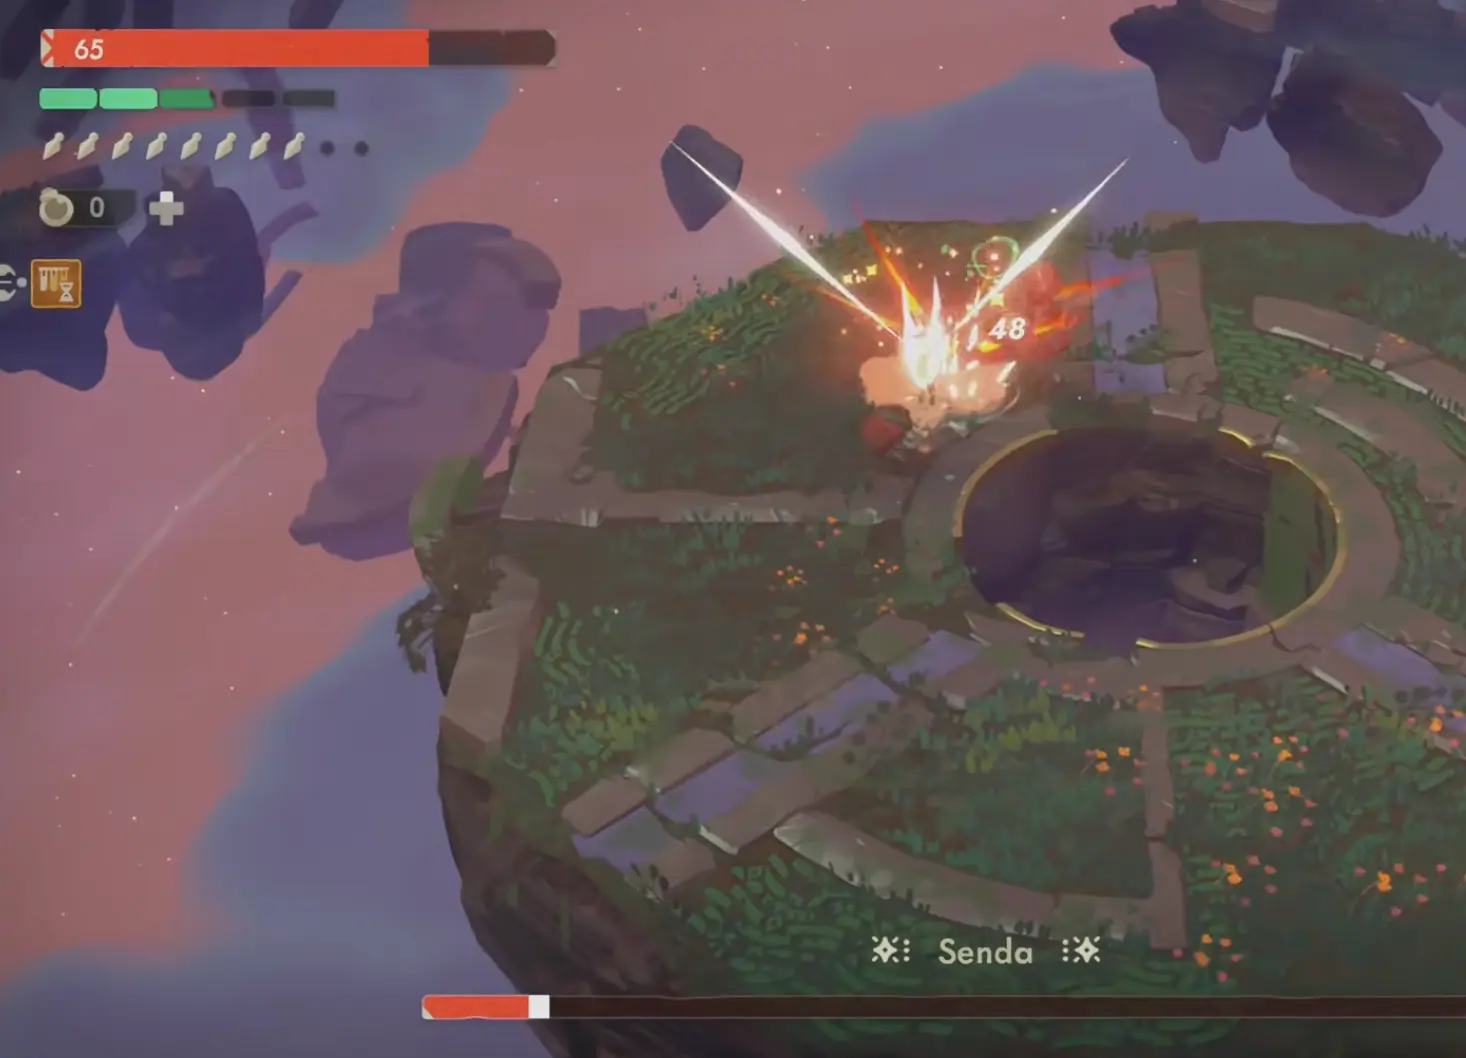
At zero potions, I stopped thinking about how quickly I could finish.
The remaining health bar only needed to reach zero eventually.
That changed the value of an opening.
A small hit with a clean exit was enough.
A full combo was only better if I could finish it without turning the exchange into a trade.
I stayed with the attacks and movement that had already survived the fight instead of inventing something aggressive because victory looked close.
That is what got the first attempt across the line.
The Fight Was More Forgiving Than It Looked
My clear had several things that were not ideal:
I was still getting used to the Spear.
I misread the center phase.
I spent both potions.
I reached the end with no healing.
And the boss still went down on attempt one.
That is useful information for a first clear.
I would not restart an otherwise healthy attempt because the first potion disappears earlier than planned.
I would not assume the build is too weak because the center sequence produces little damage.
I would also not chase a perfect Spearhead setup while the arena is already threatening me.
The fight gives enough room to win while learning it.
The second attempt should simply waste fewer openings.
Senda Dropped the Left King’s Mask
The clear rewarded me with the Left King’s Mask.
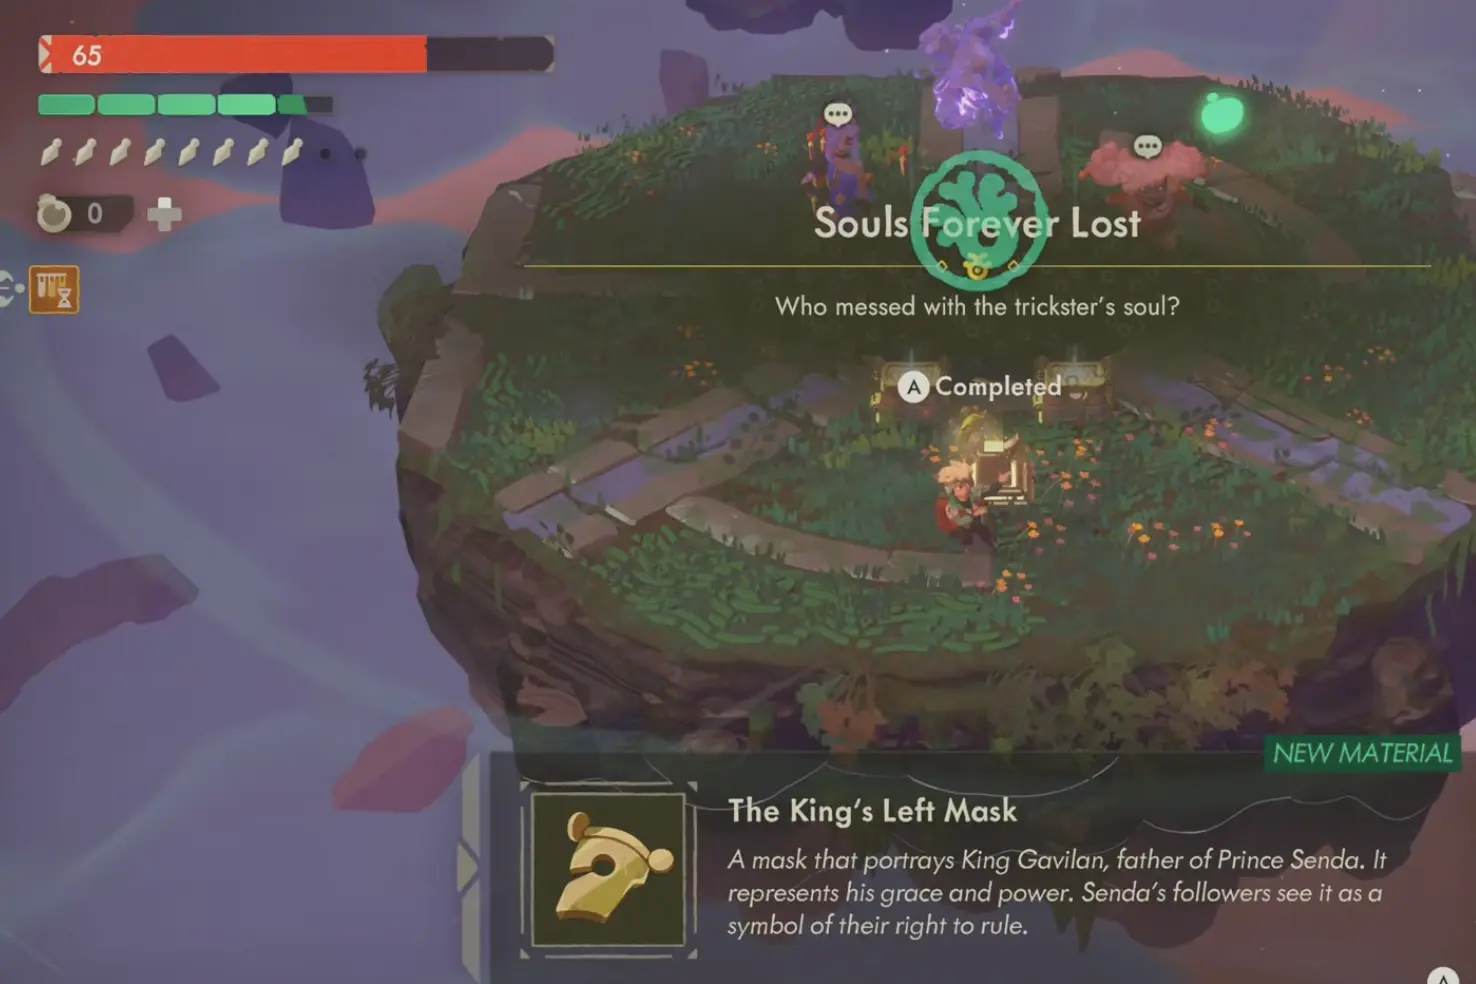
Defeating Senda also unlocks Wind Slumber.
The reward was nice.
The more useful thing I carried out of the arena was the correction to the fight itself.
I had won while treating the center sequence as downtime.
It was not downtime.
With Spearheads already placed, that phase can still move Senda’s health bar while I concentrate on staying alive.
So my next Senda attempt has one change:
keep the cautious center movement, but stop leaving free recall damage on the floor.