The Run I Should Have Left Thirty Seconds Earlier
Escaping is part of the economy. I use the Pendant before low health turns a valuable backpack into a penalty, and I only keep pushing when the next room is worth that risk.
Updated:
Quick Answer
When a run turns bad, I use the Pendant and return to Tresna before I get knocked out.
My cutoff is not a fixed floor number. I look at four things: current HP, potions left, the value already in my backpack, and whether the next room is required for progression. If healing is gone and the bag is already good, I cash out. The Pendant takes a moment to activate, so I start the escape before I am trapped in an attack pattern.
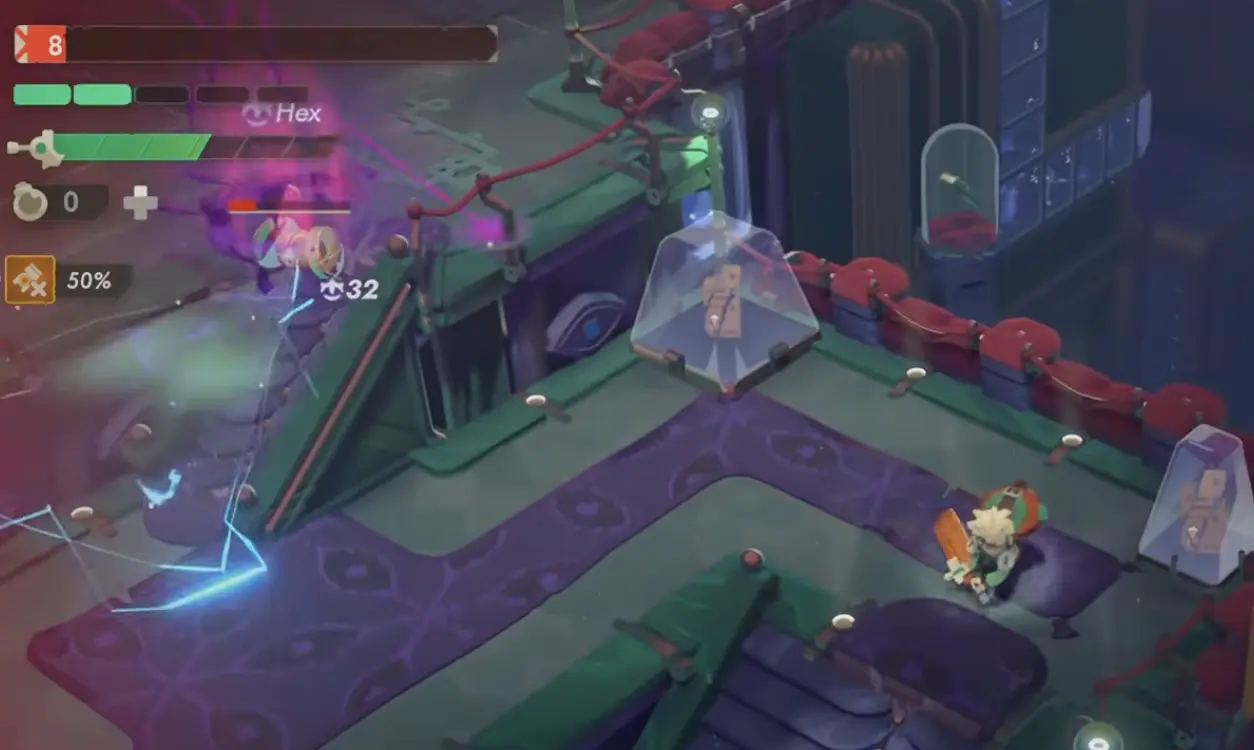
Eight HP was enough to end the argument.
I had already reached the point where one more room could improve the run, but it could also turn everything I had collected into a worse sale. With no reason to prove anything, I went home.
That sounds obvious after the fact.
It was much less obvious while the next reward was still on the screen.
Moonlighter 2 keeps giving me reasons to push: another chest, another perk, the boss, a better relic, one more chance to improve Quality. The Pendant is the counterweight. It lets me decide that the current haul is already a successful run.
Learning when to press that button has saved me more Gold than squeezing through a room at single-digit health.
Eight HP Is a Cash-Out Signal When the Bag Is Already Worth Saving
One of my cleanest exits happened at 8 HP.
I was still technically alive. I could have tried another encounter. Nothing in the game forced me to leave.
The useful question was whether surviving one more room was likely enough to justify risking the backpack.
It was not.
I have made the same decision at slightly higher health when zero potions were left and the bag already contained relics I wanted to sell.
That is why I do not use a universal percentage such as “always leave below half health.”
Ten HP with healing and a clean route can be playable.
Sixteen HP with no recovery, a valuable backpack, and a dangerous boss ahead can be a worse position.
The number matters. The state of the run matters more.
The Pendant Is an Action, Not a Pause Button
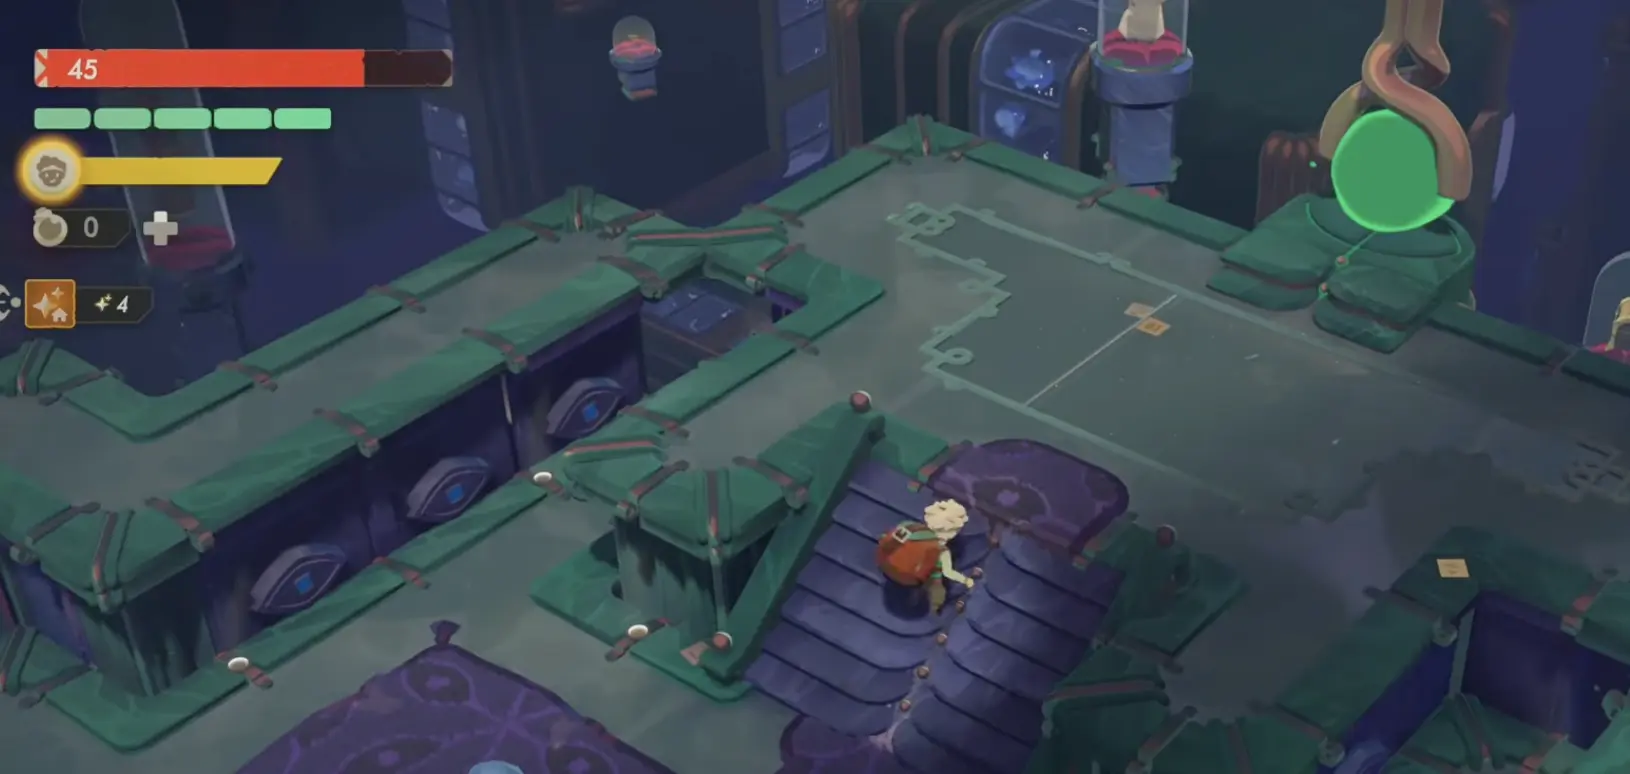
The first time I tried to bail out under pressure, I learned the important part too late:
the escape is not instant.
I could hold the return input and start leaving, but the activation needed enough uninterrupted time to finish.
I waited until the room had already become chaotic.
Then I tried to go home.
Then I got hit before the escape completed.
That changed how I use it.
If the decision is already “I am leaving,” I stop taking optional attacks. I create space, dodge the immediate pattern, then commit to the escape.
Trying to steal one last hit before holding the Pendant defeats the point.
On Normal, Defeat Cuts the Haul Before It Gives Me a Choice
My failed escape answered the question I had been worried about since the early runs.
On Normal, the backpack is not simply erased the moment I get defeated.
The relics come out of the defeat with half of their Quality, which can cut a large part of the value I spent the run building. Then the result screen asks whether I want to Go to Tresna or Retry Dungeon.
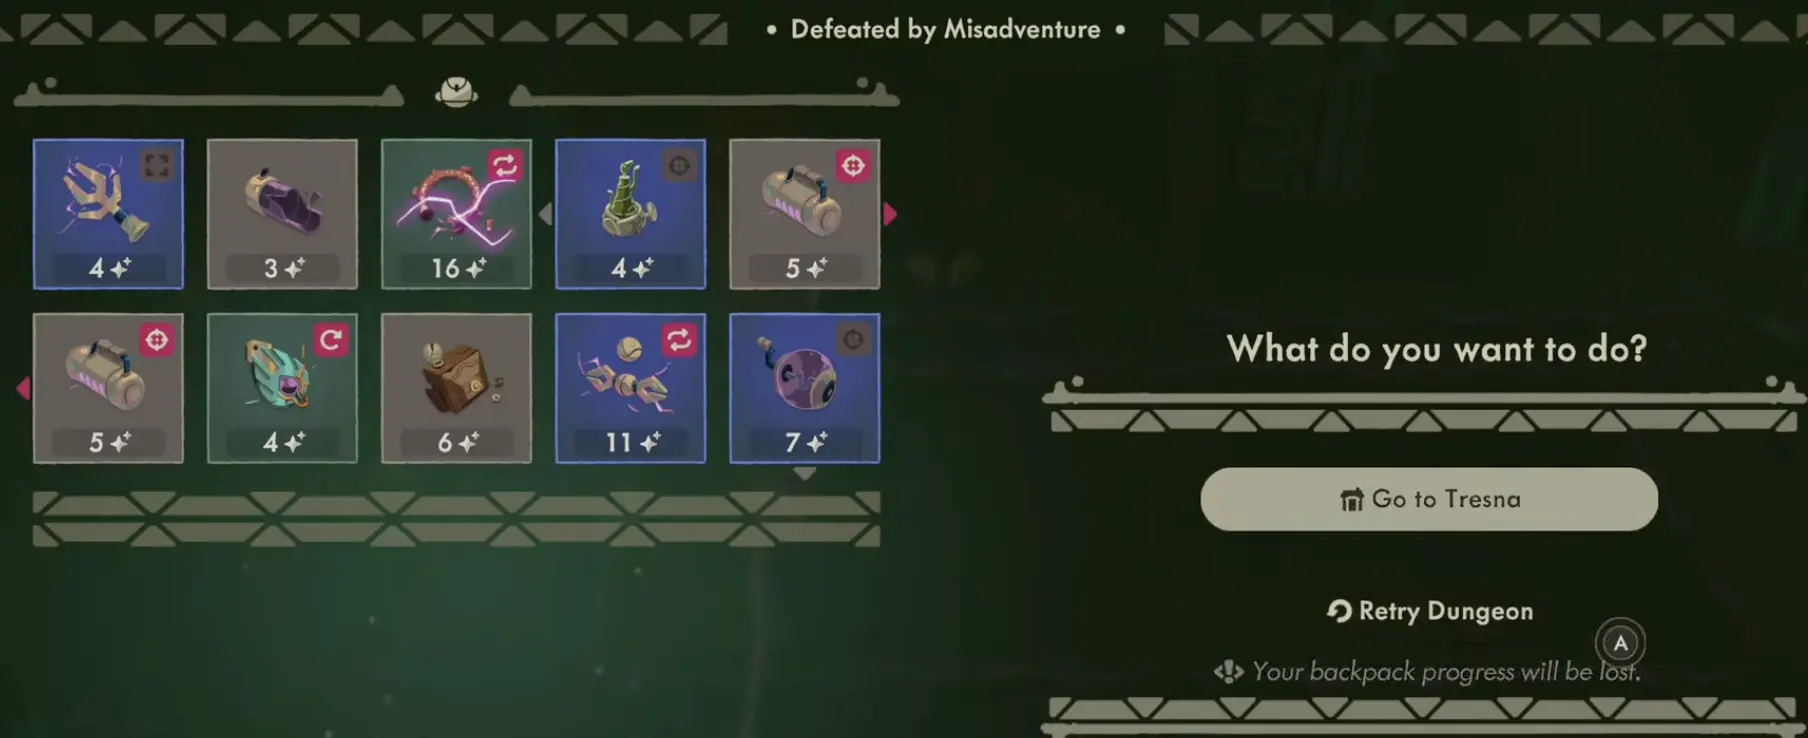
That warning changes the decision.
Go to Tresna lets me stop the damage and convert what remains into Gold.
Retry Dungeon is not a free second attempt with the same backpack. The screen warns: “Your backpack progress will be lost!”
So I only press Retry when the current bag is disposable to me: I died early, I am practicing a route or boss, or the run was never about bringing relic value home.
A late defeat is different. If I already spent a long run building Quality, returning is usually the cleanest way to salvage the result instead of deleting the backpack progress that survived the knockout.
The Relic Quality guide owns the value math. Here, the important point is simpler: once a good bag has already taken the defeat penalty, I do not throw away the remaining progress unless the retry itself is the objective.
I Check Four Things Before Entering a Boss Room
Boss doors are where greed becomes easiest to rationalize.
The reward is obvious. The cost of losing is hidden inside whatever is already in the backpack.
Before I go in, I check:
Health.
Am I one mistake from being knocked out, or do I have enough room to learn the opening pattern?
Potions.
A low health bar with two heals is a different run from the same bar with zero heals.
Backpack value.
If the bag is full of relics I would be annoyed to downgrade, the boss has to offer something meaningful.
The objective.
Do I need this boss for progression, a recipe, or a quest? If not, leaving now can be the more profitable result.
This is also where extra capacity can become dangerous psychologically. A bigger bag lets me carry more, but it also gives me more value to gamble. The Backpack Upgrade guide is about when that extra slot is worth buying; this decision is about knowing when the filled slots have already done their job.
Sometimes I Keep Going at Low Health
Low HP is not an automatic retreat.
I have stayed in runs after taking heavy damage when the situation still made sense.
The conditions are usually visible:
- I still have potions;
- the next room is low-risk or free;
- a healing room is close;
- the backpack is not valuable yet;
- the boss or quest is the actual reason I entered the dungeon.
That is different from continuing because I am already deep into the run.
Time spent is not a reason to risk the haul.
If anything, a long run gives me more to protect.
The cleanest example is a loot run that has already succeeded. Once I have valuable relics, decent Quality, and no healing, the next room needs to earn the right to threaten all of that.
A Full Backpack Makes the Same HP Number More Dangerous
The Pendant decision gets stricter as the backpack improves.
At 8 HP with almost nothing in the bag, I can justify experimenting.
At 8 HP with several Rare or Epic relics, the same combat risk has a much larger Gold consequence.
That is why I check the backpack before deciding whether to push.
The important number is not only health.
It is health compared with what I am carrying.
A run can be mechanically unfinished and economically complete.
Once I started thinking that way, returning to Tresna stopped feeling like quitting.
It became the last successful action of the run.
The Achievement List Confirms That Leaving Is Part of the Loop
The game even rewards both sides of this decision: repeated Pendant escapes count toward Flying Flee, while The Price of Greed is tied to getting defeated with a full backpack.
I do not chase either one during a valuable run. They are useful because they confirm the intended tension: Moonlighter 2 expects me to know when greed has stopped improving the haul.
I already paid for that lesson.
Now, when the bag is good and the healing is gone, I leave before the dungeon gets to charge me again.