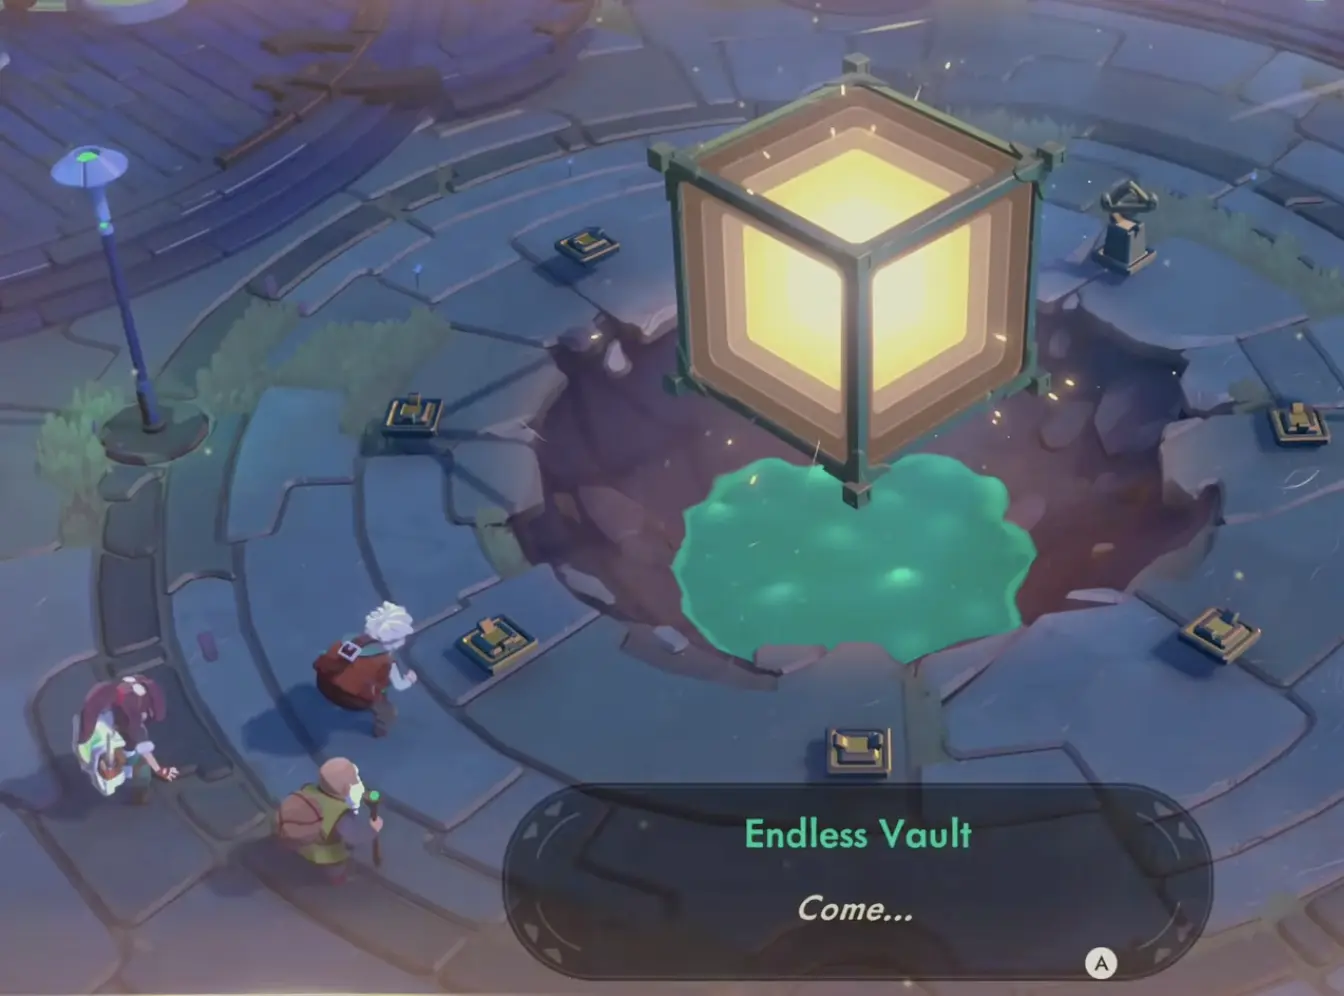
A returning save can look rich until the Endless Vault asks for six figures. I use the current Vault gap to decide whether Gold belongs in progression, upgrades, or another selling cycle.
Ultimate Challenges shorten the route and chain familiar bosses together. I build for the final fight, protect healing through the early bosses, and use them when the permanent reward is worth leaving the Gold grind.
Quality adds 5% value per point, so the real decision is where those points land. I feed strong relics, protect them from Burn and Overcharge, and stop before greed destroys the sale.
My expensive relics usually wait. Cheap and Perfect sales build the Perkmeter first, then I choose a Shop Perk around the stock that can still benefit from it.
Backpack space gets expensive fast. I buy another slot when the bag repeatedly forces me to abandon relics I would have sold, not just because an upgrade is available.
Sword is my safest baseline, Spear rewards clean recall lines, Gauntlets need Berserk uptime, and Great Sword needs patience. The best choice changes with the run.
Escaping is part of the economy. I use the Pendant before low health turns a valuable backpack into a penalty, and I only keep pushing when the next room is worth that risk.
Moonlighter 2 is easiest to understand when only one thing is going wrong.
The difficult part comes later, when almost everything looks useful at once.
The Endless Vault wants Gold.
The smith has another weapon or upgrade.
The backpack can grow.
The shop can earn more.
A new relic interaction can turn one item into a much better sale.
And another dungeon room always offers the possibility of something better.
Trying to improve all of those at the same time is how I end up spending a lot without fixing the reason progress slowed.
So I start with the symptom.
If Gold Is the Problem, I Check the Vault Before Spending
The Endless Vault is the first place I look when a returning save suddenly feels expensive.
The Vault gives me a visible target before weapons, backpack slots and other upgrades start competing for the same Gold.
I want to know how far the current progression step is from completion before buying something simply because I can afford it.
A nearby Vault milestone makes me much less interested in side purchases.
A distant one gives upgrades more time to pay for themselves across several runs.
That matters especially on an older save brought into Version 1.0. Several systems can be available at once, and my memory of what came next in Early Access is less useful than what the current build is showing me.
When the problem is specifically how much Gold to reserve, whether to buy an upgrade now, or whether another dungeon run is even necessary, I use the endgame progression guide.
A Weak Payday Can Come From Two Completely Different Problems
A dungeon run can feel successful and still produce disappointing Gold.
I split that into two questions.
Are the relics themselves weak?
Then I look at Quality.
The useful relic might need a better Shock chain, a safer Burn setup, a daily weapon bonus, or simply better protection from an interaction that can destroy it.
Are the relics already valuable but the shop shift is underperforming?
Then I leave the dungeon systems alone.
The order of the sales matters.
Cheap or known-price relics can help activate Shop Perks before the premium inventory comes out, and the best perk depends on what is still waiting in storage.
The distinction prevents a common waste of time: running another dungeon because the last shop day was bad when the relics were already good enough.
A Full Backpack Only Matters When the Lost Item Matters
A completely full grid looks like an upgrade problem.
Sometimes it is only a sorting problem.
If a new relic replaces something I was happy to throw away, the backpack has not cost me much.
If the last rooms repeatedly force me to abandon relics I genuinely wanted to sell, capacity is now reducing the value of otherwise successful runs.
That is when another slot starts making sense.
The Backpack Upgrade guide follows that decision from cheap early slots into the much more expensive upgrades later in the save.
I do not buy capacity because the grid looks crowded.
I buy it when the missing space has a visible price.
Combat Problems Usually Show Themselves Before the Smith Can Fix Them
The four melee families can make the same room feel completely different.
Sword keeps the weapon relatively simple.
Spear turns positioning and Spearhead recalls into part of the damage.
Gauntlets become much stronger when Berserk is actually being built and used.
Great Sword makes poor attack commitment much harder to hide.
That gives me a useful test after a bad combat run.
If I was landing the important attacks and enemies simply took too long to die, stronger equipment may help.
If I was wasting the weapon mechanic, buying more damage is unlikely to solve the real problem.
The Weapons guide covers all four families, the weapon I would start with, and when the daily Weapon Highlight is worth changing my usual choice.
Some Runs Are Already Successful Before the Boss Room
One of the most expensive habits I had to break was treating the deepest possible room as the only successful end to an expedition.
A backpack full of valuable relics has already achieved something.
If the potions are gone, health is collapsing, and the next fight is optional, continuing can turn a profitable run into a much worse result.
The Pendant gives me another ending.
The important part is using it while I still have enough space to finish the escape instead of waiting until an enemy attack is already on top of me.
The leave-dungeon guide covers that decision, the Normal-mode defeat penalty, what happens when I choose Go to Tresna, why Retry Dungeon warns that backpack progress will be lost, and why Hardcore changes the stakes completely.
Ultimate Challenges Have a Different Purpose From Normal Expeditions
When a friend opens an Ultimate Challenge, I stop judging the next run by shop value.
The route is built around getting stronger quickly and reaching familiar bosses.
The backpack I carried into the challenge is restored afterward, which removes the normal pressure of gambling a valuable haul.
That makes these routes useful when I want a permanent reward or concentrated boss practice rather than another ordinary Gold cycle.
The Ultimate Challenges guide covers the altered routes, Curator and Tyke in the Gallery chain, Monte in the Aeolia route, healing across chained fights, and the Protocol Breaker recipe reward.
Senda Is a Fight I Would Replay Differently Before Rebuilding Anything
Senda is a good example of why a failed or messy boss attempt does not automatically mean the build needs more Gold.
My first clear worked.
My understanding of the fight was worse than the result.
I treated the center sequence as if there were no safe damage available, then realized afterward that Spearhead recalls could still pass through Senda while I concentrated on surviving the arena.
That is a fight-reading problem, not an upgrade problem.
If Senda is the current wall, the Senda boss guide gives the first-clear route without turning the rest of this hub into another boss walkthrough.
When Several Things Feel Wrong, I Follow the Money Backward
There are saves where no single system looks broken.
The weapon is acceptable.
The bag is mostly fine.
The shop makes money.
The Vault still feels slow.
In that situation I work backward from the progression result.
The Vault is not moving fast enough.
Did I already have valuable relics sitting unsold?
If yes, I open the shop before running again.
Did the shop sell a lot of items but produce weak Gold?
Then I decide whether the problem was relic value or sale order.
Did the dungeon produce too few valuable relics?
Then I look at how deep I am reaching, whether the highlighted weapon is useful, and whether backpack choices are deleting the best loot.
Did the run end before any of that mattered?
Then combat or survival comes first.
This keeps the systems connected without treating every permanent upgrade as equally urgent.
Version 1.0 Can Push an Older Save Beyond the Routes I Remember
A returning save eventually reaches objectives that were not part of the earlier path I learned.
Version 1.0 extends the late progression into newer Vault and story goals, and the correct next step becomes increasingly specific to what is currently on the save.
That includes late objectives around Vault VII, the story conclusion, the Infinite Endless Vault, and newer build options such as Endless Weapon Aspects and the Bomb Path.
I do not carry an older cost pattern or unlock assumption forward just because the previous Vault behaved a certain way.
I read the objective that is actually on screen.
The same applies to Hardcore. A Normal-mode recovery plan is not something I copy into a difficulty where defeat can end the save.
When one of these later 1.0 objectives becomes the active problem, I treat it as its own checkpoint rather than stretching an older route until it stops matching the game.
The Achievement List Is More Useful as a Missing-System Detector
I do not need a separate achievement checklist open during normal progression.
What I find useful is noticing which kinds of achievements never move.
If weapon-family goals are untouched, I may have spent the whole save on one moveset.
If Shop Perk progress is low, I may be selling without really using the Perkmeter.
If backpack goals are untouched, capacity may be a system I never invested in.
If Ultimate Challenge achievements remain locked, there may be friend routes I ignored.
If a high-Quality goal looks impossible, I probably have not pushed the deeper relic interactions very far.
Achievements are useful when they point toward a mechanic I have barely used.
They are much less useful when they only tell me to repeat something I already understand.
The Short Version of My Progression Loop
When I need a reset, the next move usually comes from one of four places:
Progression is expensive → check the Vault and current Gold.
The haul is weak → improve relic value, loot selection, or capacity.
The haul is strong but the payday is weak → fix the shop day.
The run itself is failing → solve the weapon, boss, healing, or escape problem before spending on something unrelated.
Then I go back to Tresna and look again.
Moonlighter 2 keeps combat, relics, inventory, the shop and permanent progression tied together.
The trick is not improving all of them every day.
It is fixing the one system that prevented the last good run from becoming the next meaningful step.