Final Fantasy Resonance Chapter 8: Beyond Hope Walkthrough
Complete Chapter 8: Beyond Hope, from entering Crystal Tower and defeating Chaotic Darkness to using Last Resonance and reaching the ending.
Updated:
Quick Answer
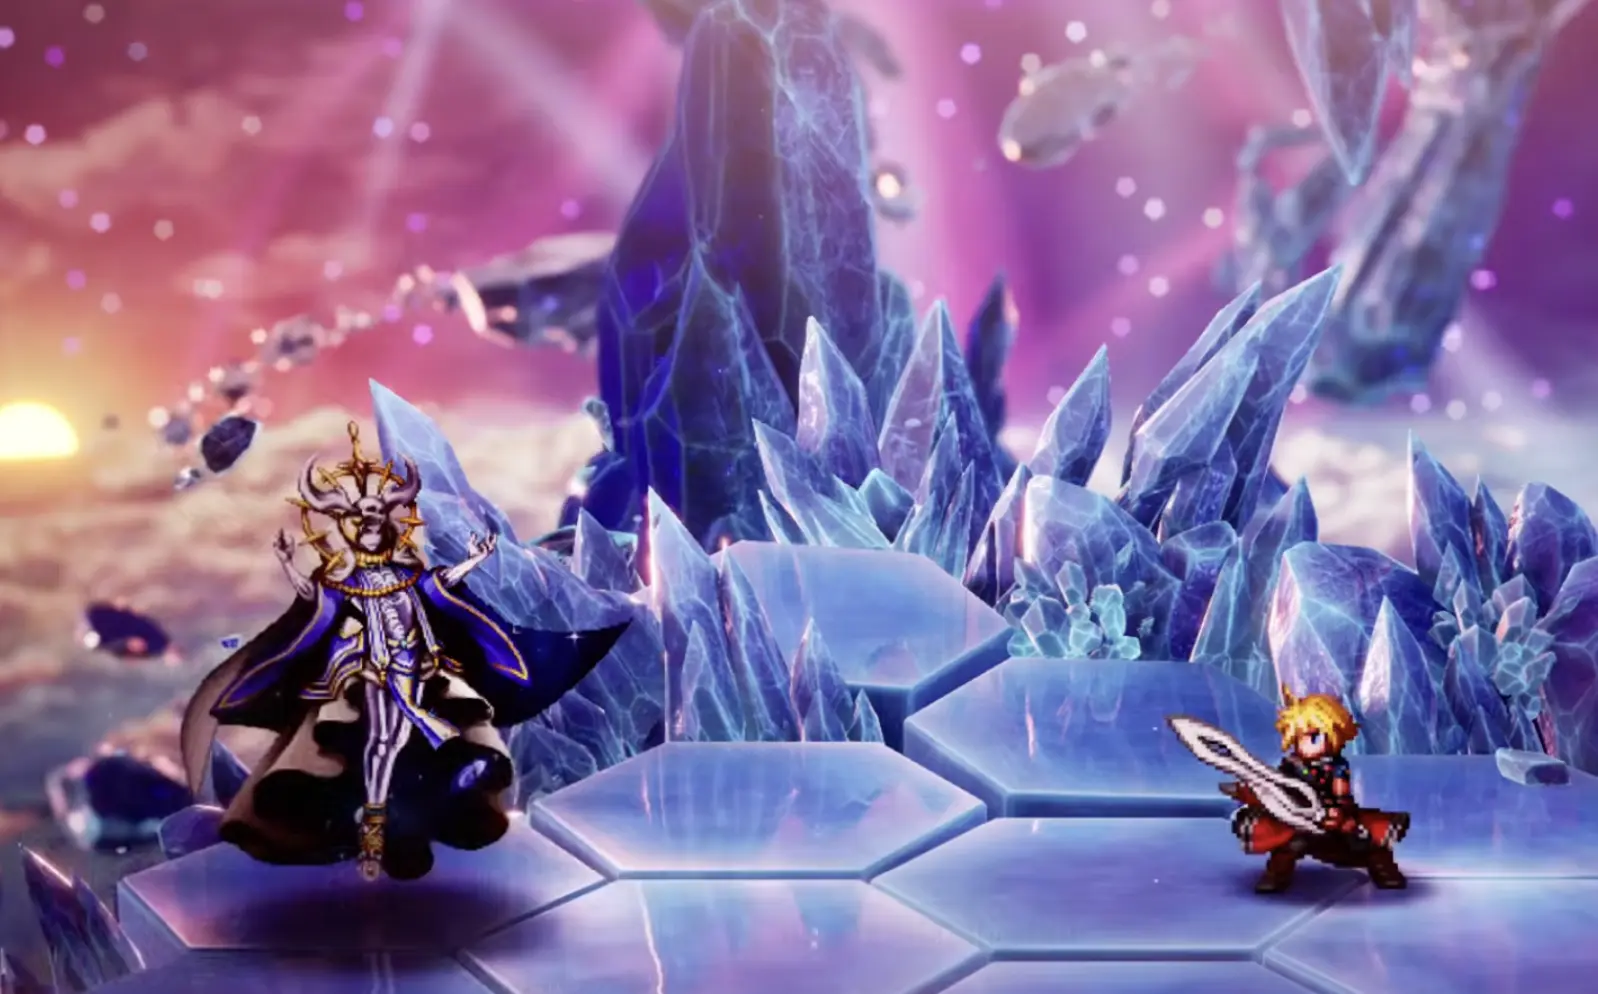
After Chapter 7: Reckoning, fly the Enterprise toward Crystal Tower. The airship cannot reach the summit directly, so approach the outer wall. Sakura removes the energy barrier during the story sequence; no switch or key is required. Continue through the tower and confront Sol and Behemoth.
At the summit, the final conflict leads to Chaotic Darkness, a Level 55 enemy weak to Light. Its apparent defeat does not end the encounter. Once the party receives the world’s prayers, use Last Resonance, which deals major damage but replaces the user with a reserve member. After the battle, continue through Archwitch Fina’s sacrifice, the collapsing tower, and Rain’s final confrontation with Sol to complete the story.
Chapter 8: Beyond Hope brings the search for the crystals to its conclusion. Although Rain’s party has defeated Umbra, the dimensional gate remains open, and Sol intends to use its power to destroy life on Lapis.
The party must reach the top of Crystal Tower before the land is pulled toward Palladia. This final journey also puts the two Finas’ shared existence at risk, while the last battle introduces a mechanic that changes how the entire party fights.
How to Enter Crystal Tower
The chapter begins aboard the Enterprise, with the party heading toward the enormous Crystal Tower that appeared after the events at Alcare Plains.
Sol and Behemoth have already gone there. The tower is also close to the dimensional gate, making it the place Sakura needs to reach if she is to prevent the destruction of Lapis.
Why Can’t the Enterprise Fly to the Top?
As the Enterprise approaches Crystal Tower, a powerful force pushes it back.
The airship cannot safely continue toward the summit. Attempting to force its way through would put everyone aboard at risk.
Instead, the party decides to approach the outer wall of Crystal Tower and enter from there.
Sakura identifies the source of the energy blocking the Enterprise.
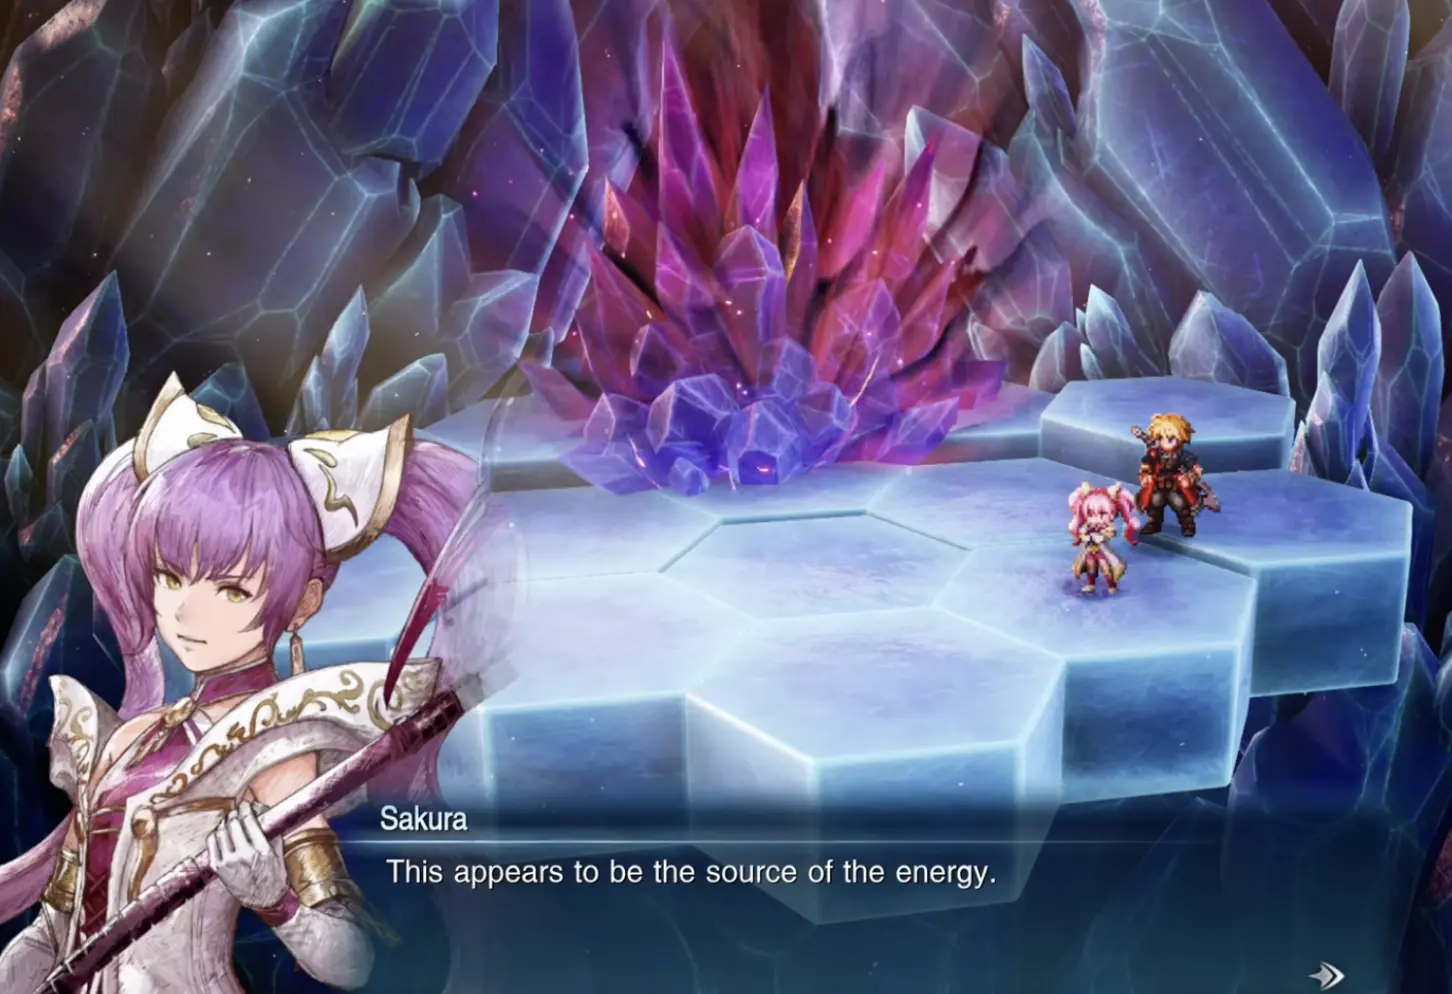
Sakura removes the energy source with her magic during the story sequence. Once she finishes, she confirms that the Enterprise should be able to reach this location again.
There is no separate key to collect, console to activate, or enemy to defeat to remove this barrier. Continue through Crystal Tower after the scene.
Climb Crystal Tower Toward the Dimensional Gate
With the barrier removed, the party can make its way upward.
Sakura explains that the collapse of the crystals has left the land exposed to the pull of the dimensional gate. The gate will eventually close when its stored energy has been released, but the surrounding land may be destroyed first.
Her plan is to reach the summit and absorb the gate’s energy, accelerating the process before Lapis is torn apart.
Follow the available path through Crystal Tower, crossing the crystal platforms and clearing the encounters that block your progress.
Fina’s Condition Worsens During the Climb
Partway through the ascent, Fina begins feeling unwell.
She experiences an unusual sensation as though her body is becoming less substantial. Archwitch Fina explains that the two of them originated from a single existence.
The power that sustains the younger Fina is gradually flowing back toward Archwitch Fina.
If this continues, the younger Fina may disappear.
The party does not need to find medicine or complete a separate task to resolve this condition during the climb. The story continues toward Sol, while the two Finas confront what is happening to them.
Confront Sol and Behemoth Inside Crystal Tower
Farther into the tower, Rain’s party encounters Sol and Behemoth.
Sol explains that his centuries of imprisonment have left him convinced that life itself is responsible for suffering and endless conflict.
Rain rejects that conclusion. His journey has shown him people willing to risk their lives to protect others, even when they have little to gain themselves.
Sol refuses to change his mind and continues toward the summit.
Alluvion and Lux Return to Help the Party
During the pursuit, Alluvion and Lux return and offer their assistance.
Alluvion wishes to make amends for her previous actions. Lux, despite losing Umbra, chooses to help prevent the destruction of the world.
They intervene when the party faces another dangerous encounter, giving Rain and his companions the opportunity to continue.
Their return does not create a separate recruitment quest or require an optional dialogue choice. It is part of the main story.
Defeat Behemoth
Sol eventually orders Behemoth to stop Rain’s party.
Alluvion and Lux commit the remaining strength of their armor to the fight.
Defeat Behemoth to continue.
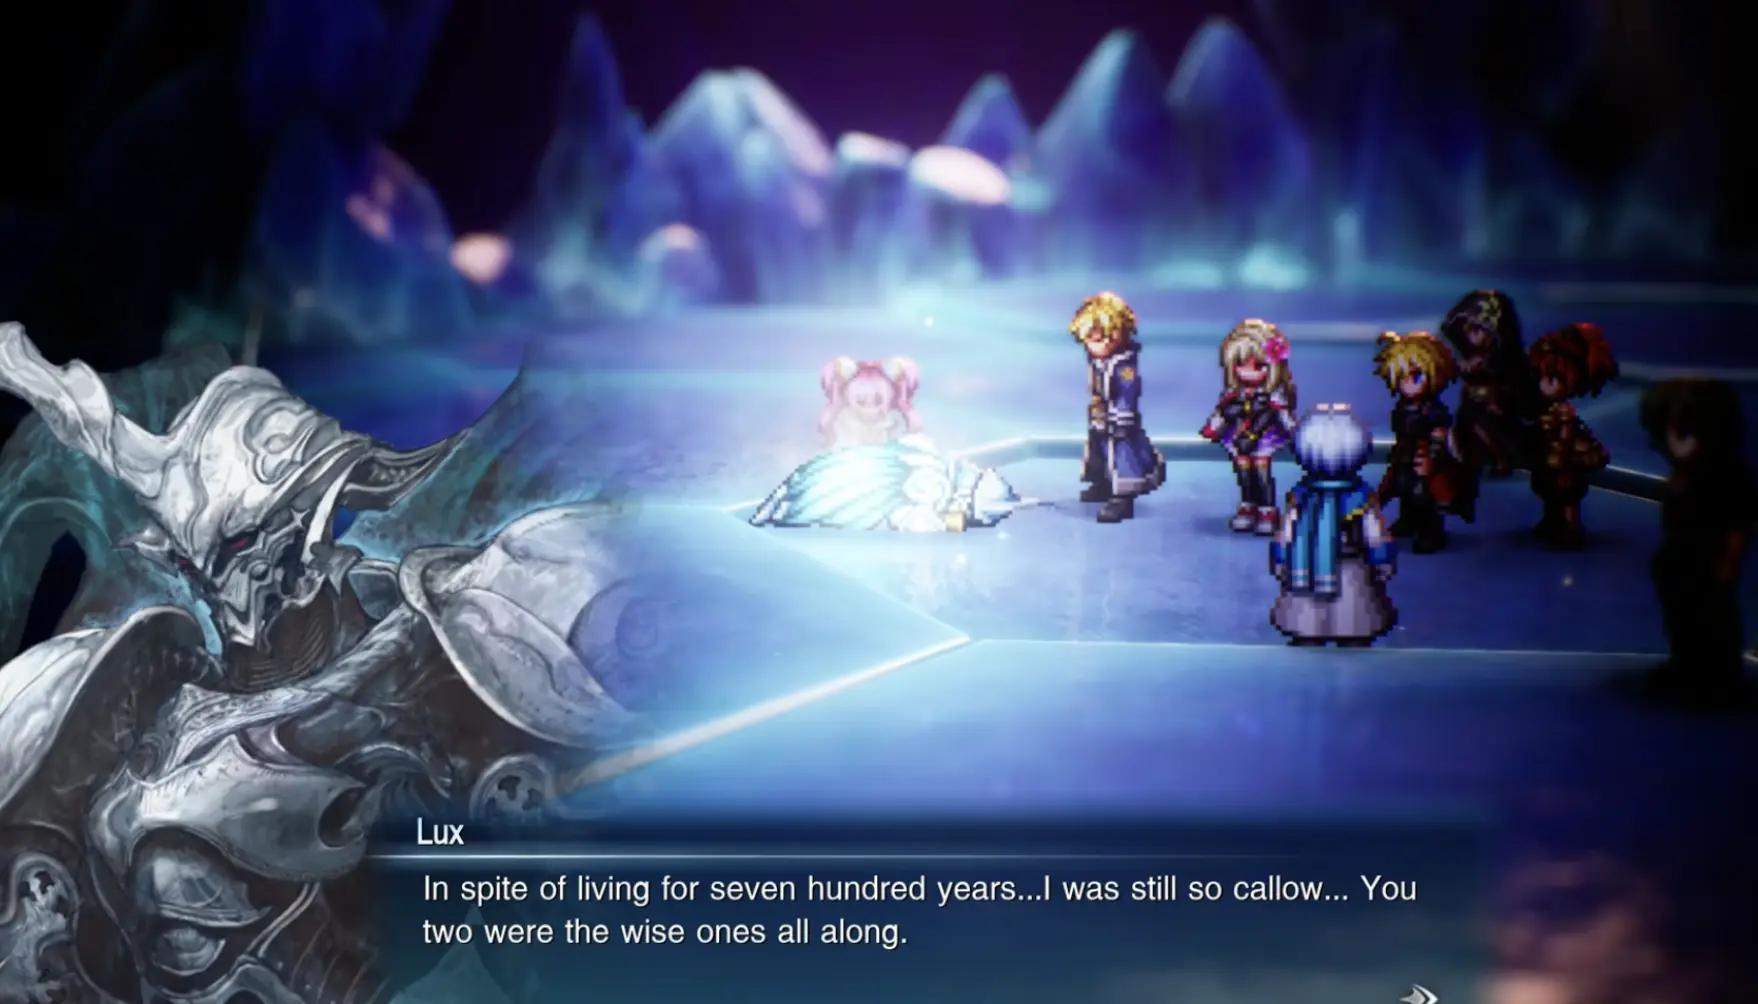
Neither Alluvion nor Lux can be restored simply by casting healing magic. Their condition is the result of using their armor beyond its limits.
Raegen urges the party to honor their sacrifice by continuing toward the summit.
Reach Sol at the Summit
Continue forward after the confrontation with Behemoth.
Sol is determined to prove that hatred and violence are the true nature of living beings. He points to the wars and suffering he has witnessed over centuries as justification for destroying life.
Rain argues that those events do not erase the kindness, sacrifice, and trust he has experienced.
Sol then draws upon the negative emotions that have accumulated within the world and gives them form.
The result is Chaotic Darkness.
This is not simply another member of the Sworn Six. The enemy represents the destructive emotions Sol believes define humanity.
How to Beat Chaotic Darkness
The final confrontation takes place on the crystal platforms near the summit.
Chaotic Darkness is one of the most demanding battles in the main story, especially because the encounter changes after the party initially appears to overcome it.
Chaotic Darkness Weakness and Affinities
Chaotic Darkness is a Level 55 enemy. Its affinity information shows a Light weakness and Dark nullification.
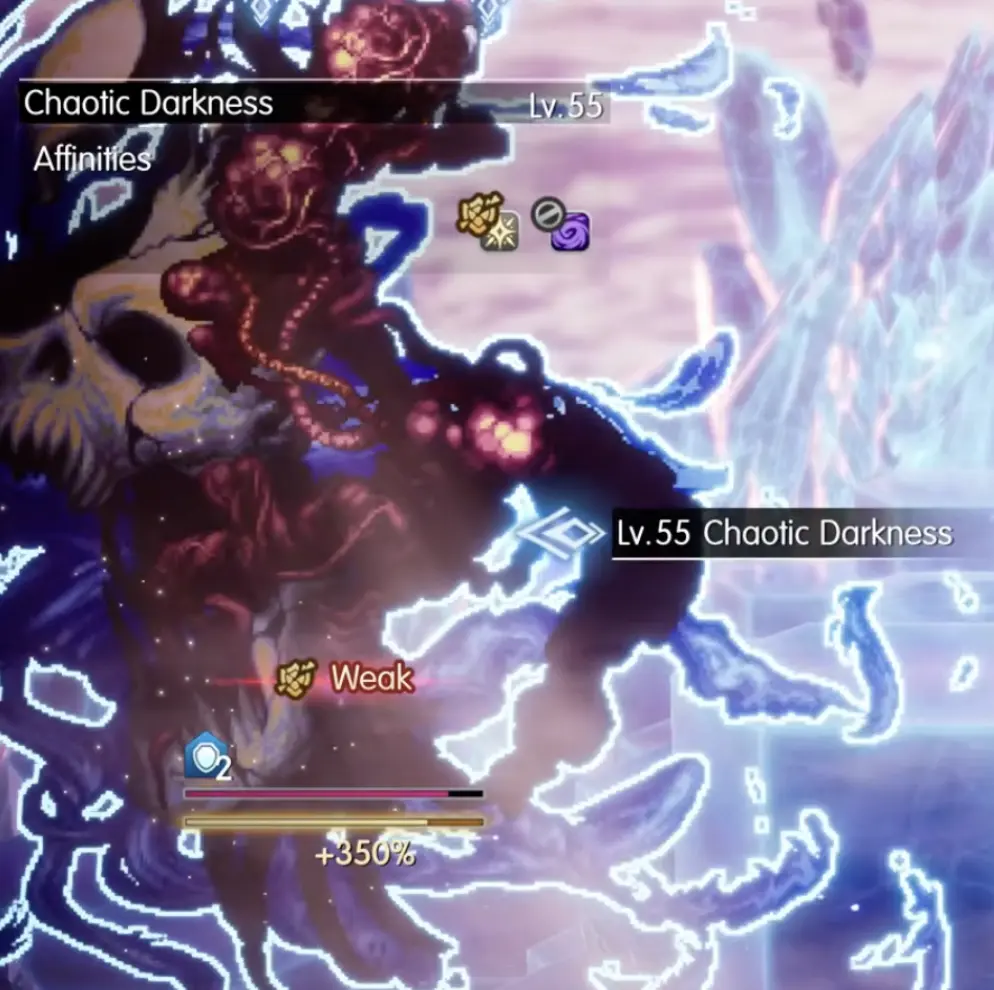
Avoid relying on Dark-element damage against the boss. Use Light attacks when available, and pay attention to the current target and any Weak indicators during combat.
The battlefield can become crowded with the boss’s enormous form and multiple visible attack targets. Keep enough healing and support available to recover from its attacks instead of spending every character’s resources on damage immediately.
Why Chaotic Darkness Doesn’t Stay Defeated
The confrontation does not end with the party’s first apparent victory over Chaotic Darkness.
After it seems to have been defeated, the enemy returns with a stronger presence. The party discovers that its attacks are no longer having the expected effect.
The dialogue indicates that the enemy is absorbing the attacks directed at it.
This is an important change from the earlier fighting.
Do not assume that repeatedly using the same attacks or changing equipment is enough to break through this state.
The encounter continues into a story sequence in which the party struggles against the growing darkness. Rain refuses to abandon his companions, even as the situation appears hopeless.
The next turning point comes from the people the party has helped throughout its journey.
The World’s Prayers Unlock Last Resonance
As people across Lapis learn of the final battle, they begin praying for Rain and his companions.
Their wishes reach the party through the power of Visions, providing the strength needed to challenge Chaotic Darkness again.
The game introduces Last Resonance during this final struggle.
Unlike an ordinary attack, Last Resonance channels the character’s remaining strength into a devastating blow.
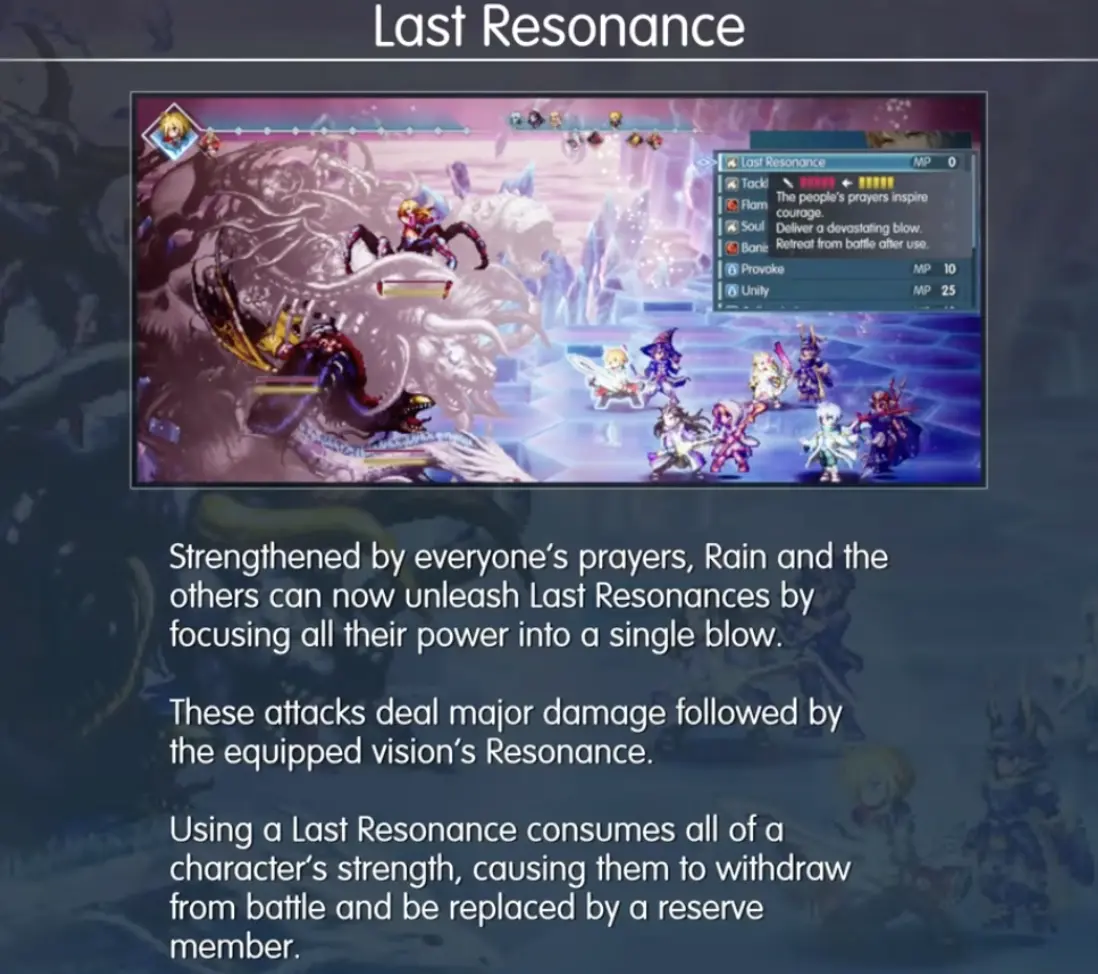
The attack has three important effects:
- It deals major damage to the target.
- It is followed by the equipped Vision’s Resonance.
- The character who uses it exhausts their strength, withdraws from battle, and is replaced by a reserve party member.
The third effect is the most important difference from an ordinary high-damage ability.
When Should You Use Last Resonance?
Last Resonance is strongest when you can afford to lose the acting character and continue fighting with the reserve member who replaces them.
Before using it, consider the role of that character in your current party. If your main healer or support character withdraws, the replacement may not be able to provide the same protection.
A damage-focused character can be a more practical choice when the party is ready to commit to a powerful attack.
Against Chaotic Darkness, continue exploiting its Light weakness and preserve enough defensive support to survive between attacks. Use Last Resonance when its damage and the incoming replacement will give the party an advantage.
Continue through the final phase until Chaotic Darkness is defeated.
What Happens After Chaotic Darkness Is Defeated?
Defeating Chaotic Darkness appears to resolve the immediate threat.
With the enemy gone, Raegen moves to close the dimensional gate.
However, the gate does not close as expected. Sol’s interference leaves the land vulnerable to the pull of Palladia.
At the same time, the younger Fina is reaching the limit of her existence. The loss of power she experienced during the climb has become impossible to ignore.
The party now faces another crisis even though the major battle is over.
Why Does Archwitch Fina Become the Earth Crystal?
With the existing crystals destroyed, there is no longer a stable force anchoring the land to Lapis.
Archwitch Fina realizes that she can create a new anchor by traveling to the Earth Shrine and becoming a crystal herself.
This would prevent the land from being drawn into Palladia, but the sacrifice is permanent.
The younger Fina initially offers to take her place.
Archwitch Fina refuses, explaining that the younger Fina cannot reach the Earth Shrine with the required teleportation magic. She also knows that removing herself will stop the younger Fina’s remaining power from being drained away.
Archwitch Fina chooses to protect both the world and the other Fina.
She travels to the Earth Shrine and becomes the new Earth Crystal.
The land begins to stabilize.
This event is part of the ending sequence.
Escape the Collapsing Crystal Tower
After the Earth Crystal is restored, the party prepares to leave the tower.
The structure begins collapsing, and everyone must return to the Enterprise.
The younger Fina now carries power inherited from Archwitch Fina.
She uses Dystopia, a spell associated with her other self, to clear the way for the party to escape.
Follow the ensuing story sequence as the group returns to the airship.
For a moment, it seems that the world has been saved.
But the dimensional gate continues pulling at the land.
Sol has not abandoned his plan.
Rain’s Final Battle Against Sol
Sol confronts the party again, determined to complete the destruction of Lapis.
Rain realizes that defeating Chaotic Darkness was not enough. The real conflict is with Sol’s belief that life can never change.
When Sol challenges him, Rain accepts a final one-on-one confrontation.
How the Rain and Sol Duel Ends
This confrontation is different from the earlier full-party battle against Chaotic Darkness.
Rain chooses not to fight purely out of hatred or a desire to destroy his enemy. Instead, he tries to convince Sol that people can trust one another and create a better future.
Although their beliefs are opposed, Rain points out that both of them are deeply concerned with the meaning of life.
Their final exchange combines combat with Rain’s attempt to reach Sol.
Continue through the confrontation and its story-driven conclusion.
Sol begins to acknowledge that Rain may be capable of creating the future he has described. He does not immediately accept all of Rain’s beliefs, but he recognizes that someone like Rain exists.
The confrontation ends, and the immediate danger to the world is overcome.
However, Rain has exhausted nearly all his strength.
Does Rain Die at the End of Final Fantasy Resonance?
After the battle with Sol, Rain is found unconscious and severely weakened.
His companions gather around him. Rain believes he has given everything he has to protect them and that his life is coming to an end.
For a time, it appears that he has died.
This is not the final outcome of the story.
Fina refuses to give up on him.
How Fina Saves Rain
Fina uses the power she received from Archwitch Fina to save Rain.
She commits that power to bringing him back, even though it means losing the extraordinary magical strength she inherited.
The story later confirms that she no longer possesses that power.
Rain survives.
The Final Scene
After peace returns, Rain, Lasswell, and Fina reflect on the journey that brought them together.
Fina has also visited the Earth Shrine to honor Archwitch Fina and thank her for the sacrifice that saved the world.
The three companions look toward the sky and remember the night when their adventure began.
Rather than separating after everything they have endured, they decide to continue traveling together.
Their next journey begins with a simple idea: follow a shooting star.
Complete Chapter 8: Beyond Hope
Finishing the confrontation with Sol and watching the concluding events completes Chapter 8: Beyond Hope and the main story of Final Fantasy Resonance.
The ending resolves the central conflict surrounding the crystals, explains why the two Finas could not continue existing in the same way indefinitely, and shows the cost of Rain’s final stand.
The final outcome is clear: Lapis survives, Rain is saved through Fina’s sacrifice of her inherited power, and Rain, Lasswell, and Fina remain together.
The final battles also introduce the story-specific Last Resonance system, making the endgame a test of the entire party rather than a fight that can be approached entirely through one character’s abilities.
After completing the main story, use the Achievements Tracker and 100% Roadmap to review the remaining Vision, Esper, Cave Master, and collection objectives.