Final Fantasy Resonance Chapter 2 Walkthrough: Eternal Blue
Complete Eternal Blue in Final Fantasy Resonance, from finding Lid and crossing Mt. Thunderclap to escaping Mobliz Shipyard and defeating Aether.
Updated:
Quick Answer
To start Chapter 2: Eternal Blue, leave the landing point in Dirnado and travel west to Dilmagia. Ask the townspeople about reaching the Wind Shrine, then find Lid at the shipyard. Her airship cannot fly yet, but she will join you for the overland journey through Mt. Thunderclap.
Chapter 2 takes Rain, Lasswell, and Fina across Dirnado in pursuit of the Wind Crystal. Reaching the shrine sounds straightforward until the party discovers that an airship is practically necessary for the journey—and the one engineer willing to help has an unfinished ship.
The route changes several times before you reach the crystal. You’ll cross Mt. Thunderclap, help the dwarves at their forge, enter the Mobliz Shipyard to find Borin, and escape through a cargo train tunnel. The shipyard is the most involved part of the chapter: it combines a timed evacuation, a disabled elevator, a room full of levers, and a pursuing war machine.
The final destination is still the Wind Shrine, where Aether blocks the path to the crystal.
Reach Dilmagia and Find Lid at the Shipyard
After arriving on Dirnado, follow the westward route across the plains to Dilmagia, the continent’s industrial capital. The city is filled with machinery and airships, but you cannot simply board one and fly to the Wind Shrine.
Start by gathering information from the townspeople. One resident warns that reaching the shrine on foot means crossing monster-infested terrain and recommends an airship instead. Another explains that most ships belong to the state, making them unsuitable for your journey.
The conversation that moves the search forward concerns Lid, an engineer who has built her own airship.
Once Rain has learned about Lid, reunite with the party and follow the objective to the shipyard. The person working on a machine there is Lid herself.
Why Lid Cannot Take You to the Wind Shrine Yet
Ask Lid about using her airship. She refuses because the vessel is still under repair, not because you need to purchase a ticket or obtain a special permit.
Her ship requires a high-quality crystal from the region around the Wind Shrine. Lid needs to reach that area but considers the journey too dangerous to make alone.
Agree to accompany her. She joins the expedition as a guide, while Rain’s party provides protection against the monsters along the way.
This also introduces Mechabo, the mechanical chocobo Lid built with her brother. Remember him; an encounter later in the chapter leads to a repair quest back at the Dwarven Forge.
With Lid accompanying the party, leave Dilmagia and head northeast toward Mt. Thunderclap.
Cross Mt. Thunderclap: Should You Pay Lid 1,000 Gil?
Near Mt. Thunderclap, Lid offers an easier route through the mountain for 1,000 gil. She describes it as a path with very few monsters, while the normal route contains considerably more encounters.
The payment is optional.
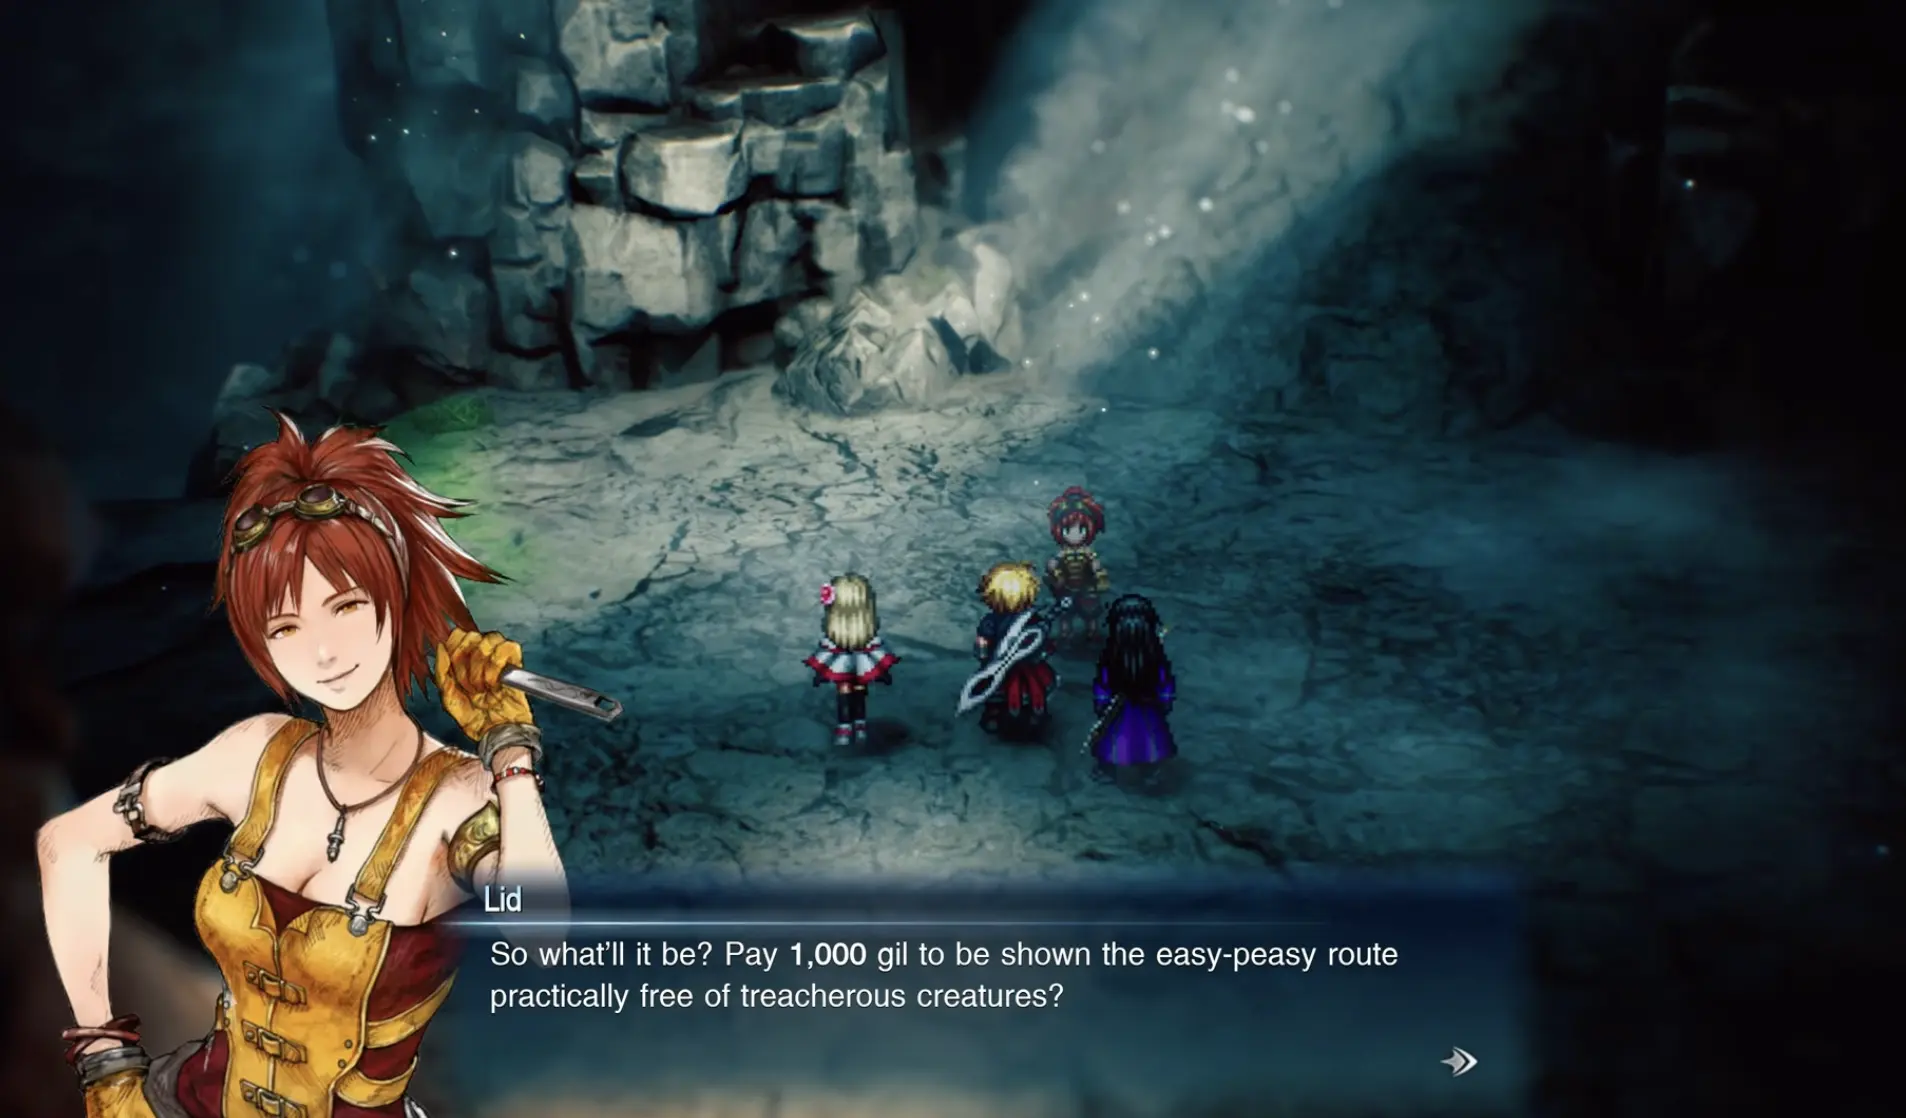
There are two reasonable choices:
- Pay 1,000 gil: Take Lid’s easier route if your priority is reducing encounters while crossing the mountain.
- Keep the gil: Use the regular route and fight through the enemies instead. This route successfully leads to the other side without the payment.
The normal route is entirely viable. Declining the offer leads into several encounters, including a more substantial battle before the party reaches the route toward the forge.
Spending 1,000 gil solely because you think the shortcut is required would be unnecessary. However, the regular route has not established an advantage in unique loot or experience that would make it objectively superior to paying. Choose according to your current supplies and willingness to fight.
For a party short on money, keeping the gil is a defensible decision. For one already struggling to survive ordinary encounters, avoiding additional battles may be worth the price.
Getting Past the Stronger Mountain Encounter
Continue through Mt. Thunderclap with Lid. Most encounters can be handled through the usual elemental weakness and Stagger system, but the more dangerous enemy encountered toward the end deserves greater attention.
Enter that fight with enough HP and MP to sustain several turns. Use attacks that exploit the enemy’s displayed weakness, build Stagger, and take advantage of the resulting opening for stronger attacks rather than spending every high-cost ability immediately.
Lid contributes her mechanical attacks during this stretch, so account for her actions when deciding how to distribute the party’s damage.
Once the stronger encounter is over, the party confirms that the path toward the Wind Shrine is open.
You are not going directly to the shrine yet. Lid needs to collect ordered airship components from the Dwarven Forge, which lies along the route.
Visit Borin at the Dwarven Forge
Continue from Mt. Thunderclap to the Dwarven Forge and look for Borin, the dwarf responsible for Lid’s ordered parts.
Borin has already finished the components, but the conversation introduces another immediate problem: a monster has taken up residence around the forge.
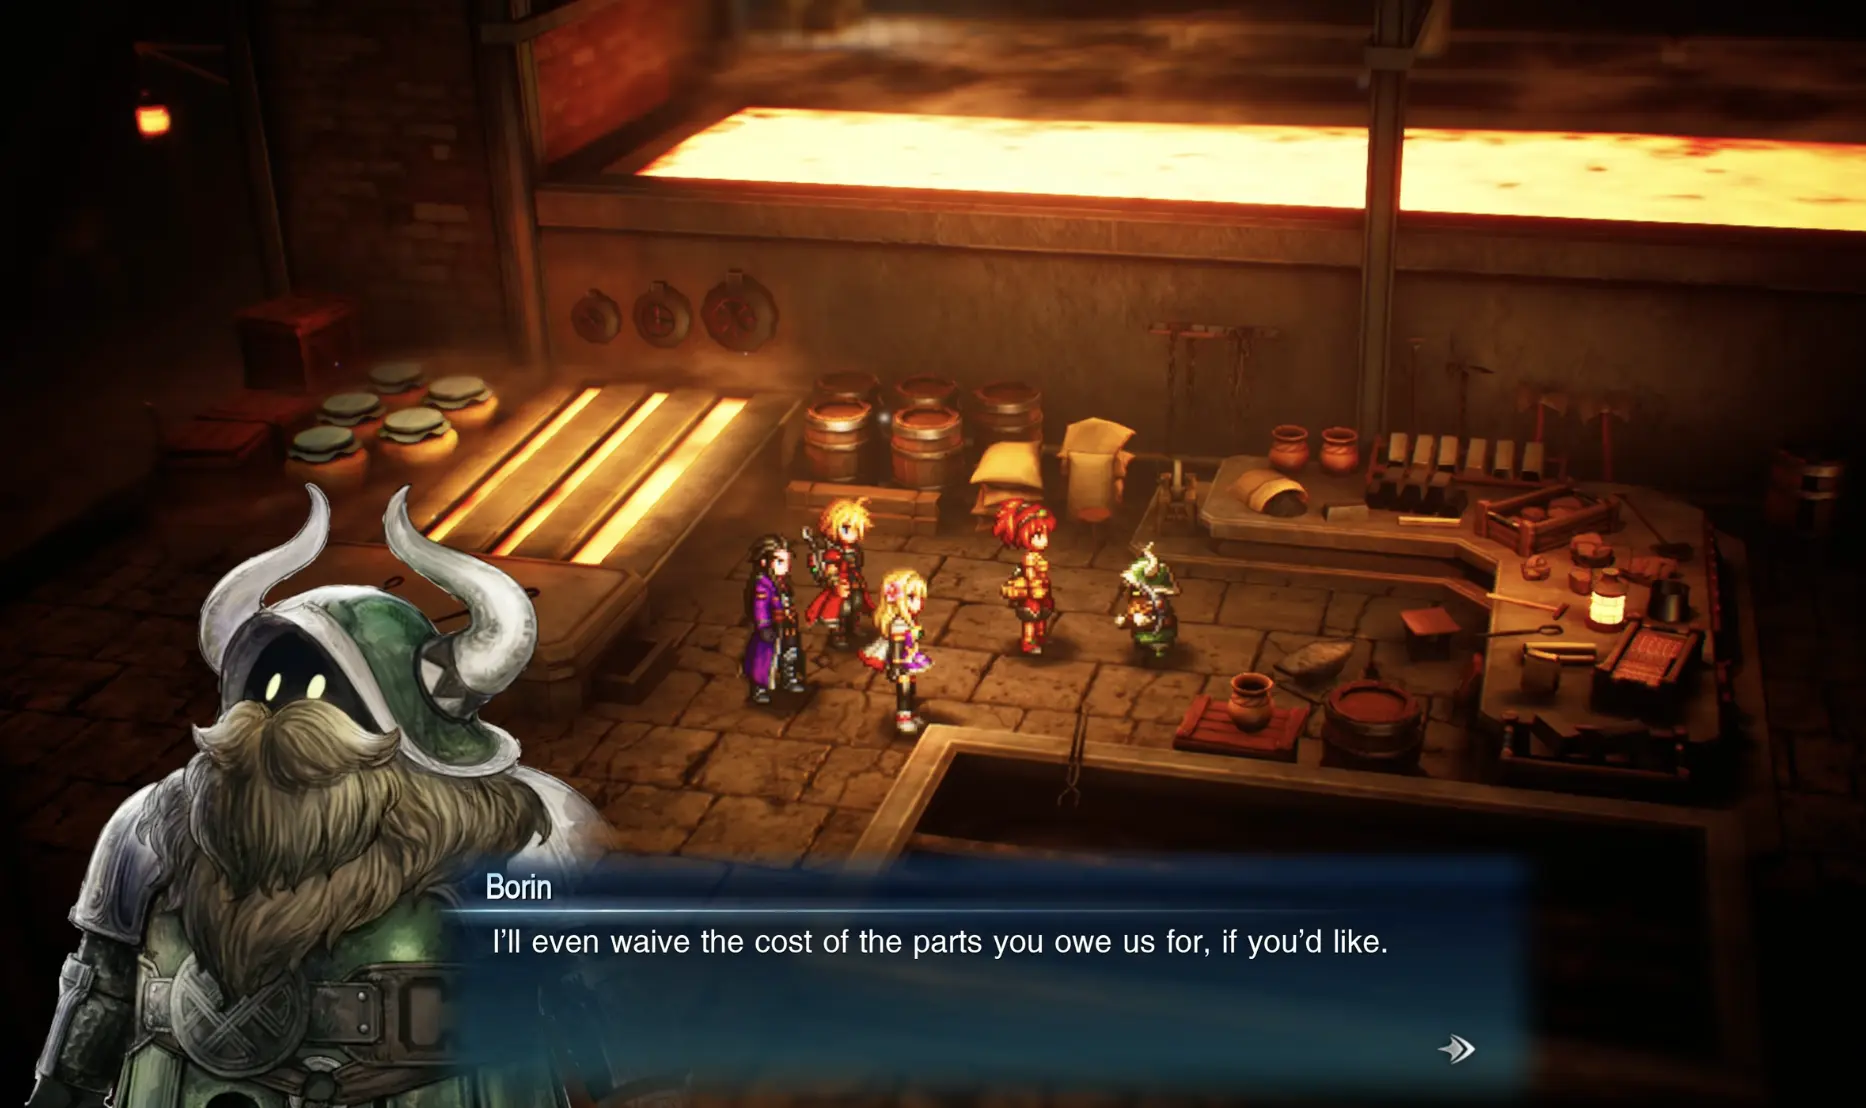
He asks Rain’s party to remove it and offers to waive the cost of Lid’s ordered parts in exchange for helping.
Follow the new monster objective instead of leaving the forge immediately. Defeat the designated enemy and return to Borin to report the result.
The objective sequence matters here:
- Speak with Borin about Lid’s airship components.
- Accept the request to remove the monster from the forge.
- Defeat the target and return to Borin.
- Complete the report before trying to continue toward the Wind Shrine.
The monster battle itself is a normal combat encounter rather than a separate puzzle. Concentrate on keeping the party healthy and building Stagger with weakness hits.
After completing the request, the story changes direction. Borin is taken away by an armored figure, and the party learns that he has been brought to the Mobliz Shipyard.
The Wind Shrine must wait until the party investigates what happened to him.
An Optional Vision on the Mountain Route
A Vision Crystal Sanctum can also be visited during this part of the journey. One of the available encounters involves Zidane from Final Fantasy IX.
The sanctum presents three questions about Zidane’s choices and experiences. Answer them to complete the encounter and receive the Vision.
The questions concern accompanying a sheltered princess on an adventure, accepting responsibility for a difficult destiny, and whether to rescue an enemy despite the danger. The encounter reaches its conclusion after the three responses.
There is no need to interrupt the main story repeatedly for this activity. Visit the sanctum while travelling through the area if you want the additional Vision for upcoming battles.
Rescue Borin at Mobliz Shipyard
After learning that Borin has been taken to Mobliz Shipyard, follow Lid toward the facility.
On the way to Mobliz Shipyard, the road splits. The right path leads to Mobliz Shipyard, while the left leads to the Sanctum of Light, where you can obtain Noctis’s Vision from Final Fantasy XV.
The sanctum presents three questions about Noctis’s journey. Complete the encounter before heading down the right-hand route if you want the additional Vision for the upcoming shipyard battles.
At the Mobliz Shipyard entrance, you will see portraits of the engineers who inherited the name Cid. Continue inside rather than searching the entrance for Borin.
Although the shipyard is supposed to be abandoned, its machinery is operating and security mechs are patrolling the facility.
The mechs identify the party as hostile targets. Defeat those blocking the route and continue deeper into the complex.
You eventually discover a large airship under construction or repair—the legendary Invincible. The dwarves working here do not behave like prisoners, even though Borin was supposedly kidnapped.
Find Borin among the workers and speak with him. This advances the investigation but also exposes the party to the shipyard’s security system.
Escape the Shipyard Before the 15-Minute Limit
Once the party has been identified as trespassers, Borin warns that the entire security system will attack if they fail to escape within 15 minutes.
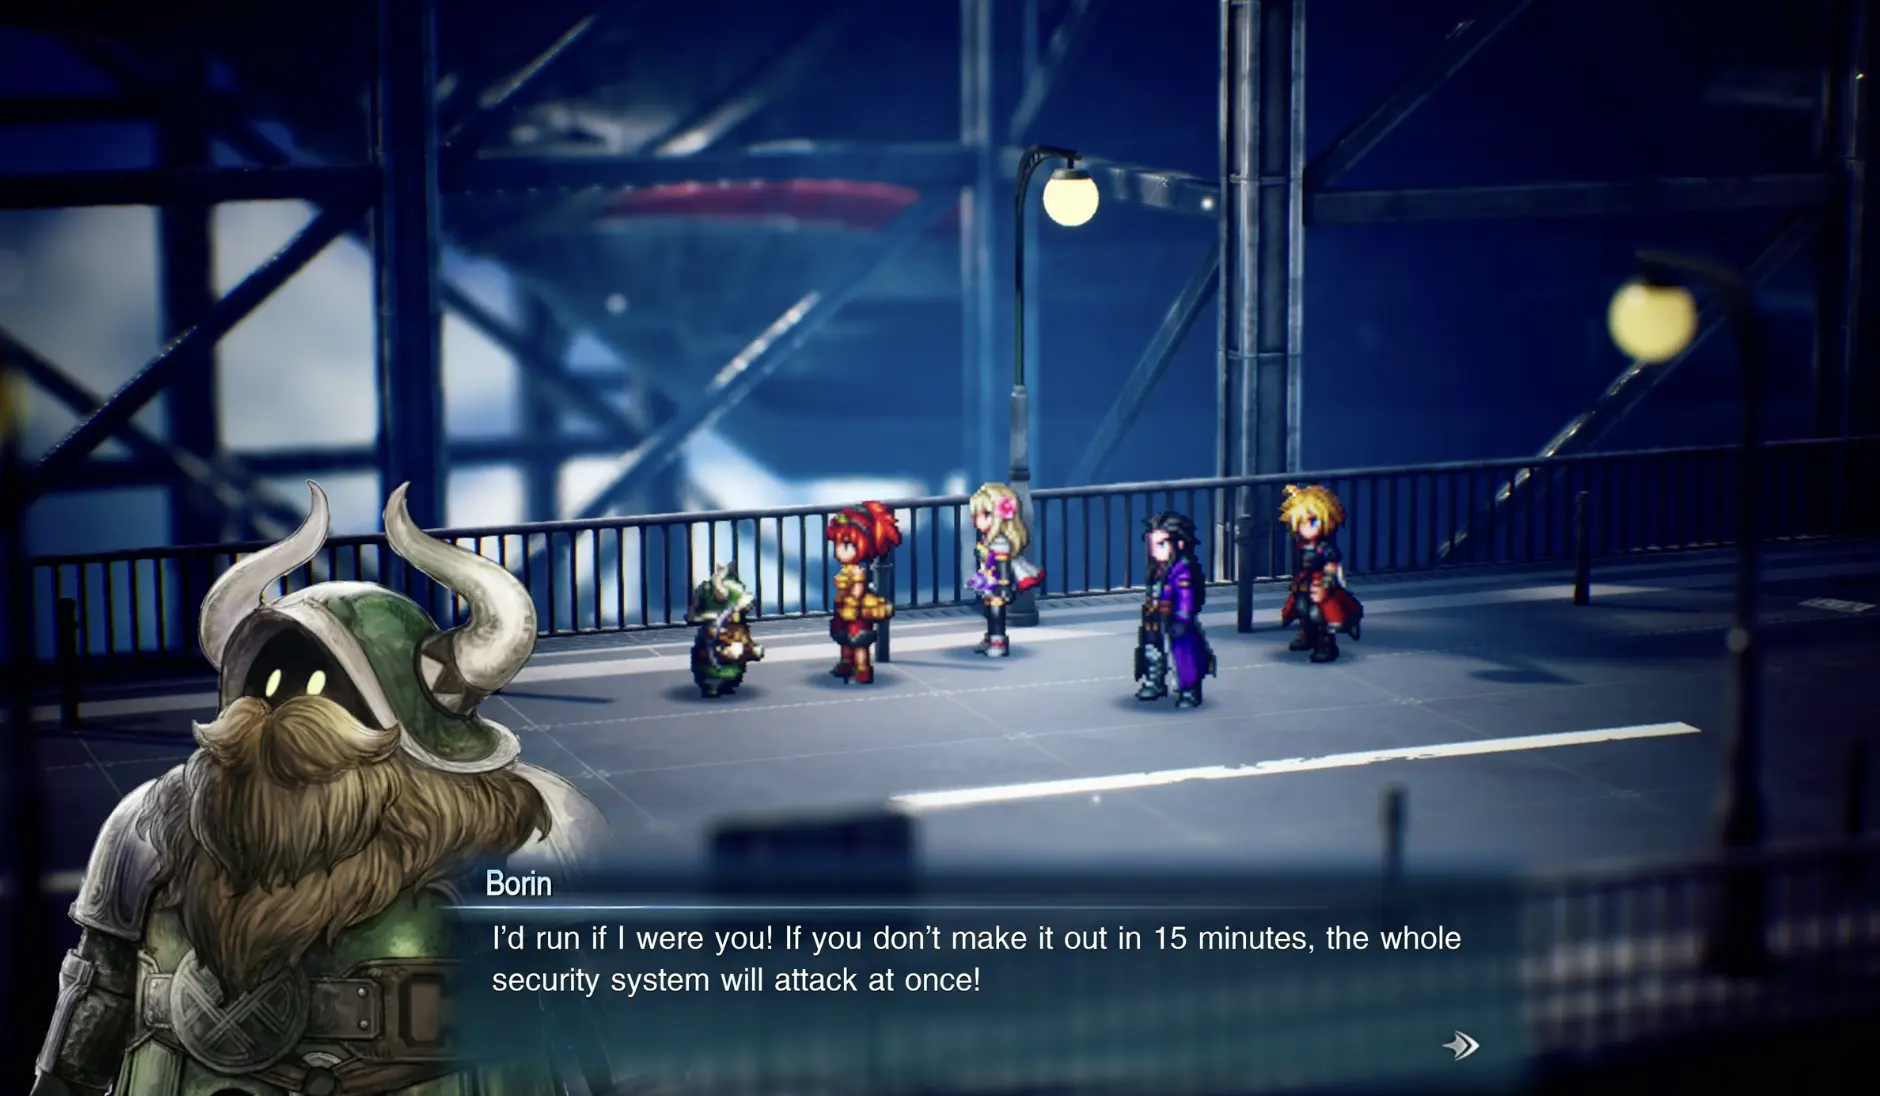
At this point, the objective changes from investigating the shipyard to getting everyone out.
Treat the timer as a reason to stop exploring unrelated rooms. Defeat enemies blocking the necessary route, but do not spend the escape section deliberately searching for extra encounters.
The most important obstruction comes shortly afterward.
How to Solve the Mobliz Shipyard Elevator Lever Puzzle
The elevator loses power during the escape from Mobliz Shipyard. Lid suggests finding its control panel, but restoring the power is not as simple as pulling the first lever you see.
Follow the route to the control area and open the fence blocking your way. Several electrical cabinets stand inside, each with its own lever. The clue is a note left by Borin on the fence near the entrance.
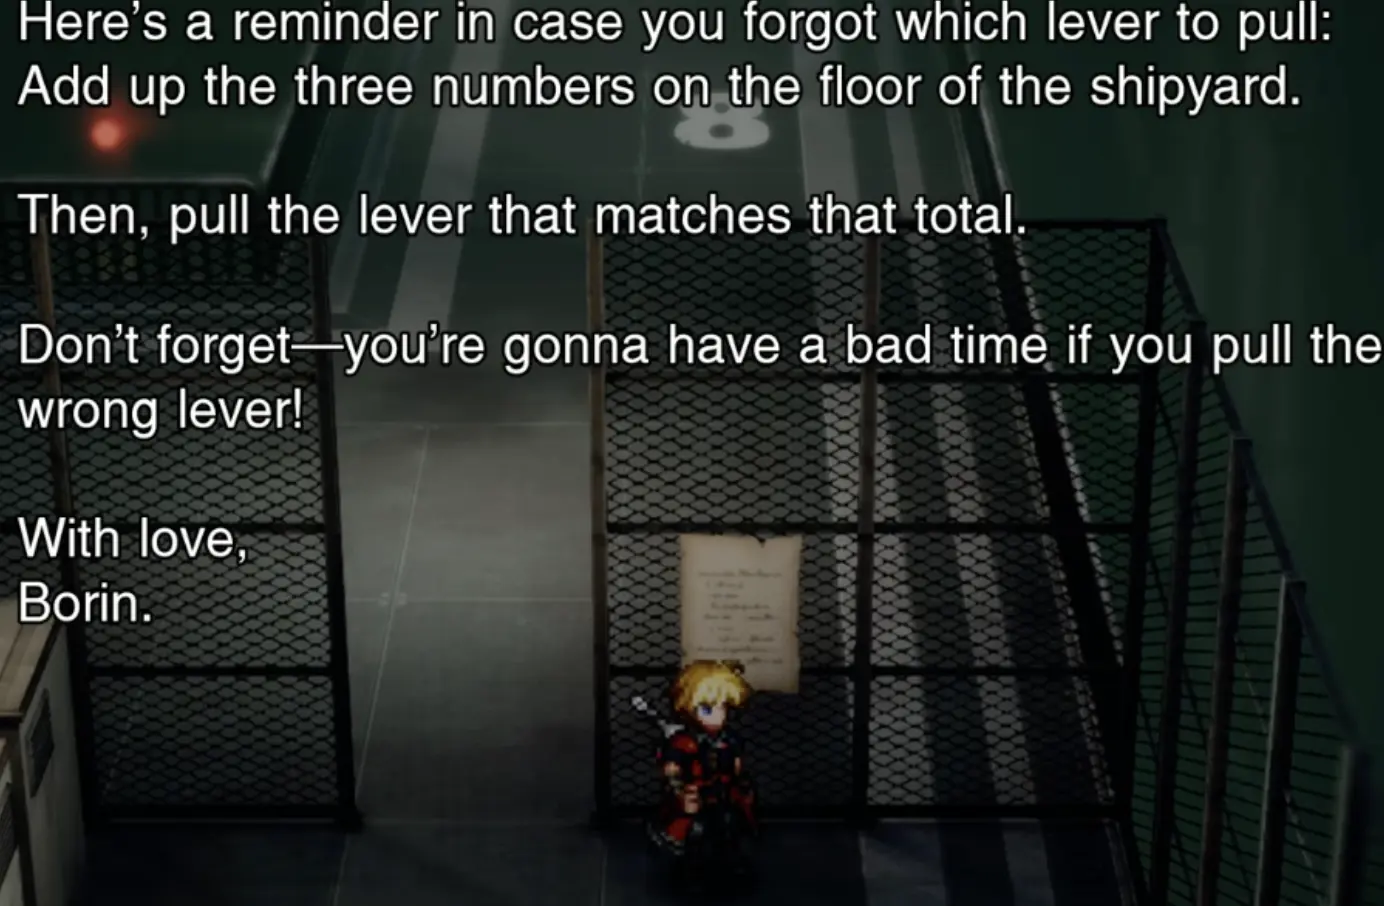
Borin’s instructions are straightforward: find three numbers painted on the shipyard floor, add them together, and use the matching lever. He also warns that choosing the wrong one will cause trouble.
The three floor numbers are 5, 8, and 3.
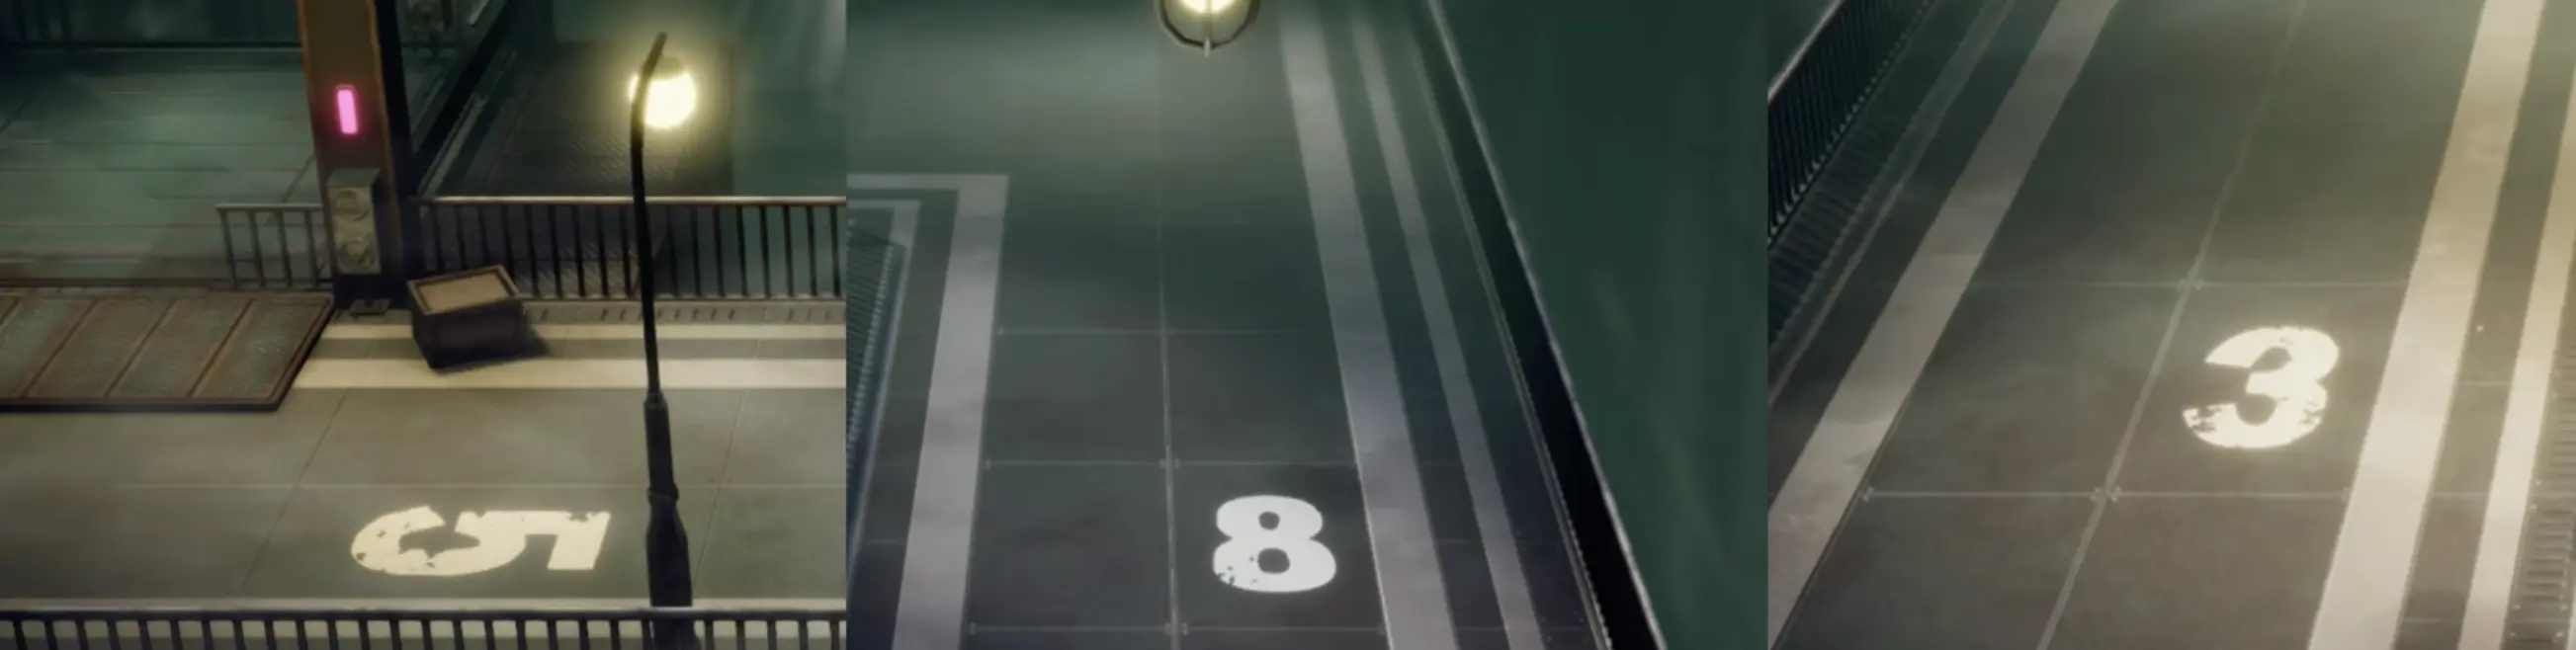
The correct answer is 16.
In the control area, use the lever corresponding to 16, on the front of the large cabinet toward the right side of the room, beside its pink indicator.
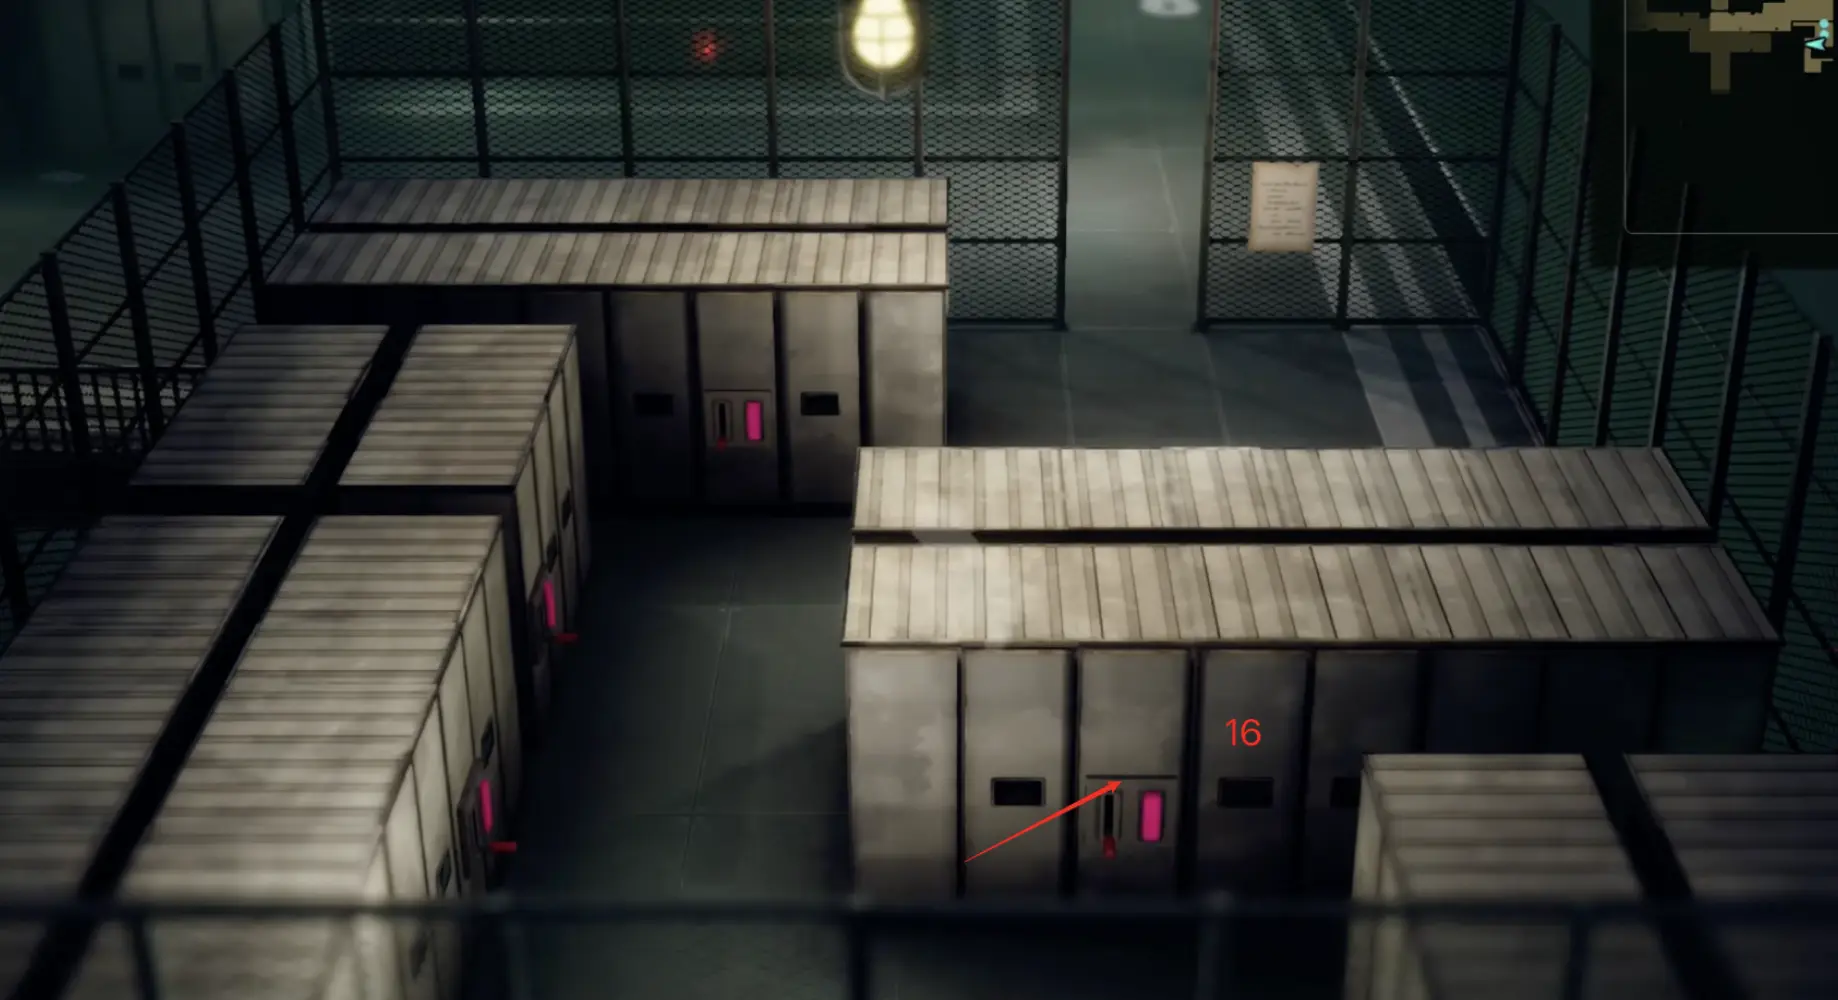
Once the correct lever restores power, leave the control area and return toward the elevator route.
A group of security mechs blocks the original exit, so look for the other working elevator. After dealing with the security encounter, take it down to the cargo train station, where the escape continues.
Why the Cargo Train Is the Correct Exit
After the elevator encounter, the party identifies an old cargo train route beneath the shipyard.
Follow it instead of attempting to retrace the entire path to the entrance. The train line connects the shipyard to the Dwarven Forge, providing an exit from the facility without returning through all the security checkpoints.
The confrontation at the station also brings Lid face-to-face with her brother, Evan. Mechabo is destroyed during the ensuing events, and the party boards the train to escape.
The escape is not over once the train starts moving. A heavily armed machine pursues the party and initiates another battle.
How to Beat the Cargo Train Pursuit Boss
The cargo train battle introduces a clear warning: the pursuing machine is preparing a devastating blast, and the party must stop it before the attack finishes charging.
Unlike ordinary enemies that can be defeated gradually while conserving resources, this fight rewards immediate pressure when the powerful attack is being prepared.
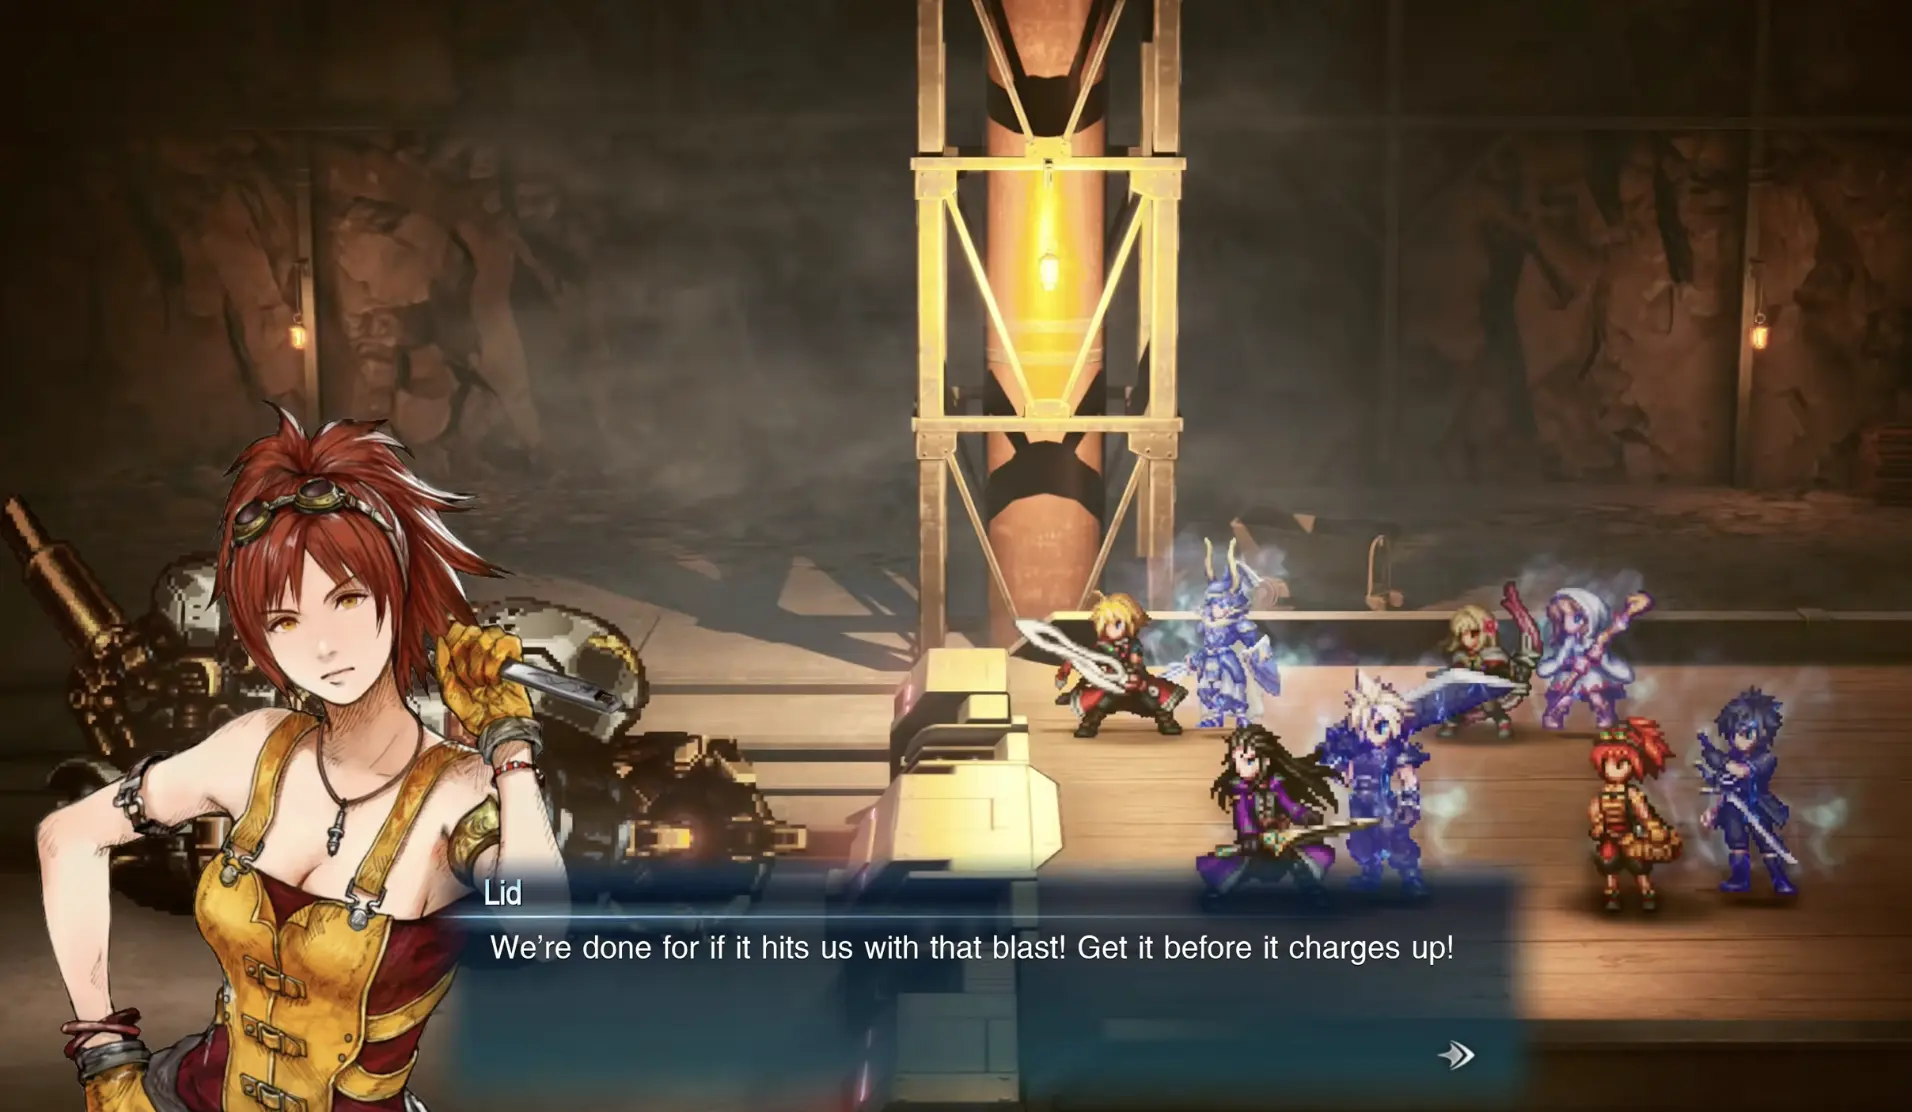
The pursuing machine begins charging a powerful blast during the cargo train battle. Lid warns that the party will be in serious danger if the attack goes off.
Once the charging warning appears, prioritize damaging the machine rather than spreading attacks or holding back your strongest available abilities. Defeat it before the blast is released.
After the battle, the train’s brakes fail and the party crashes near the Dwarven Forge, where the journey continues.
Repair Mechabo Before Heading to the Wind Shrine
The train brings the party back to the forge, giving Lid an opportunity to address what happened to Mechabo.
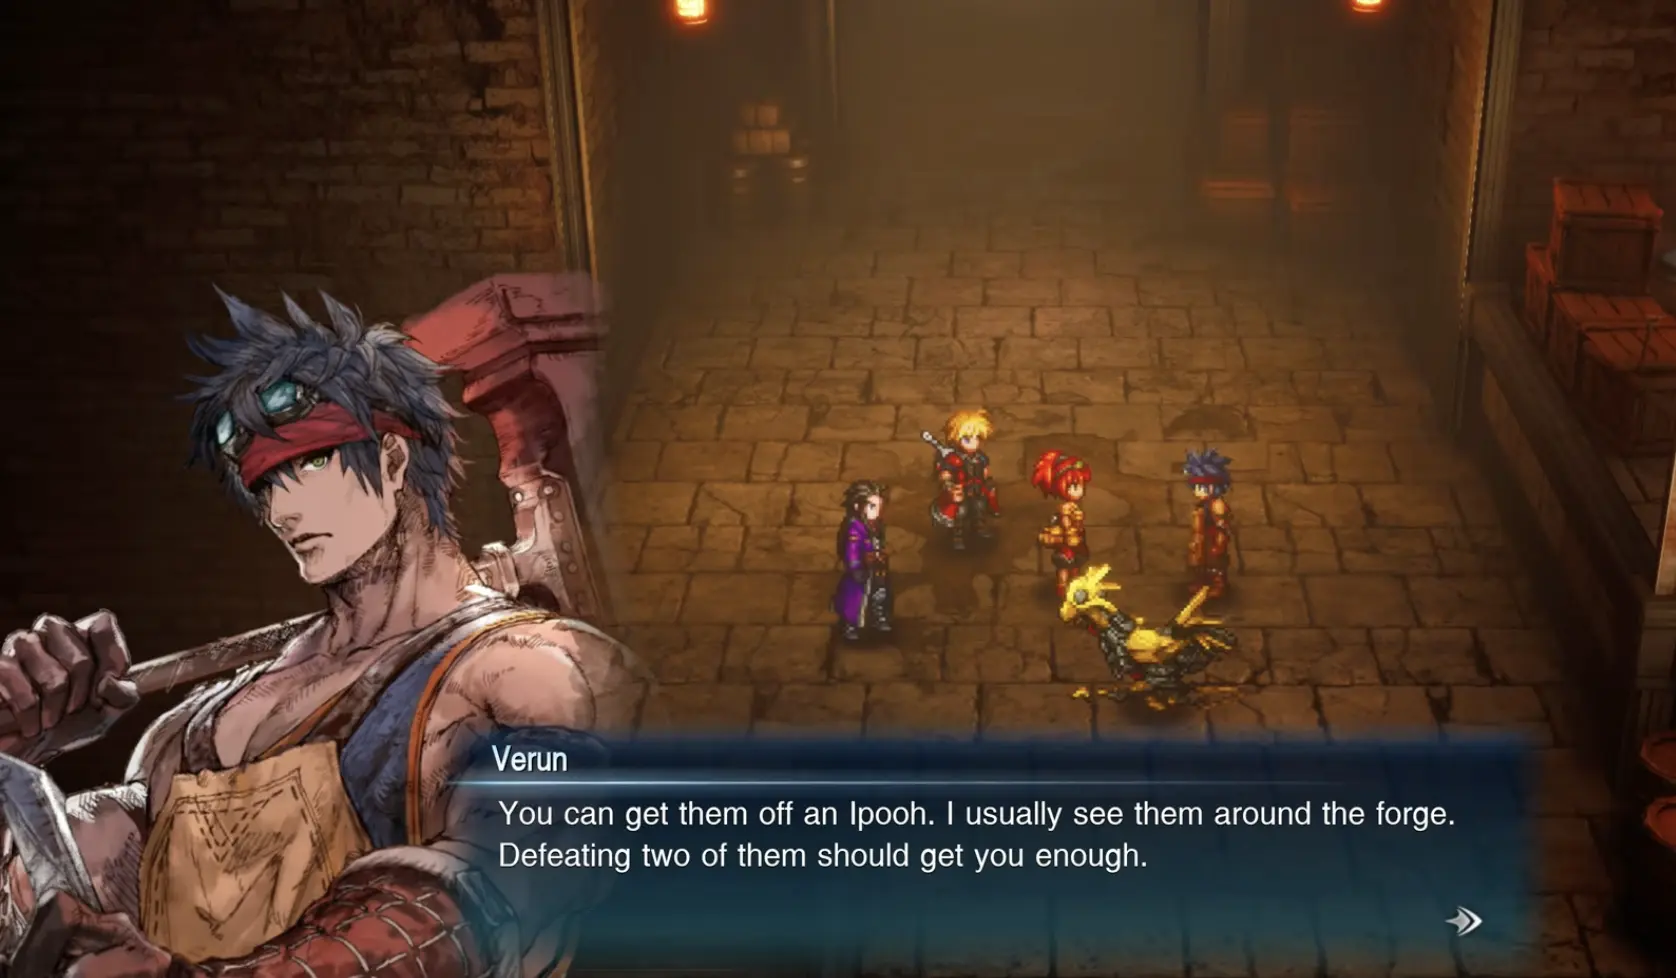
A skilled blacksmith named Verun offers to repair the mechanical chocobo. The damaged machine has no proper blueprints, but Verun agrees to attempt the repair anyway.
This begins the optional quest Arise, Mechabo!
Verun needs Dynamo Stones, obtainable from nearby Ipooh enemies.
To complete the repair:
- Speak with Verun at the Dwarven Forge after returning from Mobliz Shipyard.
- Accept his offer to repair Mechabo.
- Defeat two Ipoohs around the forge to obtain the necessary Dynamo Stones.
- Return to Verun and hand over the repair materials.
The quest reward is Repaired Mechabo.
This is a convenient point to complete the quest because you are already back at the forge. Travelling away immediately means making another trip if you decide to repair Mechabo later.
The repair is not required to continue the main story. Once you are ready, follow Lid northeast toward the Wind Shrine.
Reach the Wind Shrine and Continue to the Crystal
The route to the Wind Shrine resumes after the Mobliz Shipyard incident.
From the Dwarven Forge, follow the northeastward route indicated by Lid. Continue through the enemies along the way and enter the Wind Shrine.
This is the final major dungeon of Chapter 2.
The objective first directs you to reach the shrine and then changes to Go deeper into the Wind Shrine. Follow the route into the interior rather than assuming that reaching the first entrance completes the task.
There are several encounters on the way to the crystal chamber. Use elemental attacks against the enemies’ displayed weaknesses, but avoid exhausting the party’s MP and recovery items on battles that do not require your strongest skills.
Later in the shrine, the party encounters wounded soldiers. They identify a violent gale as the cause of the attack, and Aether, one of the Sworn Six of Paladia, reveals himself.
This confrontation does not begin the final battle immediately. Continue toward the Wind Crystal after the encounter with the soldiers.
Before entering the inner crystal area, restore the party’s HP and prepare Ice-element attacks. The upcoming boss uses Wind damage and is weak to Ice.
How to Defeat Aether at the Wind Crystal
Aether, also known as the Veritas of the Heavens, confronts Rain’s party at the Wind Crystal.
The Chapter 2 encounter is the level 18 version of Aether, rather than the much stronger version encountered later in the game.
Its recorded Normal-difficulty combat values are:
- Level: 18
- HP: 34,000
- Stagger gauge: 750
- Elemental weakness: Ice
- Wind resistance: Nullifies Wind damage
Bring reliable Ice damage to this fight. Lasswell’s Ice abilities and any equipped Visions that provide stronger Ice attacks are especially useful. Avoid relying on Wind spells for damage against Aether.
Handle Aether’s Summons and Wind Attacks
Aether uses a mixture of physical attacks and Wind-element abilities, including Sonic Boom, Shamshir, Cyclone, Aerora, and Heavenly Wind.
The fight also involves summoned allies. These are more than harmless distractions: Aether’s Guardian can heal Aether, extending the battle if allowed to remain active.
The safest approach is to remove the Guardian when its healing becomes a problem, then concentrate damage on Aether. Both the Guardian and Aether’s Minion are also weak to Ice.
Aether can summon missing allies again, so repeatedly eliminating every newly summoned enemy is not always the most efficient way to finish the encounter. Focus on preventing significant healing while continuing to damage the boss.
Below approximately 50% HP, Aether transitions into a stronger attack pattern. Heavenly Wind becomes particularly important, making it worth restoring party health before he gets another major action.
Try to arrange the party’s strongest Ice attacks around a Stagger opening. Aether cannot take normal actions while Staggered, giving you a safer opportunity to deal concentrated damage.
If the battle drags on, reconsider two things before simply repeating the same attacks: whether you are losing turns to Wind damage that Aether nullifies, and whether the Guardian is undoing too much of your progress.
Defeating Aether completes the major battle at the Wind Crystal.The recorded Normal-difficulty rewards are 2,700 EXP, 4,500 gil, and Sylph’s Tiara.
What Happens After Aether Is Defeated?
The victory does not save the Wind Crystal.
During the confrontation’s aftermath, Aether’s identity is revealed, and the Wind Crystal is destroyed. The legendary Invincible is then able to take flight.
The party determines that the next destination is Olderion, where the Water Crystal is located.
Lid agrees to accompany Rain’s party and use her airship for the pursuit. Return to Dilmagia rather than searching the Wind Shrine for another route forward.
Return to Dilmagia and Prepare to Leave Dirnado
After the Wind Shrine events, the next objectives bring you back to Dilmagia.
Return to the city and speak with Lid at the shipyard. She is preparing her airship for the next journey, and the party has time to finish local preparations before leaving.
The final Chapter 2 objective is to ride the airship to Olderion.
Before boarding, consider whether you want to finish the optional tasks tied to Dirnado. The main story does not require every optional quest to be completed, but the route has already taken you through several of their relevant locations.
Other Chapter 2 Quests Worth Checking
Elven Maven begins with Silvia in Dilmagia. She is investigating traces of elves once believed to have inhabited Mt. Thunderclap. Her quest leads you to examine marked vegetation on the mountain, deliver the evidence to Silvia, and speak with her at the Dwarven Forge. The reward is a Magicite Shard and 800 gil.
Lyrical Riddles involves Roy and the history of Dirnado. It sends you to the portraits of the Cids at the Mobliz Shipyard entrance, then to an old man at the Dilmagia shipyard, before reporting back to Roy at the Dwarven Forge. It also rewards a Magicite Shard and 800 gil.
If you accepted either quest while travelling through Chapter 2, check which objectives remain. Several steps overlap with places you already visited, but the rewards require completing the respective quest rather than merely passing through those locations.
Also confirm that you have returned the Dynamo Stones to Verun if you started Arise, Mechabo!
When Does Chapter 2 Actually End?
The Aether battle concludes the Wind Shrine section, but it is not the final travel objective.
Chapter 2 finishes with the journey to Olderion. Once Lid’s ship is ready, complete the remaining conversation in Dilmagia and board the airship.
The next chapter continues the pursuit of the Sworn Six and shifts the focus from Dirnado’s Wind Crystal to the Water Crystal in Olderion.
Continue with the Chapter 3: Water Shrine walkthrough to reach Olderion, rescue Luka, and pursue the Water Crystal.