Final Fantasy Resonance Chapter 5: Scars of Time Walkthrough
Complete Chapter 5 of Final Fantasy Resonance, from finding Mysidia to the Nameless Ruins, Arcane Library, Fina's memories, and Gronoa.
Updated:
Quick Answer
After Chapter 4, board the Enterprise outside Zoldaad and find Mysidia in the southern ocean. Collect the special potions for Sunioo, then defeat Iron Giant and Liquid Flame in the Nameless Ruins.
In the Arcane Library, open and clear all five haunted books to restore the teleporter. If the gate inside Fina’s psyche remains locked, visit the Tower of Mysidia to add Sakura’s memories, then enter Fina’s psyche again.
Chapter 5: Scars of Time takes Rain’s party to Mysidia in search of the remaining crystals. The journey leads from Sakura’s village rescue mission to the Light Crystal and the effort to recover Fina.
The main progression obstacles are finding the concealed city, defeating both guardians in the Nameless Ruins, restoring the Arcane Library’s teleporter, and understanding why the first visit to Fina’s psyche cannot open every route.
Several objectives have requirements that are easy to mistake for ordinary exploration. The magic detector gives false readings, the Nameless Ruins will not open until two guardians are defeated, and the Arcane Library’s upper area remains inaccessible until the possessed books are cleared.
Later, even reaching Fina’s inner world is not enough. You must return to reality and obtain another person’s memories before the party can proceed.
Board the Enterprise Outside Zoldaad
After the events of Chapter 4, Jake joins Rain’s journey, and the party discusses where to search next.
Mysidia is believed to hold the Ice Crystal, but its location is uncertain. Some accounts describe it as a city that vanished long ago, while others suggest it has isolated itself from the outside world.
Emperor Shera offers a solution.
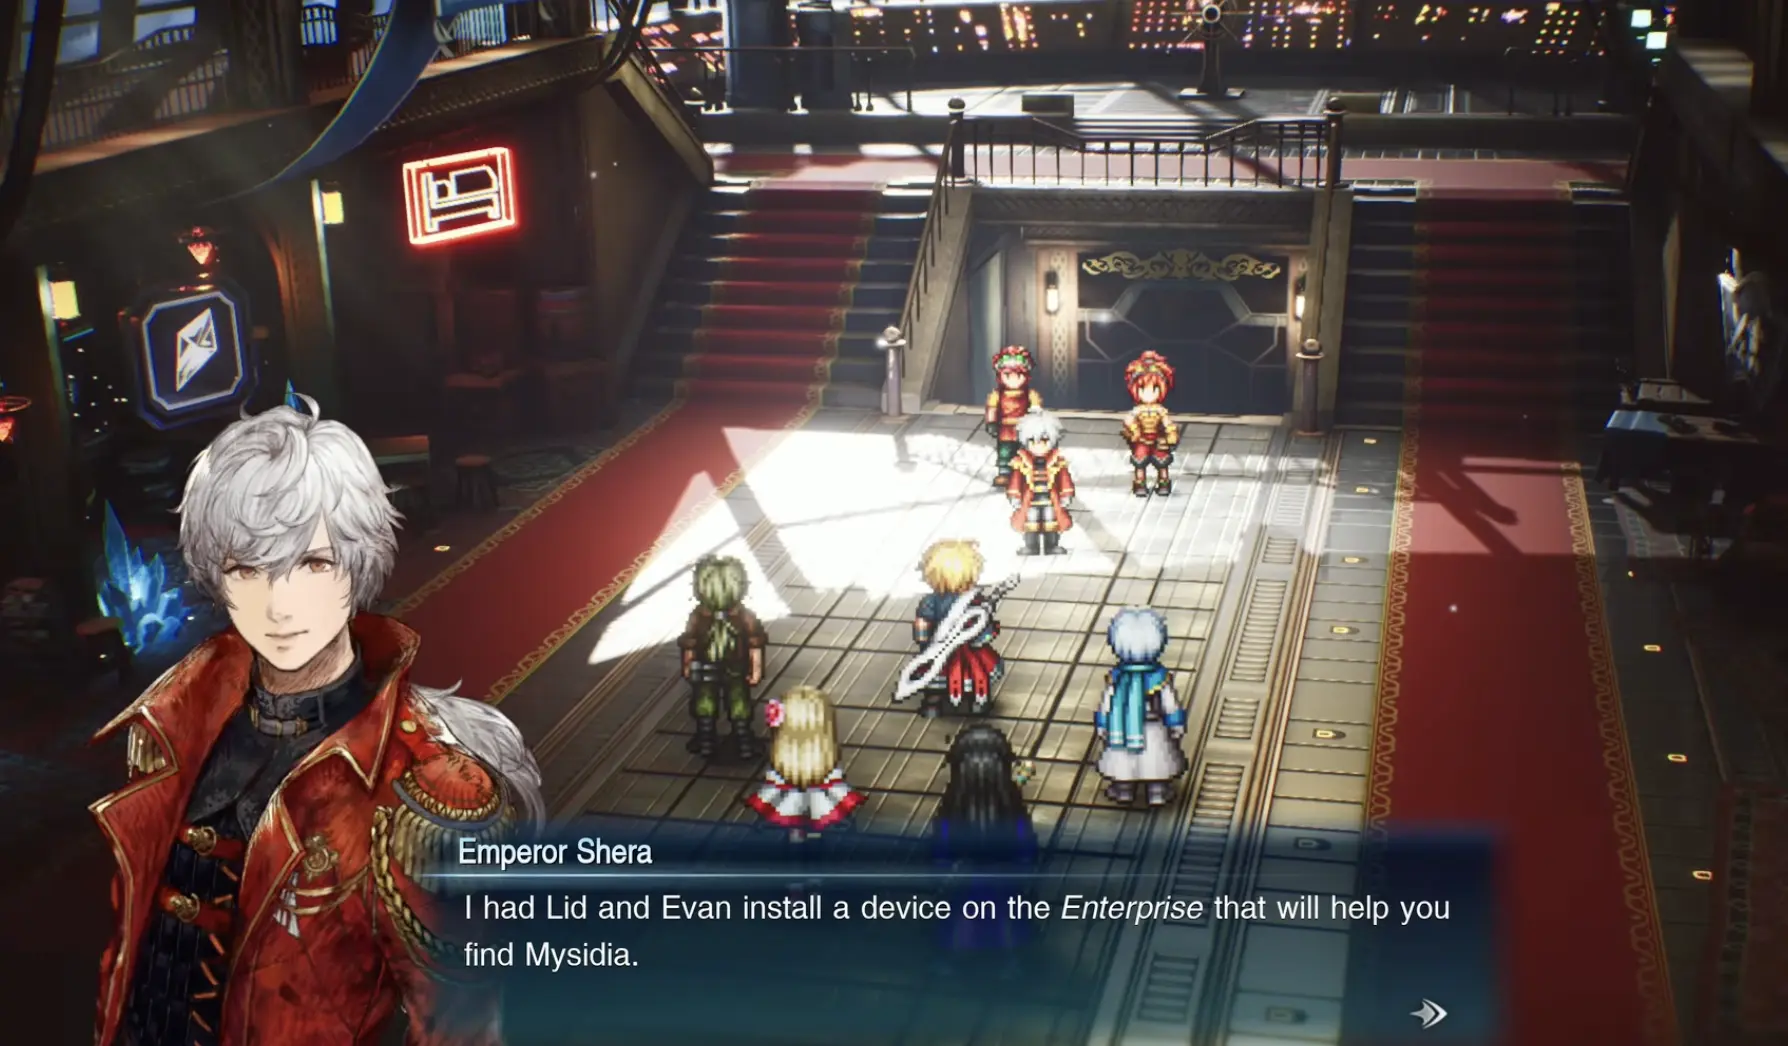
He asks Lid and Evan to install a device aboard the Enterprise that detects concentrations of powerful magic. The equipment was developed under Emperor Sosa, but Shera now intends to use it to help protect the remaining crystals.
Head out of Zoldaad Imperial Capital and board the Enterprise on the world map.
Enter the airship and complete the conversation about the new detector. After the installation is explained, the search for Mysidia begins.
How to Find Mysidia With the Magic Detector
After the detector is installed, fly the Enterprise across the world map to search for Mysidia.
The detector may respond to other sources of powerful magic, so not every reading leads to the hidden city.
Mysidia is reached in the southern ocean, near the lower-center portion of the world map. Use the Enterprise’s position in the map below to identify the correct area.
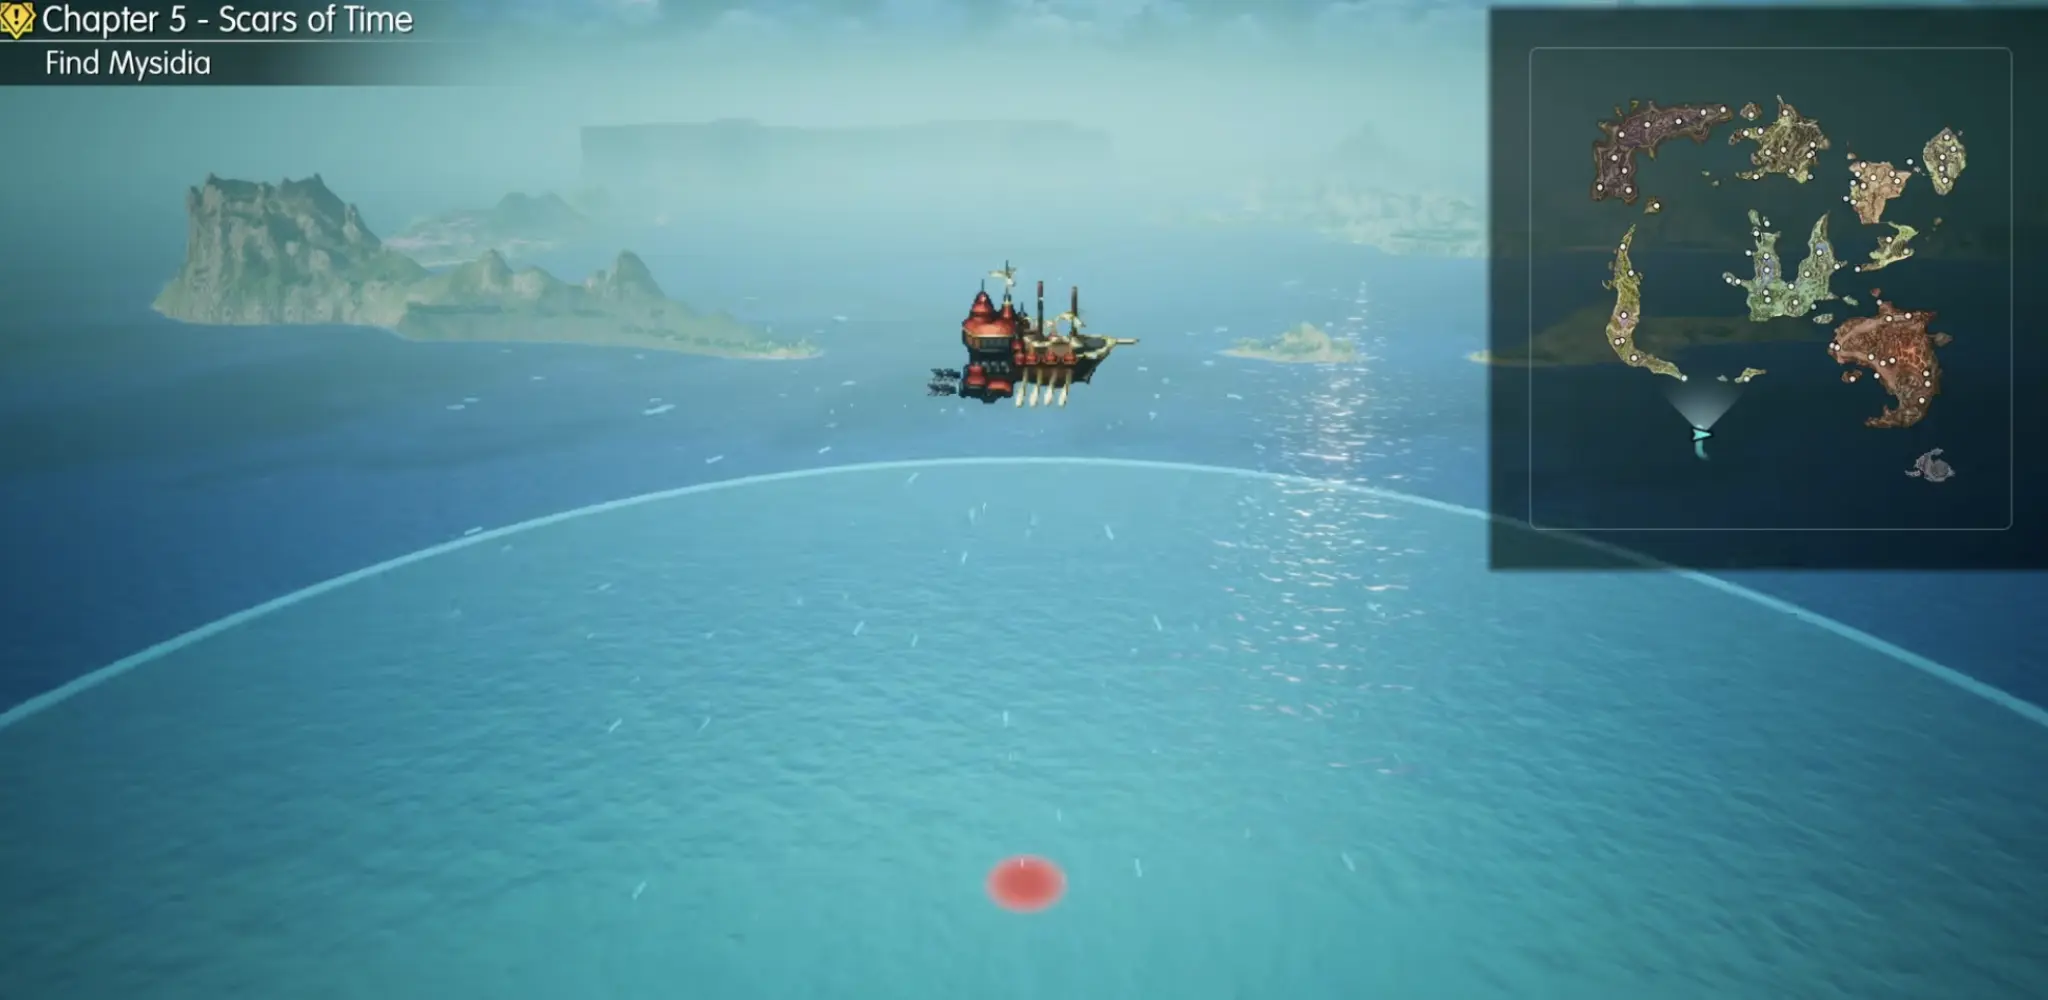
When you reach the correct location, the hidden area is revealed and the party proceeds directly into Mysidia.
There is no separate island entrance or additional puzzle to complete after arriving. Sakura intervenes when Mysidia’s defenders question the visitors.
Meet Sakura and Use Mysidia’s Teleport Stones
Sakura introduces herself as someone closely connected to Mysidia’s founding. Despite her youthful appearance, she claims to have lived for centuries and knows more about the Sworn Six than she initially reveals.
She invites the party to her home to discuss the crystal.
Mysidia has multiple areas connected by teleport stones. Sakura specifically recommends using them to travel around the city.
Follow the city route to Sakura’s residence and speak with her.
Rain asks about the crystal believed to be hidden in Mysidia. Sakura replies that they will not find the Ice Crystal there, but the conversation is interrupted before she explains the full reason.
A messenger reports that a monster is blocking the route to Village of Sunioo, preventing a delivery of medicine needed by sick villagers.
Rain agrees to help.
Sakura questions whether the party should spend time on a village emergency when the Sworn Six may be approaching the crystal. This conversation is part of the story, not a choice that sends the party down a permanently different route.
The next task is to collect the special potions and deliver them.
Get the Special Potions in Northern Mysidia
The potions required by Sunioo are stored in a building in the northern part of Mysidia.
Go there with Sakura rather than leaving immediately for the village.
The facility’s staff initially object to outsiders entering, but Sakura explains that Rain’s group has agreed to make the delivery.
Complete the conversation inside to collect the medicine.
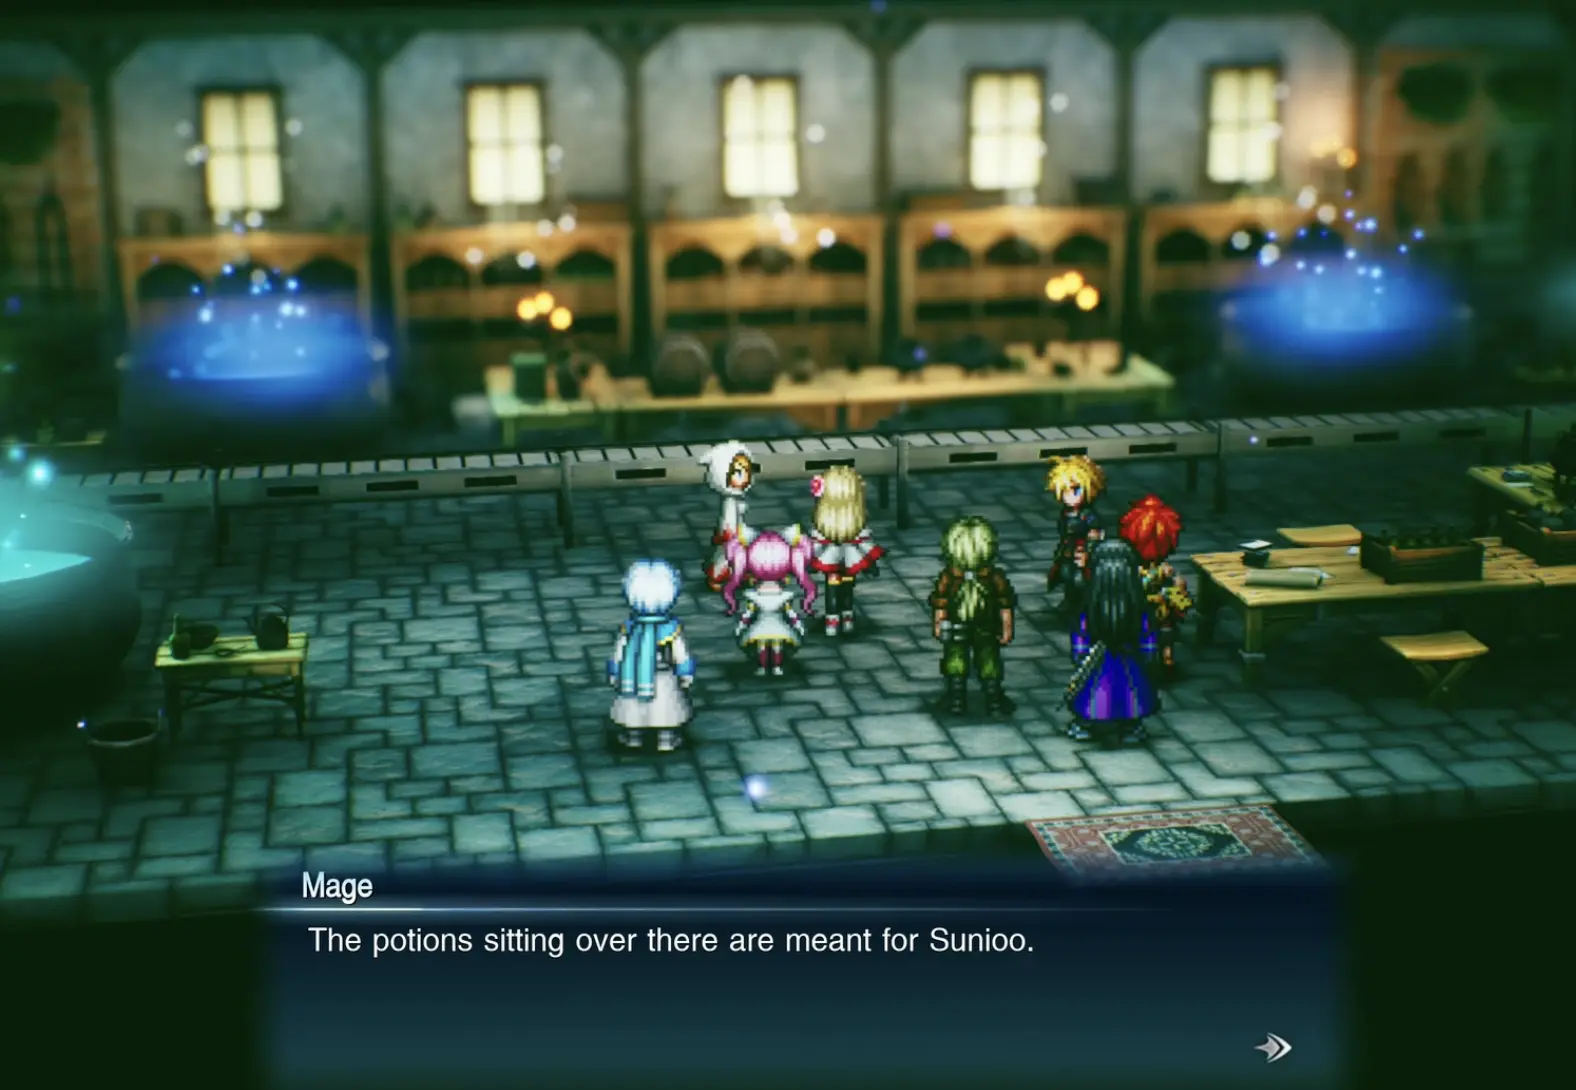
These potions are intended for the villagers. This objective does not require crafting ordinary healing items or buying a particular number of Potions from a shop.
Once the delivery is arranged, follow the route toward Sunioo.
Defeat the Snowfield Monster and Deliver the Potions to Sunioo
The route to Sunioo passes through snowy terrain.
A powerful monster has been preventing the medicine from reaching the village. The party must defeat it before completing the delivery.
During the encounter, the group reacts to a character being swallowed and emphasizes the need for rescue. Pay attention to the affected party member instead of treating the event as an ordinary hit.
Defeat the monster to reopen the route.
Continue to Village of Sunioo and deliver the special potions to the villagers.
The locals confirm that the medicine is urgently needed, and Rain explains that the monster blocking the snowfields has also been defeated.
This completes the village’s immediate emergency.
After the delivery, Sakura questions why Rain chose to help the villagers when the crystals remain in danger. Rain insists that protecting the world also means helping the people living in it.
Sakura accepts his answer and joins the party. She then reveals that the crystal they are seeking is hidden in an old castle southwest of Sunioo.
Reach the Nameless Ruins Southwest of Sunioo
Follow Sakura toward the old castle, known as the Nameless Ruins.
Inside, a mysterious voice blocks the way forward and challenges the party to defeat two guardians.
The objective is Defeat the minions in the Nameless Ruins (0/2). Both enemies must be defeated before the sealed route will open.
Defeat Iron Giant and Liquid Flame
Start near the room where the mysterious voice first challenges the party. The two guardians occupy different nearby rooms.
1. Iron Giant
The Iron Giant is near the room where you first hear the voice. It is weak to Lightning, making thunder-based magic useful.
It resists physical attacks and can counter them, so prioritize magic over repeated normal attacks.
2. Liquid Flame
From the Iron Giant’s room, head left to find Liquid Flame.
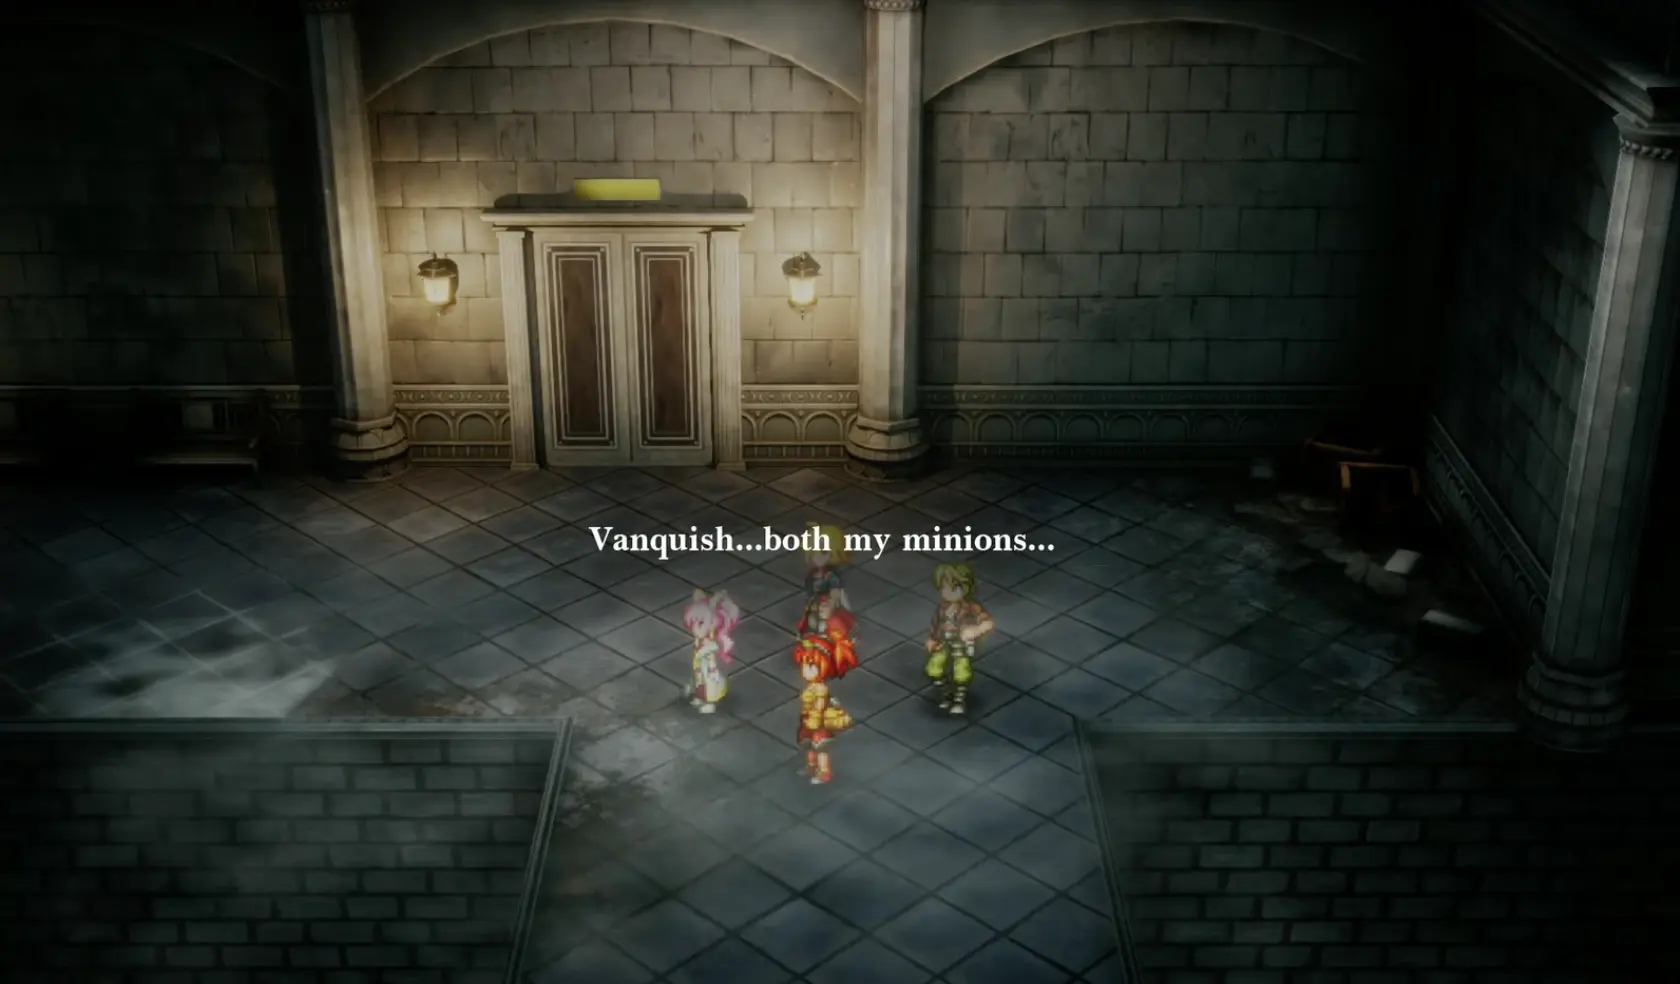
Liquid Flame is weak to Water and Ice but absorbs Fire. Avoid Fire attacks, as they can restore its HP instead of damaging it.
After defeating both guardians, the voice acknowledges the party’s strength and allows you to proceed deeper into the ruins.
Discover the Light Crystal and Fina’s Disappearance
At the heart of the ruins, Sakura reveals that the crystal is not what the party expected.
Mysidia houses the Light Crystal, not the Ice Crystal.
She explains that the widespread belief about the crystals was deliberately misleading:
- The Ice Crystal was destroyed long ago.
- The Lightning Crystal was also destroyed long ago.
- Mysidia concealed the Light Crystal while allowing outsiders to believe the Ice Crystal was hidden there.
Sakura spread the false information to divert attention away from the surviving crystal.
The revelation changes the party’s understanding of the remaining threat. The Light Crystal and Dark Crystal are now the central concern.
Before the group can act on Sakura’s revelation, Lux and Tellus arrive and confront the party.
Their appearance forces a second personality to emerge from Fina’s body. The party learns that the Fina who has travelled with them and Archwitch Fina have been sharing the same body.
Archwitch Fina regains her former power, but she can no longer sense the other Fina. Without help, the missing Fina may disappear.
Sakura believes the Arcane Library contains a magic tome that can help them enter Archwitch Fina’s mind and find her.
Return to Mysidia and head for the library.
How to Clear the Arcane Library’s Five Possessed Books
The Arcane Library contains a vast collection of magical texts.
Sakura knows of a particular tome that can allow the party to enter another person’s psyche. It is kept in the Forbidden Text Wing on the upper floor.
The problem is that the library’s teleportation equipment has stopped working.
Monsters inhabiting several books are interfering with the system. The staff asks the party to remove them.
Find All Five Haunted Books in the Arcane Library
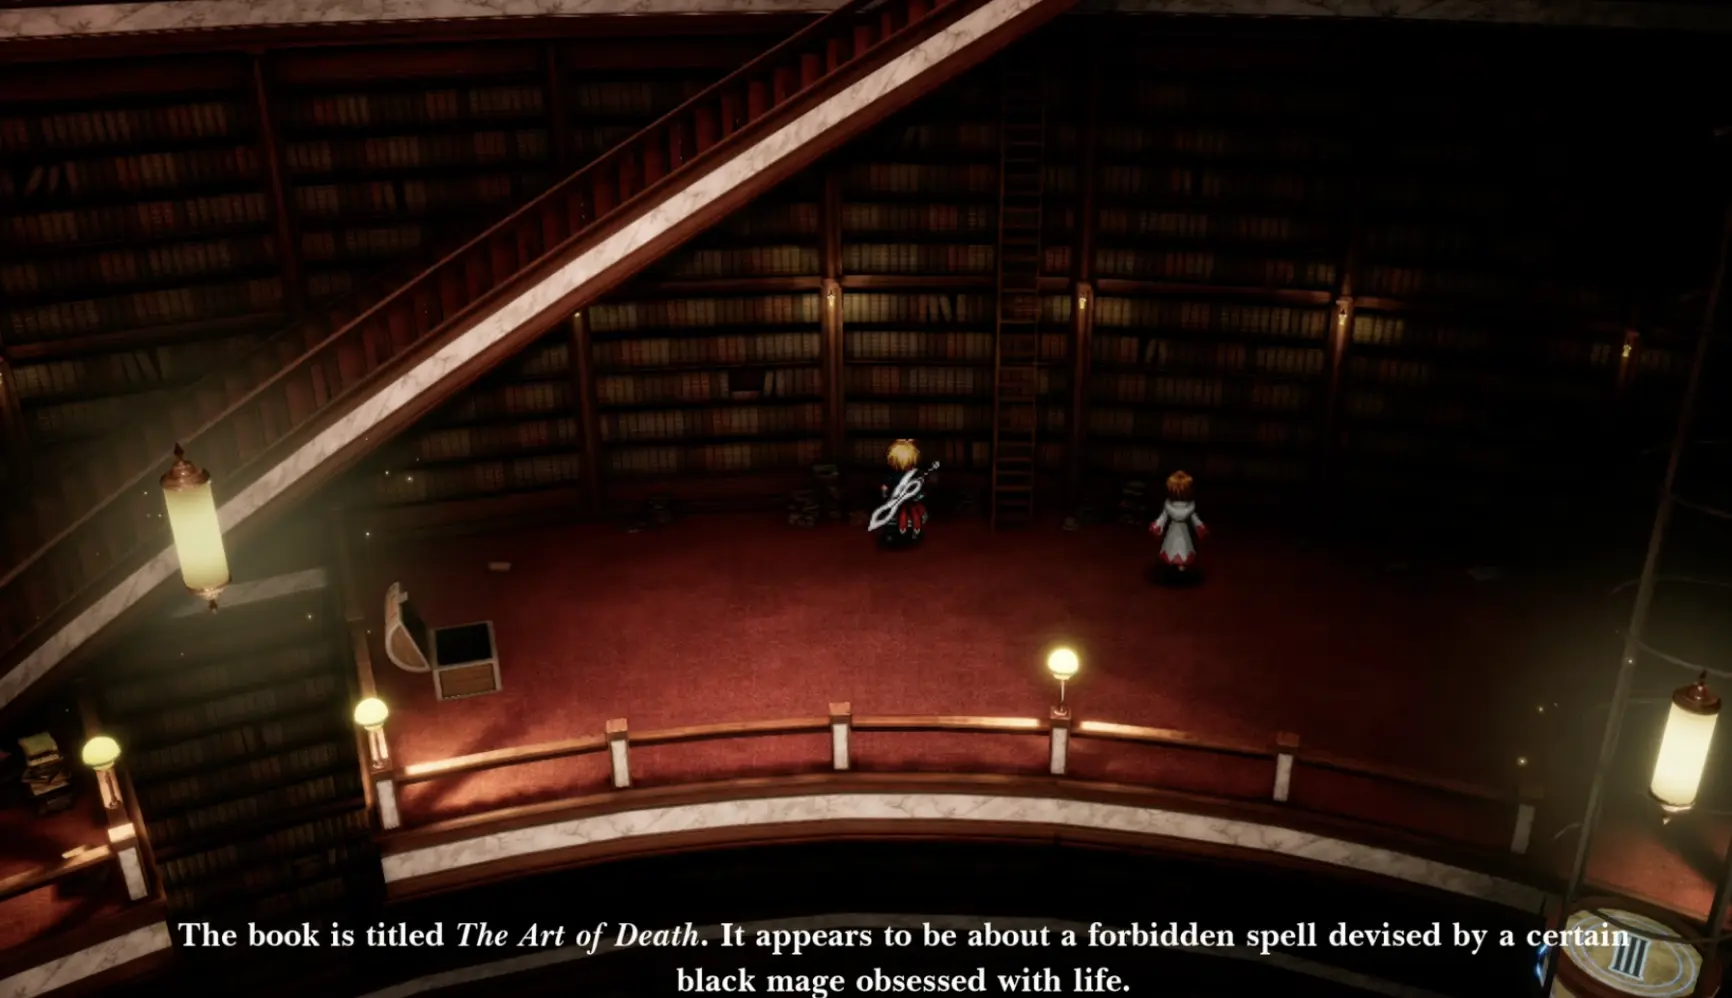
Five books in the Arcane Library are inhabited by monsters. You must clear all five encounters before the teleportation device leading to the Forbidden Text Wing will work.
Each book has its own title. When you examine one, the game provides a short description and asks whether you want to Open the book or Put it back.
Choose Open the book to begin the encounter, then defeat the monster.
Look for these five titles as you explore the library:
- The Art of Death — A forbidden spell devised by a black mage obsessed with life.
- The Song of Stone — A maiden who falls in love with a demon and is turned to stone.
- Grimoire Esoterica — A tome intended for a mage who has proven their worth.
- The Demesne of the Dead — A requiem for the dead who still roam the living world.
- For Whom the Giant Weeps — A gentle giant overcome by anguish and rage.
After each successful encounter, the party reports how many haunted books remain.
The completion counter decreases from 5 to 0. Continue checking the books throughout the library until all five encounters are finished.
Once the final monster is defeated, Sakura confirms that the teleportation device is working again.
Use it to reach the Forbidden Text Wing and retrieve the special tome needed to enter Fina’s psyche.
Get the Magic Tome in the Forbidden Text Wing
With the five haunted books cleared, use the restored teleporter to reach the Forbidden Text Wing on the upper floor.
The tome Sakura needs is also inhabited by a monster. Open it and defeat the enemy to obtain the book.
Unlike the five earlier books, this is the tome required for the next story objective. Its magic allows the party to enter another person’s psyche.
Return to Sakura and complete the preparations to enter Archwitch Fina’s inner world.
Enter Fina’s Psyche and Find the Locked Gate
The magic tome transports the party into a world shaped by Archwitch Fina’s memories.
Rather than resembling a normal dungeon, this place recreates part of Palladia, the world from which Sakura and Archwitch Fina originated.
The party witnesses events from a war fought approximately seven centuries earlier between Aldore and Hess.
Sakura explains that understanding Archwitch Fina’s past is necessary to find the missing Fina.
Follow the available route, speak with the people encountered in the memory, and continue through the scenes involving the old conflict.
During this first visit, the party meets people connected to the Eight Sages of Hess and witnesses Archwitch Fina’s involvement in the war.
These encounters provide the context needed to change the state of the inner world.
Why Is the Gate Still Locked?
Eventually, the party reaches a gate that cannot be opened.
After learning more about the past, one of its seals is removed, and Rain senses the missing Fina beyond it.
However, another seal remains, and a separate route is blocked by a cliff.
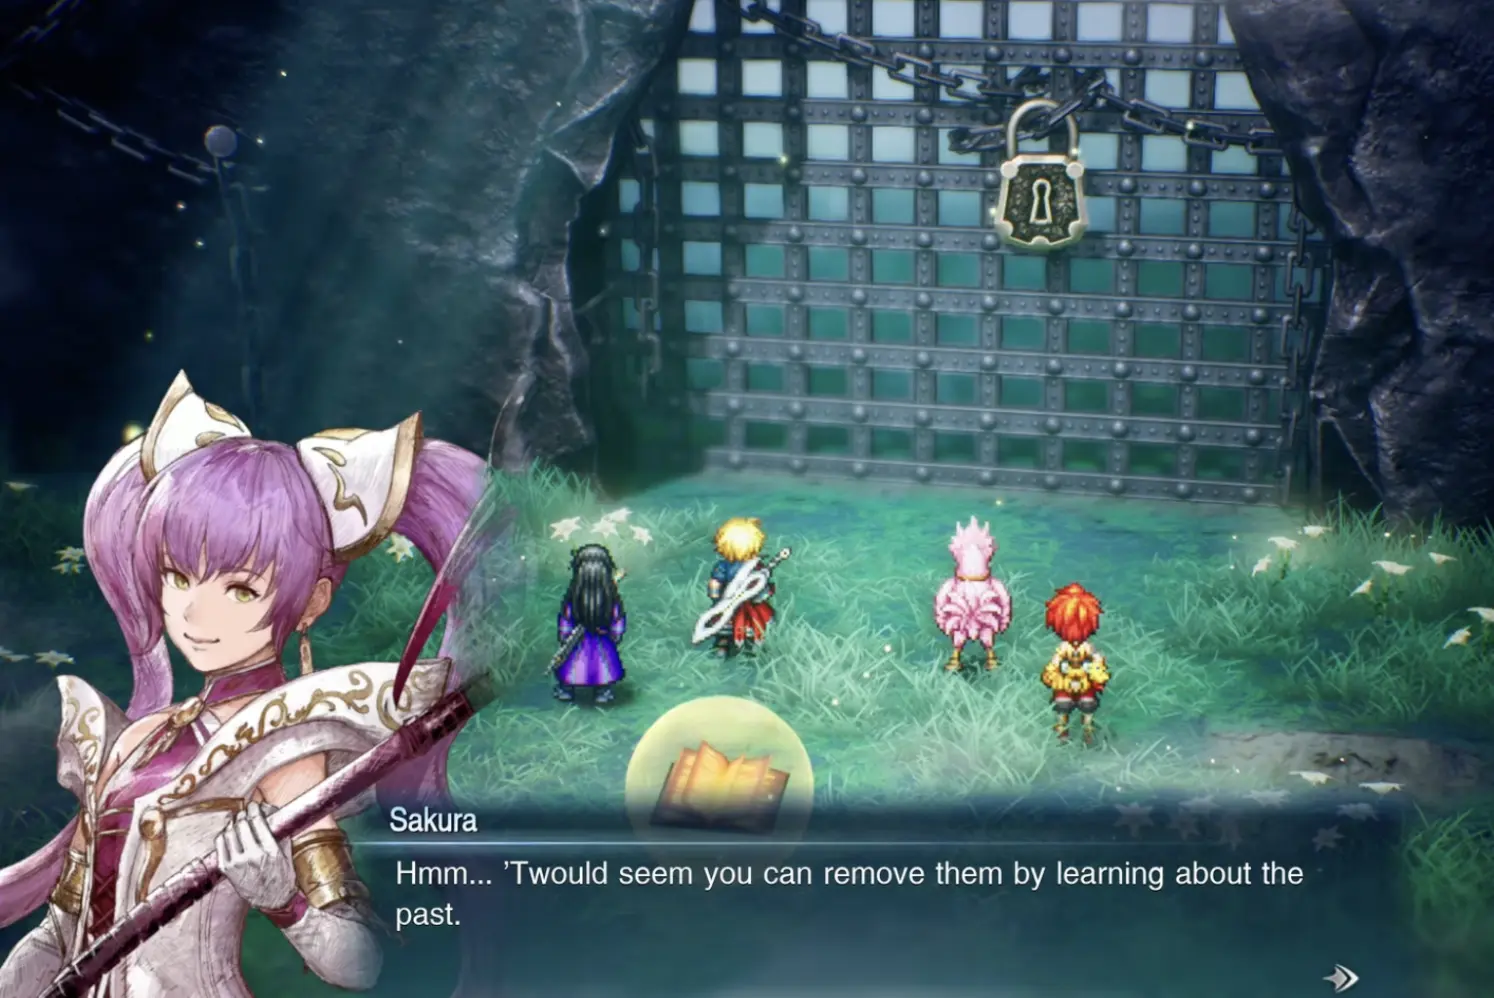
The gate is controlled by memories, not a physical key. The first visit removes one seal, but the route beyond the nearby cliff remains incomplete.
Archwitch Fina’s memories alone cannot recreate the missing part of the past. Return to the real world and speak with Sakura to continue.
Reach the Tower of Mysidia to Restore the Missing Memories
Back in Mysidia, Sakura explains that she can provide the missing information from her own memories.
To do so, the party must visit the Tower of Mysidia, located west of the current area.
Travel to the tower and climb toward its summit.
Continue through the encounters along the way until Sakura reaches the place where its magical equipment remains functional.
Use the Tower to Add Sakura’s Memories
At the top, Sakura explains that the tower was designed to bind the magic of multiple mages together.
Although it is no longer used for its original purpose, the equipment can be used to share memories.
Sakura prepares the magic tome and asks Archwitch Fina to cooperate.
Once the memory-sharing sequence is complete, enter Archwitch Fina’s psyche again.
The important change is not a new physical key. Sakura’s memories have altered which parts of the inner world can be explored.
Return to Fina’s Psyche and Cross the Previously Blocked Route
On the second visit, return to the area that was previously blocked by the cliff.
The route has changed because Sakura’s memories are now part of the reconstructed world.
Cross into the newly accessible area.
The party encounters a younger Umbra, long before the events of the current story.
He is fighting as part of the conflict between Aldore and Hess and does not initially recognize Rain or his companions.
Follow the story through the encounter with Umbra and the route toward the Hessian military positions.
The party soon discovers a major difference between the past and the present: the organization known today as the Sworn Six once had eight members.
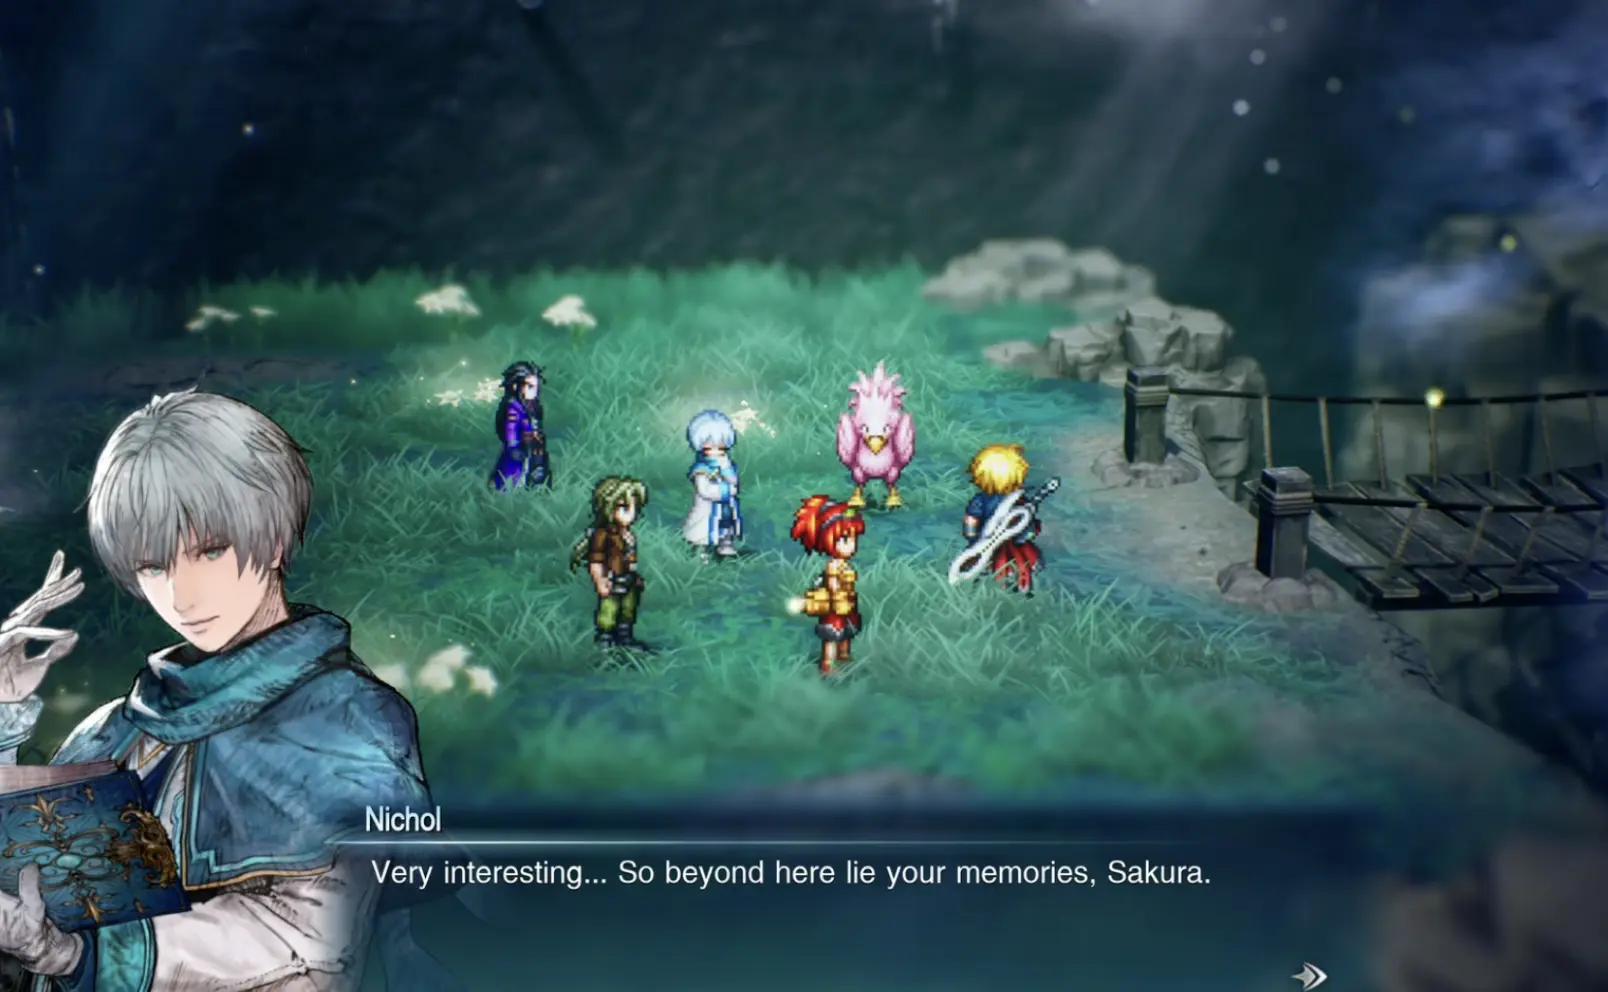
Follow Umbra to the Military Base
After fighting alongside Umbra, continue to the Aldorian base.
Umbra explains his plan to bring the war to an end and gives Rain’s party permission to accompany him.
At the camp, the party encounters the original Sworn Eight.
Speak with the available members to learn more about their relationships and intentions before continuing.
Some conversations provide important context for earlier events, including the origins of the swords carried by Rain and Lasswell, the relationship between Sakura and Lux, and the reasons individual warriors joined the conflict.
Umbra can be found in his tent.
Speak with him to continue the story. He explains his intention to seal the opposing sages temporarily so negotiations over Hess’s independence can take place.
Complete the camp sequence and proceed with the next stage of the memory.
How to Open the Final Gate in Fina’s Mind
After following Umbra’s memories, return to the sealed gate.
The physical locks are gone, but the gate still refuses to open. This time, the problem is Archwitch Fina’s reluctance to remember the final battle against her former allies.
Continue the conversation with Rain and Archwitch Fina. Rain asks her to face those memories so the party can reach the missing Fina.
Once she accepts, the gate opens and the route to the final battlefield becomes available.
There is no additional key or switch to collect after completing Sakura’s memory-sharing sequence.
Find Fina at the Final Battlefield
Beyond the gate, the party witnesses the decisive battle between Aldore and Hess.
Continue through the encounters connected to the war until Rain meets the Fina he has been searching for.
During the confrontation, the characters discuss why they fight and what they are trying to protect.
The story also reveals the plan to seal the Eight Sages of Hess in crystals, supposedly as a temporary measure to bring about peace.
After the battle, Rain finds Fina.
However, the memory does not end with a peaceful conclusion. The land begins to shake, and a vast section of Palladia appears to be transported away.
The event reveals why the past conflict remains unresolved centuries later.
When the party returns to the present, the result is unexpected: both Finas now exist separately.
The missing Fina has been saved without requiring Archwitch Fina to disappear.
Confront Tellus and Learn Umbra’s Identity
The reunion does not end the chapter.
Sakura confirms that Umbra is Raegen, Rain’s father. This explains Rain’s connection to Palladia and the strange events involving his father during the earlier chapters.
Lux and Tellus then confront the party.
Tellus insists on settling an old challenge with Archwitch Fina, who once fought on the opposing side of the war.
Defeat Tellus
Tellus’s challenge leads to a battle.
Continue through the confrontation until he acknowledges the result.
The battle is tied to his sense of honor and an unfinished contest from the past. It is not a separate arena challenge that must be found elsewhere on the map.
The conflict also makes clear that the Sworn Six have not abandoned their desire for revenge against Aldore.
Following the confrontation, return with Sakura and the others to Mysidia.
Finish Chapter 5 and Travel Toward Gronoa
After the confrontation with Tellus, return to Sakura’s residence in Mysidia.
The party learns more about the ancient war and the reason the Sworn Six are destroying the crystals. Those crystals once served as seals connected to the conflict between Aldore and Hess.
Sakura then reveals the party’s next destination: Gronoa, west of Dirnado, where the Dark Crystal is located.
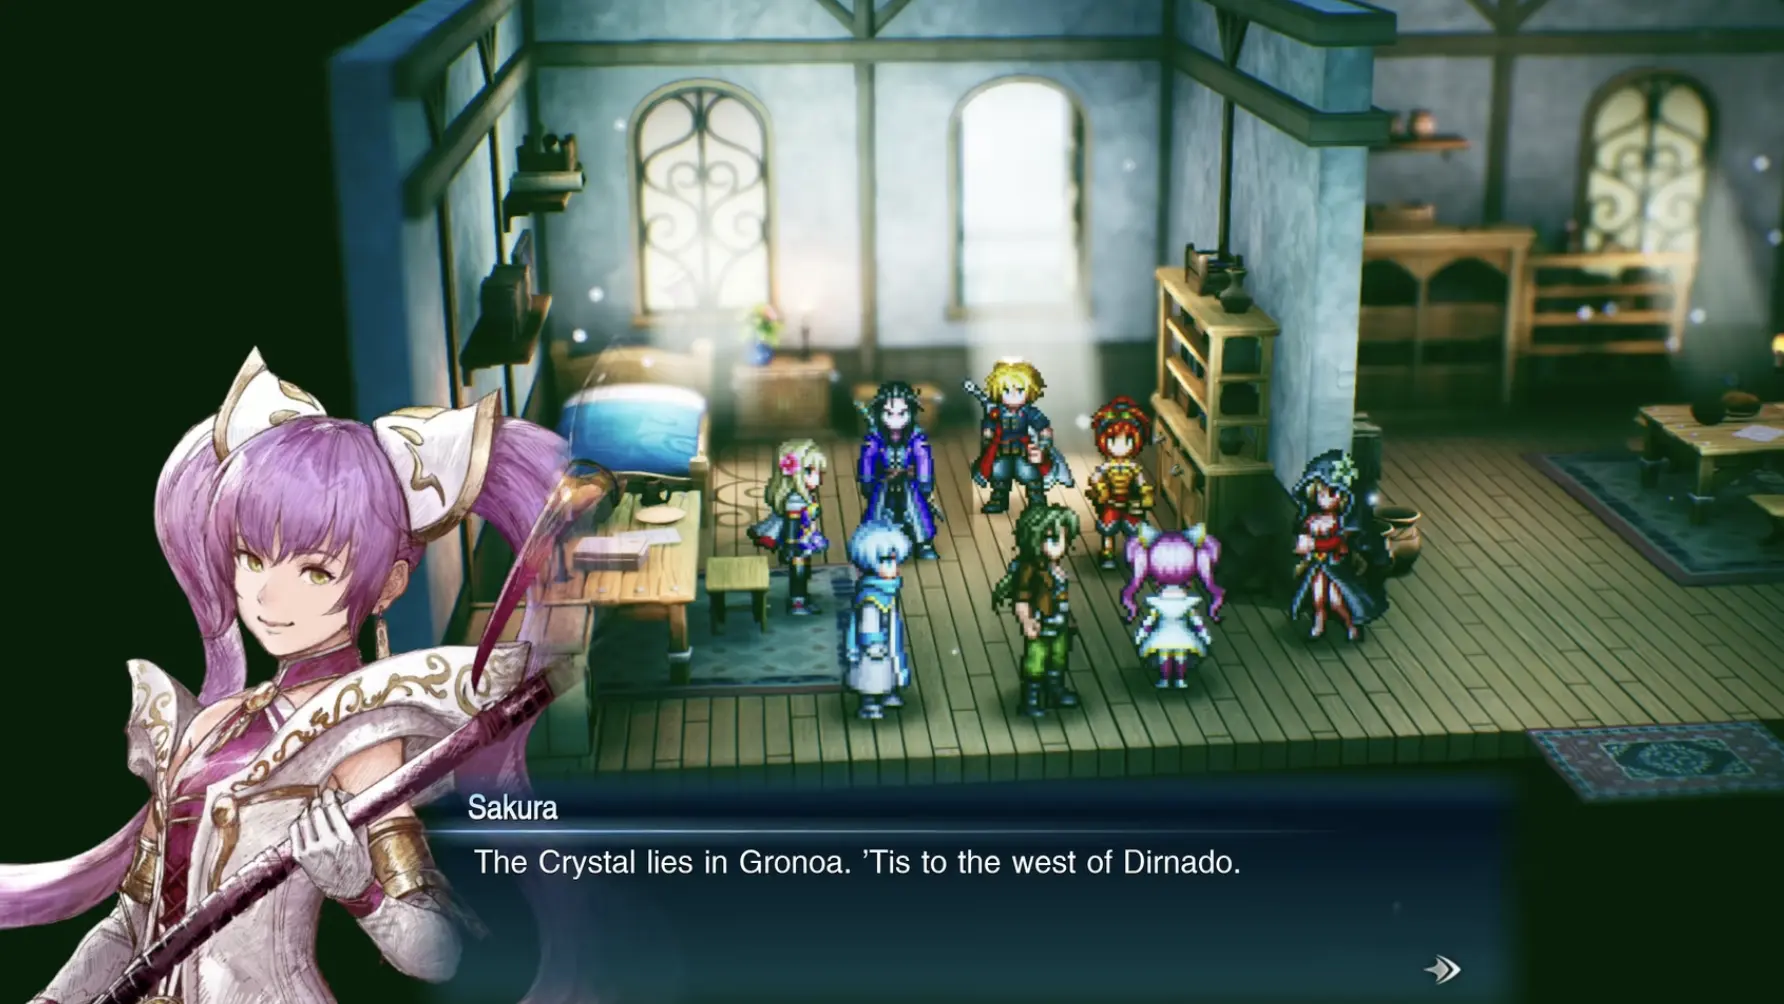
Board the Enterprise and travel toward Gronoa.
As the party approaches, the surroundings become unusually dark. Sakura identifies the cause as miasma, which is dangerous to breathe and prevents the airship from travelling safely through the area.
The group decides to land and continue on foot.
This concludes Chapter 5: Scars of Time.
Continue with the Chapter 6: Tranquility walkthrough to find the White Jade Stone, learn Holy, and cross Gronoa’s miasma.