Final Fantasy Resonance Chapter 6: Tranquility Walkthrough
Complete Chapter 6 of Final Fantasy Resonance through Gronoa, the Research Center Ruins, Holy, Gronoa Shrine, and Sanctissimus Shrine.
Updated:
Quick Answer
After reaching Gronoa, enter Gaberads, the Undertown and speak with the elder. Travel east to the Research Center Ruins, retrieve the White Jade Stone, and return so Fina can learn Holy. Use Holy to clear the Bog of No Return, then follow the western route through Rugged Mountain Path to Gronoa Shrine.
When the Dark Crystal is moved, head south to Sanctissimus Shrine. Clear the stone-inscription combat trials, complete Rain and Lasswell’s duel to earn the Paladin title, then confront Gelidus in the inner chamber.
Chapter 6: Tranquility takes Rain’s party through Gronoa in pursuit of the Dark Crystal. With the Enterprise unable to pass through the miasma, the journey continues on foot through an underground settlement, an abandoned research laboratory, and two shrines.
The most important detour is learning Holy before crossing the poisoned bog. Later, the trials of Sanctissimus Shrine test the party’s combat abilities and Rain and Lasswell’s rivalry.
Enter Gronoa and Find Gaberads, the Undertown
At the end of Chapter 5, the Enterprise approaches Gronoa but encounters unusually dense miasma.
Sakura explains that breathing too much of it is dangerous. Flying deeper into the affected region is not a safe way to reach the Dark Crystal, so the group lands.
Follow the available ground route into Gaberads, the Undertown. Its residents live underground to escape the contaminated air above.
Speak to the residents until one explains why travellers cannot simply walk through the surrounding marsh.
The obstacle is the Bog of No Return, an area saturated with miasma. Ordinary exploration will not remove it, even if you have already found the correct path toward the shrine.
How to Get Through the Miasma
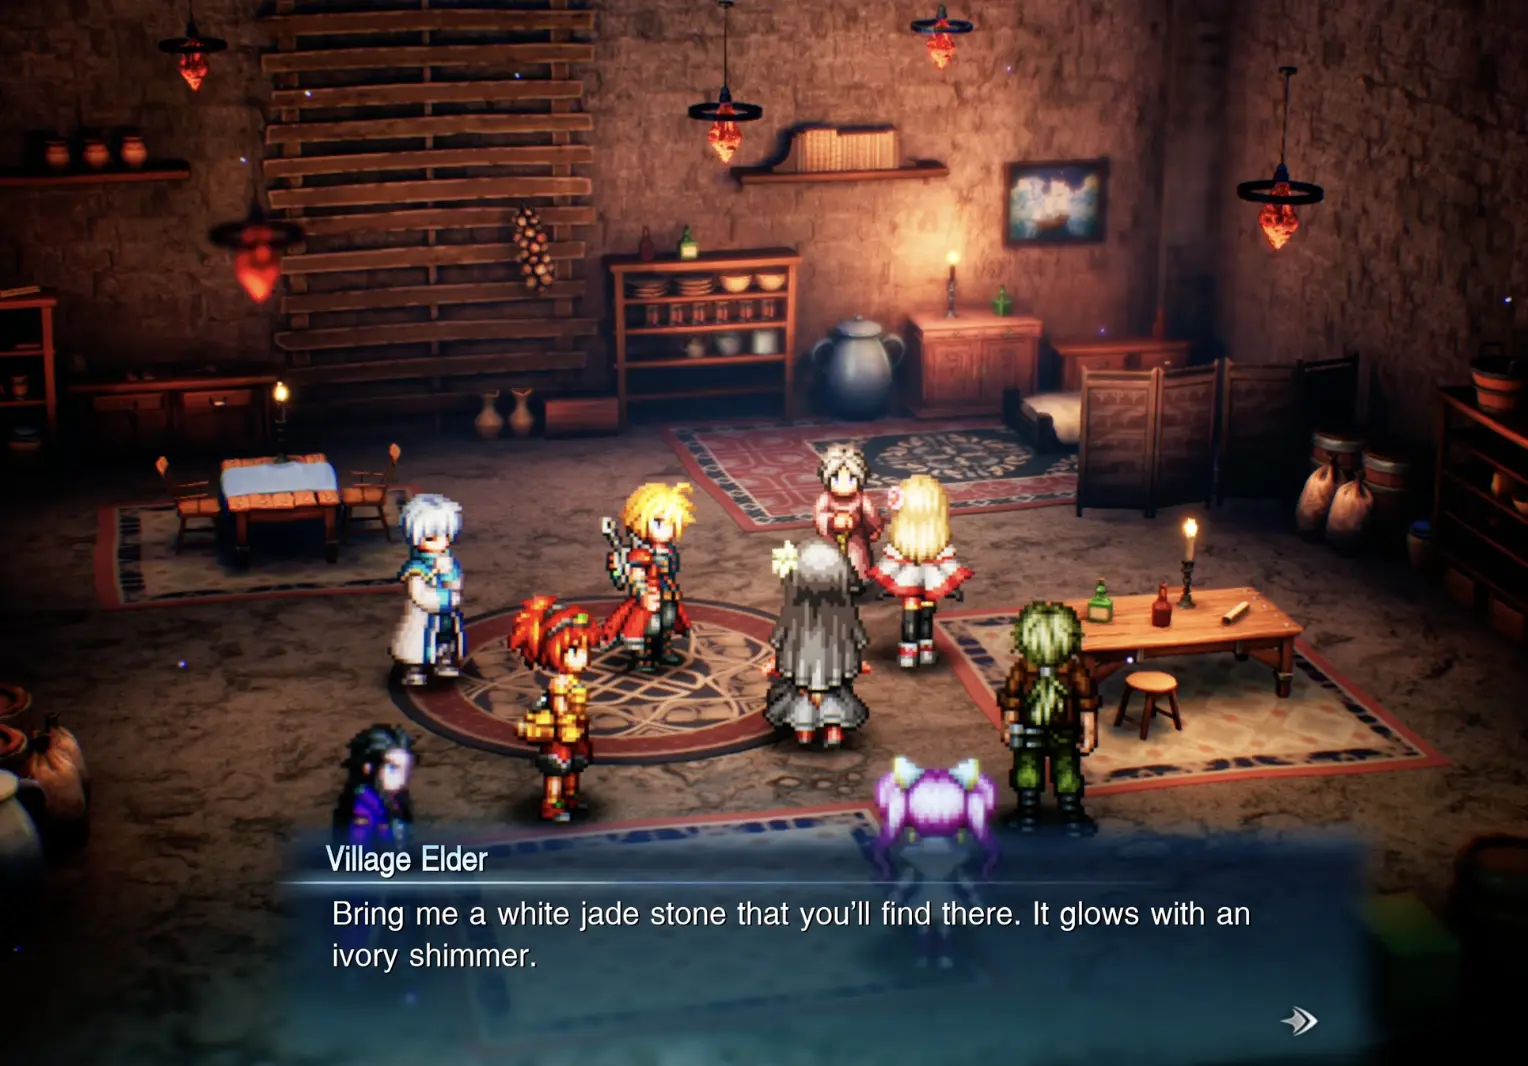
The elder explains that the party needs Holy, an ancient spell with the power required to overcome the miasma.
Fina has the potential to learn it, but the elder needs a special material before beginning her training.
The required item is a White Jade Stone, found in ruins east of Gaberads.
Do not attempt to force your way through the bog yet. The current objective is to retrieve the stone and return to the elder.
Find the White Jade Stone in the Research Center Ruins
Leave Gaberads and travel east to the Research Center Ruins.
Inside, Sakura identifies the building as an ancient Aldorian research laboratory. Like the surrounding land, it was transported from Palladia centuries earlier.
The White Jade Stone is deeper inside the laboratory. To reach it, you must obtain the required Lab Key Cards and activate the controls that restore access to the central teleporter.
How to Get Through the Research Center Ruins
The Research Centre uses three levels of laboratory key cards, locked doors, and teleporters. You need to progress through the security levels to reach the White Jade Stone.
Start by collecting the Level 1 Lab Key Card near the entrance area.
Return to the main junction. The door on the left accepts Level 1 clearance, while the door on the right requires Level 2 access.
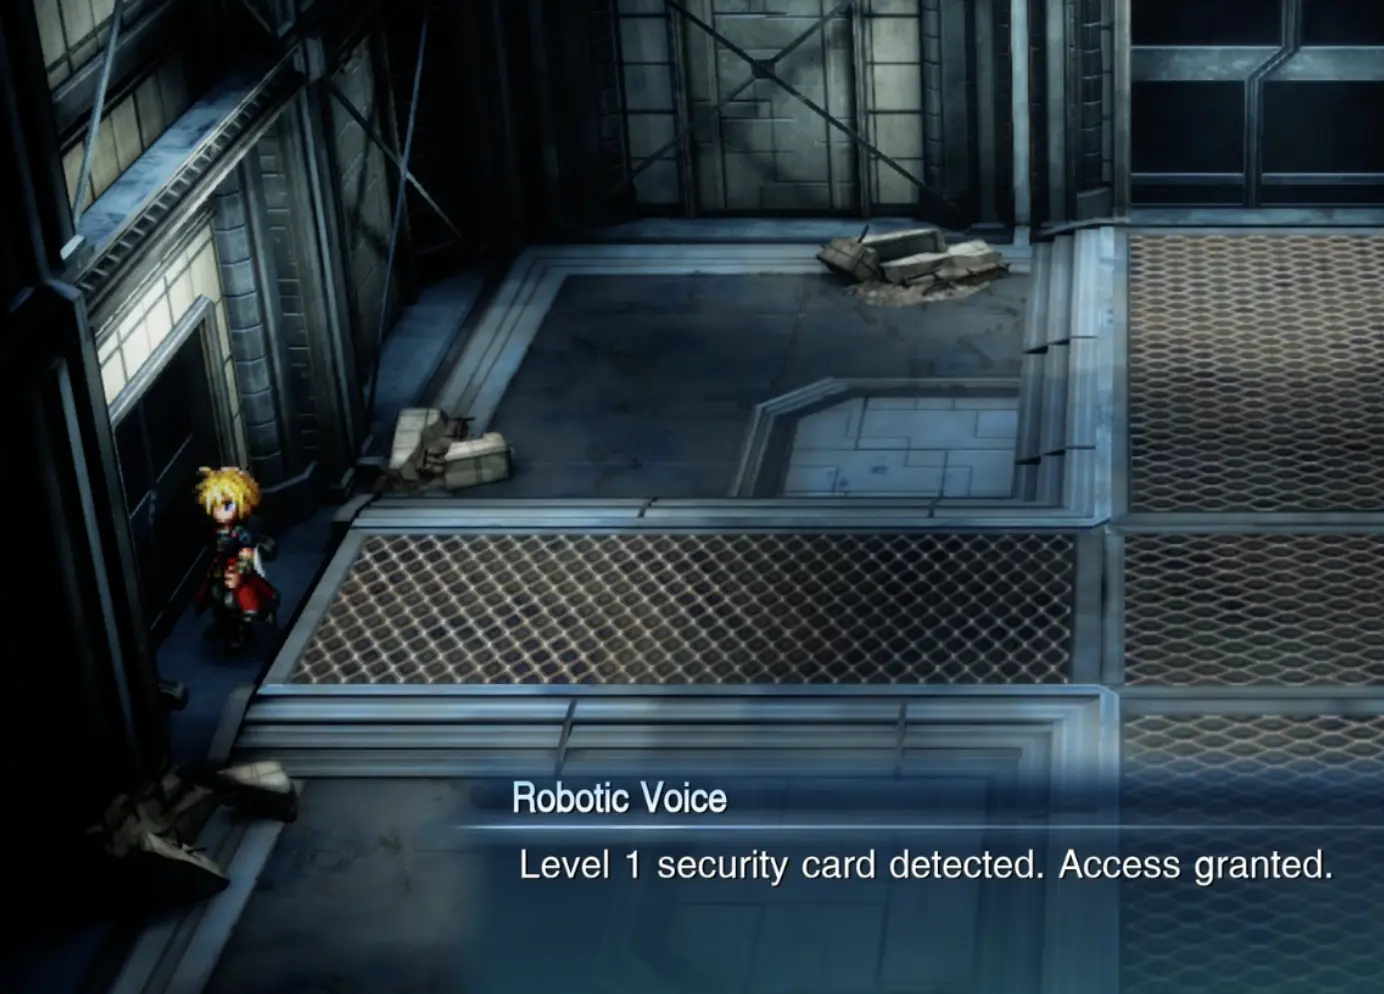
Follow the Level 1 route into the laboratory and locate the machinery controlling the teleportation system.
Activate the control mechanism to enable the central teleporter. This is an important step: if the teleporter is not working, check the laboratory controls before searching for another route.
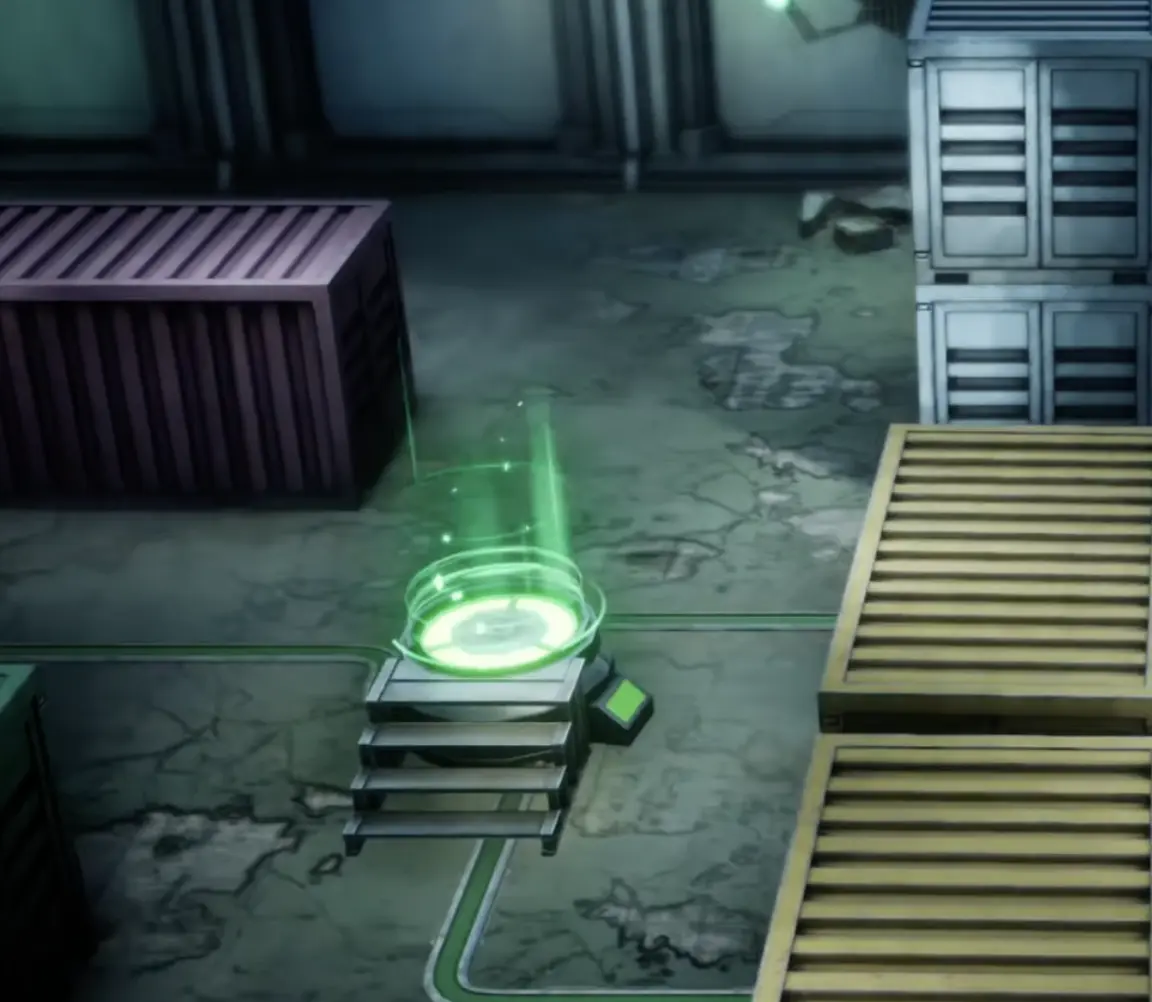
With the teleporter available, continue exploring the connected laboratory rooms.
Collect the Level 2 Lab Key Card, which grants access to the previously restricted Level 2 sections. Continue through the newly accessible areas to obtain the Level 3 Lab Key Card.
The key-card progression is:
- Level 1 Lab Key Card — opens the left-side door from the entrance junction.
- Activate the central teleporter — restores access to the next part of the laboratory.
- Level 2 Lab Key Card — opens Level 2 security doors.
- Level 3 Lab Key Card — allows further exploration of the restricted facility.
After progressing through these security levels, continue to the chamber containing the White Jade Stone.
Once you obtain the stone, your objective changes from exploring the laboratory to returning to Gaberads for Fina’s Holy training.
Take the White Jade Stone
The stone has a distinctive pale glow, matching the elder’s description.
Interact with it to collect the White Jade Stone.
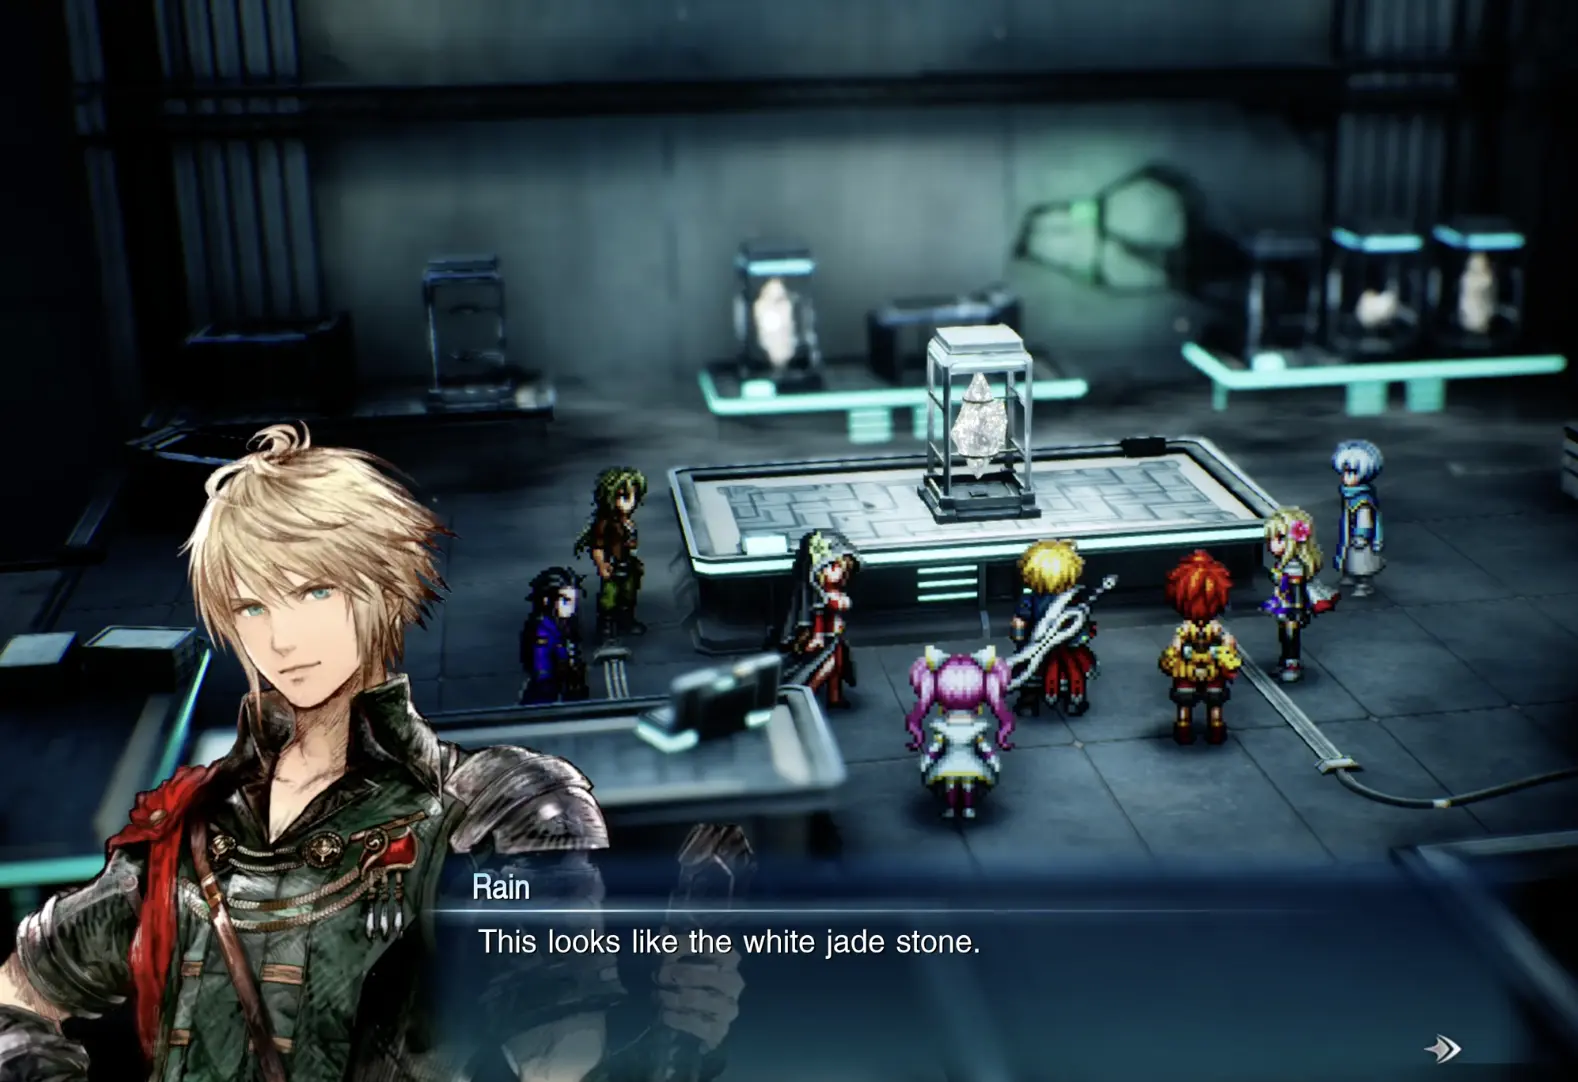
The party then encounters Elfried, one of the Eight Sages of Hess, who has also emerged from a crystal.
Unlike the person seen in Fina’s memories, Elfried appears consumed by his desire to break the crystals and free his former comrades.
Complete the encounter and leave the laboratory.
The important outcome is that the party now has the stone needed to teach Fina Holy. There is no need to remain in the laboratory looking for another training material.
Give the White Jade Stone to the Elder
Return to Gaberads, the Undertown, and speak with the elder.
She accepts the White Jade Stone and agrees to train Fina in Holy.
The training lasts through the night. During that time, the rest of the party rests while Lasswell continues practising his swordsmanship.
After the story advances, return to the elder and collect Fina.
She confirms that Fina has learned Holy.
This is the required progression condition for the miasma. You do not need to obtain a separate Holy spell item from a shop or find another spellbook.
With Fina’s training complete, return to the Bog of No Return.
Use Holy to Cross the Bog of No Return
Travel back to the miasma-filled bog outside Gaberads.
When the party reaches the affected area, the characters recognize that Holy should now allow them to pass.
Fina casts Holy during the story sequence, dispersing the miasma blocking the route.
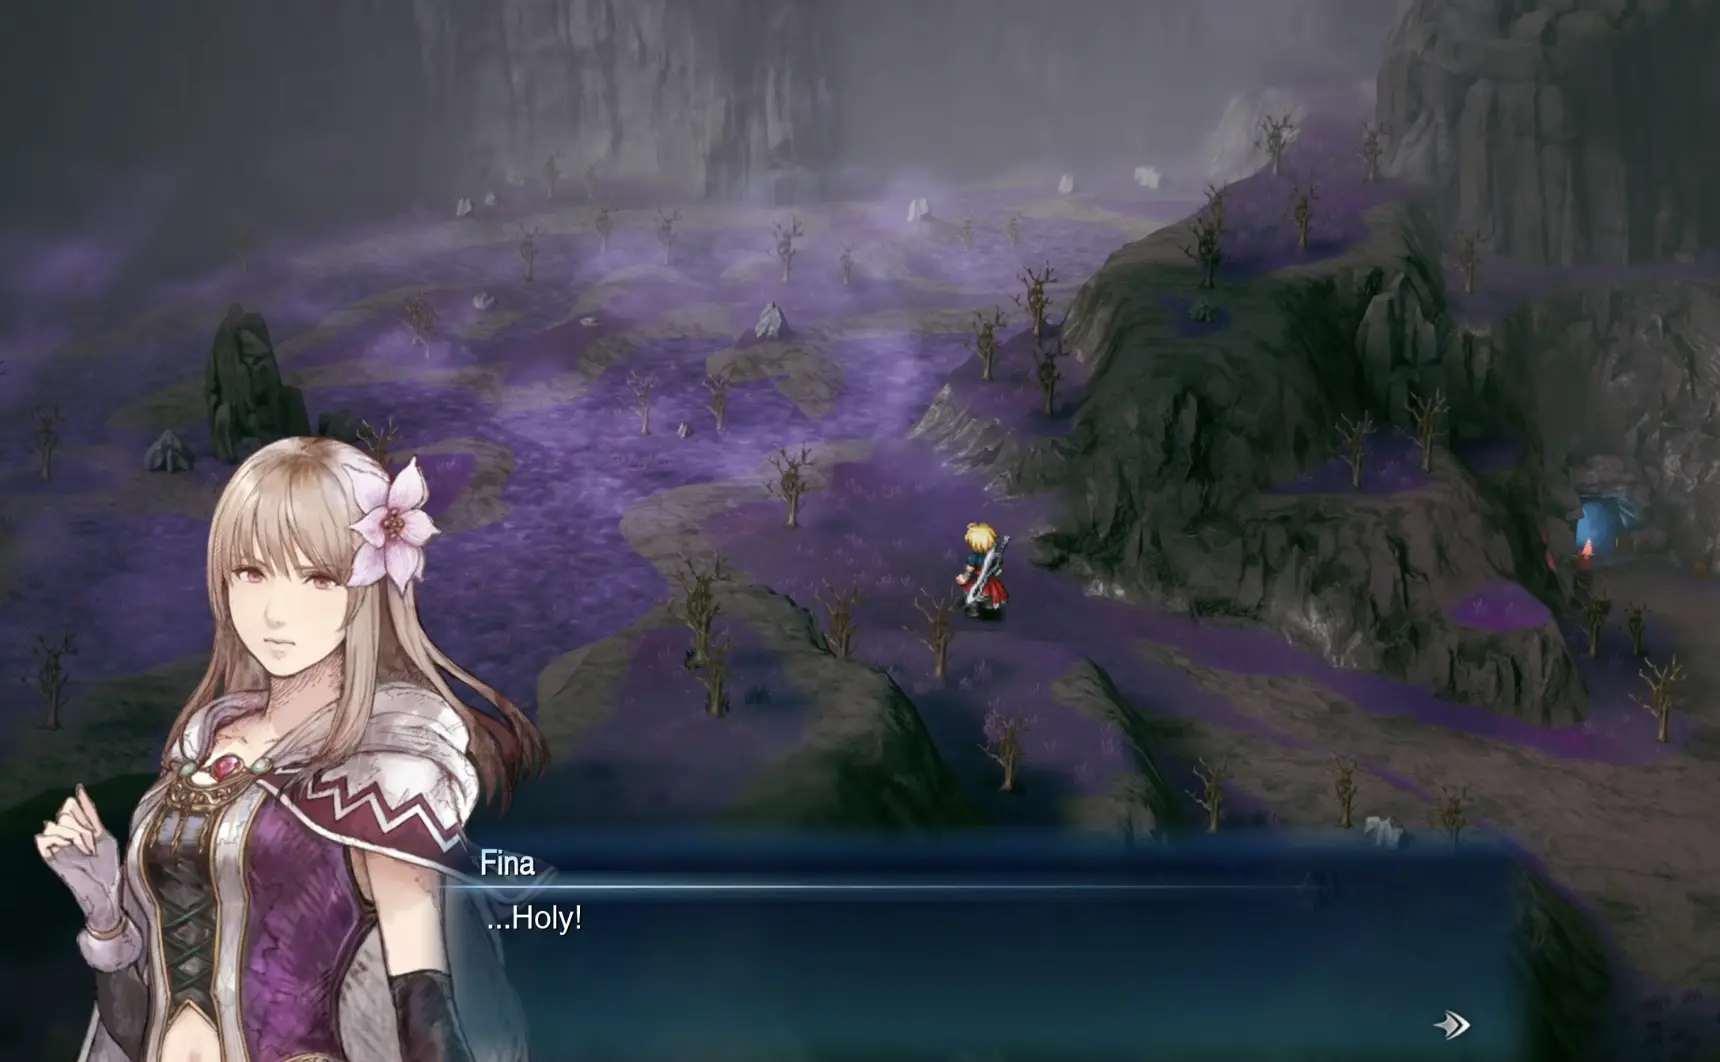
If you reached the bog earlier and could not continue, the missing requirement was the elder’s training sequence.
You do not need to repeatedly cast Holy during ordinary battles to make the route open. The roadblock is cleared as part of the encounter at the bog.
Once the miasma has dispersed, continue west.
Sakura explains that the Dark Crystal is kept in Gronoa Shrine, beyond a rugged mountain route.
Follow Rugged Mountain Path Toward Gronoa Shrine
Proceed west through Rugged Mountain Path.
This area forms the land route toward the shrine. Continue through its encounters and follow the available passages rather than returning to the Enterprise to search for an aerial shortcut.
Along the way, Rain and Lasswell’s relationship becomes increasingly strained.
Lasswell has been training intensely and is frustrated that Rain does not seem to recognize how seriously he approaches their rivalry. Their disagreement matters later, when the party is required to complete a trial at Sanctissimus Shrine.
The group also comes into conflict with members of the Sworn Six.
The story reveals more about Raegen, Lux, and Sophia, including the circumstances surrounding the death of Rain’s mother.
These events do not introduce a separate route choice. Continue toward Gronoa Shrine after the encounters conclude.
Stop at Town of Duggle
Before the shrine, the party reaches Town of Duggle, where it can take shelter from contaminated rain.
This is a useful point to prepare for the battles ahead.
Restore your party’s HP and MP, check your equipped abilities, and continue when ready. The next main-story destination remains Gronoa Shrine.
Do not mistake the detour into Duggle for a change of objective. The Dark Crystal has not yet been recovered.
Reach Gronoa Shrine and Pursue the Dark Crystal
Continue to Gronoa Shrine.
Inside, the party encounters evidence that the Sworn Six and the surviving Sages are already moving toward the Dark Crystal.
Follow the shrine’s interior route, descending through the chambers and ladders toward the crystal’s supposed location.
The party confronts Elfried, whose long imprisonment has left him fixated on breaking the final seal.
During the confrontation, Elfried’s power becomes unstable. He attempts to unleash his remaining magic, threatening to destroy the surrounding area.
Lux intervenes and prevents Rain’s group from being caught in the resulting destruction.
Why Is the Dark Crystal Missing?
When the party finally reaches the crystal’s location, it is already gone.
This is not the result of taking the wrong staircase or missing a hidden room.
Gelidus has moved the Dark Crystal to Sanctissimus Shrine.
He claims that the party will understand his intentions if they are strong enough to reach him.
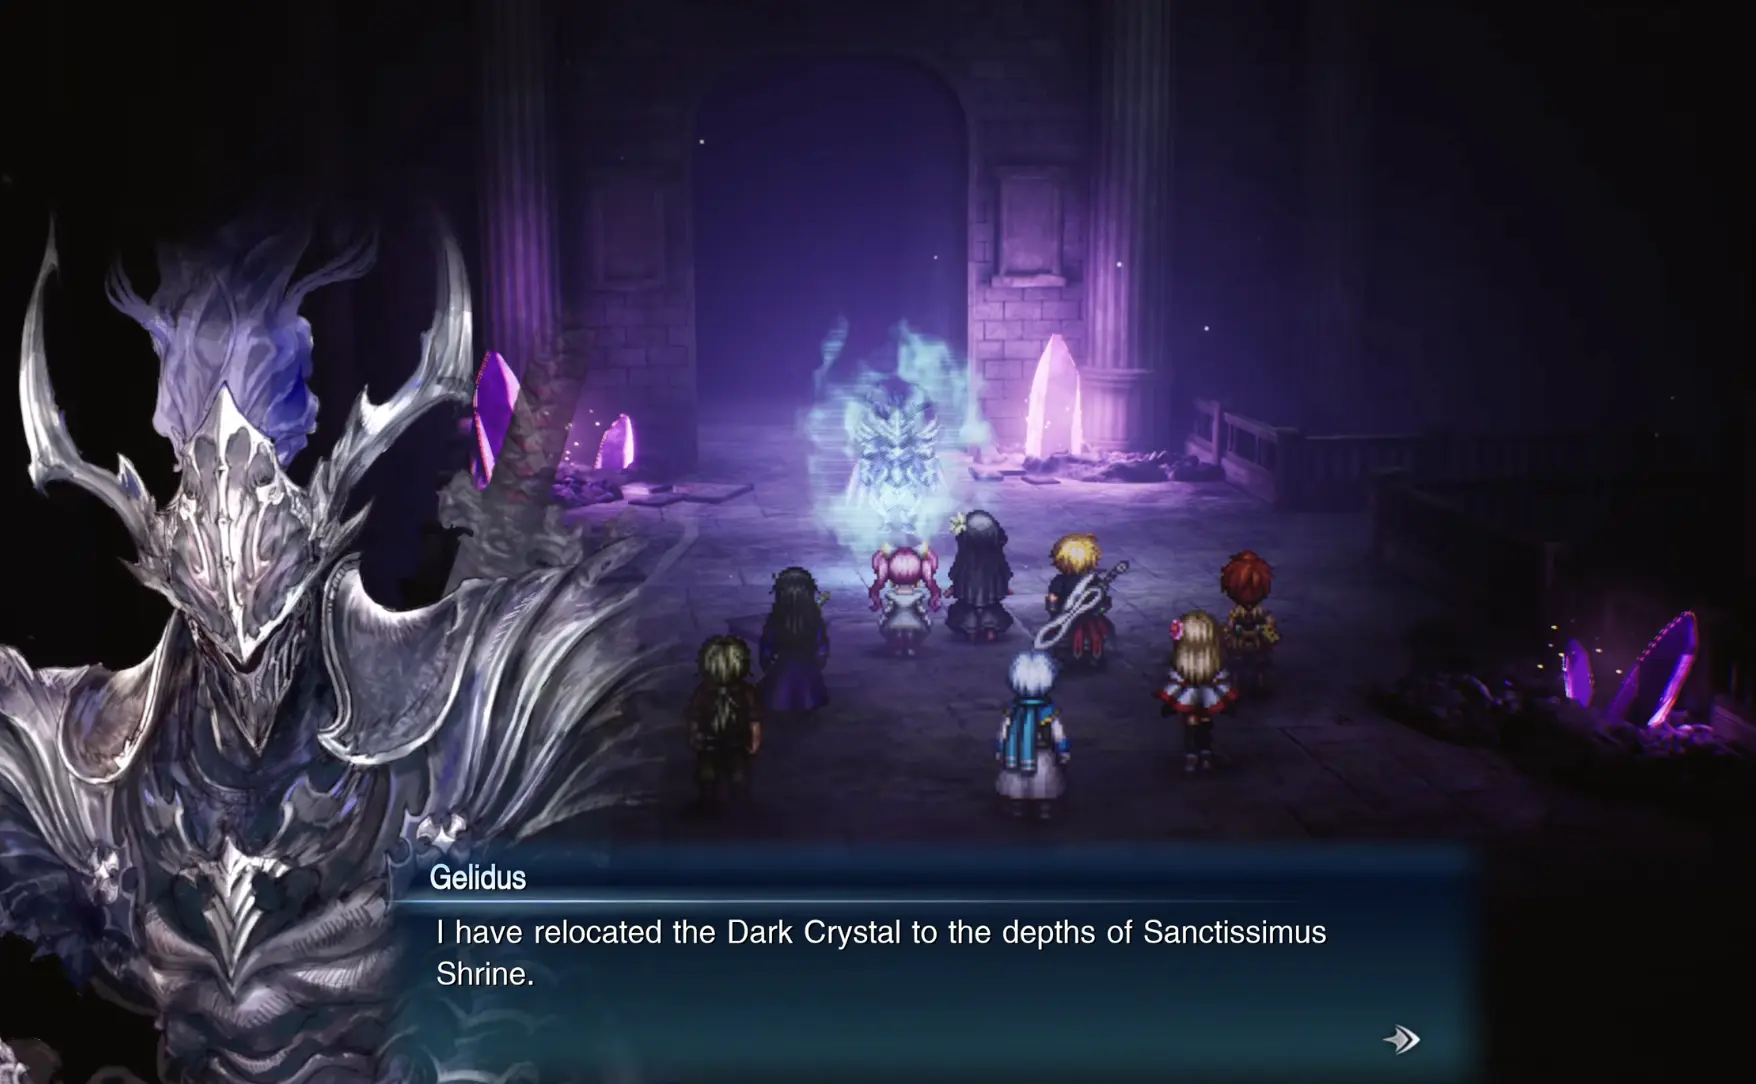
Sakura identifies Sanctissimus Shrine as the party’s next destination, located south of the current area.
Leave Gronoa Shrine and head there.
Enter Sanctissimus Shrine and Read the Trial Inscriptions
Sanctissimus Shrine is built around a sequence of combat challenges.
Sakura explains that warriors who endure the trials and reach the inner chamber may be awarded the title of Paladin.
The route is not opened simply by defeating ordinary enemies along the way. Several trial encounters are introduced by stone inscriptions.
Read each inscription before starting its battle. The wording provides a clue about the mechanic or danger the encounter is testing.
Trial 1: Strike the Enemy’s Weakness
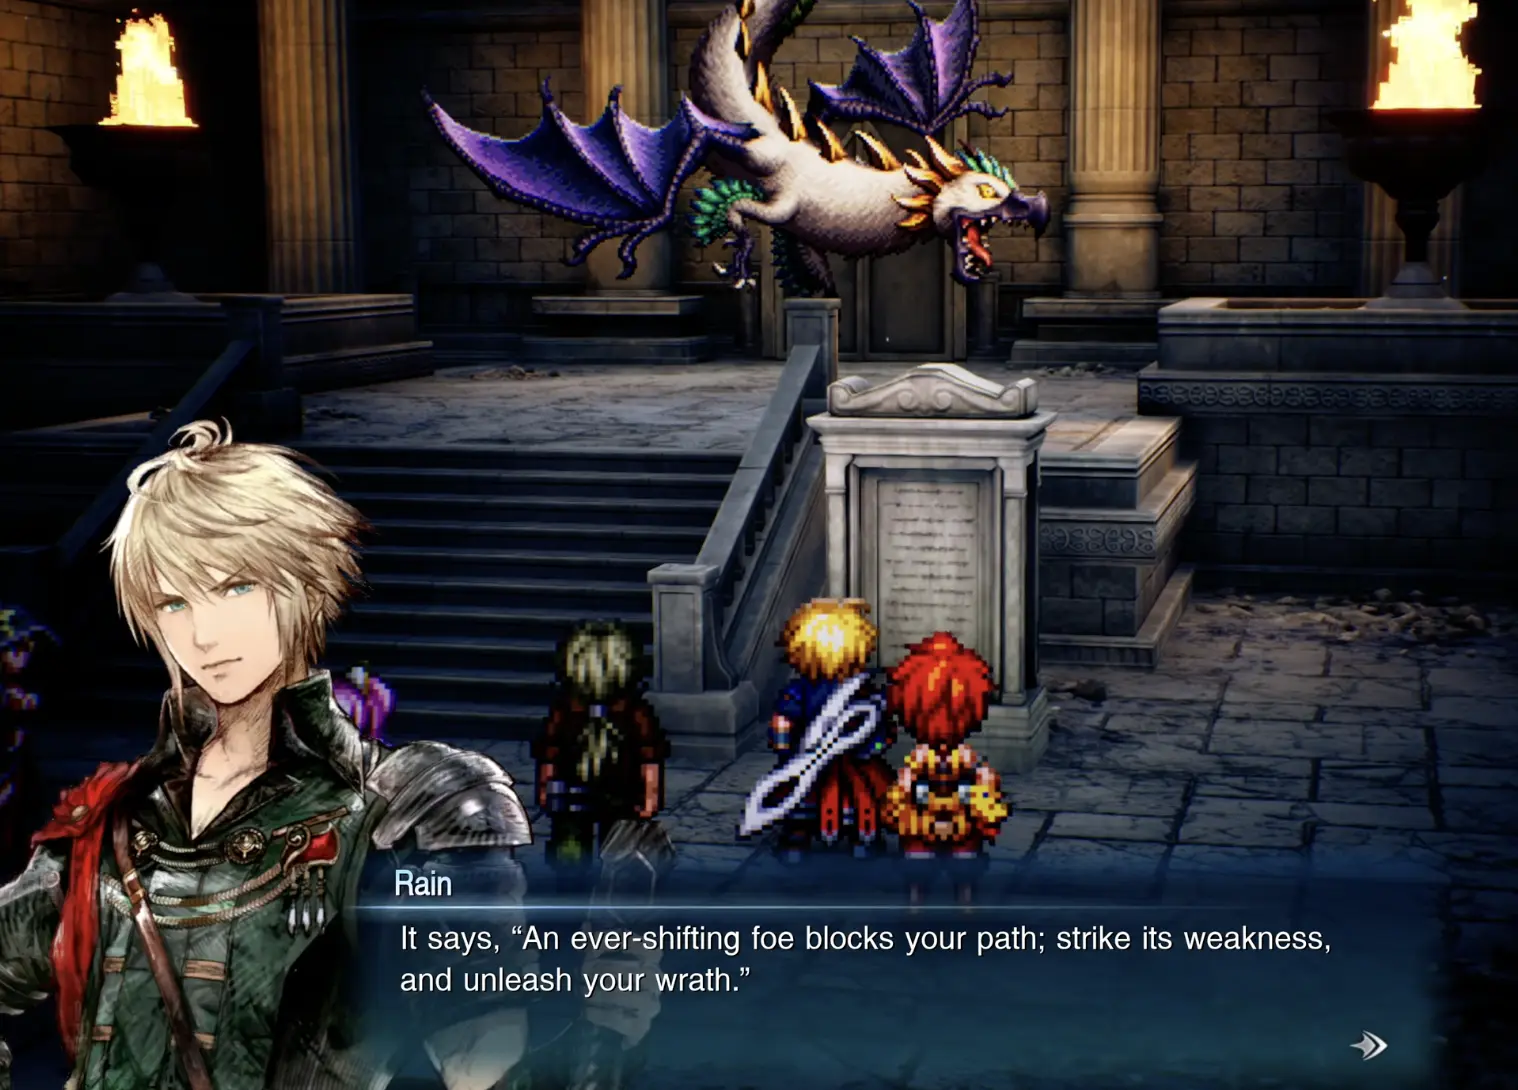
The first inscription warns of an ever-shifting foe and instructs you to exploit its weakness.
Read the stele before starting the battle. Use Libra or the attack feedback to identify effective damage types, then prioritize attacks that trigger the enemy’s Weak indicator.
If an attack stops being effective, check the enemy’s current condition before repeating it.
Trial 2: Defeat Dad Bomb Before It Self-Destructs
The second trial pits you against Dad Bomb, a Level 40 Demon with 84,000 HP.
Its Libra description warns that it self-destructs when its HP is lowered. The danger is therefore tied to damaging the enemy, rather than simply surviving an ordinary heavy attack.
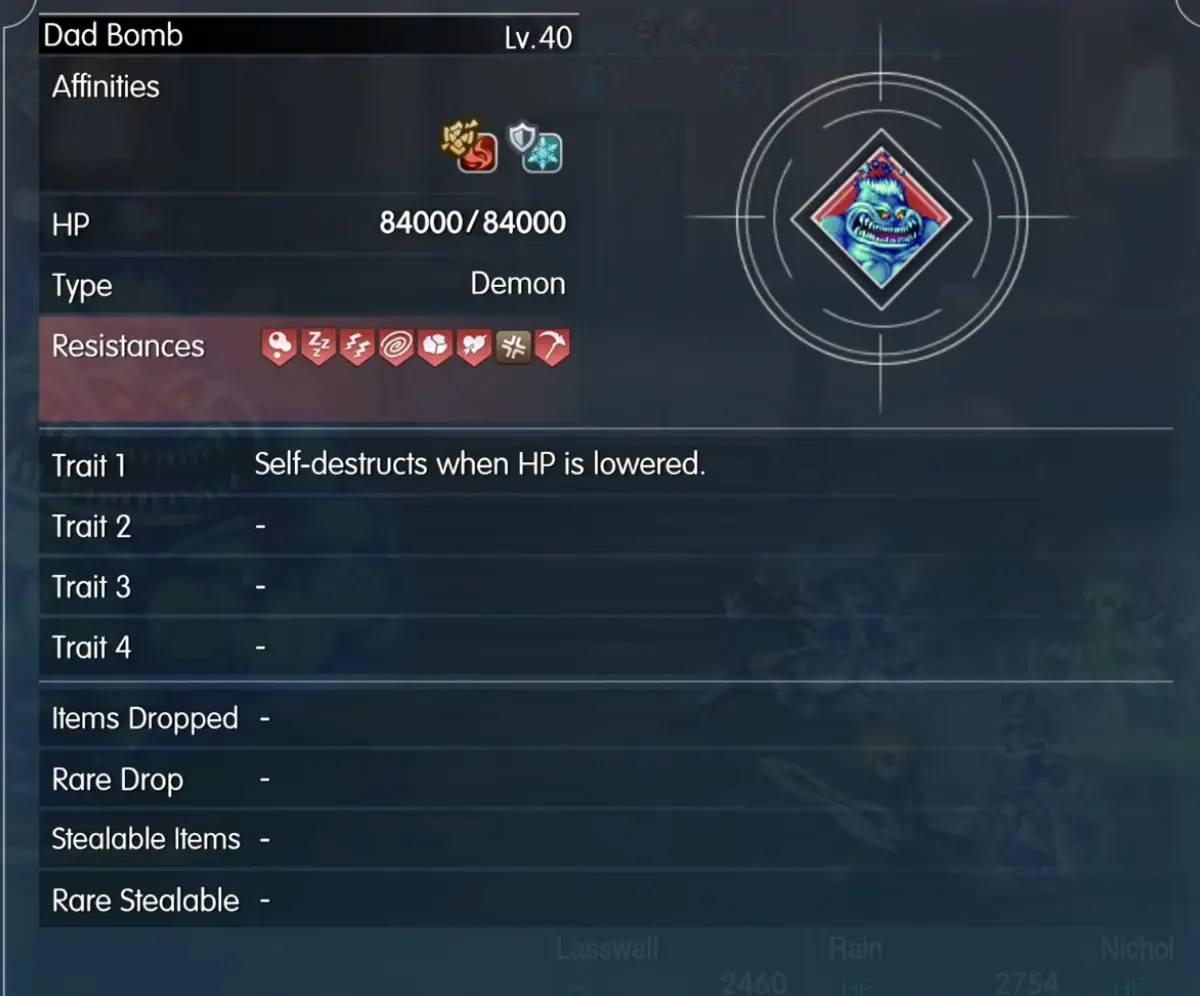
Keep enough damage available to finish Dad Bomb quickly as its HP decreases. If you cannot defeat it immediately, preserve defensive and recovery options instead of leaving the party exposed.
The exact self-destruct threshold is not shown in the enemy’s Libra description, so do not rely on a fixed HP percentage.
Trial 3: Respond to the Enemy’s Changing State
Another stele describes an enemy that is calm in one moment and furious in the next.
The trial points toward an opponent whose behavior changes during battle.
Watch its current state and adapt your response instead of repeating the same actions without considering the change.
Keep the party healthy enough to withstand its more aggressive periods and use opportunities to Stagger it when possible.
Trial 4: Switch Attack Types Against Yakhanati
The fourth trial features Yakhanati, a Level 40 Stone-type enemy with 87,000 HP.
Yakhanati alternates between states that make either physical attacks or magic attacks ineffective.
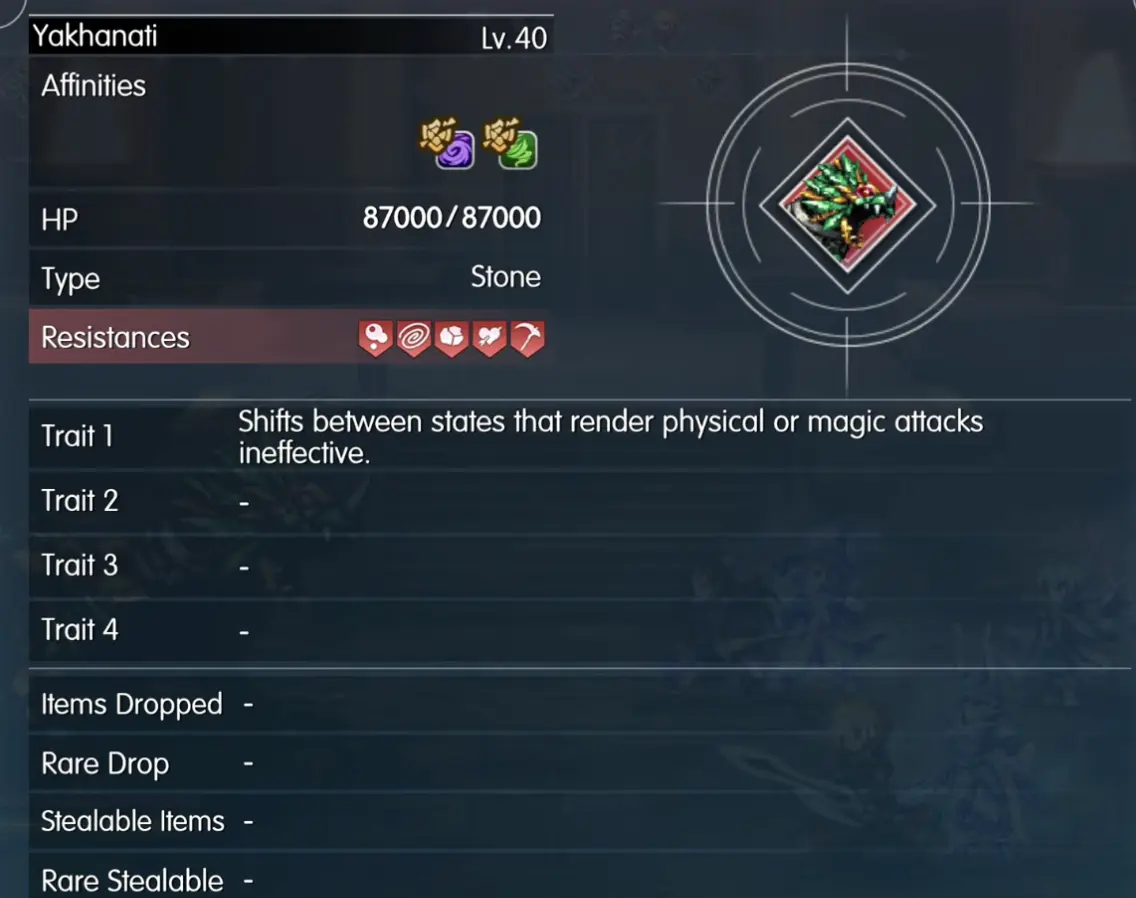
Use both physical attackers and spellcasters rather than committing the entire party to one attack type.
If physical attacks stop dealing meaningful damage, switch to magic. If magic becomes ineffective, use physical attacks instead.
The important decision is which category of attack can damage Yakhanati in its current state. Repeating the same ineffective actions wastes turns.
Trial 5: Defeat Both Arch Gargoyles
The fifth trial pits you against two Arch Gargoyles, marked A and B.
The inscription refers to eternal life, but the immediate objective is to defeat both enemies. Arch Gargoyle A is a Level 40 Stone-type enemy with 33,000 HP.
Both Gargoyles can be Staggered, creating opportunities for extra damage. You can focus your attacks on one enemy to reduce the number of incoming attacks before finishing the other.
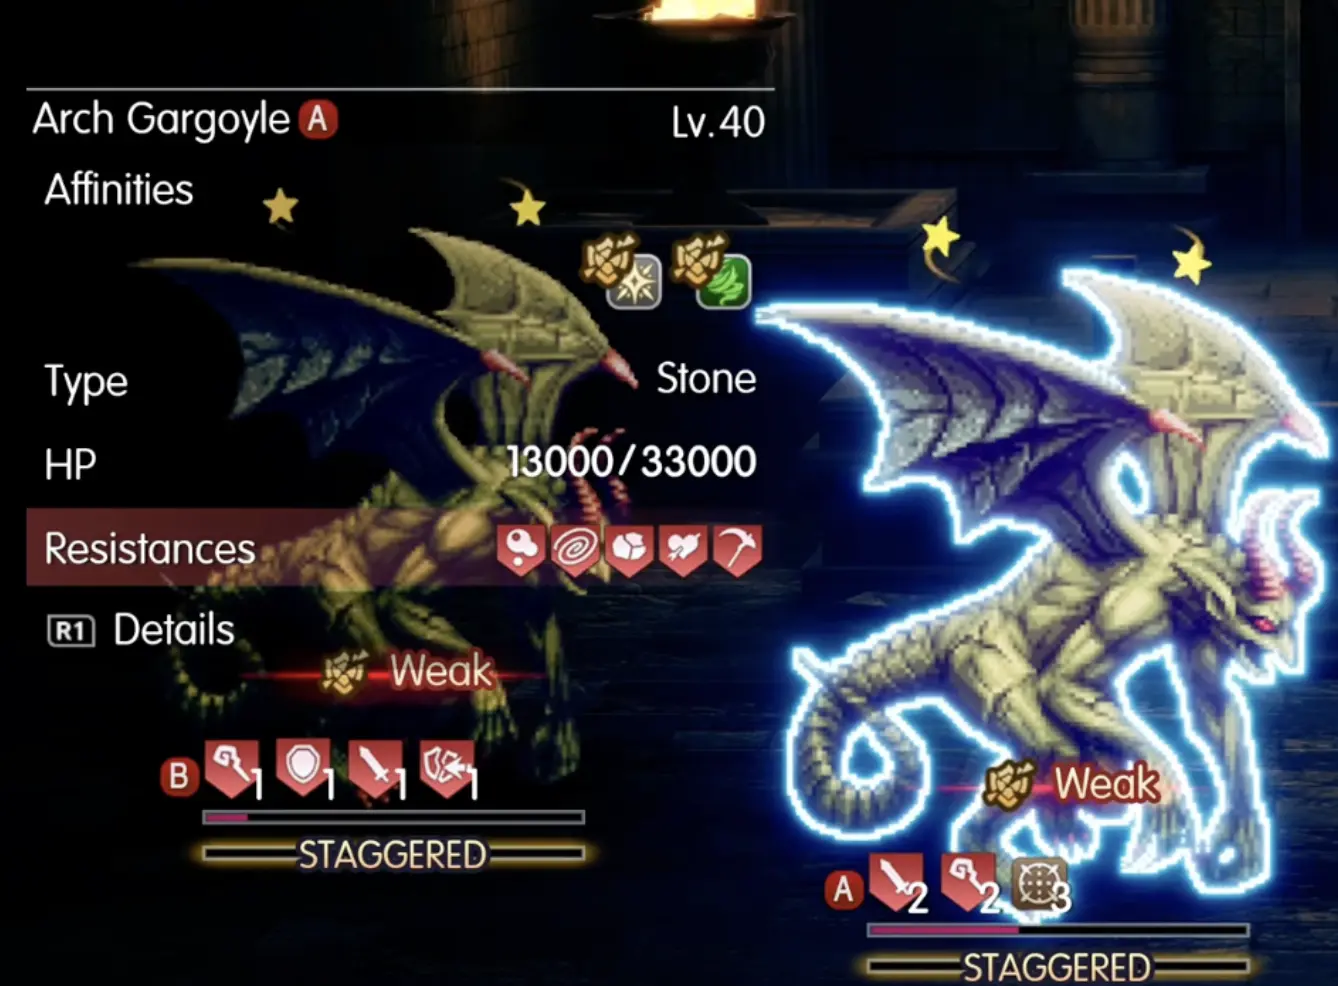
Once both enemies are defeated, continue to the next inscription.
Trial 6: Defeat the Dragon and Prepare for Its Breath
The final monster trial features a Level 42 Dragon with 105,000 HP.
Its affinity information shows a Lightning weakness, giving you a useful option for dealing damage and building Stagger.
The stone inscription also warns that a powerful breath attack is approaching.
Prepare defensive actions and healing before the dangerous attack. Between those attacks, focus on Lightning damage and Stagger opportunities to defeat the Dragon.
After clearing the trial, continue toward the final Paladin test.
How to Complete the Final Paladin Trial
After the combat trials, the party reaches a final inscription.
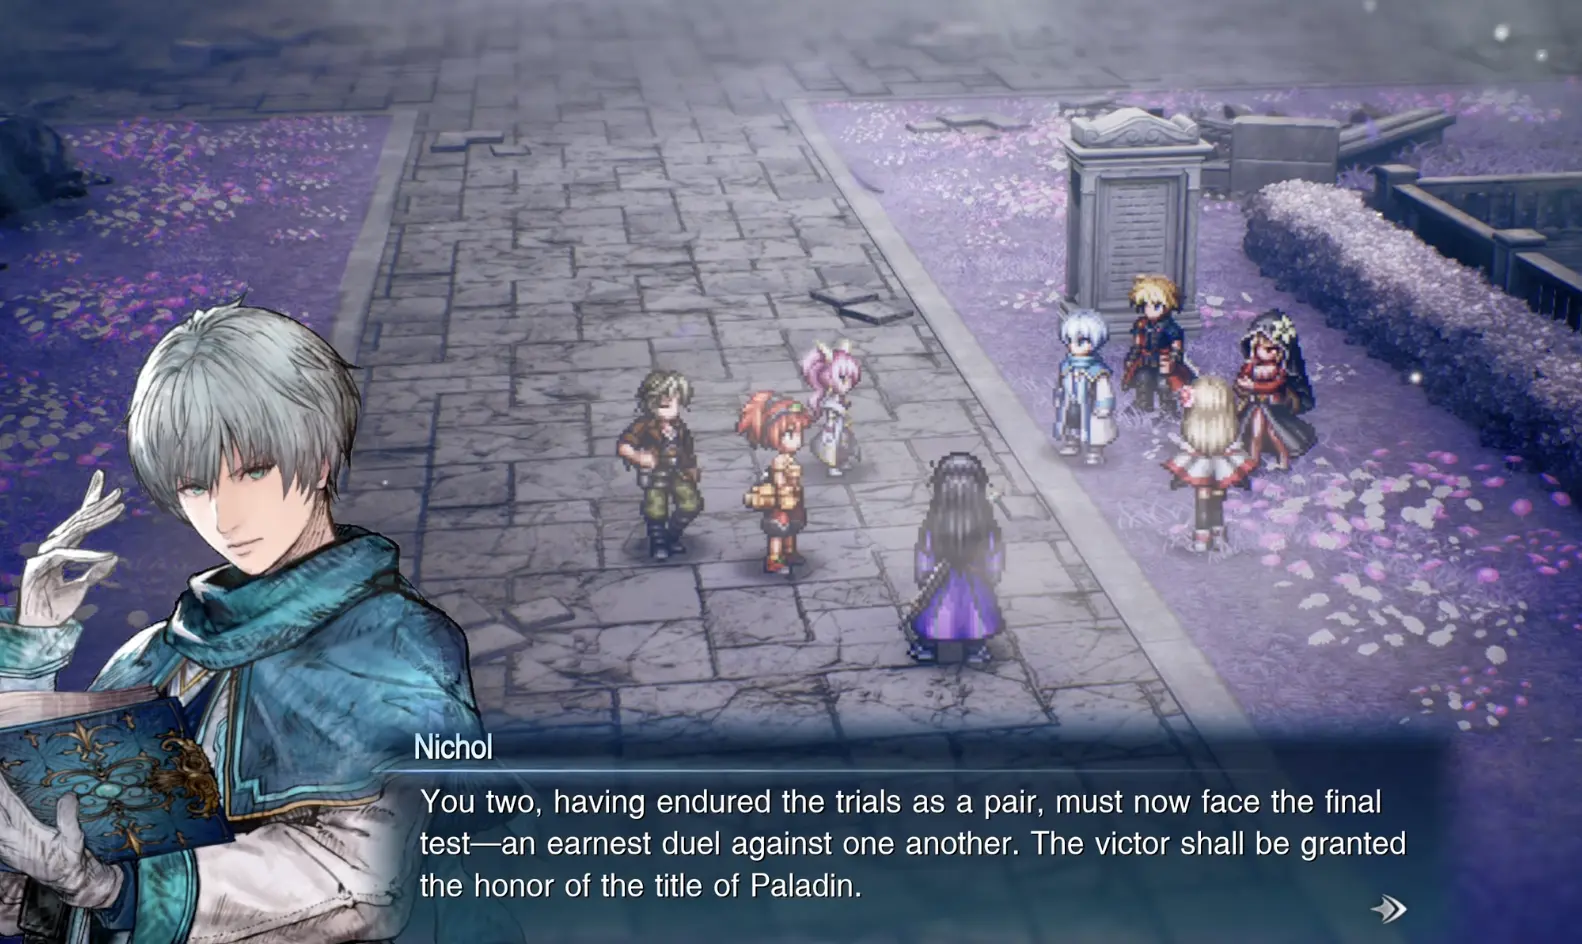
It explains that the two warriors who completed the trials together must now fight an earnest duel against one another.
The winner will receive the title of Paladin.
Rain and Lasswell are the intended participants.
The shrine’s requirement is not merely to stage a convincing-looking fight. Sakura warns that if the two deliberately hold back, the shrine may reject them.
Why Must Rain and Lasswell Fight?
The duel is tied to the rivalry that has developed throughout the story.
Lasswell has spent years trying to become strong enough to stand beside Rain. More recently, he has begun to question whether his own achievements matter if Rain continues to surpass him.
Rain, meanwhile, wants Lasswell to fight him seriously, regardless of which of them wins.
The final trial forces both characters to confront those feelings.
Proceed with their confrontation.
During the encounter, Lasswell initially struggles to fight without reservation. Rain challenges him to stop holding back and prove what he has achieved through his training.
The duel reaches its conclusion through their swordsmanship and the use of Tranquility.
Rain ultimately receives the Paladin title.
This is a story progression requirement, not a separate competition in which you can permanently select a different chapter route by choosing another winner.
Once the duel is resolved, the party is permitted to enter the inner chamber.
Defeat Gelidus in the Sanctissimus Shrine Inner Chamber
After the Paladin trial, continue into the inner chamber and confront Gelidus.
Gelidus is an exceptional warrior who has moved the Dark Crystal to this location because he wishes to test those who seek it.
He first questions whether Rain’s companions are as capable as Rain and Lasswell.
After seeing the party together, he abandons the idea of testing only the Paladin and challenges the entire group.
Gelidus Boss Battle
Gelidus initially intends to test the warrior who received the Paladin title, but after seeing the party’s strength, he challenges everyone together.
Unlike Rain and Lasswell’s earlier duel, this is a full-party battle. You can use your regular party abilities and support skills.
The Paladin trial is the prerequisite for reaching Gelidus. There is no additional shrine key to obtain before challenging him.
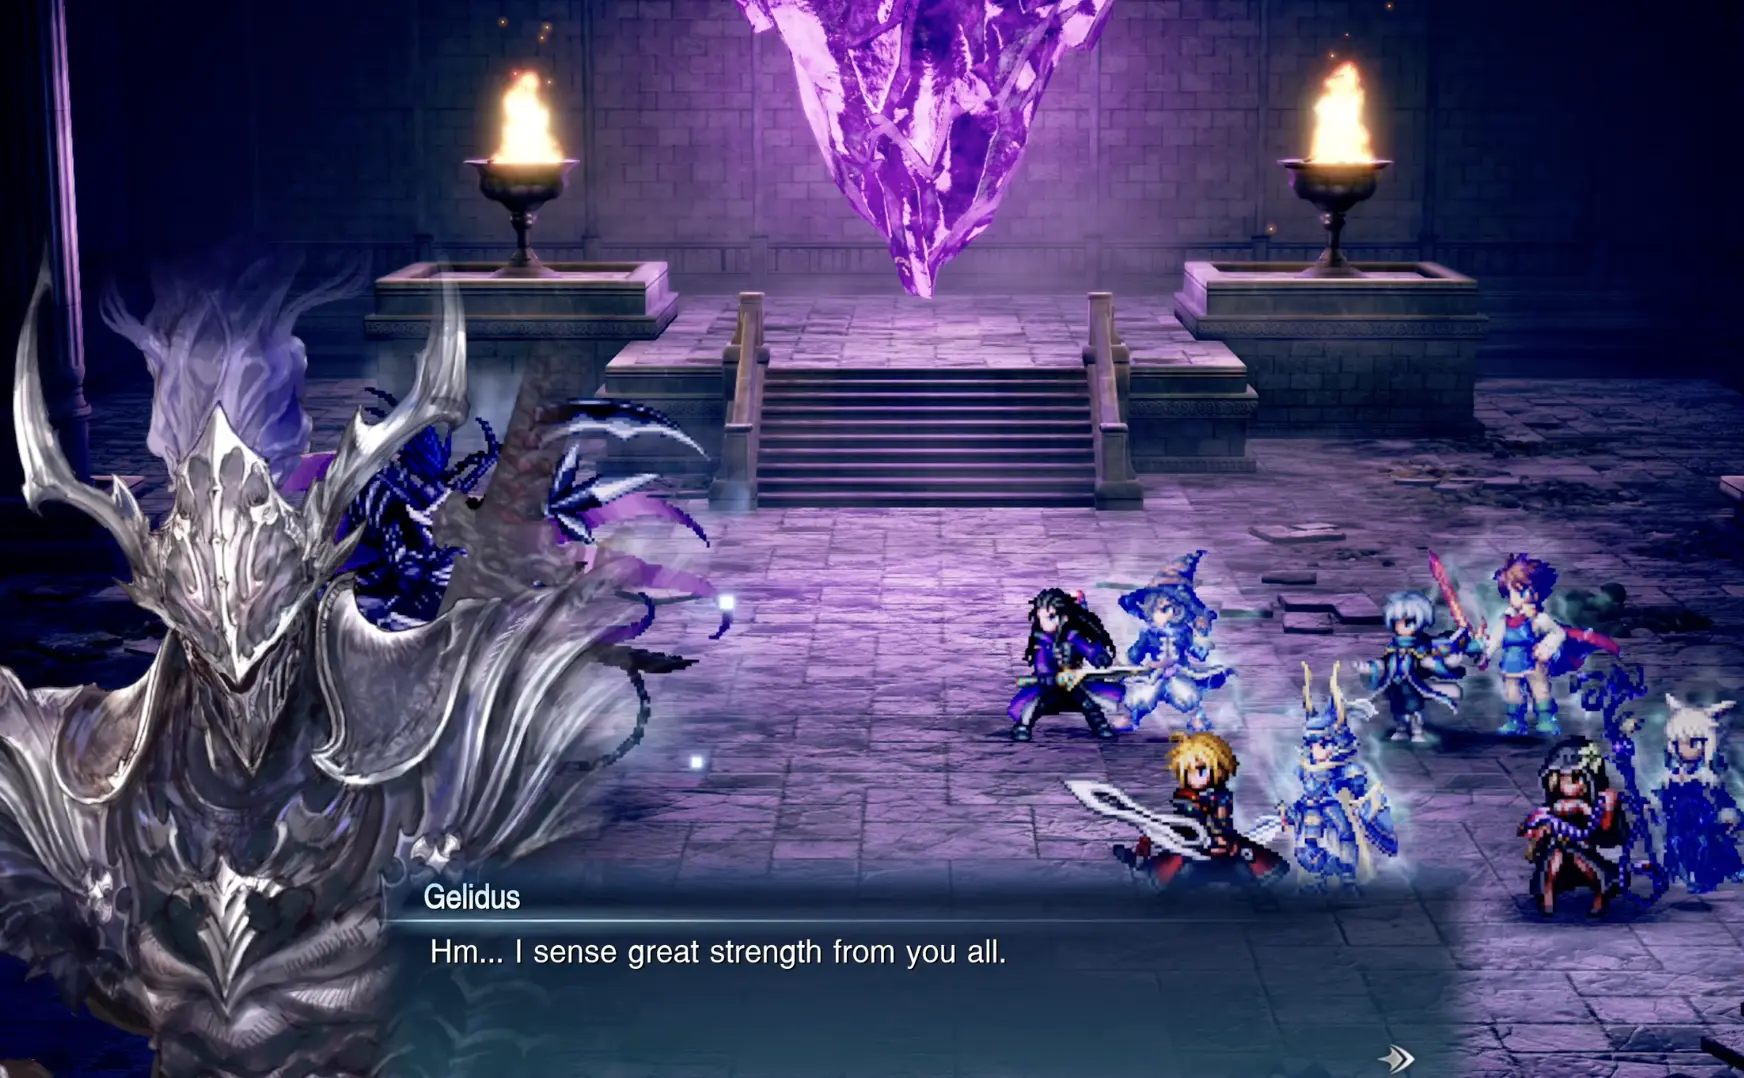
When Gelidus is defeated, he acknowledges the party’s strength.
The remaining members of the Sworn Six appear, and the confrontation reveals a major surprise: Raegen himself is present, even though Umbra has been acting in his place.
The party is close to a final confrontation over the Dark Crystal, but another event interrupts it.
Why Does the Dark Crystal Disappear After Gelidus?
Before the conflict can be resolved, the ground begins to shake.
The dimensional gate connecting Lapis and Palladia is preparing to open, and the unstable magic threatens everyone nearby.
Raegen asks Sakura to teleport the party and the crystal away from the danger.
Sakura cannot transport such a large group and the Dark Crystal with her own magic alone.
A greater power is used to escape.
The party survives, but the Dark Crystal is displaced during the teleportation.
No one knows its new location.
The Sworn Six are also unable to immediately recover it, turning the struggle into a race to find the crystal first.
This outcome is part of the main story. You cannot prevent the crystal from disappearing by defeating Gelidus differently or by returning to the inner chamber.
Finish Chapter 6: Tranquility
After escaping the disaster, Rain’s party is left without a clear lead on the Dark Crystal.
The characters decide to use the Enterprise and investigate anything unusual that might reveal where it has gone.
This concludes Chapter 6: Tranquility.
Continue with the Chapter 7: Reckoning walkthrough to investigate the missing Dark Crystal, reach Town of Sian, and find the route to Wandering Lands.