Final Fantasy Resonance Chapter 1 Walkthrough: Tailing the Truth
Complete Chapter 1 from the Earth Shrine and Mitra to Kolobos Ruins and Siren's Tower, including key battles, route choices, and optional encounters.
Updated:
Quick Answer
To begin Chapter 1: Tailing the Truth, leave Grandshelt Castle and travel to the Earth Shrine. Investigate the damaged barrier, enter the shrine with Rain and Lasswell, and continue toward the Earth Crystal. After the shrine events, your next destination is Mitra, where a locked room in Rain’s former home leads to the first Vision unlock.
Chapter 1 takes you through the entire playable story of the free demo. The main route starts at the Earth Shrine, returns to Grandshelt Castle, crosses the Lanzelt desert, and ends with a ship leaving Grandport.
A few objectives are less straightforward than their names suggest. Reaching Felicitas first requires an overnight stop and a chocobo in Kol. The Kolobos Ruins involve rescuing Emma and dealing with a monster whose weakness changes between encounters. At Grandport, finding a ship is not enough: Siren must calm the sea before anyone can depart.
You can complete the chapter without defeating every optional enemy. Some of the strongest encounters available in the demo are deliberately outside the main route.
Investigate the Earth Shrine
The opening sequence introduces Rain and Lasswell’s assignment to investigate the Earth Shrine. Once control passes to the party, leave Grandshelt Castle and travel toward the shrine.
During the airship journey, a mysterious girl warns Rain that the Earth Crystal is in danger. When the party arrives, the shrine’s protective barrier has already disappeared.
Rain orders the other knights to remain outside with the airship while he and Lasswell investigate.
A dialogue choice appears before entering the shrine. Choices at this point can affect character attributes, but the investigation continues regardless. There is no requirement to obtain a particular attribute result before entering.
Follow the passages deeper into the Earth Shrine until you approach the chamber containing the crystal.
Defeat Belmodar to Reach the Crystal
Belmodar blocks the entrance to the crystal chamber. Its thick hide makes physical attacks less effective, and Lasswell suggests using Rain’s Fire magic.
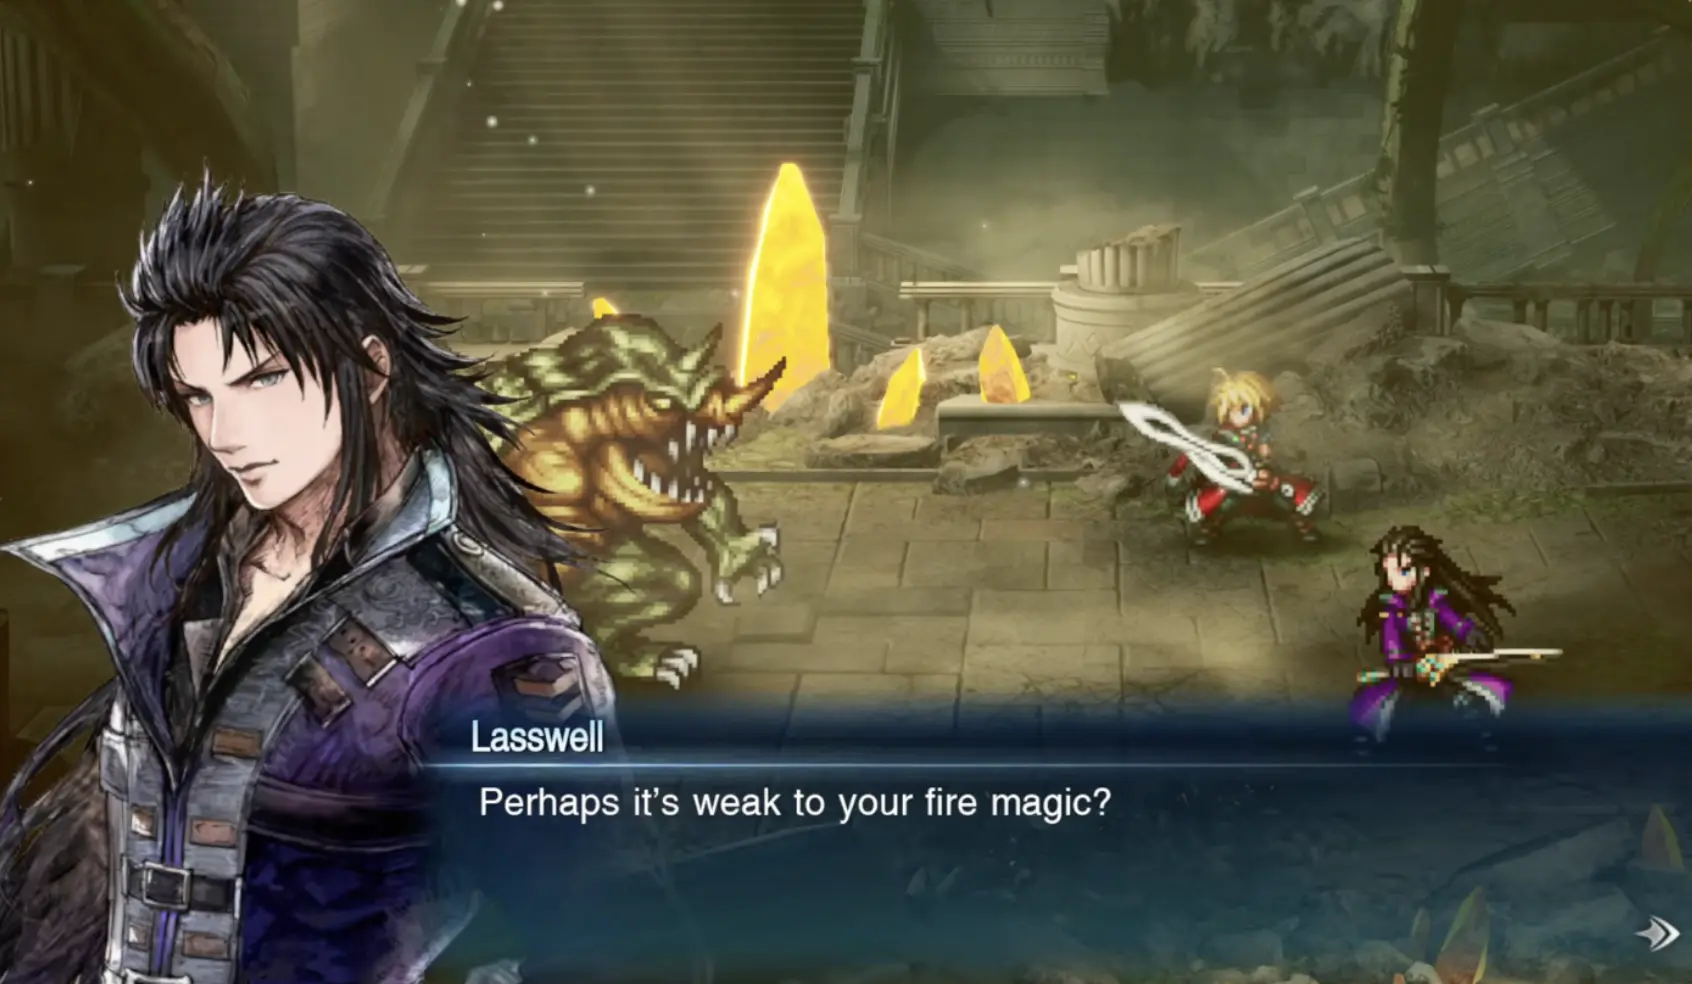
Belmodar is a level 4 enemy with 2,000 HP, weak to Fire. Rain already has access to the element needed for the fight, so there is no need to leave the shrine to unlock an additional ability.
Defeat Belmodar and enter the crystal chamber.
The armored stranger inside destroys the Earth Crystal before Rain and Lasswell can prevent it. The party cannot change this outcome by dealing more damage or returning to an earlier part of the dungeon.
After the encounter, the knights left outside are found dead and the airship is destroyed. Although Rain initially wants to report directly to the king, Lasswell insists on visiting their former home in Mitra first.
Go to Mitra next, not directly back to Grandshelt Castle.
Find the Locked Room in Rain’s House at Mitra
Travel to the town of Mitra and make your way to Rain’s former home.
Lasswell explains that Rain’s father, Sir Raegen, left him a key to use if something ever happened to the crystals. Now that the Earth Crystal has been destroyed, the condition for using the key has been met.
Enter the house and find the previously locked interior door.
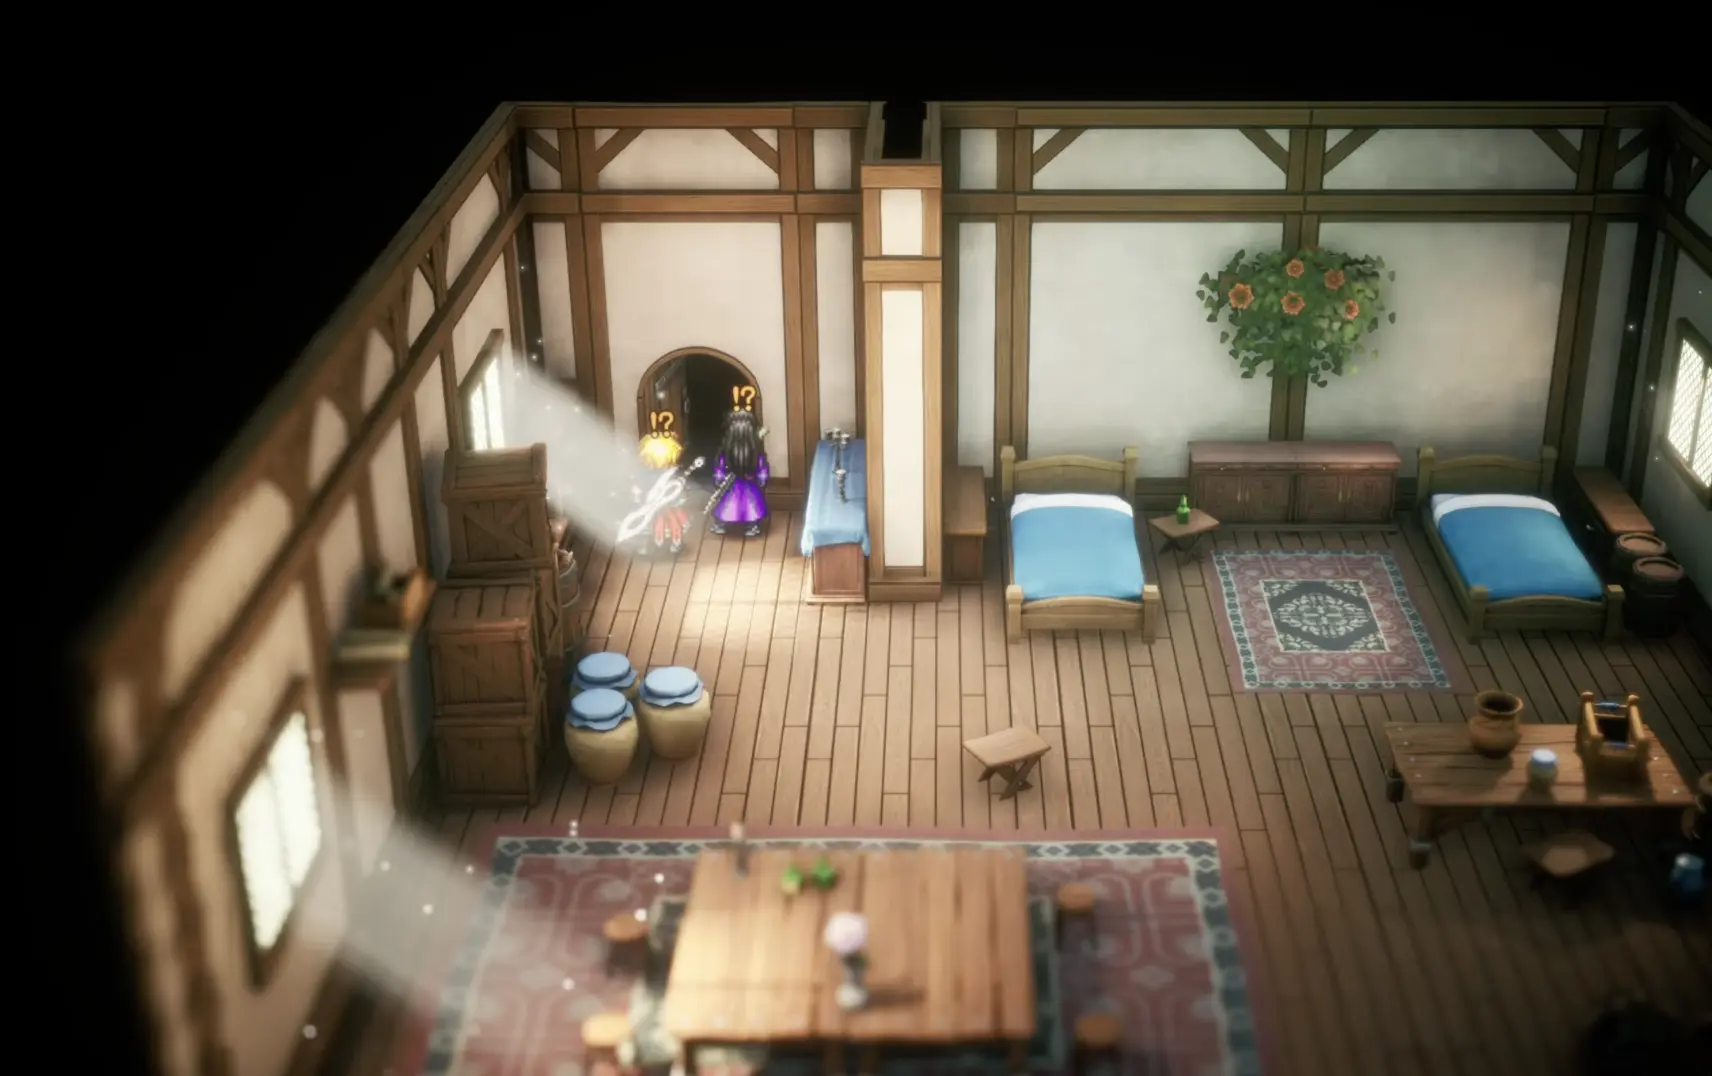
The objective to investigate Rain’s house is resolved by opening this door and following the passage beyond it. You do not need to search the surrounding town for another key.
The passage leads into the Farplane, where Rain and Lasswell encounter the Will of Light.
Unlock and Equip Your First Visions
The Will of Light introduces Vision Crystals and grants Rain and Lasswell the ability to call upon heroes from other worlds.
The story provides the initial Visions Tronn and Leah. Once they have been obtained, open the party’s equipment menu and assign a Vision to each character to complete the next tutorial objective.
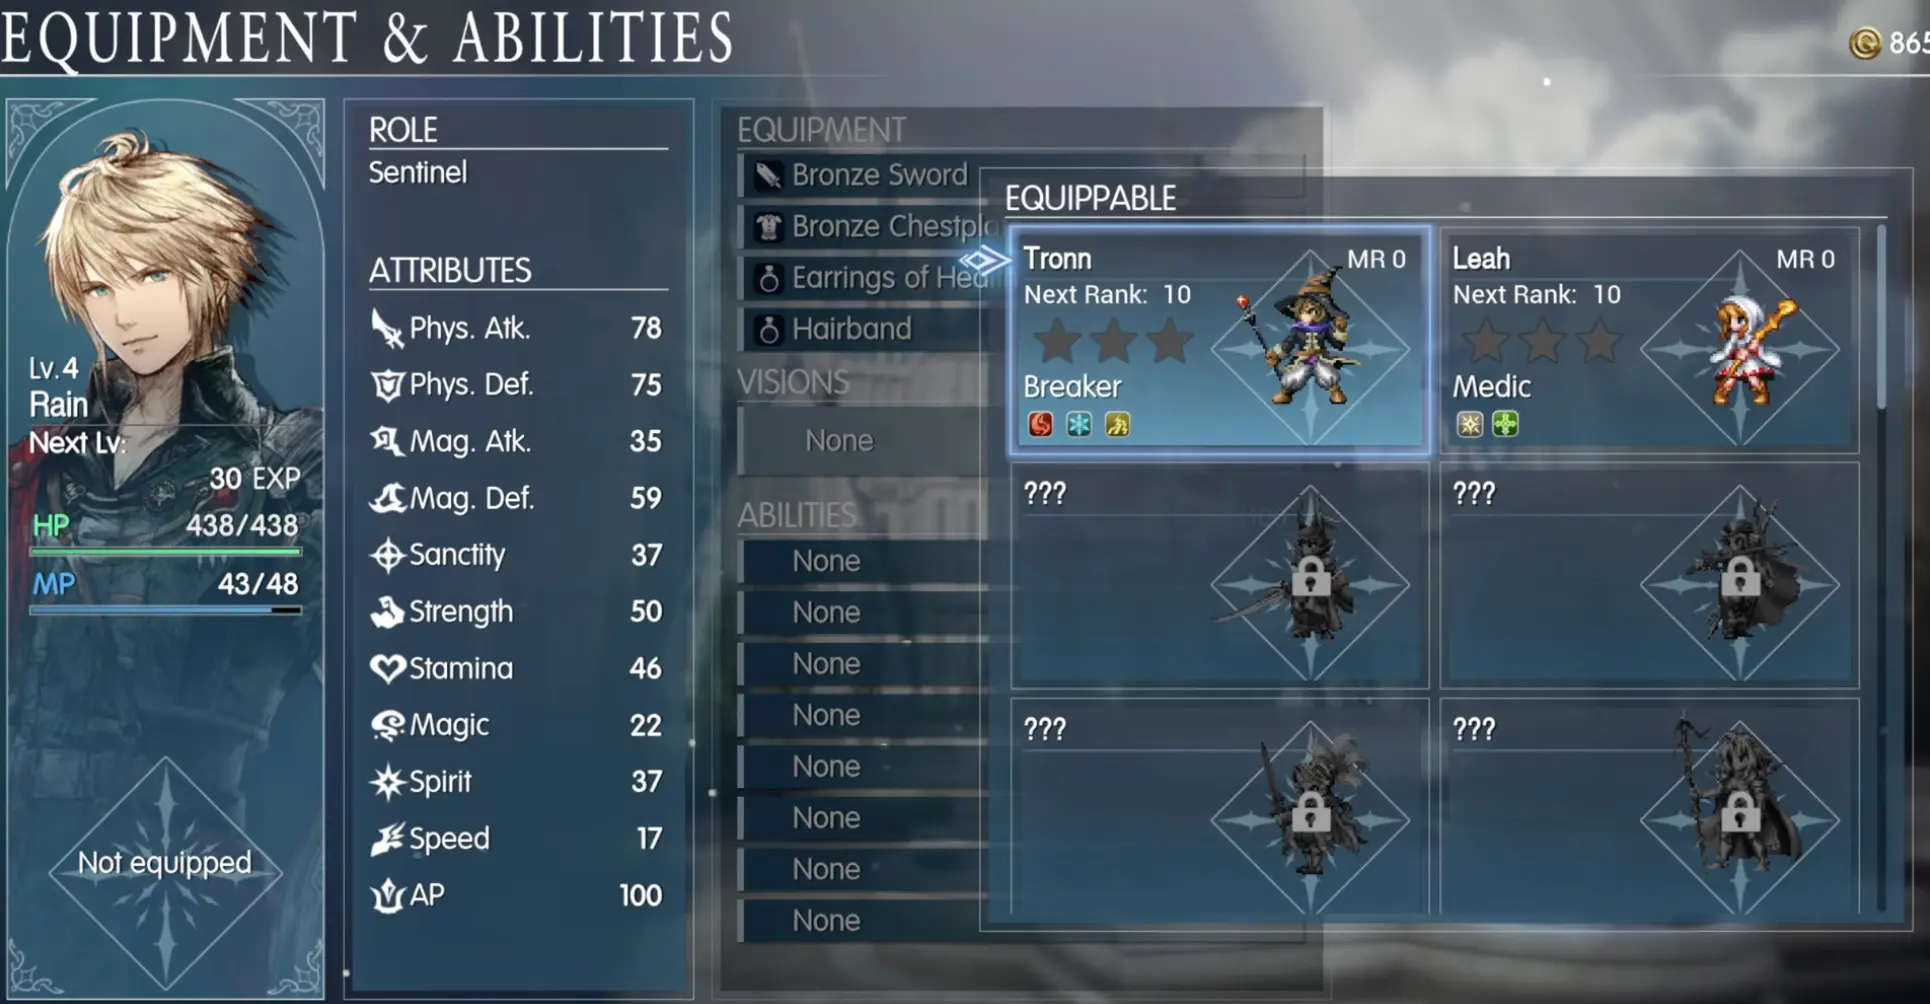
The first practical distinction between these two Visions is their available magic. Tronn supplies offensive elemental magic, including Thunder, while Leah provides useful support and defensive abilities.
The choice is not permanent. Visions can be reassigned, so the immediate priority is to equip them and make their abilities available for the next story encounter.
There is also an important reason to keep both: the castle battle ahead involves undead enemies, while the last major boss of the chapter is weak to Lightning and can inflict Charm. Tronn and Leah each offer something useful for those situations.
Once the equipment objective is complete, leave the Farplane and return toward Grandshelt Castle.
Save the King at Grandshelt Castle
The capital is under attack when Rain and Lasswell return.
Enter the castle and meet Charlotte, who joins the effort to rescue the king. The objective is to reach the throne room, not to defeat every enemy throughout the capital.
Use the Undead Weakness During the Castle Rescue
While moving through the castle, you encounter soldiers fighting the attackers. Survivors explain that their enemies appear to be undead and react painfully to Potions and Phoenix Downs.
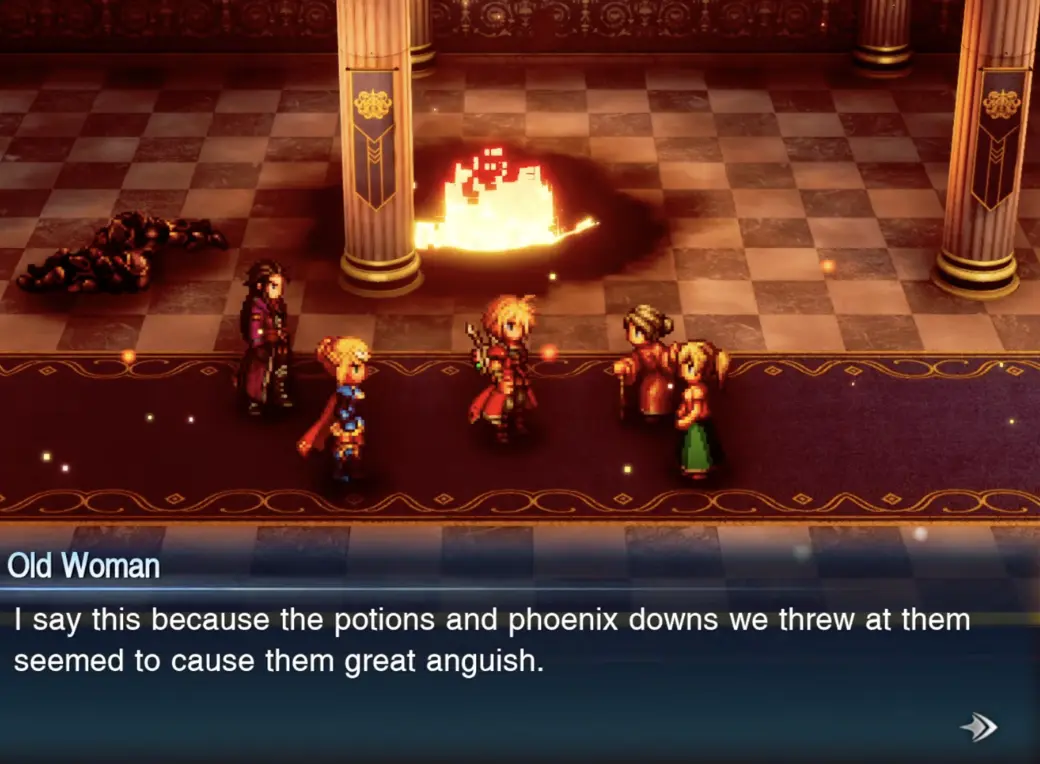
This is a useful alternative when elemental abilities are limited. Healing items are not restricted to helping your own party in these encounters.
The information is particularly relevant because Rain and Lasswell are still travelling without Fina as a regular party member.
Continue toward the throne room, assisting the guards where required.
Defeat Hell’s Rider and Its Skeletons
Hell’s Rider blocks the approach to the throne room, accompanied by three Dark Skeletons.
The boss has 4,000 HP and is weak to Ice and Light. Its escorts are vulnerable to Light, making Leah’s Banish a useful option.
The unusual part of this encounter is that Hell’s Rider becomes more dangerous after its supporting skeletons are defeated. Clearing every smaller enemy immediately can leave the boss alone in a stronger state.
Keep the boss’s health and turn order in mind before eliminating its escorts. Ice attacks from Lasswell and Light attacks provided through a Vision are useful here, but the main decision is whether removing the skeletons will expose the party to Hell’s Rider’s stronger attacks.
After the battle, Charlotte stays behind to help the surviving soldiers, while Rain and Lasswell continue toward the king.
The confrontation in the throne room with the Veritas of the Dark is a story event. Rain cannot defeat this opponent at this stage, even after obtaining Visions.
Fina intervenes, and the enemy escapes with the Divine Sigil.
Once the king is safe, the investigation shifts to Kolobos Ruins, where similar wraith soldiers have been sighted.
Go Through Kol Before Continuing to Felicitas
The next major investigation is at Kolobos Ruins, but the journey leads through Felicitas and the desert first.
Charlotte recommends Felicitas as the nearest settlement to the ruins. Lasswell also suggests collecting additional Visions before confronting the armored enemies again. Charlotte marks sanctum locations on the map.
You may explore those sanctums before proceeding, but the chapter’s next travel sequence does not require completing every one.
Fina joins Rain and Lasswell for the journey.
Head west from the capital and cross into the desert region. The road takes the party toward the Village of Kol, where the next travel arrangements are made.
Stay at Kol’s Inn and Rent a Chocobo
The party cannot leave for Felicitas immediately after reaching Kol. Rain and Lasswell decide to stay overnight before continuing across the desert.
Complete the travel arrangements in this order:
- Stay at the inn. Speak with the innkeeper and rest for the night. The accommodation is free because Rain and Lasswell are knights of Grandshelt.
- Return to the chocobo keeper. After resting, speak with the stablehand and take a chocobo. The rental is also free for the knights.
- Cross the southern bridge. Follow the road toward Felicitas while riding the chocobo.
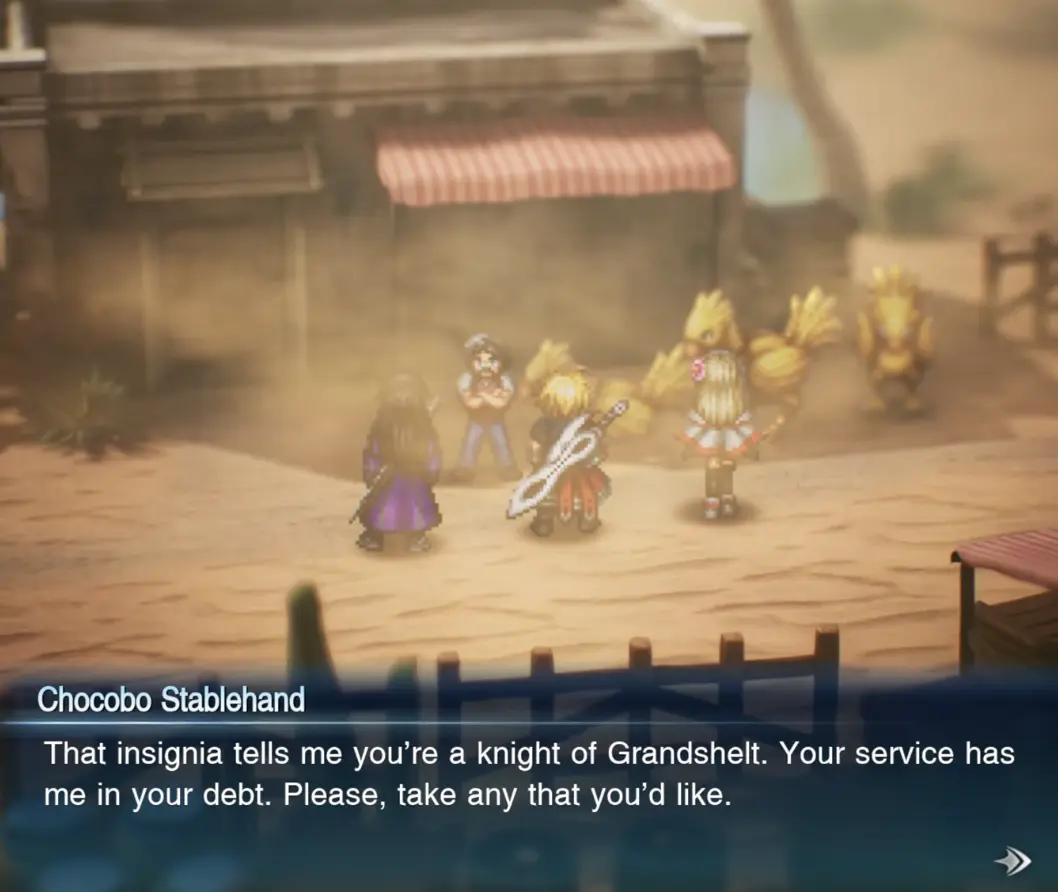
Staying mounted also lets you avoid the optional Antlion encounter in Lanzelt. Antlion is a level 20 enemy with 20,000 HP that counterattacks physical hits and is weak to Water. It is considerably stronger than the required enemies on this route.
There is no need to fight it to reach Felicitas. Save that challenge for later if your priority is finishing Chapter 1.
Help Emma and Reach Felicitas
On the way to Felicitas, the party encounters a young girl being attacked by monsters. Defeat the attackers and speak with Emma, who explains that she was collecting flowers for her mother’s birthday. Her mother works with an archaeological survey team at Kolobos Ruins, and Emma plans to go there alone.
Rain and Lasswell escort her to Felicitas to speak with her aunt. There, the party learns that the survey team—and the people sent to investigate its disappearance—have not returned.
Emma still intends to find her mother. Follow the new objective toward Kolobos Ruins, southeast of Felicitas. The search for the missing expedition now overlaps with Rain’s investigation into the wraith soldiers.
Find Emma’s Mother in Kolobos Ruins
Leave Felicitas and travel southeast to Kolobos Ruins.
Enter the ruins and continue into the interior. The area contains wraith soldiers resembling the knights who died during the attack on the Earth Shrine.
The search eventually leads to Emma, who has gone ahead despite the danger.
The Hunger: Two Encounters With Different Weaknesses
The Hunger appears twice during the Kolobos Ruins investigation. Its elemental weakness changes between encounters, so the same attacks will not be equally effective in both fights.
- First encounter — Level 9, 2,500 HP: Weak to Ice. Lasswell’s Ice attacks are effective against this version.
- Second encounter — Level 10, 7,000 HP: Weak to Light, not Ice. Fina’s Light attacks are useful here, especially because the accompanying Enhanced Wraith Soldiers share the same weakness.
The second fight also introduces a problem with reinforcements. The Hunger can summon additional allies, so repeatedly eliminating every escort without damaging the boss can prolong the battle.
Use Light attacks against the immediate threats, then concentrate on defeating The Hunger. Both encounters occur during the same investigation; you do not need to leave the ruins and return to trigger the rematch.
Open the Return Shortcut Inside the Ruins
As the party moves deeper into the facility, a gap separates the current passage from a route leading back toward the entrance.
The characters identify an object that can be placed across the gap.
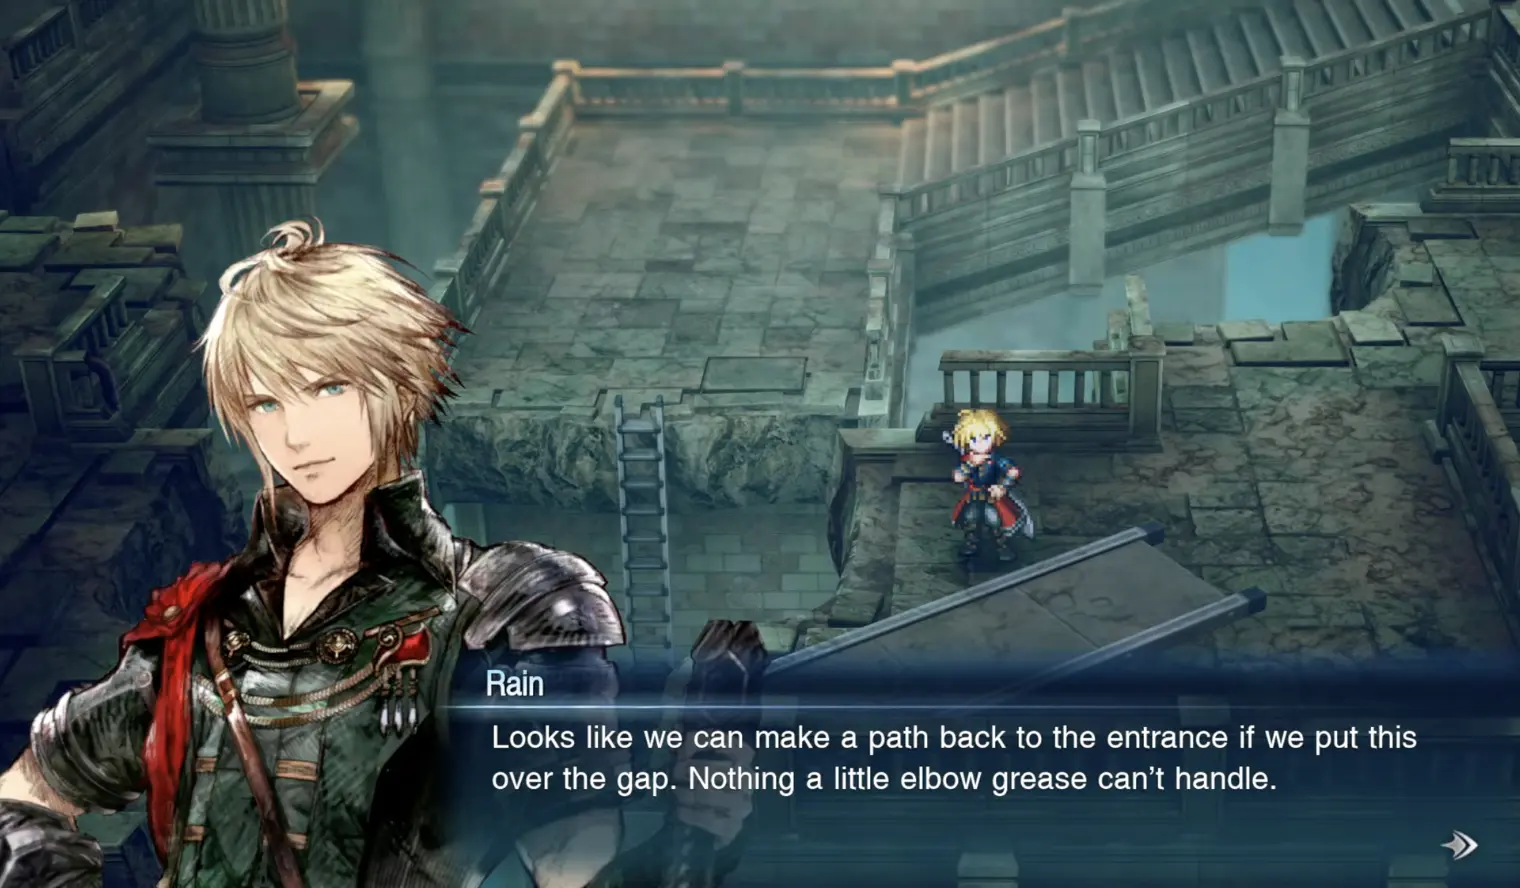
Interact with the object and position it across the gap. This establishes a shorter return route, so you do not need to retrace every earlier passage when leaving the facility.
The shortcut is worth opening when you reach it, especially if you still intend to collect items or revisit the entrance.
Confront Lazeroth and Rescue the Prisoners
Continue through the facility until you meet Lazeroth, the researcher responsible for turning dead soldiers into wraiths.
The encounter reveals that the missing survey workers have been imprisoned for his experiments. Defeat the enemies he sends against the party and continue searching for the captives.
The confrontation does not end with Lazeroth being permanently defeated. He escapes after forcing the party to fight his creations.
After the battle, Emma discovers her mother’s belongings and a crystal containing her mother’s remaining thoughts. This triggers the story sequence involving Emma and the Vision-like manifestation.
Allow the event to finish, then free the surviving prisoners from the facility.
Once the prisoners have been rescued, the party’s investigation is complete. Rain decides to pursue the Sworn Six rather than immediately returning to Grandshelt.
Lasswell points out that the party needs a ship to reach the next continent.
Travel west across the desert to Grandport.
Find a Ship in Grandport
Enter Grandport and proceed to the harbor to ask about passage to Dirnado.
The sailors refuse to depart because the sea is too rough. Waiting for ordinary weather conditions is not a practical solution: the sailor cannot say whether the waves will settle in days or months.
Normally, Siren calms the water with her song, but she has not been heard recently.
Ask where to find her. The sailor directs the party to Siren’s Tower, northeast of Grandport.
The objective changes to visiting Siren, and you must complete that encounter before the ship can leave.
Prepare for Siren Before Leaving Grandport
Siren’s two main threats are Allure, which can Charm the party, and her resistance to Water damage. Prepare for these before leaving Grandport.
- Charm protection: Grandport’s accessory merchant sells Monk’s Prayer Beads for 1,500 gil each, with two available to purchase. Another pair can be found inside Siren’s Tower. The accessory prevents Charm, while Leah’s Nullify Charm passive offers another way to protect a character without using an accessory slot.
- Lightning damage: Siren is weak to Lightning. Tronn provides Thunder through the Vision system, and Lightning Scrolls found around Grandport offer another option. Keep those scrolls for the boss rather than spending them on ordinary encounters.
These preparations are more useful for this fight than replacing otherwise serviceable equipment with another basic weapon.
Enter Siren’s Tower and Reach the Summit
Travel northeast from Grandport toward Siren’s Tower.
The entrance initially appears locked.
You do not need to find a physical key elsewhere in Grandport.
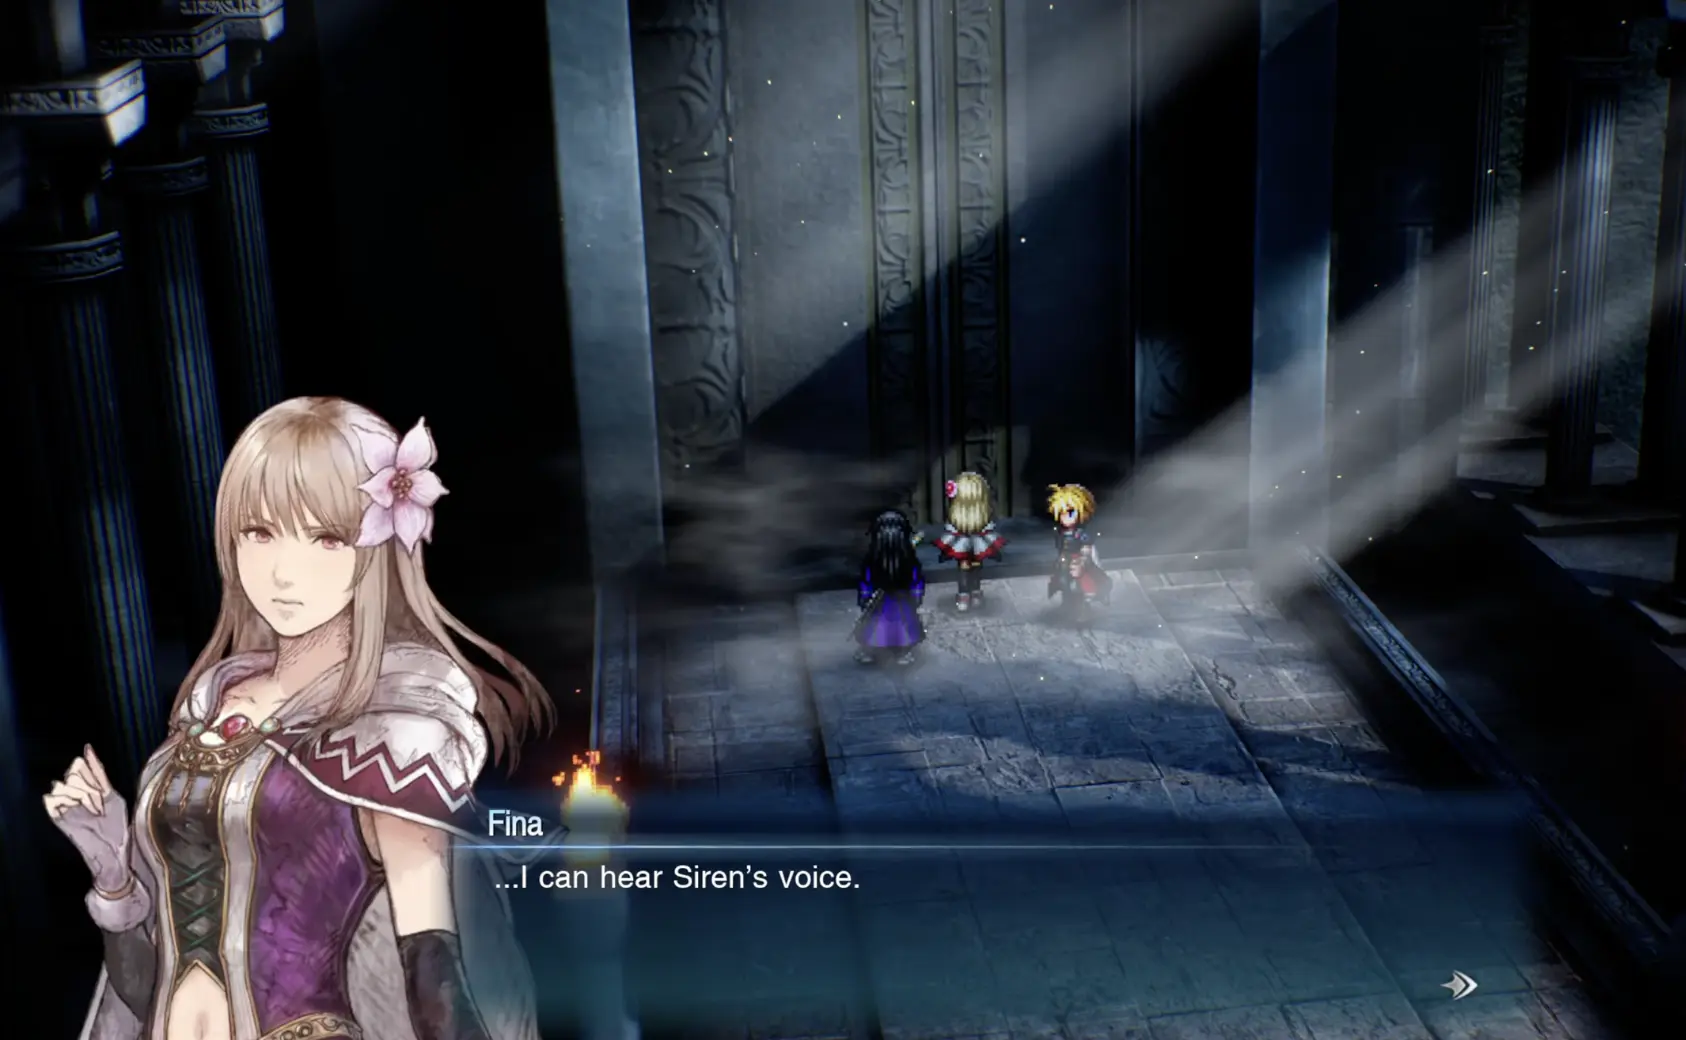
Fina hears Siren speaking and asks to be let inside so the party can cross the sea. The tower becomes accessible through this story interaction.
Continue up through the tower, following the stairways and internal platforms toward the upper save point and the summit.
The tower contains useful supplies, including an additional pair of Monk’s Prayer Beads and a Magicite Shard. If you still need Charm protection, collect the accessory before proceeding to the boss.
The Gilgamesh Chest Is a Scripted Encounter
One chest inside Siren’s Tower contains the Genji Gloves, but opening it triggers an unusual encounter with Gilgamesh.
Gilgamesh examines the party’s weaknesses and eventually takes the Genji Gloves.
You are not expected to defeat Gilgamesh to keep the gloves. His departure and the loss of the item are part of the encounter, not a mistake caused by choosing the wrong attack.
There is no reason to spend valuable recovery items trying to prevent that scripted theft.
The event is optional. If you prefer to continue directly toward Siren, you can leave this chest alone.
After exploring the tower, return to the upper save point, restore the party’s HP and MP, and continue to Siren.
How to Defeat Siren in Chapter 1
At the summit, Siren agrees to calm the sea only after Rain’s party proves its strength in battle.
Siren is a level 11 boss with 20,000 HP and a 550-point Stagger gauge. She is weak to Lightning and resists Water damage.
Her most dangerous ability is Allure, which can Charm multiple characters. A Charmed party member may act against your own team, so the protection arranged in Grandport matters here. Without it, several affected characters can leave you unable to control the fight.
Use Tronn’s Thunder or other available Lightning attacks to exploit Siren’s weakness and build Stagger. Once she is Staggered, use that opening for your stronger attacks.
Siren fights without additional enemies. Defeat her to complete the trial and gain her assistance in calming the sea.
What You Get After Beating Siren
Defeating Siren calms the sea and grants the party its first Esper.
The Normal-difficulty encounter rewards include 700 EXP, 2,100 gil, and a Magicite Shard, in addition to Siren joining your available summons.
Siren’s help removes the obstacle preventing ships from leaving Grandport.
After the battle, Fina’s connection to Espers becomes clearer, and the party agrees to return to the harbor.
Return to Grandport and Finish Chapter 1
Leave Siren’s Tower and head back to Grandport.
With the seas calm, the ship to Dirnado is available. Before departing, the story also introduces the Moogle of Light, who can enhance Visions using Magicite.
The initial enhancement interaction teaches the process and supplies a Magicite item for the tutorial. You do not need to farm additional Magicite to finish Chapter 1.
If you have already collected optional Magicite Shards or Tablet Shards, keep them; their uses extend beyond the story’s first chapter.
Optional Activities Before Leaving
There are three detours especially worth recognizing before you finish:
- Vision Crystal Sanctums: Additional Visions, including Warrior of Light, Terra, and Cloud, can be obtained by answering three questions in their respective sanctums. The Will of Light explicitly states that the answers should be truthful and that a bond can form regardless of the chosen words; you do not need to hunt for a single perfect dialogue combination.
- Antlion and Marauder: These optional encounters are much stronger than the required enemies. Marauder is a level 15 enemy in Marauder Cave, while Antlion is level 20 on the Lanzelt overworld. Neither is required for passage to Dirnado.
- Tablet Shards: Pick up the glowing fragments you encounter along the normal route. They can be exchanged for access to additional rewards at the Oblivion Palace. There is no requirement to finish that collection before boarding the ship.
The important distinction is between content you can finish now and content you must finish now. These optional challenges should not keep you from continuing the story unless you specifically want to attempt them.
How to Start Chapter 2
Complete the remaining Grandport conversation and board the ship for Dirnado.
The departure marks the end of Chapter 1: Tailing the Truth and the end of the free demo’s story.
Chapter 2 begins after the party reaches Dirnado. From the landing point, travel west to Dilmagia, where the search for a route to the Wind Shrine begins.
Continue with the Chapter 2: Eternal Blue walkthrough to find Lid, cross Mt. Thunderclap, rescue Borin, and reach the Wind Crystal.