Final Fantasy Resonance Chapter 4 Walkthrough: Zoldaad
Complete Chapter 4 of Final Fantasy Resonance, from the Zoldaad train escape to the rebel hideout, weapons factory, castle, and Invincible.
Updated:
Quick Answer
To start Chapter 4, travel from Olderion to Zoldaad and board the train at Mozul Station. After the forced train escape, head west to Zoldaad Imperial Capital. Use the city’s streetcars to gather information about the Fire Shrine, then regroup in the designated alley.
Chapter 4 takes Rain’s party into the Zoldaad Empire, where the Fire Shrine has been replaced by a magitech weapons factory powered by the Fire Crystal.
Reaching the crystal requires more than entering the factory. The party becomes involved with Jake’s rebellion, confronts Ignis, infiltrates Zoldaad Castle, and eventually pursues Lazarov aboard the Invincible. The most important progression requirements are the factory ID card, Lasswell’s awakening during the Ignis encounters, and two different keys inside the castle.
Reach Mozul Station and Board the Train
After Chapter 3, Rain’s party travels from Olderion to Zoldaad to investigate the Fire Crystal.
The capital is the best place to gather information about the shrine, but it cannot be reached directly from the initial landing area.
Head toward Mozul Station, the nearest boarding point for the railway leading to the imperial capital.
At the station, the party confirms that the tracks connect to the capital. Board the train to continue the main story.
This is the required route forward. There is no need to search the countryside for a separate path to the Fire Shrine.
Why Do Imperial Soldiers Attack on the Train?
During the journey, the party meets a man named Jake, who approaches Fina and Lid and presents a rose.
Imperial soldiers then enter the carriage, searching for members of the rebellion. They recognize the rose and accuse Rain’s party of being rebels.
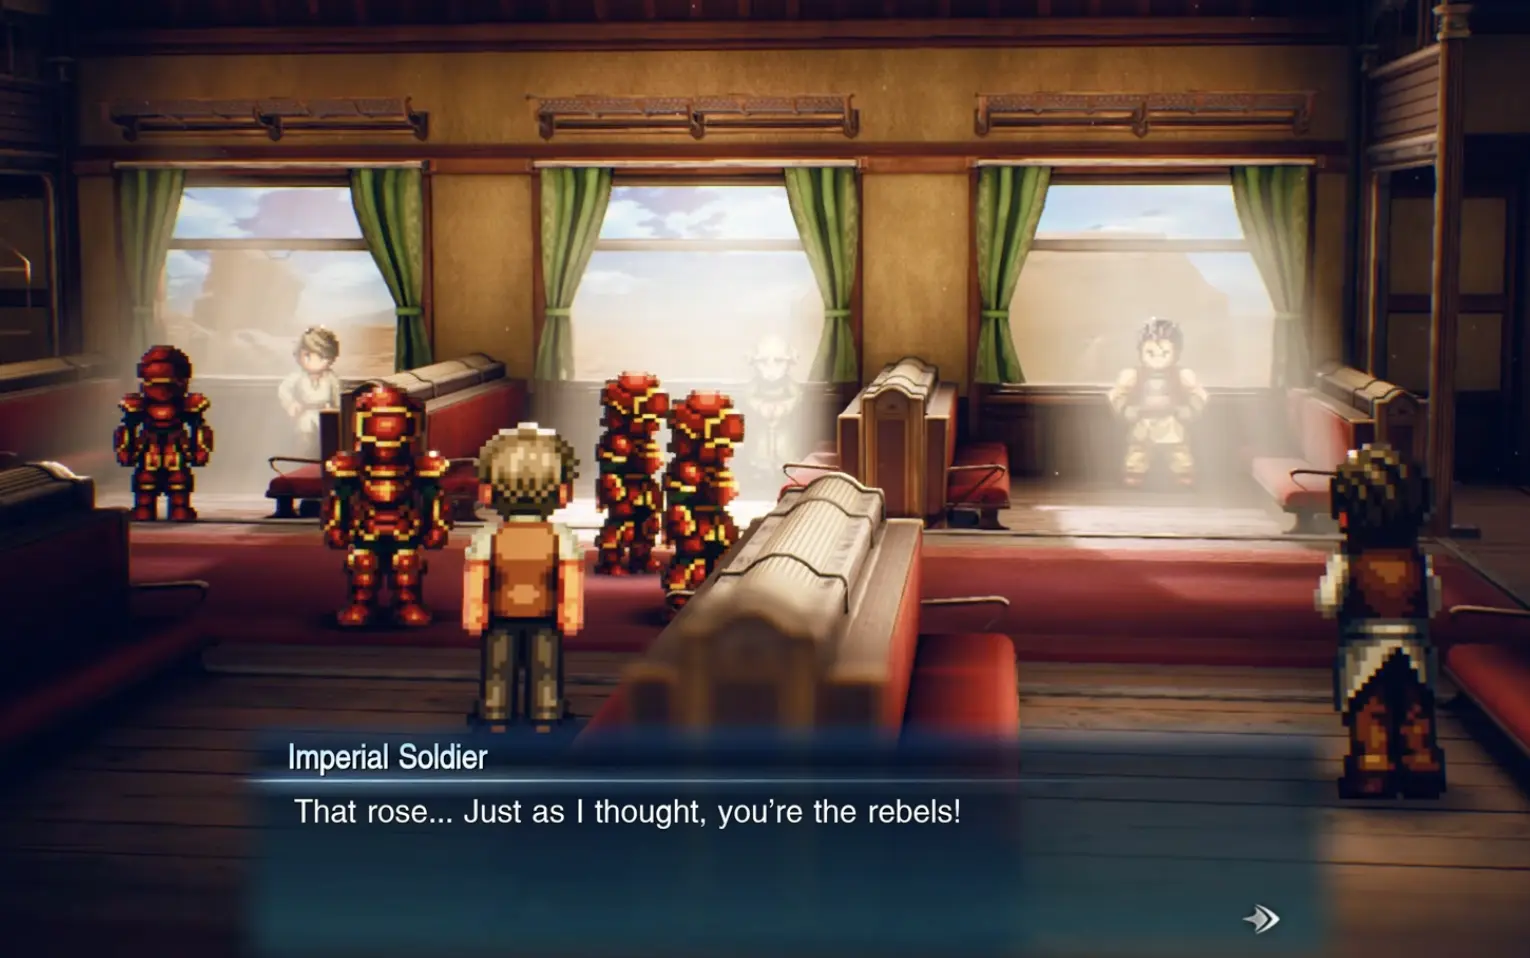
Jake escapes, leaving Rain and the others to deal with the soldiers.
The accusation is part of the story. You cannot resolve it by returning the rose, presenting another item, or choosing different dialogue.
Fight through the imperial soldiers as the party attempts to escape.
Eventually, additional soldiers surround the group. Nichol decides that remaining aboard is too dangerous and orders everyone to jump from the moving train before more troops arrive at the next station.
The jump happens during the story sequence. You do not need to locate a hidden exit or operate the train’s brakes.
Once the party lands safely, the objective returns to reaching the imperial capital.
Gather Information in Zoldaad Imperial Capital
After escaping the train, travel west to Zoldaad Imperial Capital.
Imperial soldiers are already searching for suspected rebels, so the party splits up to investigate the Fire Shrine without attracting further attention.
Complete the city investigation in this order:
- Use the streetcar timetable. The capital’s streetcars connect different districts. Interact with the timetable beside the tracks to select a destination.
- Question the residents. Investigate the marked locations. Many citizens refuse to speak openly because they fear the imperial soldiers.
- Return to the designated alley. After gathering information, regroup with the party at the meeting point.
The group has made little progress when imperial soldiers recognize them from the train.
Rain’s party attempts to escape, but the alley leads to a dead end. Jake appears and offers a route through the underground tunnels.
Follow him to continue the story.
Follow Jake Through the Underground Tunnels
Jake leads the party into a tunnel network beneath Zoldaad.
The tunnels contain enemies, but there is no separate puzzle required to discover the hideout. Continue through the connected passages while following the route Jake provides.
At the end of the underground journey, the party reaches a hidden base.
Jake reveals that he is the leader of Zoldaad’s rebel army.
The rebellion is attempting to stop Emperor Sosa’s increasingly aggressive military plans, including a possible war against Grandshelt.
At first, Lasswell objects to forming an alliance. As knights of Grandshelt, openly cooperating with rebels could give Zoldaad a justification for attacking their homeland.
This is a story disagreement, not a branching choice that permanently changes the chapter.
Learn About the Weapons Factory
Speak with the rebels at Jake’s hideout to understand why they oppose Emperor Sosa.
The empire has expanded its military production while ordinary citizens struggle under imperial rule. Prince Shera supports reform, and Jake hopes to prevent a war with Grandshelt.
The most important discovery is that the original Fire Shrine has been demolished. A magitech weapons factory now occupies the site and uses the Fire Crystal as its power source.
After discussing the situation with Jake, Rain agrees to help sabotage the factory. Complete the preparations at the hideout before leaving for the volcanic region.
Enter the Magitech Weapons Factory
The factory stands where the Fire Shrine once stood, beyond Zoldaad’s volcanic region.
You do not need to find another ID card in the imperial capital. Jake’s rebels already obtained one during an earlier infiltration of Zoldaad Castle.
Follow the operation in this order:
- Finish the rebel hideout meeting and overnight rest.
- Accompany Jake toward the factory through the volcanic region.
- Approach the secured factory entrance. Jake uses the stolen ID card to open it.
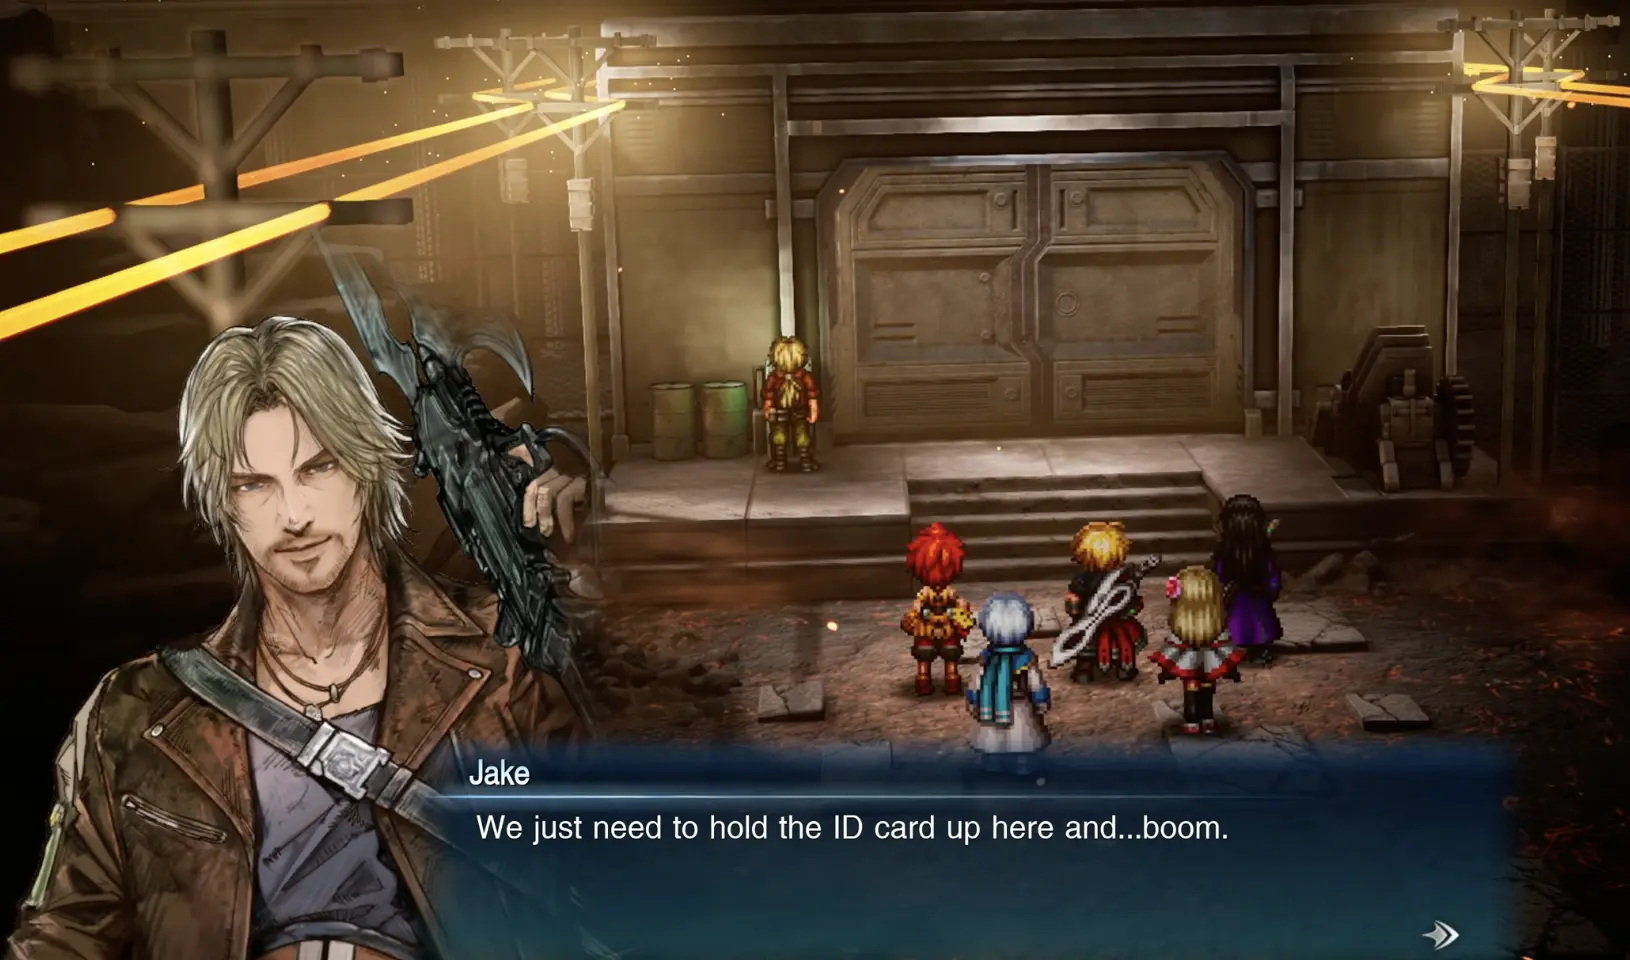
Inside, the mission is to destroy the main power generator, which supplies energy for the empire’s magitech weapons production.
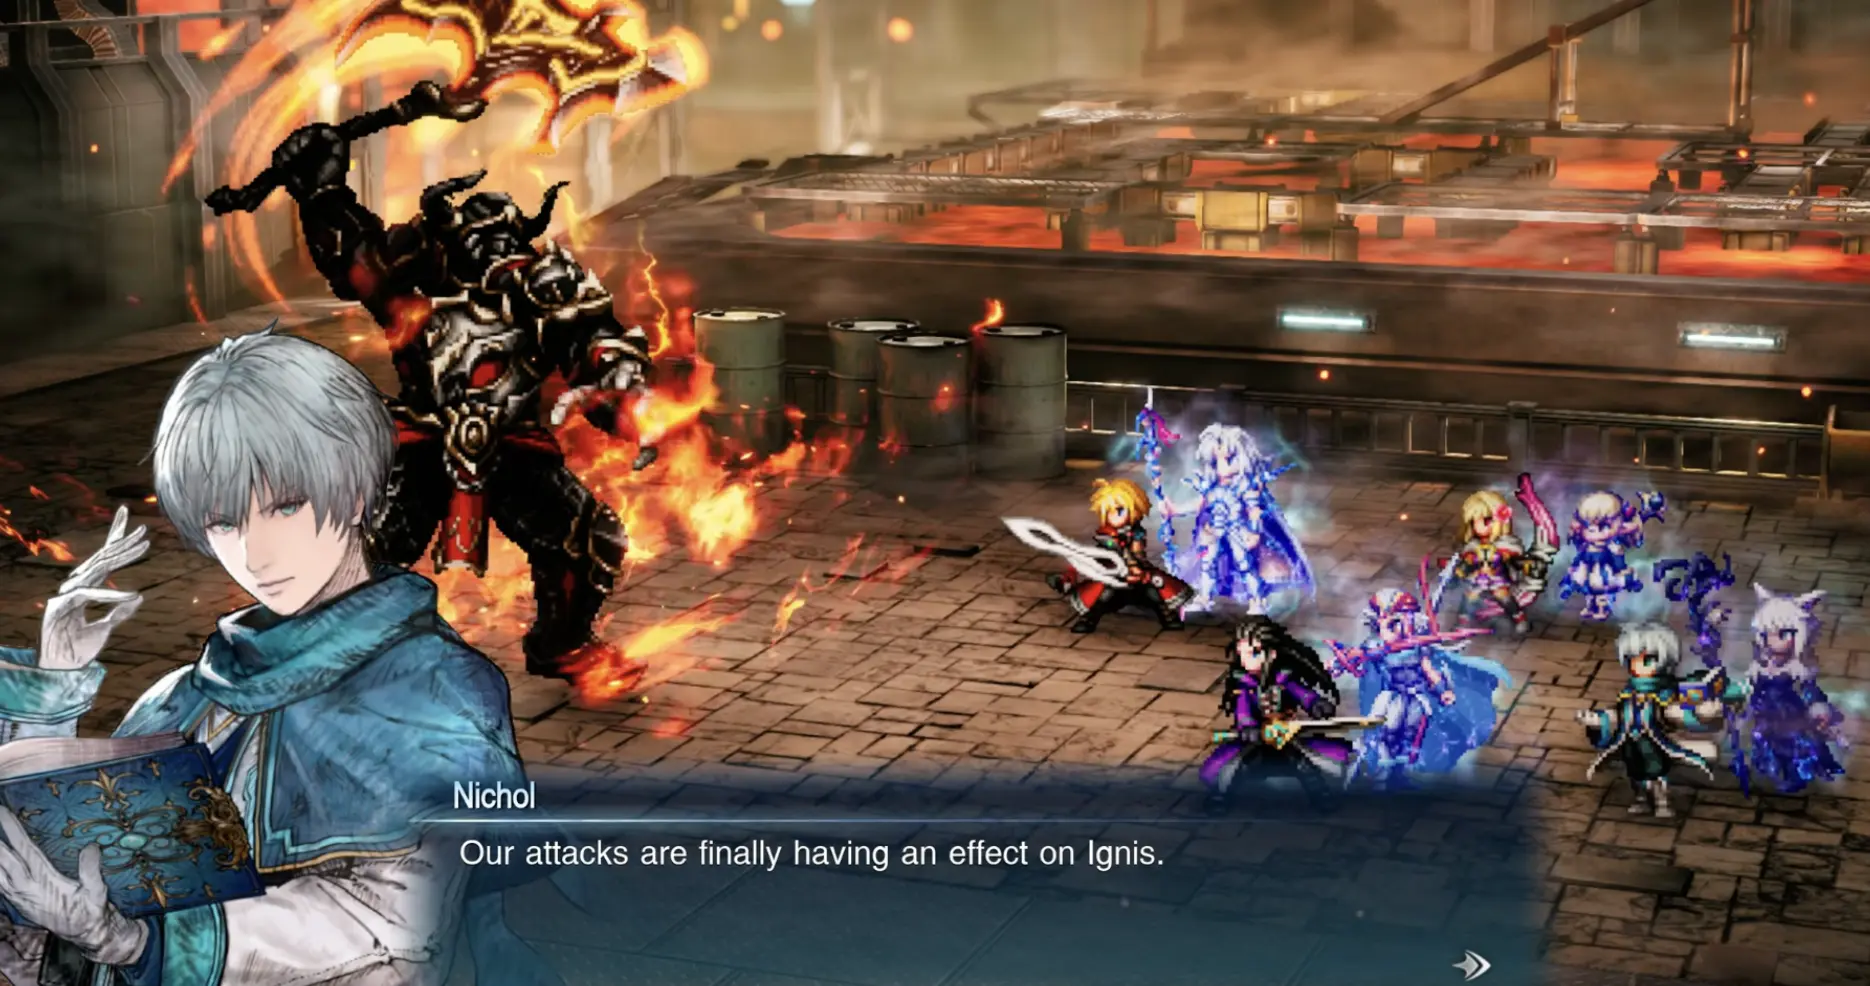
Before the party reaches the generator, however, Veritas of the Flame — Ignis blocks its progress.
Why Your Attacks Do Not Work Against Ignis
The first encounter with Ignis is not a conventional boss fight.
His flames prevent the party’s attacks from dealing meaningful damage. Switching between ordinary elemental attacks is not the condition that ends this encounter.
Ignis recognizes Rain’s Crimson Saber and Lasswell’s Shiden, revealing that he forged both swords. He insults Lasswell’s ability to wield Shiden and strikes him with an attack intended to drain his life.
Ignis eventually withdraws. The party cannot defeat him during this initial confrontation.
Continue toward the factory’s power generator. The next encounter with Ignis occurs after the sabotage.
Reach and Disable the Power Generator
Proceed deeper into the factory toward the central power generator.
This machinery supplies energy to Zoldaad’s magitech weapons production.
Reach the generator and complete the sabotage objective.
The rebels’ immediate mission succeeds: the factory can no longer continue supplying weapons to the imperial army in the same way.
However, disabling the generator does not mean the Fire Crystal has been secured.
The party still needs to investigate what happened to it.
Defeat Ignis After Lasswell Awakens Shiden
After the power generator has been disabled, Ignis returns and reveals that his earlier attack has placed Lasswell’s life in danger.
The confrontation changes when Lasswell confronts his feelings about Rain and recalls the sword entrusted to him by Sir Raegen.
Shiden responds to Lasswell, allowing him to unleash its power.
The two encounters have different conditions:
- Before the awakening: Ignis’s flames prevent the party from damaging him effectively. The encounter ends through the story.
- After the awakening: The party can damage Ignis and continue the battle normally.
There is no separate anti-flame item or factory switch required to remove his protection.
After the battle, another member of the Sworn Six intervenes and takes Ignis away.
The party then discovers that the Fire Crystal has already been exhausted and destroyed. Lazarov used its power for his own plans.
Disabling the generator stops the factory’s weapons production, but it does not save the Fire Crystal. That outcome cannot be changed by defeating Ignis faster.
Return to the Rebel Hideout
After the events at the factory, return to Jake’s underground hideout.
The factory has been disabled, but the rebellion faces a new problem: Prince Shera has been arrested.
The prince was secretly supporting the rebels, and his capture threatens their plans to reform Zoldaad.
Jake and Nichol decide that the time has come for a direct operation against the imperial government.
The plan has two parts.
- The rebel army attacks the capital openly, drawing the imperial soldiers away from the castle.
- Rain’s group infiltrates Zoldaad Castle from below, rescues Prince Shera, enters the throne room, and confronts Emperor Sosa.
Once the castle is secured, the rebels intend to raise the Wild Rose flag and announce the crown prince as the empire’s new ruler.
Complete the strategy conversation at the hideout before attempting to enter the castle.
The next objective is to use the underground passage leading beneath Zoldaad Castle.
Enter Zoldaad Castle Through the Underground Route
Return to the underground passage system connected to Jake’s hideout.
The route to the castle is not exactly the same as the path first used to reach the rebels.
Jake explains that there is a separate branch of the tunnels. The rebels previously used this route to enter the castle and steal the factory ID card.
Follow the branch leading toward the castle’s lower level.
The imperial army has discovered the underground access route, so the infiltration does not proceed entirely as planned.
Lazarov and Evan confront the party and trigger a trap.
The group is captured and wakes up in the castle dungeon.
Escape the Dungeon and Rescue Prince Shera
The party’s capture is scripted. After waking up in the castle dungeon, wait for Amelia, Prince Shera’s maid, to arrive and help the group escape.
The prince is imprisoned elsewhere in the same dungeon.
To rescue him:
- Leave the cell with Amelia’s help. There is no hidden switch to find inside the starting cell.
- Find the guard carrying the Master Key. He reveals that his key opens every door in the dungeon, including Prince Shera’s cell.
- Defeat the guard and take the key. Use it to open the prince’s cell and rescue him.
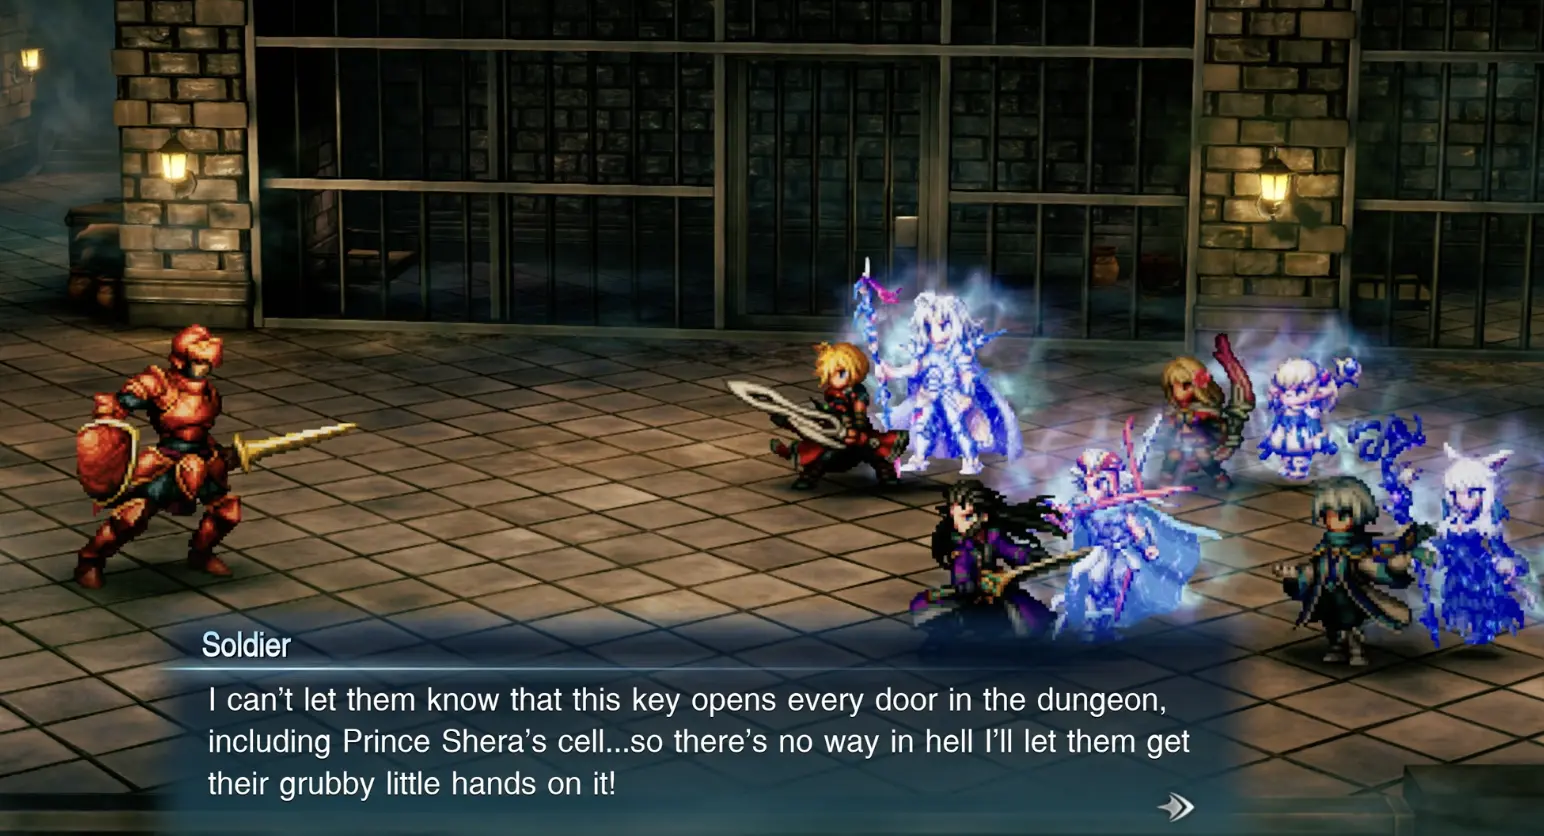
Prince Shera explains that Emperor Sosa’s behavior changed after Lazarov gained influence over the imperial government.
With the prince accompanying the party, leave the dungeon and continue toward the throne room.
Get the Separate Throne Room Key
The Dungeon Master Key does not open the throne room.
When you reach its locked entrance, the party identifies the Captain’s Quarters on the same floor as the location of the required key.
Go there with Prince Shera and speak to the imperial captain.
The captain initially follows Emperor Sosa’s orders, but Prince Shera persuades him to support a different future for Zoldaad. He hands over the key without a battle.
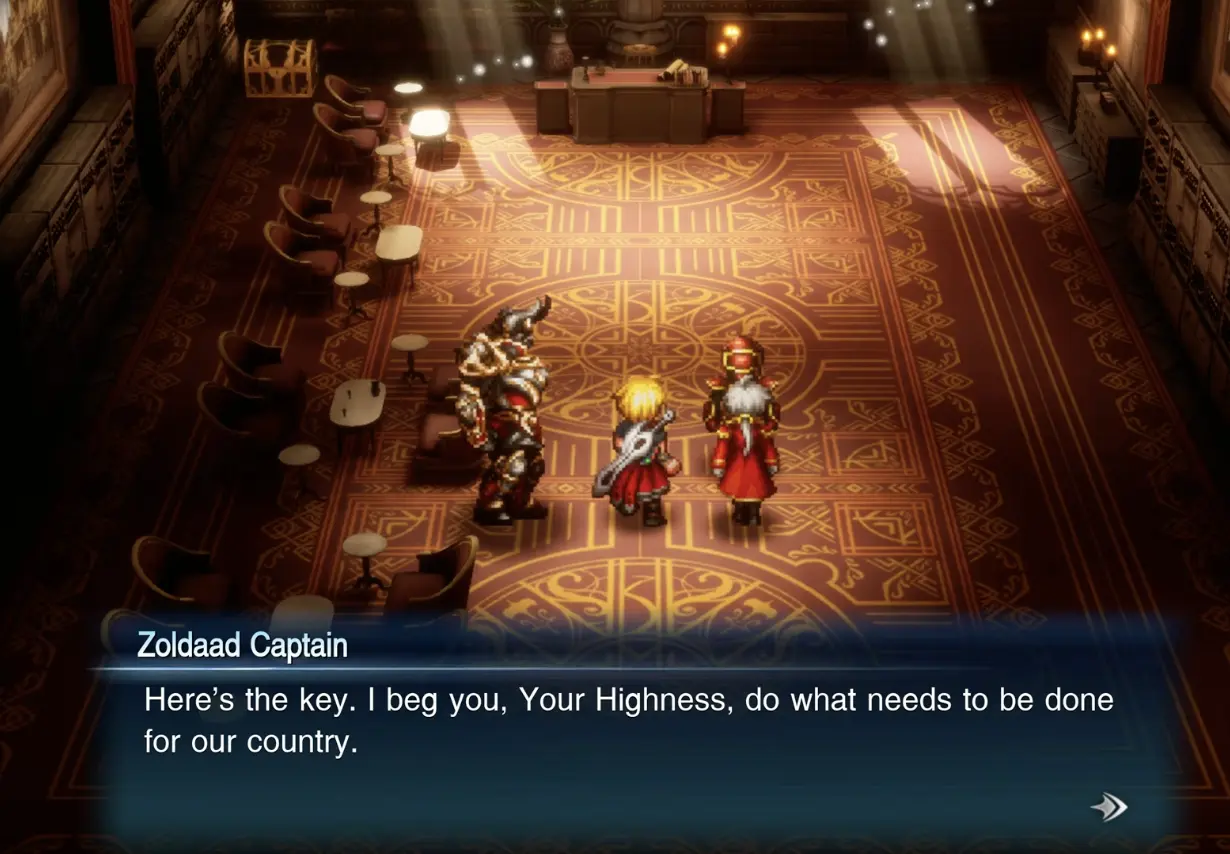
Return to the locked throne room entrance and use the key to proceed.
The two keys serve different purposes: the Master Key frees Prince Shera from the dungeon, while the Captain’s key opens the throne room.
Defeat Emperor Sosa in the Throne Room
Inside the throne room, the party discovers that Lazarov’s experiments have extended beyond ordinary imperial soldiers.
He has used the same methods associated with the wraith soldiers encountered earlier in the story.
Emperor Sosa has also been transformed into a monster.
Prince Shera is devastated by his father’s condition but accepts that the emperor must be stopped.
The confrontation separates the immediate threats: Ignis offers to deal with the wraith soldiers while Rain’s party faces Emperor Sosa.
Defeat the transformed emperor to continue the chapter.
The battle ends with Emperor Sosa briefly regaining his former self. He acknowledges the consequences of his decisions and asks Prince Shera to lead the empire differently.
The emperor dies after the confrontation.
Defeating Emperor Sosa does not end Chapter 4. The rebellion still needs to secure the castle and raise the Wild Rose flag.
Continue toward the upper floors. Lazarov remains at large, and the confrontation with the imperial government is not yet over.
Reach the Castle Roof and Pursue the Invincible
As the party approaches the castle roof, Lazarov returns with Evan, Lid’s brother.
Lazarov has brainwashed Evan while leaving his engineering knowledge intact. He attempts to use Evan to delay the party while preparing the Invincible for departure.
Free Evan From Lazarov’s Control
Lid insists on confronting her brother herself.
The encounter resolves through their conversation rather than a required battle against Evan. She reminds him why he became interested in building airships, and he eventually breaks free of Lazarov’s control.
Evan explains that his pursuit of money was connected to his hope of financing Lid’s dream of building airships that bring people together.
With Evan freed, Lazarov escapes aboard the Invincible.
Board the Enterprise
Evan reveals that the Enterprise has been repaired with help from the dwarves. Although it has not been fully restored, it is capable of pursuing the Invincible.
Board the Enterprise with Evan as pilot and continue the pursuit.
The party reaches the Invincible, where Lazarov is preparing to use the Fire Crystal’s power as a weapon.
Defeat Lazarov Aboard the Invincible
After boarding the Invincible, the party confronts Lazarov and learns that the Crystal Cannon was created using the Fire Crystal’s power.
Rather than immediately fighting the scientist himself, the party must overcome a series of his experiments.
Defeat Lazarov’s Experiments
The confrontation progresses through several distinct stages:
- Earlier experiments: Lazarov sends creatures against the party, including a creation connected to his work at Kolobos Ruins.
- Additional test subjects: After the initial experiments are defeated, he introduces another creation to continue the fight.
- Experiment Number 9999: Lazarov reveals his ultimate experiment after acknowledging the defeat of his earlier creations.
- Lazarov’s enhanced body: Once Number 9999 is defeated, Lazarov relies on modifications to his own body and confronts the party directly.
These are consecutive parts of the final confrontation. Defeating one experiment does not end the chapter.
Continue through the encounters until Lazarov’s enhanced form is defeated.
Can You Stop the Crystal Cannon?
After losing the battles, Lazarov threatens to fire the Crystal Cannon at Zoldaad.
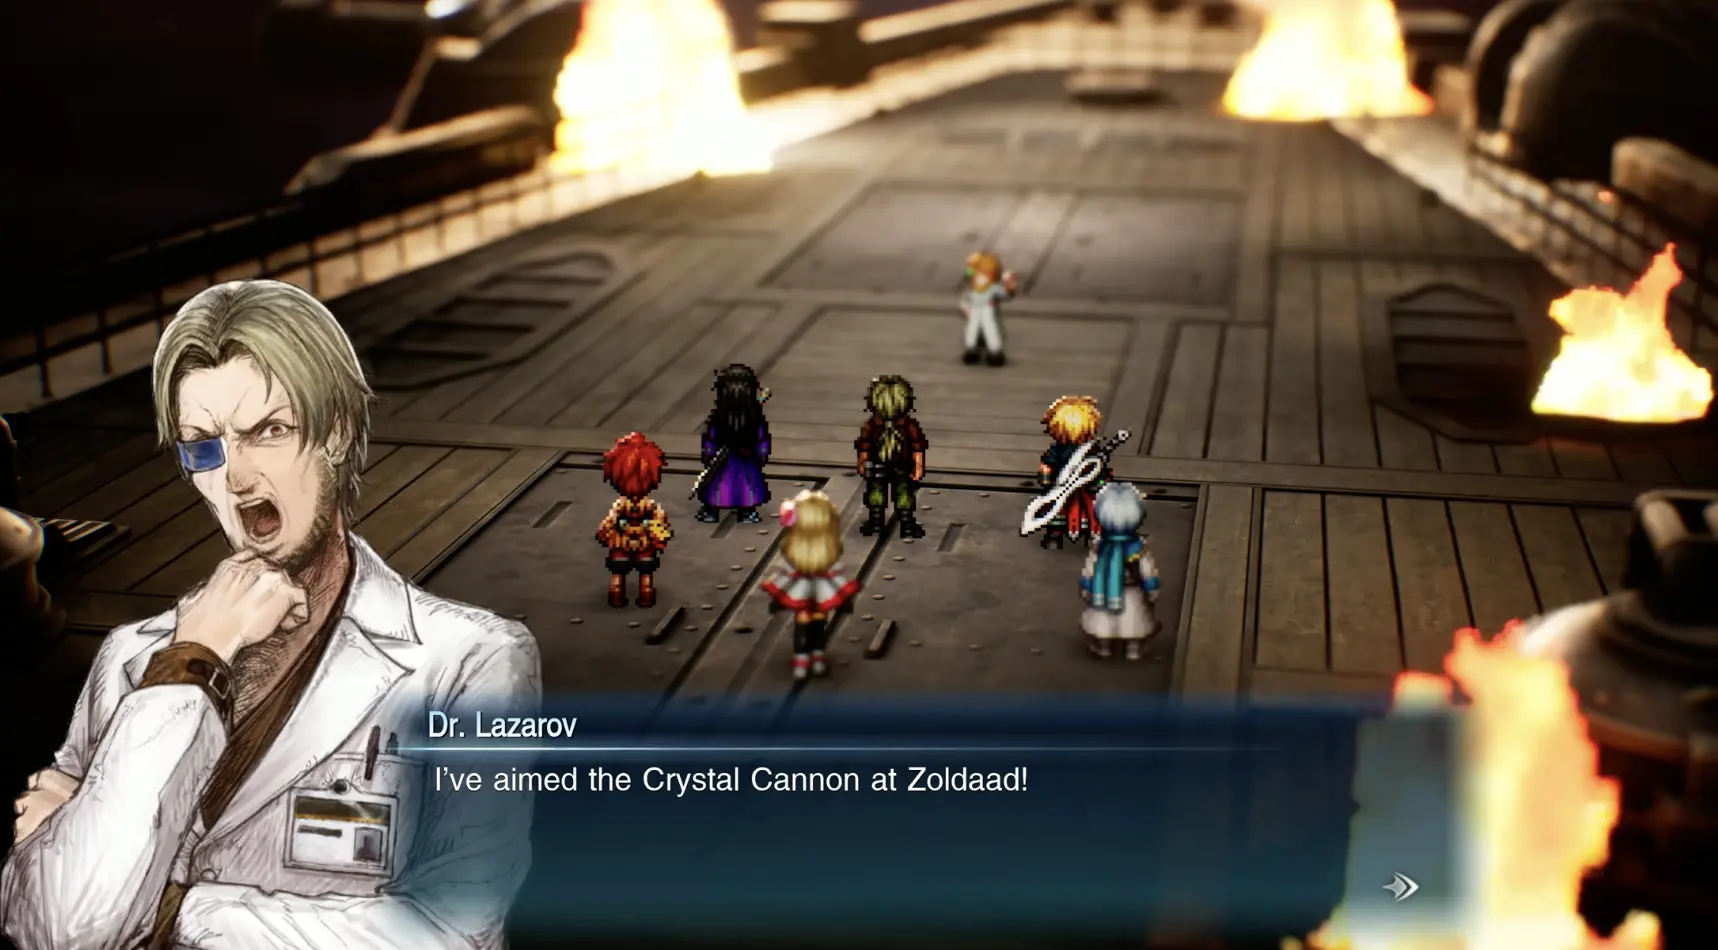
He threatens to activate the cannon if the party attacks him.
This is not a timed puzzle. You do not need to find a control room, disable a separate switch, or defeat another cannon boss.
Jake confronts Lazarov, and Ignis reveals that he has already destroyed the weapon.
With the Crystal Cannon disabled, Lazarov can no longer threaten Zoldaad with it.
Ignis then ends his temporary cooperation with Rain’s party and departs.
Return to Zoldaad and Finish Chapter 4
Return to Zoldaad aboard the Enterprise.
The rebellion has succeeded, and the Wild Rose flag is raised over Zoldaad Castle. Prince Shera can now begin leading the empire away from Emperor Sosa’s rule.
Jake thanks Rain’s party for helping the rebellion and saving the people of Zoldaad.
The conflict with the empire is resolved, but the pursuit of the Sworn Six continues. The Fire Crystal has been destroyed, and other crystals remain in danger.
Continue with the Chapter 5: Scars of Time walkthrough to locate Mysidia, investigate the Light Crystal, and enter Fina’s memories.