How I Repair Devices in ReStory Without Wasting Parts
My repeatable ReStory repair workflow from reading the job and diagnosing the whole device to cleaning, replacing parts, soldering and final handoff.
Updated:
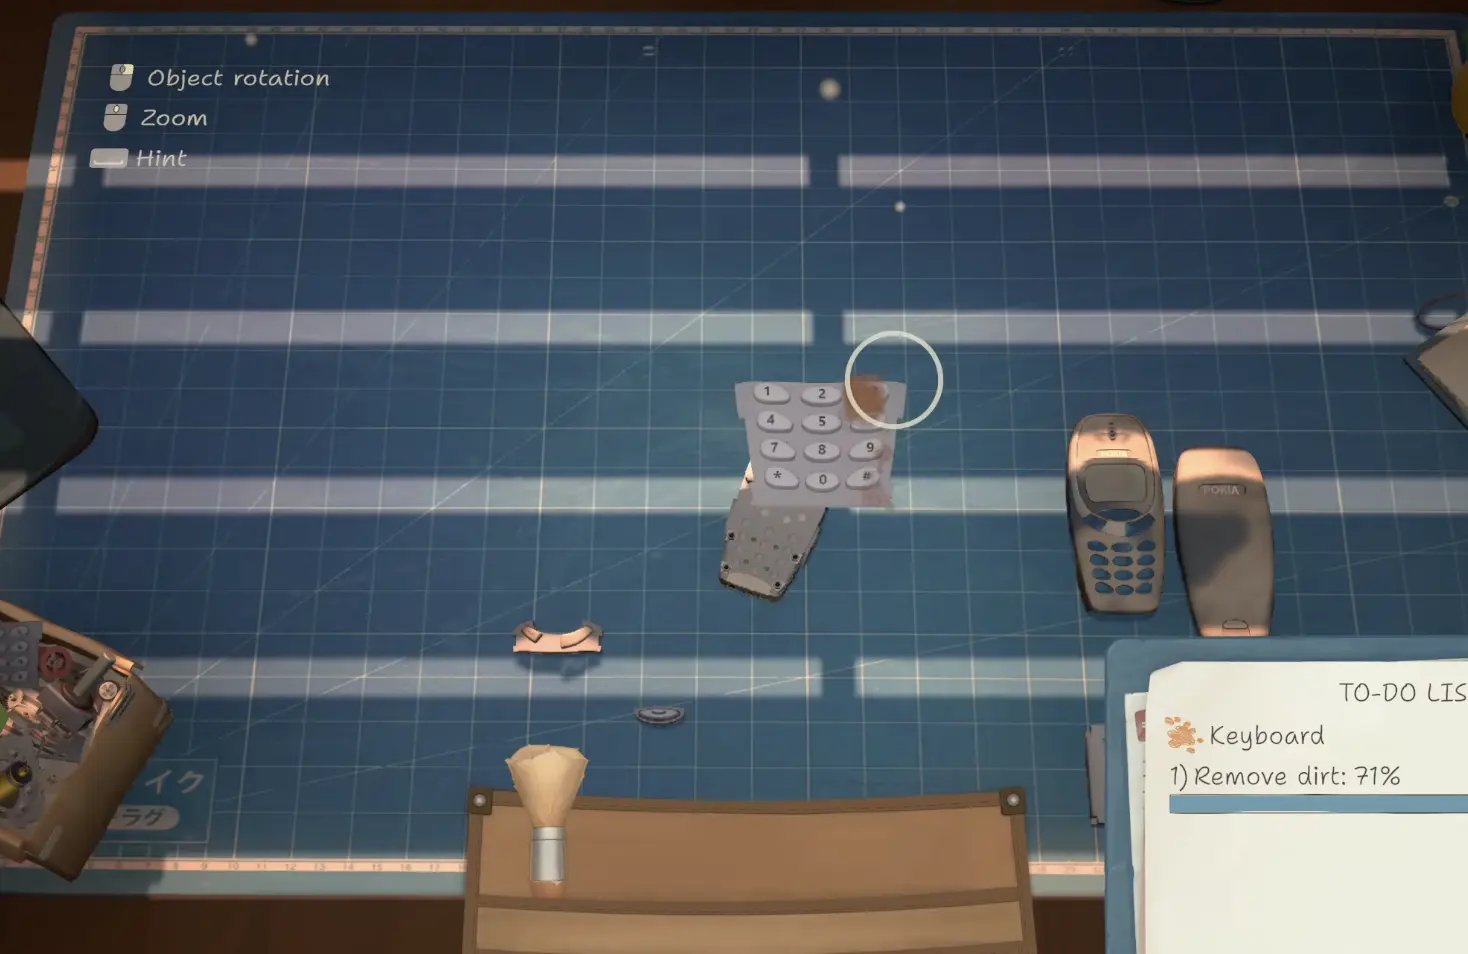
Quick Answer
My ReStory repair order is read the job → inspect and disassemble → identify dirty, broken and missing parts → clean and repair → buy only the parts I actually need → finish soldering, painting or other requested services → reassemble → pack or return the order. The biggest money-saving rule is to finish diagnosing the device before I start buying replacement parts.
ReStory became much easier once I stopped treating every broken component as a separate emergency.
My early repair loop looked like this:
find one problem
→ buy something
→ come back
→ remove another layer
→ discover another problem
→ shop again
That wastes money and time.
Now I treat every device as one complete job.
Before I spend yen, I want to know:
What did the customer actually request?
What is dirty?
What is broken?
What is missing?
What repair mechanics does this device require?
Once I can answer those questions, the rest of the repair becomes much more predictable.
My ReStory Repair Workflow
The routine I use on almost every device is:
1. Read every job requirement.
2. Open the device far enough to understand the whole repair.
3. Inspect both sides of exposed parts.
4. Separate dirty, broken and missing components.
5. Finish the diagnosis before buying replacements.
6. Clean the parts that can be saved.
7. Repair or replace broken components.
8. Complete soldering, painting or other requested services.
9. Reassemble the device.
10. Pack or return it and collect payment.
That order matters more to me than trying to memorize one universal teardown.
Different devices are built differently.
The diagnostic process stays almost the same.
I Read the Customer Requirements Before Opening the Device
The first thing I check is not the screwdriver.
It is the order.
A ReStory job can ask for several different services.
For example:
Clean
Repair
Paint
and later work can involve additional repair systems.
A mechanically functioning device does not automatically mean the order is finished.
I learned that after rebuilding a device and getting:
Not all requirements have been met.
The missing requirement was not another internal component.
It was:
Paint
So now I read the job twice.
Once before disassembly.
Again before I return the completed device.
I Open the Device Far Enough to Diagnose the Whole Job
The first phone teaches most of the repair logic I keep using later.
I remove the outer shell.
Then the screws.
Then the battery and internal layers.
I keep going until I can actually see enough of the device to understand what needs attention.
The important change in my playstyle was stopping myself from shopping after the first broken part.
Finding one failure does not prove I have found the entire problem.
There may still be another damaged board underneath it.
There may be dirt hidden behind a panel.
There may be a missing component deeper in the device.
So I keep diagnosing until I have a useful picture of the whole repair.
For unusual model-specific layouts, I use the Device Repair Index.
This page owns the general repair process, not every model’s exact part order.
I Do Not Completely Disassemble Every Device Automatically
There is also no reason to remove every component from every simple repair.
If I can already identify the complete problem without stripping the device to its last screw, I stop.
My rule is:
disassemble until the diagnosis is complete
not:
always remove everything
That saves time on straightforward jobs.
But if I still have an unexplained problem hidden underneath another layer, I keep going.
The mistake is stopping the diagnosis because I found a problem instead of because I found the complete repair.
I Check Both Sides of Parts for Hidden Dirt
Cleaning causes a lot of false repair problems.
A component can look completely clean from the angle facing me while the back side is still dirty.
That happened repeatedly during my early repairs.
So when cleaning progress seems stuck, I use:
remove → rotate → inspect back → inspect edges → clean
Flat panels are especially easy to misread.
One face can look perfect while dirt is still sitting on the side I cannot see.
I do this before assuming the cleaning system is bugged.
I Zoom Before Brushing Everything Again
Once devices become smaller and more layered, I use zoom much more often.
If ReStory still shows unresolved dirt but nothing obvious is visible, I do not immediately brush every part on the table again.
I first:
zoom closer
then:
rotate likely components
and:
inspect narrow edges and back surfaces
That usually isolates the actual dirty area faster.
Zoom also helps me distinguish tiny screws and overlapping interaction points that look almost identical from the default camera distance.
I Use Hint as My Final Cleaning Check
ReStory gives me a Hint option during repair work.
I use it.
I just do not start with it.
My cleaning order is:
inspect
→ rotate
→ zoom
→ Hint if I still cannot find the remaining issue
That keeps Hint useful as a troubleshooting tool rather than replacing normal inspection.
If the device still reports incomplete cleaning after I have checked the obvious places, Hint is much better than brushing every component again at random.
Dirty, Broken and Missing Parts Are Three Different Problems
I separate every component problem into three categories.
Dirty
The part can usually stay.
It needs cleaning.
Broken
The part needs an actual repair or replacement.
Missing
The component is not present and I need to source another one.
Those are not interchangeable.
If I react to all three with:
buy another part
I waste money.
Some devices that initially look terrible turn out to contain mostly usable components that only need cleaning.
Other repairs go the opposite direction.
I have opened a job and continued finding one broken component after another until I had several failures inside the same device.
That is exactly when I stop buying one replacement at a time.
I Finish the Diagnosis Before Shopping
This is the repair habit that saves me the most yen.
I do not want this sequence:
broken part
→ store
→ buy replacement
→ return
→ open another layer
→ second broken part
→ store again
Instead, I stay at the bench until I can make one complete replacement decision.
Before shopping I check:
- every exposed component;
- all parts already marked broken;
- anything clearly missing;
- spare parts I already own;
- whether another layer still hides unresolved components.
Only then do I leave the repair.
The rule is simple:
diagnose first, spend second
One Repair Can Reveal Many Broken Parts
This is important once repairs become more complicated.
I have opened devices where the damage did not stop at the first component.
The failures kept appearing as I removed more layers.
By the time I understood the whole device, several replacements were needed.
If I had bought each component immediately after discovering it, I would have made multiple shopping trips and still had no idea what the complete repair would cost.
Finishing the diagnosis first tells me something else:
whether the repair is still worth approaching the same way
If only one cheap component is broken, the decision is easy.
If most of the device is dead, the sourcing question becomes more important.
That is where I move to the Marketplace Guide for direct parts versus donor-device decisions.
I Check My Existing Parts Before Buying Anything
Before I buy another component, I check what I already own.
Normal repairs, donor devices and previous purchases gradually create useful inventory.
That means a broken board on the current device does not automatically mean I need to buy a new board.
I may already have:
the correct working part
sitting in spare inventory.
This becomes more important later because the shop can contain several copies of similar components.
I would rather use something I already paid for than create unnecessary replacement cost.
I Clean Salvageable Parts Before Replacing Them
Dirty does not mean broken.
That sounds basic, but it matters financially.
If a device has several ugly-looking components, I do not price replacements until I know which pieces are actually dead.
A part that only needs cleaning should stay in the device.
That reduces:
- replacement spending;
- unnecessary Marketplace purchases;
- parts inventory clutter.
I treat cleaning as restoration.
Replacement is for parts that actually require it.
I Clean Before Closing the Final Layers
Once diagnosis is complete, I try to finish the required cleaning before I start sealing the device again.
Otherwise I can bury a dirty component underneath several correctly installed layers.
Then I have to undo work I already finished.
Before final reassembly I quickly check:
exposed surfaces
reverse sides
loose components
pieces I removed earlier and pushed aside
Then I move into rebuild mode.
If ReStory warns me that I have installed a dirty or broken part, the problem is no longer normal repair flow.
I switch to Can’t Reassemble a Device? for that troubleshooting path.
I Treat Soldering as Part of the Normal Repair Flow
Soldering appears later, but it does not change my overall process.
I still:
inspect
→ expose the damaged board
→ identify the fault
→ repair the board
→ continue the device
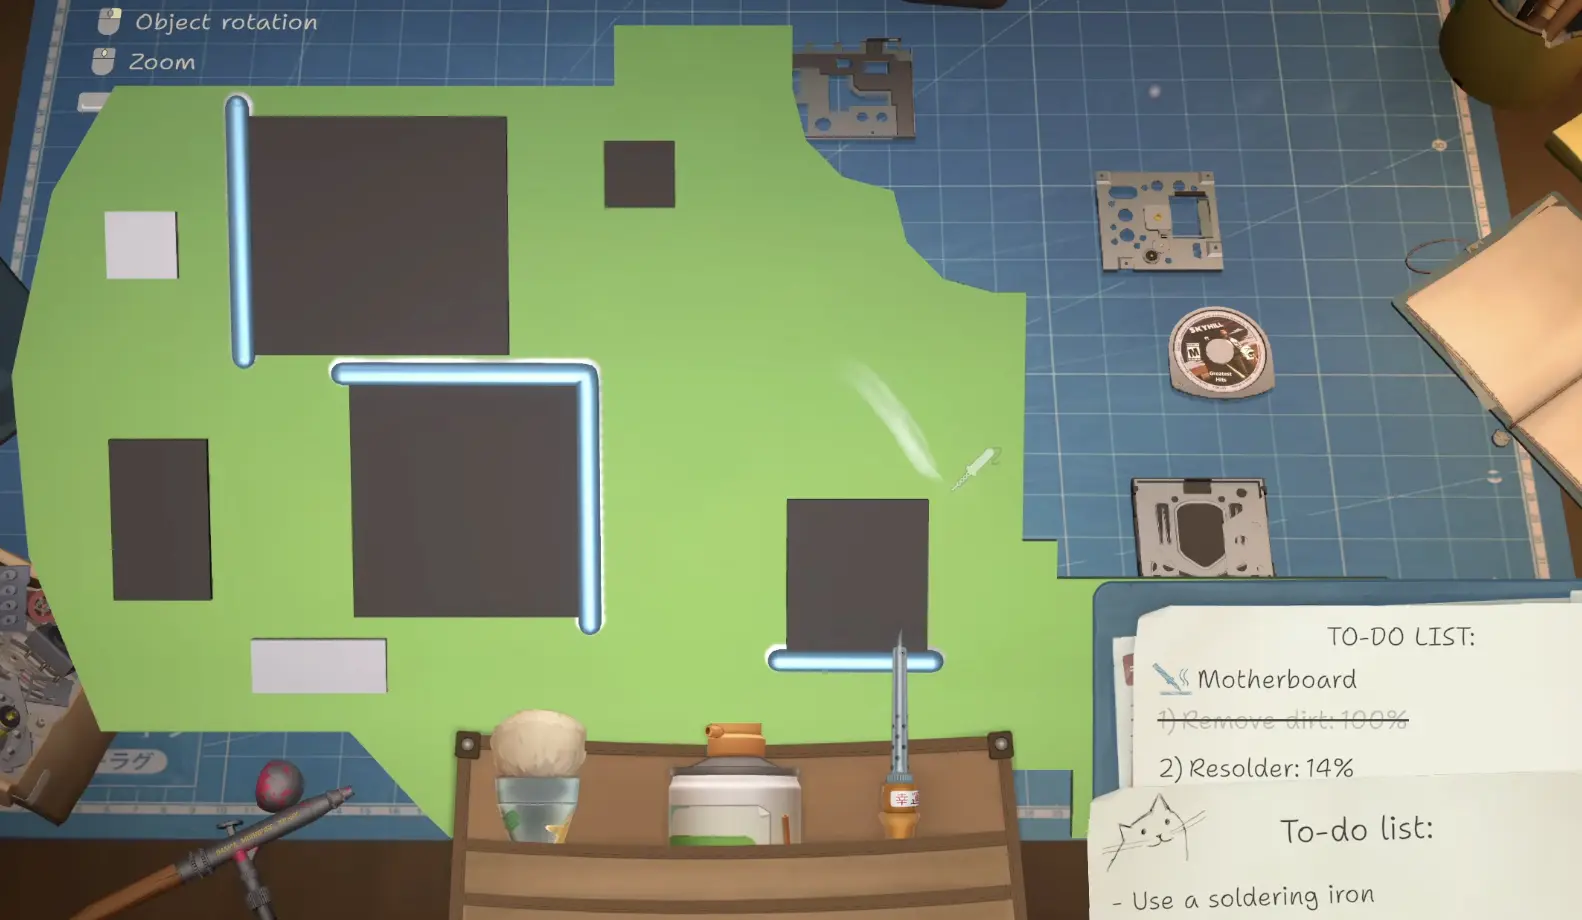
The biggest mistake would be rebuilding the device while the damaged board is still unresolved.
Cleaning cannot fix a soldering problem.
Neither can repeatedly opening and closing the shell.
If the repair calls for board work, I finish that before covering the board again.
The question of when I buy the Soldering Iron belongs in the Progression Guide.
I Do Not Confuse a Missing Part With a Broken Part
A missing component creates a slightly different problem.
There is nothing on the bench for me to repair.
I need to determine:
what part belongs there
and:
where I am going to get it
That is different from finding a damaged copy of the correct component already inside the device.
Once I know the missing part, I check existing inventory first.
Then I decide whether direct purchase or a donor makes sense.
Again, this page owns the diagnosis.
The Marketplace page owns the sourcing economics.
I Recheck Paint Before I Reassemble Everything
Painting is one of the easiest requirements to forget because it does not look like a mechanical repair.
I can:
clean every part
replace every broken component
rebuild the device
and still fail the order because the customer also asked for Paint.
So before I mentally mark the repair complete, I look at the service request again.
If the job says:
Clean + Repair + Paint
I need all three.
A working device is only one part of the order.
I Separate “Repair Complete” From “Order Complete”
This distinction prevents me from opening finished devices unnecessarily.
There are two checkpoints.
The device is mechanically repaired
The correct working components are installed.
The device is rebuilt.
The customer order is complete
Every requested service has been satisfied.
That can include work outside the internal repair itself.
If the device is together but the job is still rejected, I check the order requirements before touching the screwdriver again.
This is one of the most important troubleshooting habits in the game.
I Reassemble in Layers, Not by Testing Random Parts
Once diagnosis and repair are finished, I switch modes.
I am no longer searching for problems.
I am rebuilding.
For a simple device, that can be obvious.
For a complicated one, I work one layer at a time.
My rhythm is:
place layer
→ secure it
→ continue
I do not drag every loose component around until something sticks.
If several correct-looking parts suddenly refuse to attach, I stop.
That has become a separate troubleshooting problem.
The detailed checks for:
- wrong order;
- forgotten screws;
- wrong viewing angle;
- red parts;
- broken duplicate parts;
- incomplete teardown;
belong in Can’t Reassemble a Device?.
I deliberately keep those details out of this Repair Guide so the two pages do not answer the same query.
I Use the Device Repair Index for Model-Specific Problems
The repair workflow is repeatable.
Individual electronics are not.
Some models have:
- many casing layers;
- parts on both sides;
- unusual screw placement;
- hidden components;
- long notebook sequences;
- awkward disassembly order.
When the question becomes:
How does this exact device come apart?
or:
What is unusual about this model?
I use the Device Repair Index.
That page owns device-specific navigation.
This page owns:
how I approach a repair from start to finish
Keeping that distinction matters because otherwise Google has to choose between two pages that both claim to be the general ReStory repair answer.
I Do Not Count the Final Screw as the End of the Job
The repair is not finished just because the device looks complete on the bench.
I still need to complete the handoff.
My route is:
finish requested services
→ reassemble
→ pack or return
→ customer handoff
→ payment

This matters once I have several devices active.
A completely repaired device sitting around waiting for handoff is still part of my backlog.
I prefer finishing the transaction before opening another complicated job when I can.
I Stop Before a Repair Becomes a Parts Sink
There is a point where:
one more replacement
stops being an automatic decision.
If I keep discovering failures, I pause.
I ask:
How many parts are actually broken?
How many usable replacements do I already own?
Have I finished diagnosing the whole device?
Am I still solving a repair problem, or am I now solving a sourcing and cost problem?
The time I already spent disassembling the device does not make another expensive purchase automatically worthwhile.
If the repair needs several components and the parts bill begins expanding, I stop making the decision from the bench.
I compare sourcing options.
That belongs in the Marketplace Guide.
If the Device Is Missing One Part, I Do Not Panic
A single missing component is usually manageable.
I write down exactly what I need.
Then I check:
current inventory
before:
direct parts
before deciding whether I need:
a donor device
What I do not do is leave the device half-diagnosed and start buying random versions of the part.
The exact missing component should be known first.
If Cleaning Is Stuck at the End
When everything looks clean but the repair still disagrees, my route is:
rotate every loose component
→ check reverse faces
→ inspect edges
→ zoom
→ use Hint
I do not start replacing parts because the cleaning percentage refuses to finish.
Cleaning and component condition are different systems.
If the Device Works but I Cannot Turn It In
I do not immediately disassemble it again.
I check:
Clean
Repair
Paint
any other requested service
If one of those is incomplete, the problem is the order.
Not the physical assembly.
That distinction saves me from undoing completed repair work.
If a Part Will Not Go Back In
That is also no longer a normal repair question.
I switch to:
because that page specifically handles:
part stays red
part will not attach
wrong order
forgotten screws
wrong angle
incomplete teardown
I do not duplicate those eight fixes here.
The Repair Routine I Use Now
Every time another ReStory device reaches my bench, I follow the same mental sequence:
Read the entire order.
Disassemble until I understand the repair.
Inspect both sides of exposed components.
Separate dirt, damage and missing parts.
Use zoom and Hint when cleaning information is unclear.
Finish the diagnosis before spending yen.
Check spare inventory.
Clean salvageable parts.
Repair or replace actual failures.
Complete soldering while the relevant board is exposed.
Recheck painting and other requested services.
Reassemble the device.
Pack or return it.
Collect payment.
That routine does not tell me where every screw belongs on every model.
It is not supposed to.
It gives me a reliable way to answer the more important question:
What kind of repair problem am I actually dealing with?
If it is a device-specific layout problem, I use the Device Repair Index.
If the part refuses to attach, I use the reassembly troubleshooting page.
If the entire decision has become about sourcing several parts cheaply, I use the Marketplace Guide.
And if none of those are the issue, I stay with the basic rule that has saved me the most money:
inspect first, spend second.
FAQ
How do I repair a device in ReStory? +
I read every requested service first, disassemble far enough to diagnose the whole device, separate dirty, broken and missing parts, clean and repair everything required, complete soldering or painting when requested, then rebuild and return the finished order.
Why is my repaired device still not complete in ReStory? +
If the device is physically back together, I check the customer requirements before reopening it. Cleaning, painting, reprogramming or another requested service may still be incomplete.