Minecraft Dungeons II Bosses: How to Beat Every Major Boss
Find the major Minecraft Dungeons II bosses in story order and beat the Witch, Twisted Warden, Copper Monstrosity, Prime Enchanter, Monarch, Supreme Evoker, and Monstrous Opus.
Updated:
Quick Answer
Follow the main quest to reach the major bosses. Before entering an arena, keep your potion available and avoid emptying your Soul bar or arrow supply on the last ordinary enemy pack.
If an attempt is already close, retry and fix the mechanic that killed you. If you are losing resources before the boss is even near half health, change the weak part of the loadout first.
Minecraft Dungeons II does not ask for the same answer in every boss fight. Some encounters punish staying too close, some punish backing off for too long, and the final sequence can make a weapon that worked ten minutes earlier feel almost useless.
That makes the first failed attempt useful. I pay attention to what disappears first: health, potion availability, Souls, arrows, or safe attack windows. Once that is clear, the decision between retrying and changing gear becomes much easier.
Minecraft Dungeons II Bosses in Story Order
| Boss | Where you fight it | Main problem to solve |
|---|---|---|
| Soul Corrupted Witch | Near the Deep Dark entrance | Ranged pressure, spiders, healing |
| Twisted Warden | Deep Dark progression | Burrow/re-entry pressure and extra enemies |
| Copper Monstrosity | Supreme Tower in Rainy Plains | Heavy close-range pressure and broken defenses |
| Prime Enchanter | Frozen Highlands fortress | Sustained pressure and healing management |
| Monarch | Later Sift route | Health recovery and additional threats |
| Supreme Evoker | The Final Souldown | Shield and ranged pressure |
| Monstrous Opus | After Supreme Evoker | Heavy melee phase and changing ranged effectiveness |
If you have not reached the next boss yet, follow the main quest order until the arena opens. Once the fight starts, prepare around the mechanic that is actually ending the attempt.
Soul Corrupted Witch: Do Not Chase Every Heal
The Soul Corrupted Witch blocks the route into the Deep Dark after the later Howling Woods section.
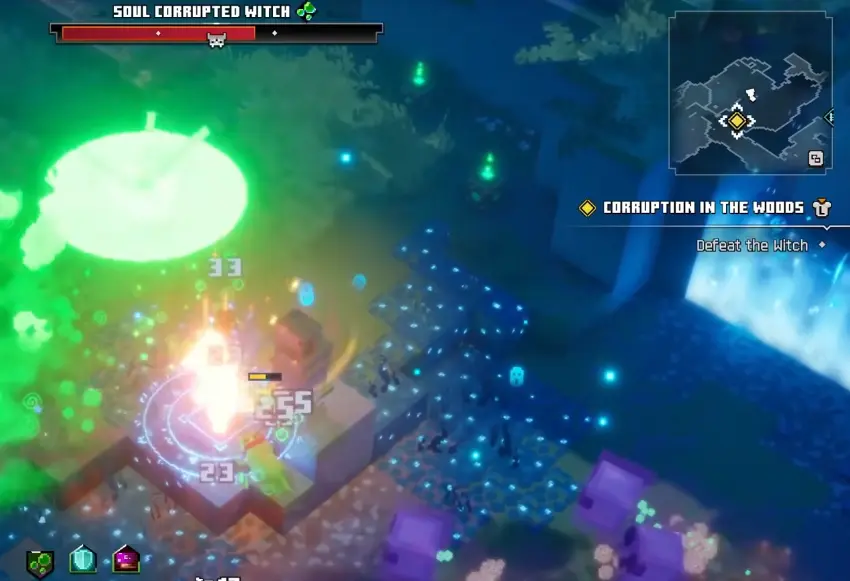
Three things compete for your attention here: the Witch can pressure you from range, spiders crowd the arena, and the boss can recover health during the fight.
It is tempting to respond to every heal by forcing melee damage immediately. That becomes expensive when the Witch is still firing and spiders have closed the escape route.
I get better results by treating arena control as the first priority. If spiders are blocking movement, clear enough of them to make space, move across the arena while the Witch fires, then close in when the trade is favorable. A ranged weapon helps keep some damage going during the moments when walking directly at her would cost more health than the hit is worth.
The boss healing makes the fight longer, but it does not make every recovery window an emergency. Losing a little boss progress is better than spending the potion, Souls, and most of your health just to prevent one heal.
Once the Witch is defeated, the route into the Deep Dark opens. The kill also satisfies Craftier than Witchcraft.
Twisted Warden: Move First When It Disappears
The Twisted Warden appears farther into the Deep Dark progression.
Its most dangerous rhythm starts when it leaves your immediate view. The Warden can disappear and return inside your space while other enemies are still creating pressure around the arena.
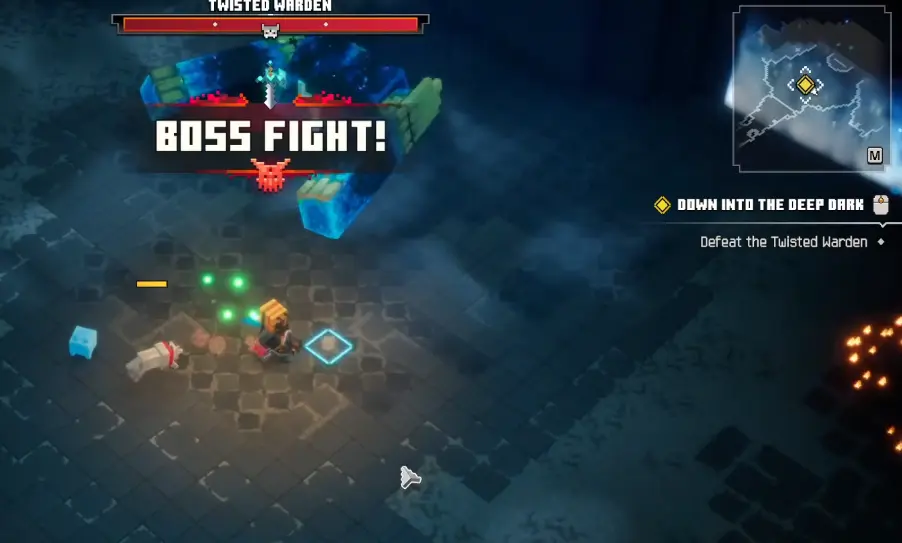
When it burrows, stop attacking the empty position and move. The goal is to have room to react when it comes back rather than using the dodge only after it has already reappeared beside you.
Ranged attacks are valuable during the safer windows because they let you continue dealing damage without committing to the Warden’s immediate melee range. If you carried TNT into the encounter, it can also turn one clean opening into a large burst of damage.
The extra enemies only need to become the priority when they start taking away movement, interrupting healing, or blocking shots. Chasing every small target across the arena gives the Warden more opportunities to re-enter the fight on its terms.
A defensive Artifact is particularly useful if the Warden keeps returning while your roll is unavailable. If those defensive resources and your potion are disappearing long before the boss health is under control, that is a good point to stop repeating the same setup and check best builds.
Defeating the Twisted Warden completes Twisted Madness.
Copper Monstrosity: Keep a Second Answer After Your Defense Breaks
Copper Monstrosity waits at the top of the Supreme Tower during the Rainy Plains progression.
Once the tower objectives are complete and you reach the Supreme Tower, Copper Monstrosity is the next blocker. If a Rainy Plains bridge is still stopping you, check the regional route before returning to the boss.
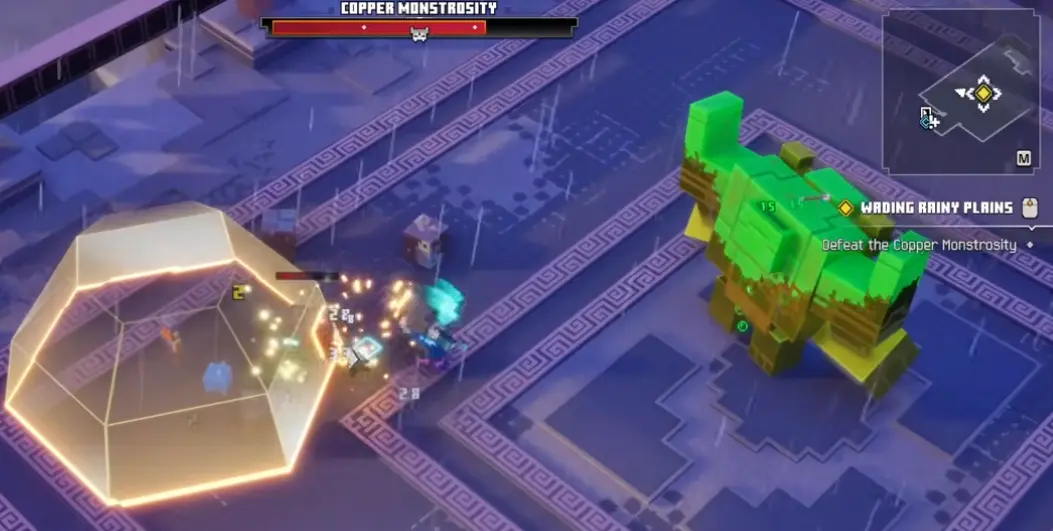
This fight is where a defense that felt safe against ordinary enemies can fail very quickly.
A stationary defensive shield cannot be treated as permanent safety because the Monstrosity can remove that protection. If the entire plan is to stand behind one defensive button and continue attacking, the fight gets dangerous the moment that tool disappears.
Keep moving before the boss reaches point-blank range. When it commits toward you, make space first, then use the recovery window for damage. Trying to finish one more long combo while the boss is already on top of you usually costs more than that extra attack is worth.
This is also a fight where I would rather enter with healing plus a fallback defensive option than fill every Artifact slot with burst damage. A companion can buy a few seconds of freedom by pulling attention away, but treat that as time to heal or attack—not as a permanent tank.
Preserve some arrows during the climb if ranged pressure is part of your setup. Running dry before the boss begins removes one of the easiest ways to keep damage going while repositioning.
Copper Monstrosity gives the first Note Block and completes Copper Stopper.
Prime Enchanter: Fix the Resource That Runs Out First
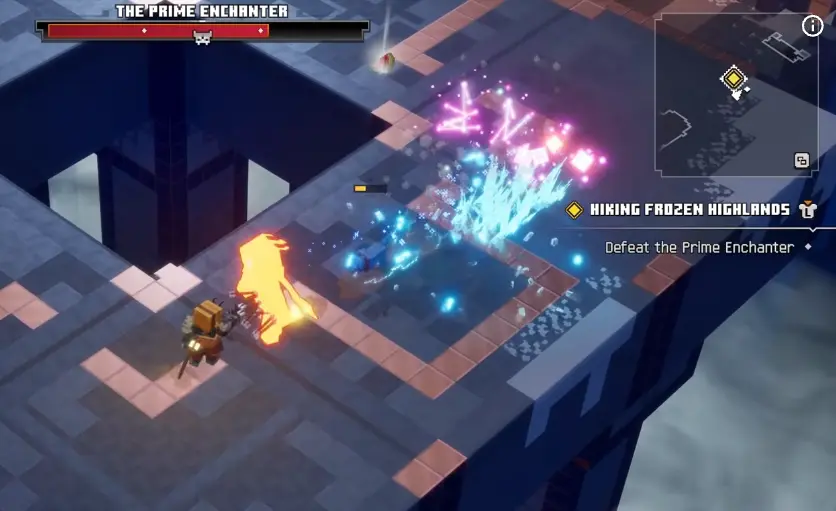
The Prime Enchanter is fought inside the Frozen Highlands fortress.
If the Frozen Highlands fortress still cannot be entered, reach the secret passage first through the Frozen Highlands route. The Prime Enchanter fight begins after you are inside.
My first check here is not whether the weapon number is high enough. It is why the attempt collapses.
If the potion is gone early and health never stabilizes, survival needs attention. If creating space stops all damage, the build needs a safer ranged or summon option. If ordinary enemies before the fight already consume everything, the boss is receiving a depleted character before the real encounter even starts.
Ricochet can help when several targets are active, while a companion can create short periods where the Enchanter is looking somewhere else. Those windows are often more valuable for healing or controlled ranged damage than for forcing a long melee exchange.
Potion timing matters as well. Using the heal to erase a small amount of missing health can leave nothing available when sustained pressure begins later in the attempt. Unless the next hit is genuinely dangerous, leave enough value in the potion to justify the cooldown.
If a retry ended because the same incoming damage overwhelmed you again, improve the armor or recovery that failed. Buying a minor damage sidegrade does not fix a survival problem.
The optional Frozen Highlands code is unrelated to defeating this boss. Prime Enchanter gives the second Note Block and completes Past Their Prime.
Monarch: Remove the Extra Pressure, Then Get Back on the Boss
The Monarch appears later in the Sift progression while the route is moving toward Lullaby Hills.
If the musical gate is still closed, finish that part of the Sift route first. Once the Monarch encounter begins, slow damage becomes dangerous because the boss can recover health.
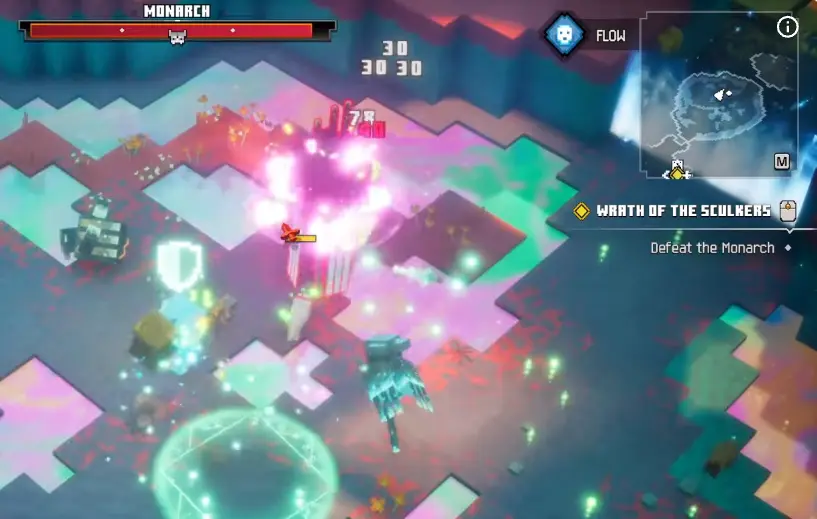
The arena can add another dangerous target. Ignoring that threat leaves you dodging two problems while the Monarch gains time to undo previous damage.
Clear the extra pressure when it is genuinely interfering, then return to the Monarch quickly.
Keep part of the ranged reserve for later moments when the Monarch creates distance. Dumping every arrow at the opening leaves fewer options once melee access becomes inconvenient.
The smaller enemies can also become a resource instead of only a distraction. If they let you rebuild Souls safely, use that opportunity and convert the recovered resource back into boss pressure.
A failed attempt with plenty of boss damage but no survivability points toward healing or defense. An attempt where you spend most of the fight retreating may benefit more from a companion or another way to create usable damage windows.
Defeating the Monarch completes Regicide.
The Final Souldown Has Two Different Boss Problems
The final combat sequence changes style between encounters.
Supreme Evoker is a ranged, shielded fight. Monstrous Opus asks for much shorter and more patient close-range windows.
A setup can feel excellent against the first and still need a completely different rhythm against the second.
Supreme Evoker: Break the Shield Before Committing Damage
Supreme Evoker attacks from range and can protect itself with a shield.
When the shield appears, deal with the protection first rather than spending a full damage window trying to force attacks through it.
Movement can also be slowed during the encounter, which makes late dodges much less reliable. Start repositioning before the arena edge becomes the only remaining direction.
The large central monument gives you useful geometry. Circle it when you need an object between yourself and ranged pressure, then come back out once another clean attack window opens.
Companions can divide the Evoker’s attention and buy space, but they do not remove the shield requirement. Use the distraction to reposition or prepare damage rather than assuming the summon is solving the mechanic for you.
When Supreme Evoker goes down, the final combat sequence is not finished.
Monstrous Opus: Stop Shooting When Ranged Damage Stops Working
Monstrous Opus follows the Supreme Evoker.
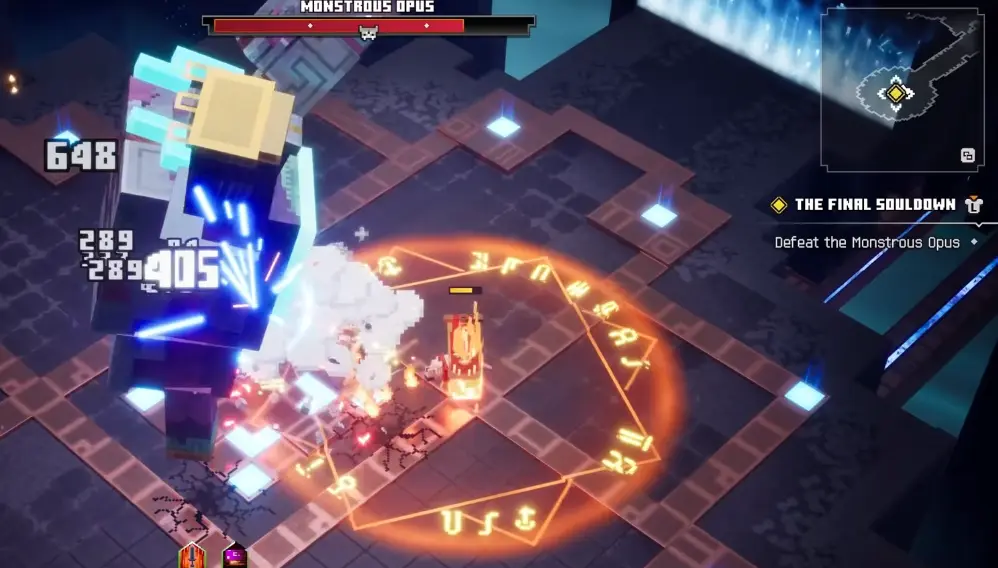
The most important resource mistake happens when the boss enters its heavy state and arrows stop producing meaningful health-bar movement.
Watch the result of the shot.
If the health bar is not responding, stop feeding ammunition into that phase. Preserve it for the later state when ranged attacks become useful again.
The safe melee rhythm is intentionally short:
move in → land a few attacks → get back out
This is not the fight to stand beside the boss and insist on finishing a full combo. Take the damage that fits inside the opening and leave before the next heavy attack begins.
When Monstrous Opus charges, roll clear of the path. Once that sequence ends and the boss settles, move back in for another brief exchange.
A companion works well here because it can hold the boss’s attention while you wait for a clean entry. Let the summon create the opening; there is no need to follow it into every unsafe trade.
When ranged damage starts moving the health bar again, spend the ammunition you preserved earlier.
The kill completes Monstrous Crescendo.
The Final Boss Health Bar Is Not the End of the Story
After Monstrous Opus dies, stay with the active objective.
The portal is still damaging the Sift, so the story does not end when the boss health bar disappears. Continue the portal sequence rather than leaving the area looking for another fight.
After Monstrous Opus falls, keep following the objective until the final Sift portal is destroyed.
Should You Retry the Boss or Go Upgrade Gear?
I retry immediately when the fight is already working.
That means the boss was low, the build still had enough damage and healing, and the loss came from something I can correct on the next attempt: one missed roll, a potion used too early, arrows wasted during the wrong phase, or a bad decision while a companion was unavailable.
I leave and change the loadout when the failure happens much earlier. Reaching the arena nearly empty, losing the potion before meaningful boss damage has happened, exhausting Souls halfway through the fight, or repeatedly dying to the same incoming pressure means another identical attempt is unlikely to change much.
Match the adjustment to the failure:
- damage pattern is weak: compare weapon setups in best builds;
- healing or defense collapses: check Artifacts and Talismans;
- an enchant rarely triggers or your upgrade resources are being wasted: use the enchantments guide.
The goal is not to rebuild the character after every death. Change gear when the fight has exposed a repeatable weakness; retry when the existing setup was already capable of winning.