Minecraft Dungeons II Beginner Guide: What to Do First
Start Minecraft Dungeons II without wasting emeralds or upgrade points. Learn which gear to equip, when systems unlock, and which early detours can wait.
Updated:
Quick Answer
In the first few hours, equip every armor slot, follow the selected main quest with Guidance, activate Minecart Stations when you reach them, and avoid spending heavily on gear you are already replacing quickly.
Your second Artifact slot opens at level 5, the third at level 10, and every level gives 1 Enchantment Point. Keep progressing until the Enchantsmith is available before worrying about a finished enchantment setup.
Minecraft Dungeons II starts by teaching familiar combat, then rapidly adds more decisions than the opening makes obvious. Armor is split across several slots, Artifacts and Talismans unlock over time, side quests begin appearing alongside the main route, and you can start earning Enchantment Points before you can fully use them.
The easiest way to waste the opening hours is to treat every new item, quest marker, and shop option as something that must be handled immediately. Early gear changes too quickly for that.
A cleaner start comes from knowing which upgrades matter now and which systems become more useful after Brave Haven, the first Sift visit, and Little Howl.
Fill Every Equipment Slot Before Chasing Perfect Gear
Minecraft Dungeons II separates your equipment into more pieces than the first game.
You have individual slots for:
- helmet;
- chest armor;
- leggings;
- boots;
- melee weapon;
- ranged weapon;
- Artifacts;
- Talismans.
That makes an empty slot more damaging than a slightly imperfect item.
During Squid Coast and the first Brave Haven objectives, equip clear upgrades as they drop. A weaker modifier on a current armor piece is usually better than leaving the slot empty while waiting for something ideal.
The same applies to weapons. Early in the game, item upgrades arrive often enough that a small damage increase can be used immediately without committing to a long-term build.
Do not spend the opening trying to perfect one weapon. First make sure the entire character is actually equipped.
Artifact Slots Unlock at Levels 5 and 10
Character levels unlock additional Artifact capacity.
The progression is:
- first Artifact slot: available from the start;
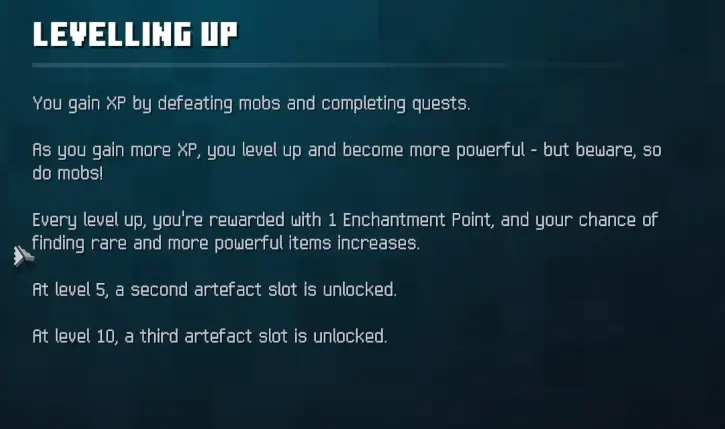
- level 5: second Artifact slot;
- level 10: third Artifact slot.
There is little reason to compare a level-3 character against a later three-Artifact setup. The early combat loop is intentionally more limited.
Once the second slot opens, pair effects that solve different problems rather than equipping two buttons that both consume the same resource without adding another benefit. Damage plus healing or control is usually easier to sustain than spending the entire Soul bar on overlapping burst effects.
More complex combinations become useful later in Minecraft Dungeons II best builds.
Every Level Gives One Enchantment Point
Leveling also gives 1 Enchantment Point per level.
That means you may already have points in the inventory before the full enchanting system is ready.
Nothing is wrong if those points are sitting unused.
The Enchantsmith becomes available after the early Howling Woods progression around Little Howl. Until then, continue the story instead of looking for another menu or NPC that will let you spend them early.
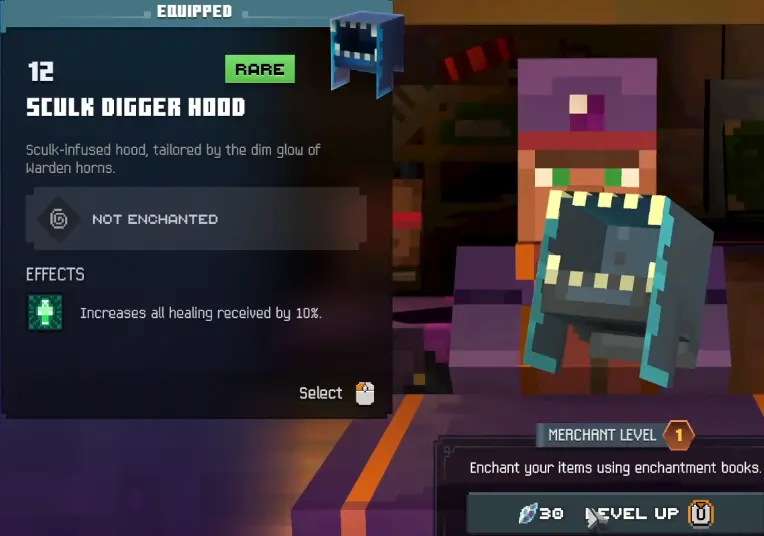
When enchanting opens, resist the urge to spread points across every item in the inventory. Early equipment is still being replaced quickly.
Use points first on equipment that is already solving a real combat problem. Before pushing an effect to a higher rank, compare its cost, trigger, and rank scaling.
Talismans Level While Equipped
Talismans provide passive effects and have their own progression.
You can equip up to three Talismans, and they gain XP while equipped. If several useful Talismans are sitting unused, rotate them when you actually want to develop them rather than expecting every item in the collection to level automatically.
The first useful Talisman arrives early enough that it should be equipped immediately instead of left unnoticed in the inventory.
For example, the early Sigil of Beeswax increases maximum health. That makes it useful while you are still learning enemy damage and do not yet have a mature healing setup.
Do not assume its first value is its final value; Talismans become stronger as they level.
Use Guidance Before Assuming You Are Lost
The connected world has more branches than the first Minecraft Dungeons, and early objectives can sit behind terrain that looks like a wrong turn.
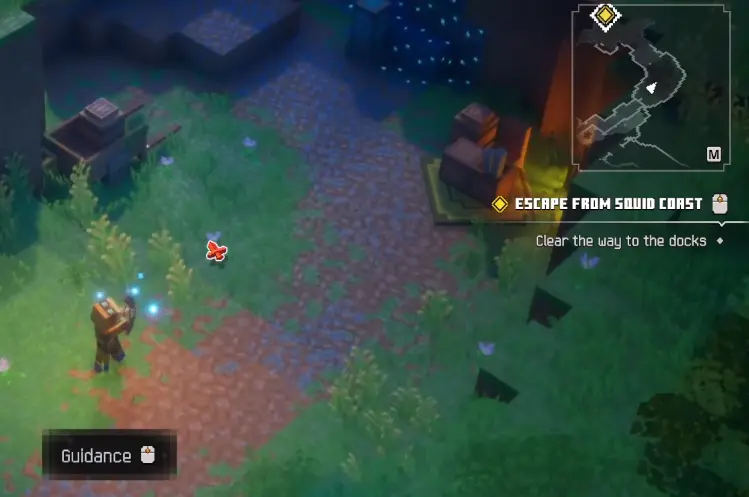
Use Guidance when the objective is selected.
On keyboard and mouse, the early tutorial shows Guidance on middle mouse click.
The important limitation is that Guidance follows the selected quest.
If a side quest is selected, the line can lead you away from the story perfectly correctly. Before following it across a large area, confirm which quest is active.
When the question is not “how do I reach this marker?” but “which quest should I be doing next?”, use the complete walkthrough.
The Key Golem Is Not in Another Region
One of the first places players can over-search is Brave Haven’s closed gate.
The missing Key Golem is still in the immediate gate area. It is on the grassy patch beside the short steps near the gate approach.
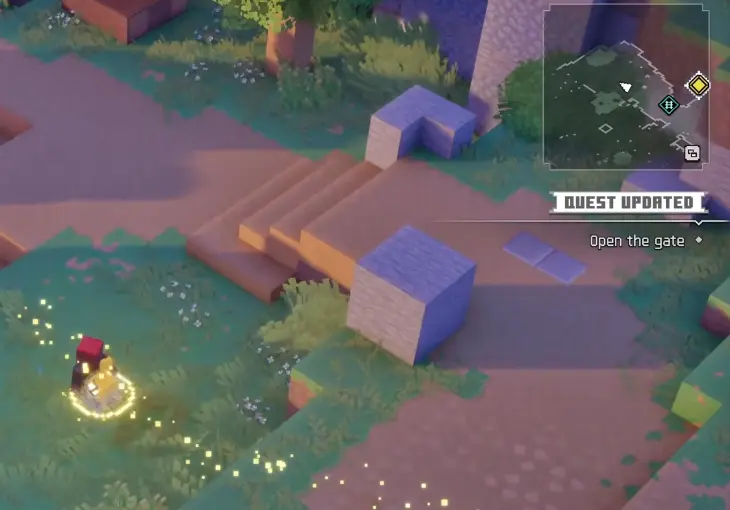
Pick it up, return it to the gate, then continue outside town.
There is no benefit in searching Honeycomb Fields or another region for this blocker.
The First Sift Visit Is Not a Full Exploration Run
The first rift introduces the Sift early.
Go in when the story sends you there, finish the required encounter, then return to the Overworld.
That first trip is not the point to stop the entire playthrough and search for every route inside the dimension. Access changes later as the story progresses.
The environment also behaves differently from the Overworld, including damaging water and ambushes that temporarily close the way out. Those Sift-specific rules are explained in The Sift.
For a first playthrough, the useful decision is simpler: finish the required Sift objective, collect what is already on the path, and keep moving.
Side Quests Appear Before You Need to Finish Them
After returning from the first Sift trip, Honeycomb Fields begins offering optional objectives alongside the next main quest.
That is the first point where the quest log can become distracting.
Side quests are worth doing for rewards, exploration, and later completion, but they do not all need to be cleared before the story moves toward Howling Woods.
A practical first-run rule is:
- do a short side objective if it sits directly beside the current route;
- leave a long detour if it sends you far away from the next main objective;
- return later once Minecart travel makes the area easier to revisit.
This prevents the opening hours from turning into repeated travel through the same region.
Do Not Spend Emeralds on Every Small Upgrade
Emeralds are used for purchases and equipment improvement, and the early game presents enough new gear that spending on every small increase becomes expensive quickly.
Before paying, compare the new item with what is actually equipped.
A purchase is easier to justify when it does one of these:
- fills a weak or empty slot;
- gives a clear power increase;
- adds a modifier that fixes a current problem;
- replaces an item that has already fallen noticeably behind.
A small numerical sidegrade with no useful interaction can wait.
This matters more after the first few areas, when upgrades begin competing for the same emerald supply. Saving some currency gives you room to act when a meaningful weapon, armor piece, or shop option appears.
Salvage Gear You Are Clearly Done With
Keeping every early drop makes the inventory harder to read and leaves less clarity around what is actually worth upgrading.
Once an item has been replaced and has no useful modifier or special role, salvage it.
Do not salvage a weapon simply because another one has slightly higher power if the old weapon still has a much better attack pattern or modifier combination. That becomes more important later, but the habit starts early: compare the role, not just the number.
Items that have already been heavily upgraded deserve a second look before being discarded, especially once enchanting is active.
Activate the First Minecart Station as Soon as the Quest Reaches It
The Lost Merchant sequence introduces one of the most useful habits in the game: activate Minecart Stations when you reach them.
After rescuing the merchant and recovering the required supplies, activate the nearby station.
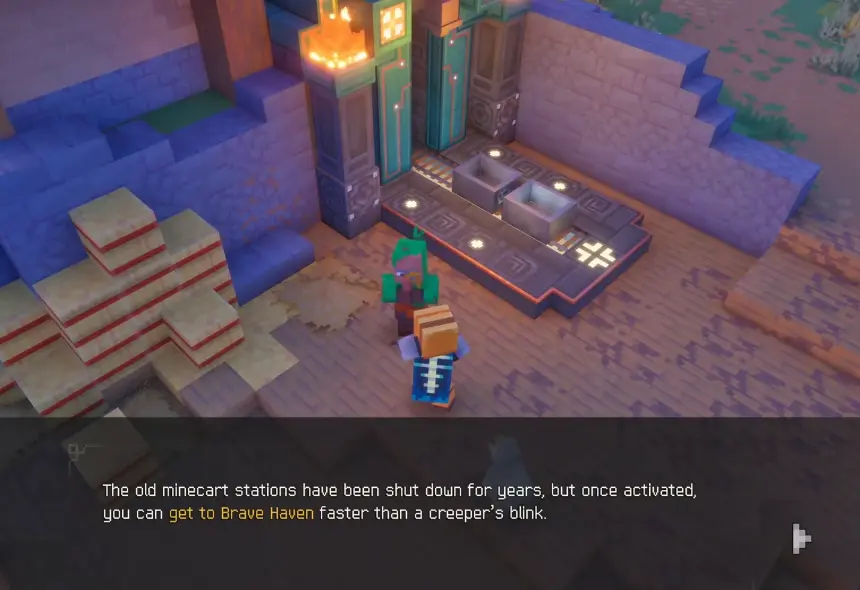
Walking past a station without activating it saves almost no time and can create a much longer return journey later.
The full network matters for exploration and completion, but during the opening hours the important habit is simply to activate each station when the story naturally brings you to it.
The Broken Bridge Is a Quest Blocker, Not a Puzzle
The bridge toward Howling Woods is another place where searching the environment can waste time.
The lever beside the villager is visibly broken.
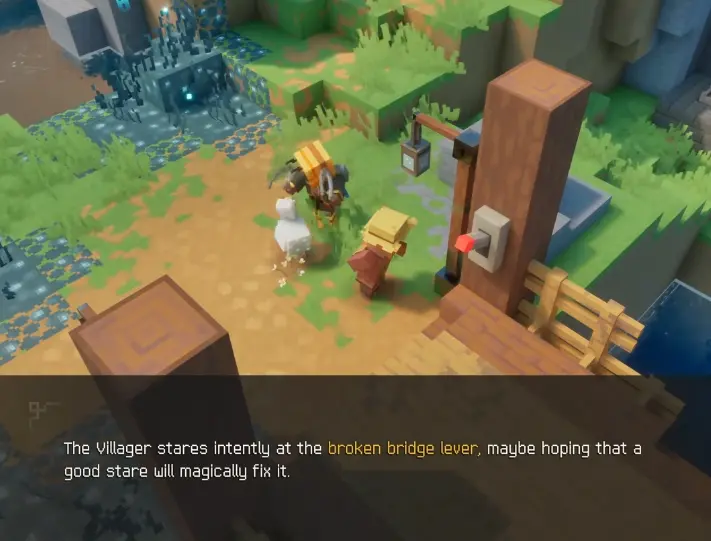
Do not look for another switch around the bridge.
Follow the Lost Merchant objective, recover the supplies, activate the Minecart Station, return to Brave Haven, and collect the replacement lever.
If you lose track of the main quest after the early areas, identify the last objective you completed and resume from the main quest order.
Upgrade the Enchantsmith After You Actually Need More Options
Once the Enchantsmith is active, it becomes tempting to spend immediately because several systems have just opened at once.
Start with the equipment you are really using.
If the current melee weapon clears comfortably and the armor keeps you alive, there is no urgency to spend points simply because they exist. A stronger upgrade matters more when it changes a result: faster group clearing, enough healing to survive an encounter, or a resource loop that stops collapsing.
Enchantment Points are not unlimited during the opening hours, so scattering them across temporary gear can leave the better weapon short when it arrives.
Rifts Become More Valuable Once Enchanting Is Open
After the Enchantsmith is available, Rifts gain another practical purpose: they can contain Enchantment Books, Echo Shards, and other loot.
That gives optional Rift runs more value than they had during the first mandatory visit.
Even then, do not abandon the main quest every time a Rift appears. Run one when you actually need more enchantment options, loot, or a break from the current route.
Because Enchantment Books remain available once collected, a useful book is a permanent addition rather than a one-use consumable.
Your Bow Is Useful Even If Melee Does Most of the Work
Early combat can encourage constant melee because the first enemies die quickly, but the bow becomes important whenever:
- a dangerous target is easier to remove before it reaches you;
- an ambush contains several ranged enemies;
- health is low and another melee trade is risky;
- a boss or elite punishes standing nearby.
Ammo is limited, so shooting every weak enemy from maximum distance is inefficient.
Use ranged attacks to remove priority targets or create a safer approach, then let melee handle enemies that do not justify the arrow cost.
Later builds can invest more heavily into ranged combat, but the first-hours lesson is resource control: arrows are most valuable when they prevent damage or remove a dangerous enemy early.
What Should You Prioritize in the First Few Hours?
A smooth opening does not require clearing everything.
Prioritize these actions:
- Fill all armor and weapon slots with current gear.
- Use Guidance when the selected objective is hard to route toward.
- Return the Key Golem instead of leaving Brave Haven to search for it.
- Complete the first Sift objective and come back out.
- Equip the first useful Talisman you receive.
- Do not force every side quest before the Lost Merchant route.
- Activate Minecart Stations immediately when reached.
- Save Emeralds and Enchantment Points for upgrades that change combat, not tiny sidegrades.
- At level 5, use the second Artifact slot; at level 10, use the third.
- Once the Enchantsmith is available, begin investing in gear you expect to keep for more than a few fights.
If progression itself becomes unclear, switch to the Minecraft Dungeons II walkthrough and identify the last main quest you completed before changing equipment or clearing unrelated map markers.