How I Counter Russian Guard Without Feeding Its Best Units
Russian Guard gets much easier to fight when I deny the clean engagements its specialist units need and force each threat into a worse matchup.
Updated:
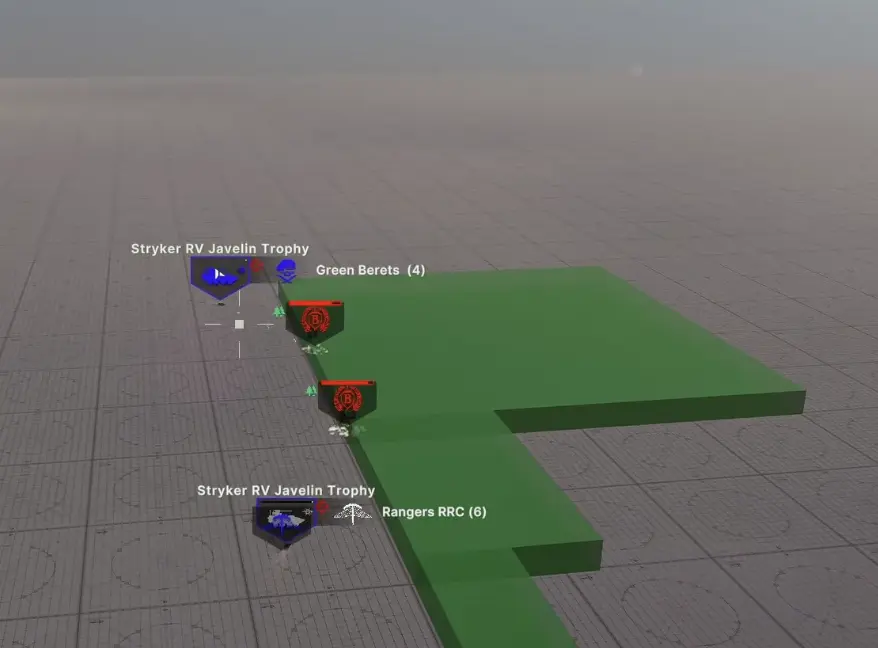
Quick answer: My safest response to Russian Guard is to make its specialist units reveal themselves into the wrong target. I hide MANPADS ahead of visible vehicle AA for Termit, put front armor between Vympel and my infantry, send a vehicle behind the first infantry screen when Uran-9 enters a forest, and wait for S-70 to fire before committing the fighter. If an S-400 already owns an air lane, I stop flying through that lane. Against Kinzhal, I keep missile defense close to the force worth protecting rather than trying to cover the whole map.
Russian Guard punishes predictable counters.
A visible AA vehicle gives Termit something useful to find. Infantry sent alone into dense cover gives Vympel and Uran-9 the fight they want. A fighter chasing a stealth aircraft deep across the map can finish one threat and immediately enter the next layer of Russian air defense.
I have better results when I separate finding the threat from killing the threat.
The Russian-side loadouts and complete unit numbers live in the Russian Guard units guide. Here I only keep the numbers that change the counter itself.
Termit: Let the Stinger Be the Surprise
The Termit problem usually starts before anybody fires.
If my first AA layer is a wheeled SHORAD vehicle sitting in open ground, the drone may discover it before the vehicle gets a useful engagement. The Russian player can then avoid the area, attack the AA, or use the information to prepare another strike.
I want the order reversed.
A Stinger or other MANPADS squad goes into forward cover—a tree line, building or concealed pocket beside the route. Vehicle AA sits farther back, covering the same general lane without becoming the first thing the Termit sees.
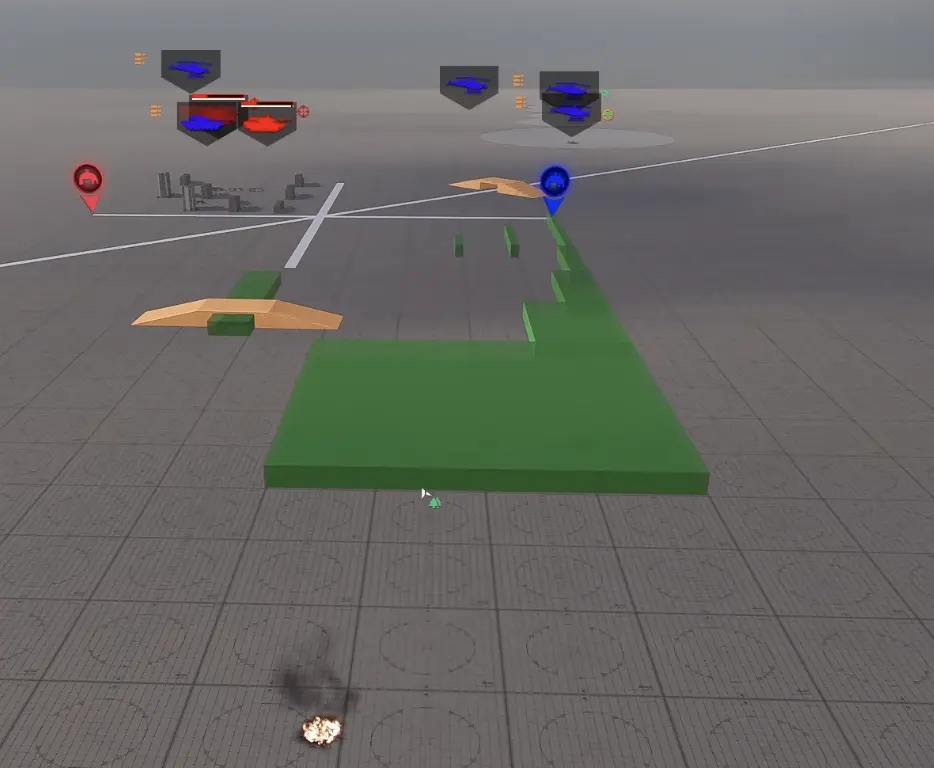
The Termit has only 6 HP, so I do not need an elaborate kill chain once the ambush works. A clean Stinger hit can remove it.
My flank setup usually develops like this:
- infantry-based AA takes the concealed forward position;
- visible SHORAD covers from farther back;
- I leave enough open space in front that the route still looks usable;
- Termit commits into the lane;
- the hidden missile takes the first shot;
- anything that revealed itself during the exchange moves afterward.
The last step matters.
A Stinger team that just fired is no longer a hidden counter. Leaving it in exactly the same building or tree line invites artillery, laser designation or another reconnaissance unit to solve the position.
When I leave the Termit alone
If it spots the danger and retreats, I usually let it go.
Chasing a 55-point drone with a more valuable AA vehicle creates the wrong trade even before the next Russian unit appears. The purpose of the counter is to deny the flank, not to collect the kill at any price.
Vympel: Front Armor Buys the Time I Need
Vympel CQC becomes dangerous when I let the squad sit still and shoot into the target it was built to fight.
The important mechanical detail is simple:
the 6P62 has to be stationary to fire.
That gives me two ways to reduce its value at the same time: put a target in front that is difficult to penetrate, then force the squad to move.
In an urban lane, I bring the vehicle into contact before the infantry.
The sequence I use is:
- face the strongest armor toward the suspected Vympel building;
- keep infantry one position behind;
- establish which structure or floor is producing the fire;
- use artillery, smoke, Flash or another pressure tool to make the squad relocate;
- cross the infantry while the 6P62 is no longer firing from a settled position.
This is much cheaper than trying to win an elite-infantry duel on Russian Guard’s terms.
High-rises change the armor geometry
Street-level front armor is not enough if I park directly beneath the squad.
From an elevated building, Vympel can create side, rear or top angles that would not exist in a flat engagement. I therefore leave distance between the vehicle and the occupied high-rise instead of hugging the structure.
If the building cannot be pressured safely, I work around it.
A Russian player who has committed elite infantry to one tower is already spending points to deny that piece of terrain. I do not need to feed infantry into the same doorway just to prove I can remove it.
Uran-9: Infantry Finds It, the Vehicle Kills It
The thermobaric Uran-9 is strongest against the composition players naturally send into a forest: more infantry.
Adding a fourth soft squad to a wood line that is already losing to thermobaric suppression rarely changes the result.
I use two layers instead.
The first layer is cheap infantry or recon. Its job is to move through the trees, keep spacing and reveal the Uran.
The second layer is a vehicle with a real autocannon or another anti-vehicle weapon.
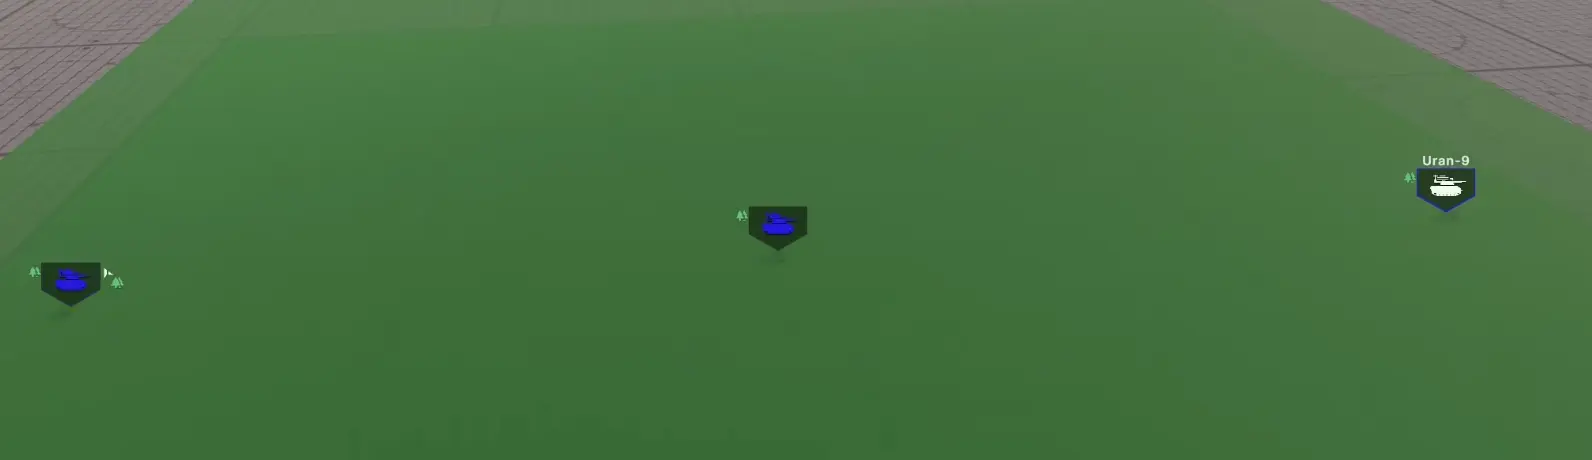
A Bushmaster-equipped Stryker RV can remove the drone quickly once it joins the engagement. I do not lead with that vehicle, because Russian Guard infantry or AT weapons may be waiting behind the Uran.
The route through the woods is therefore incremental:
infantry enters → Uran reveals → vehicle moves into the known fight → drone dies → vehicle stops before outrunning the infantry screen.
That last stop prevents the successful counter from becoming the next ambush.
If I spot serious AT infantry beside the Uran, I no longer treat the contact as an isolated drone problem. The forest has become a combined-arms position, and the vehicle stays behind the infantry until that second layer is located.
S-70: The Shot Creates the Kill Window
The S-70 is most annoying before it fires.
It can sit behind another Russian aircraft, contribute reconnaissance and wait for my fighter to chase too deeply. Trying to force the detection immediately gives the Russian player control over where the air fight happens.
I keep a fighter in reserve and overlap its likely approach with ground AA instead.
The drone can remain hidden and delay its missile, or fire and reveal itself.
Either outcome is acceptable.
Once it shoots, the calculation changes quickly because S-70 has no ECM and no flares. A clean fighter or ground-AA missile can finish it.
I commit at that moment, then recover the fighter instead of continuing toward the Russian backline.
How far away can I expect to see it?
In a clean local test, an S-70 at 1.75 stealth began appearing to a 12,000-optics air-superiority fighter at roughly 6,800 meters.
I use 6.8 km as a planning reference, not as a guaranteed detection circle. Angle, patch behavior and match conditions can change the real contact.
The useful lesson is not “fly to 6,800 meters.”
It is that I do not need to send the fighter all the way forward just to create contact.
If I hold the fighter behind my own air-defense layer, the Russian player eventually has to decide whether the S-70 stays passive or exposes itself by firing.
After the S-70 dies
I turn home.
The tempting play is to continue into the Su-35, bomber or another aircraft behind it. That often converts one good interception into a fighter loss against S-400, Pantsir or another Russian AA layer.
Removing the drone was the objective. I do not need a second engagement from the same sortie.
S-400: Move the Air War Before Trying to Remove the Launcher
When I know where the S-400 is, my first response costs zero points.
I stop using that air route.
The launcher is a major investment. If the Russian player has placed it to dominate one sector and my aircraft simply start working somewhere else, those points are now guarding airspace I am not using.
This is especially effective on maps where aircraft can support another lane without crossing the same central corridor.
I mark the S-400 sector mentally as hostile airspace and redirect:
- bombers to the opposite side;
- helicopters behind another ground push;
- fighters onto an approach where they can recover without crossing the launcher;
- strike aircraft only after ground pressure changes the AA position.
Repeatedly testing the same lane with expensive aircraft is rarely how I remove it.
When I actually attack the S-400
I start planning a direct kill when the ground situation creates one of these openings:
- the launcher has moved too far forward;
- my ground force has opened a route toward the support area;
- its nearby short-range AA has already been removed;
- the launcher has revealed a predictable position and cannot relocate safely;
- several threats can arrive together instead of one SEAD aircraft solving everything alone.
An S-400 protected by Pantsir or another short-range layer is no longer one AA target. It is a sector-defense problem.
That distinction keeps me from spending several aircraft just to remove a launcher that was already doing very little after I moved the fight elsewhere.
A 325-point S-400 covering empty sky is already giving me value.
Kinzhal: The Defensive Battery Belongs Beside the Target
Kinzhal changes the question from “where is the aircraft?” to “what would I hit if I were the Russian player?”
The MiG-31K can launch from far enough away that trying to intercept the aircraft itself is not my primary defense.
I look at my own army and identify the concentration worth spending a strategic strike on:
- a dense armored push;
- artillery sitting beside supply;
- a valuable air-defense group;
- several expensive support units packed into one small area.
That group gets the missile-defense coverage.
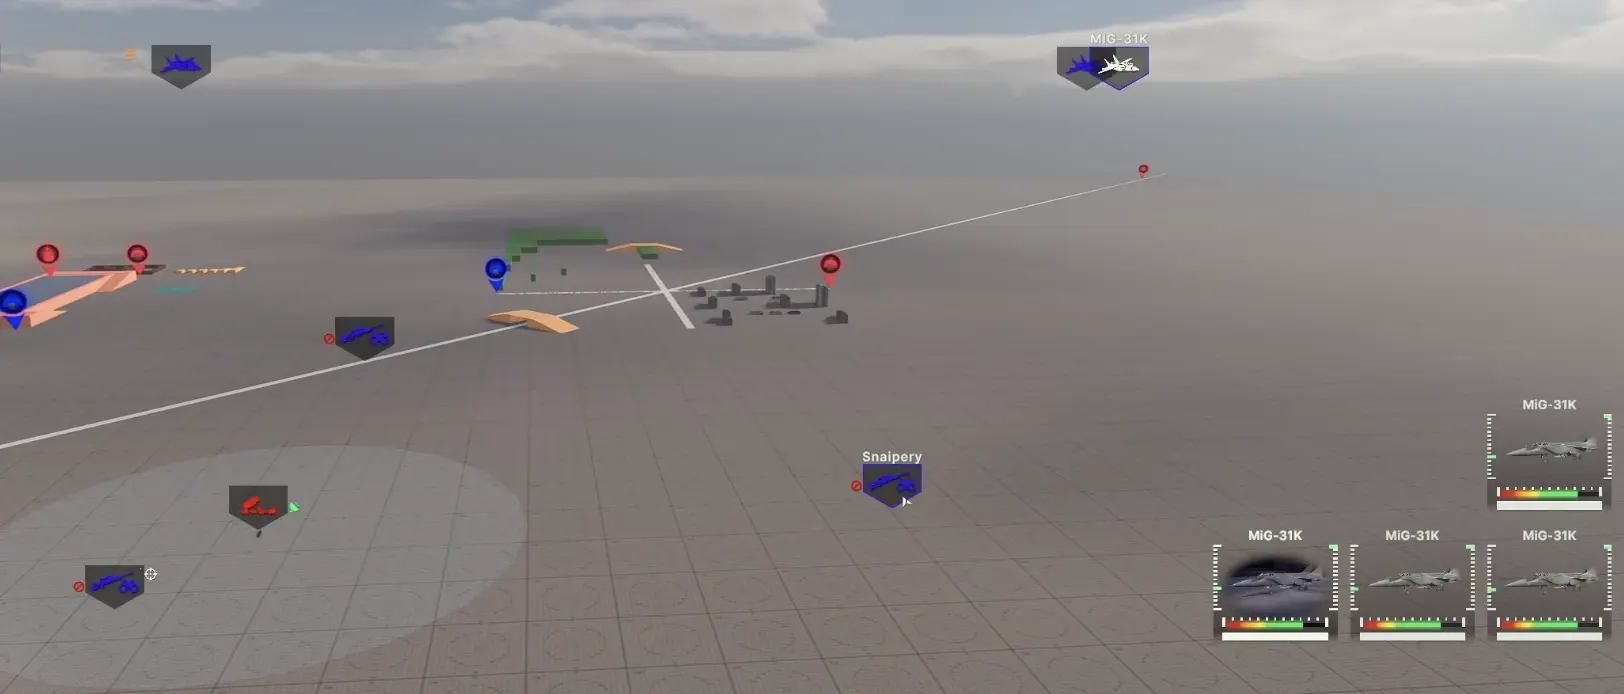
The missile follows a ballistic path and can be intercepted, but its speed makes the practical defensive radius smaller than the nominal weapon range of the interceptor.
For planning, I use these working distances:
- PAC-2: roughly 1,800–2,000 m
- PAC-3: about 1,500 m for a safer in-match assumption
- PAC-3 MSE: roughly 1,600–1,700 m
- IRIS-T: I plan around less than 1,000 m under normal network conditions
These are not guaranteed circles. Network delay, approach angle, other incoming missiles and future balance changes can all shorten the window.
What matters is placement.
A PAC battery far behind my tanks may detect the incoming missile and still run out of time before interception. I bring the defense close enough to the valuable group, while keeping the actual units spaced far enough apart that one successful strike cannot erase the battery, supply and armored group together.
Do not create a better Kinzhal target while defending against Kinzhal
Missile defense encourages players to collapse everything into the coverage bubble.
I keep spacing.
The interceptor should cover the formation; the formation does not need to sit on top of the interceptor.
If the strike gets through, spacing is the second layer of defense.
I Spend on the Threat That Has Already Appeared
I do not open the match with a complete anti-Guard package.
Russian Guard has too many different tools for that to be efficient. Buying every possible counter before I know the deck in front of me leaves too few points for the lane itself.
My reaction changes with the first useful contact.
Termit appears on a flank: concealed MANPADS gets priority. Vehicle AA overlaps from farther back.
Vympel takes over an urban block: I want armor and movement pressure before another infantry squad.
Uran-9 starts clearing a forest: infantry keeps spotting while a vehicle or serious AT moves behind it.
S-70 joins the air fight: fighter reserve and overlapping ground AA matter more than chasing immediately.
S-400 establishes a sector: my aircraft leave that sector unless I already have a coordinated removal opportunity.
Kinzhal appears: missile-defense coverage moves toward whichever concentration is worth the Russian player’s strike.
The costliest mistake is guessing the answer before the Russian player shows the problem.
A Successful Counter Should Change the Map
Killing the specialist unit is only half of the exchange.
The next thirty seconds determine whether I actually gained anything.
After a Termit dies, I can move the counter before artillery finds it and take a safer piece of the flank.
Once Vympel is forced out of a building, infantry takes the useful structure while the squad is displaced; I do not chase it through the next city block.
After Uran-9 falls, I stop the vehicle at the edge of the newly cleared area until infantry checks for Russian AT.
When S-70 goes down, the fighter recovers instead of extending into another AA layer.
If S-400 forces my aircraft away, the ground force attacks somewhere its 325-point air umbrella contributes less.
After a Kinzhal interception, I spread and reposition the defended concentration before the next strike has the same target.
That is how I judge whether the counter paid off.
Russian Guard gets much less oppressive once every successful defense produces better terrain, safer support positions or a more favorable next engagement instead of another chase.