Assault on Daugavpils Walkthrough: My Reliable First-Clear Route
A practical Assault on Daugavpils route covering sabotage, battlegroup choice, the outskirts, counterattack, observers, reinforcements and the final push.
Updated:
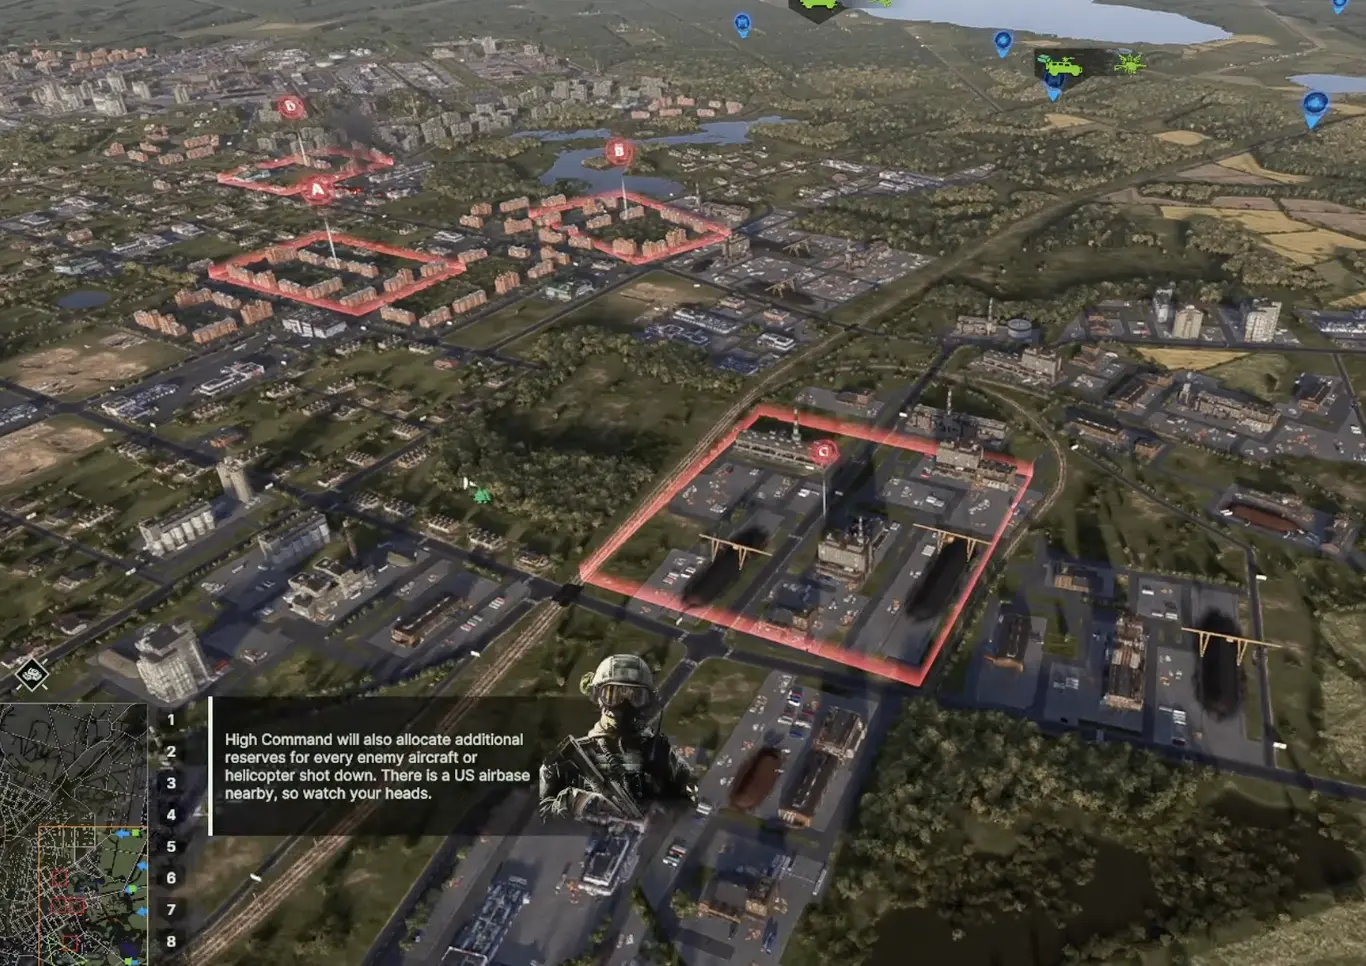
Quick answer: For my first clear, I use the sabotage charges, choose Special Forces for mobility, take the outskirts in the order Charlie → Bravo → Alpha → Delta, and stop completely when the foothold is secured. I rebuild the force before the counterattack, kill the artillery observers before committing deep into the city, then use each new reinforcement route to shorten my logistics. I keep a mobile reserve until the final fortified area because the mission still has one last counterattack.
Assault on Daugavpils does not stay the same kind of mission for very long.
The opening rewards preparation. The outskirts reward controlled captures. Then the ground I just took becomes a defensive line. Later, observer teams make large formations dangerous to leave clustered, and the reinforcement network changes enough that continuing to use the original route wastes time.
I clear it most reliably when I treat the scenario as a chain of separate phases.
The important question after every objective is not “what can I capture next?”
It is whether the force is ready for what the mission does next.
Phase 1: Spend the Sabotage Charges on Problems I Do Not Want Later
Each sabotage team carries enough explosives for one target.
That makes the opening a resource decision rather than a free cleanup phase.
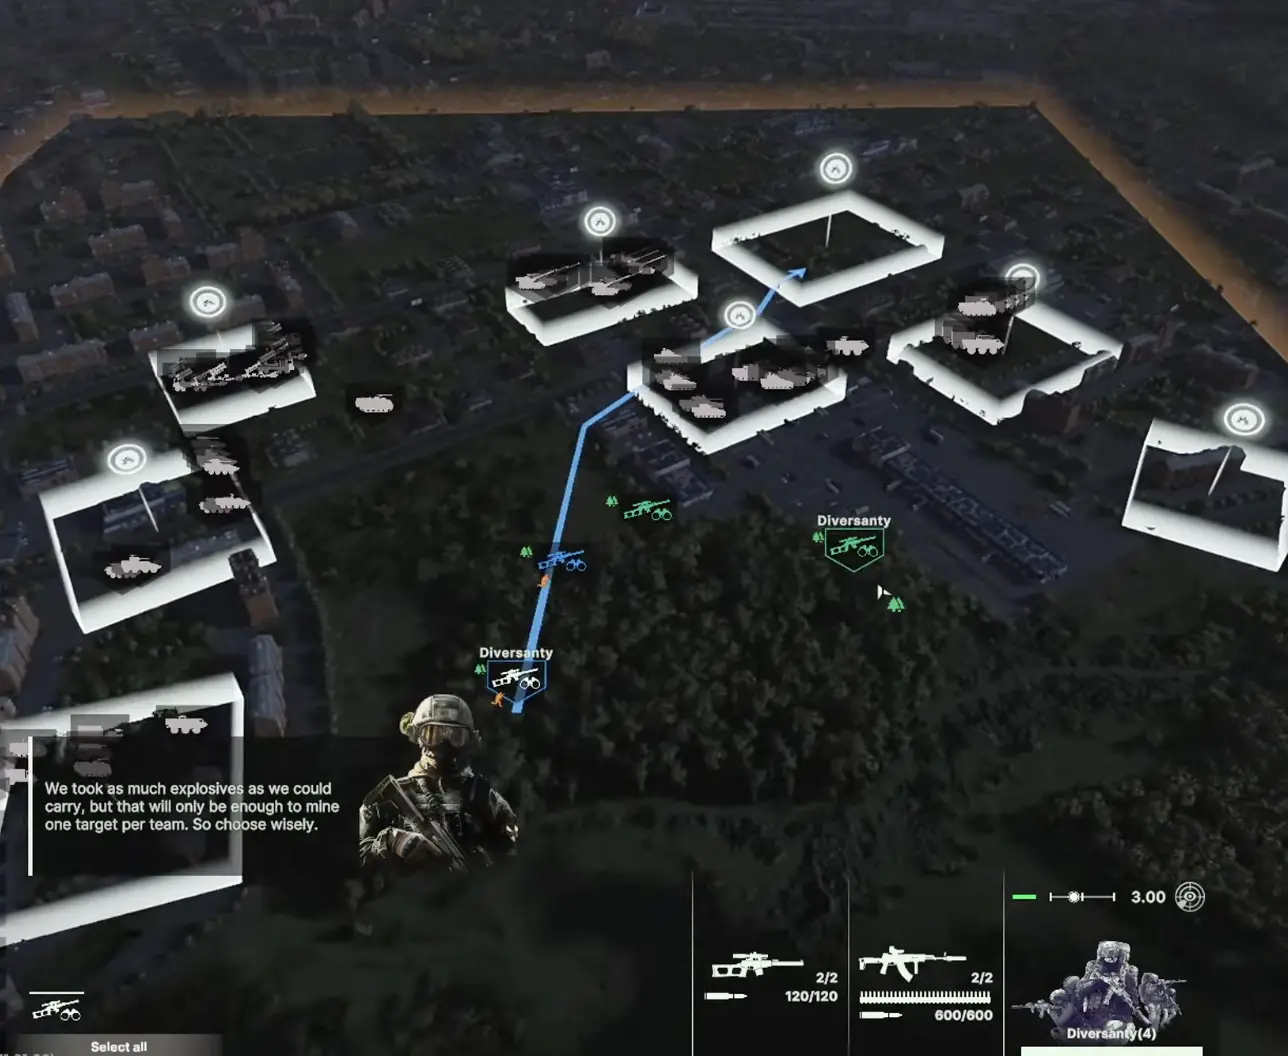
For a normal first clear, my priorities are:
- long-range air defense / Patriot-type systems when I expect to use aircraft;
- heavy armor when my chosen battlegroup has limited comfortable tank-killing options;
- artillery when I am taking a slower infantry-heavy force;
- lighter vehicles and transports only after the expensive problems are covered.
Sabotaging enemy air defense has an immediate knock-on effect: allied Su-25 and Su-34 support becomes much easier to use once the main assault begins.
I am not trying to remove every difficult unit before the battle starts. I am removing the threats that would otherwise force the biggest change to my plan.
Phase 2: Pick a Battlegroup That Still Works After the First Capture
The combat-group selection includes:
- Combined Arms
- Fire Support
- Special Forces
- Reinforced Infantry
- Army Reserve
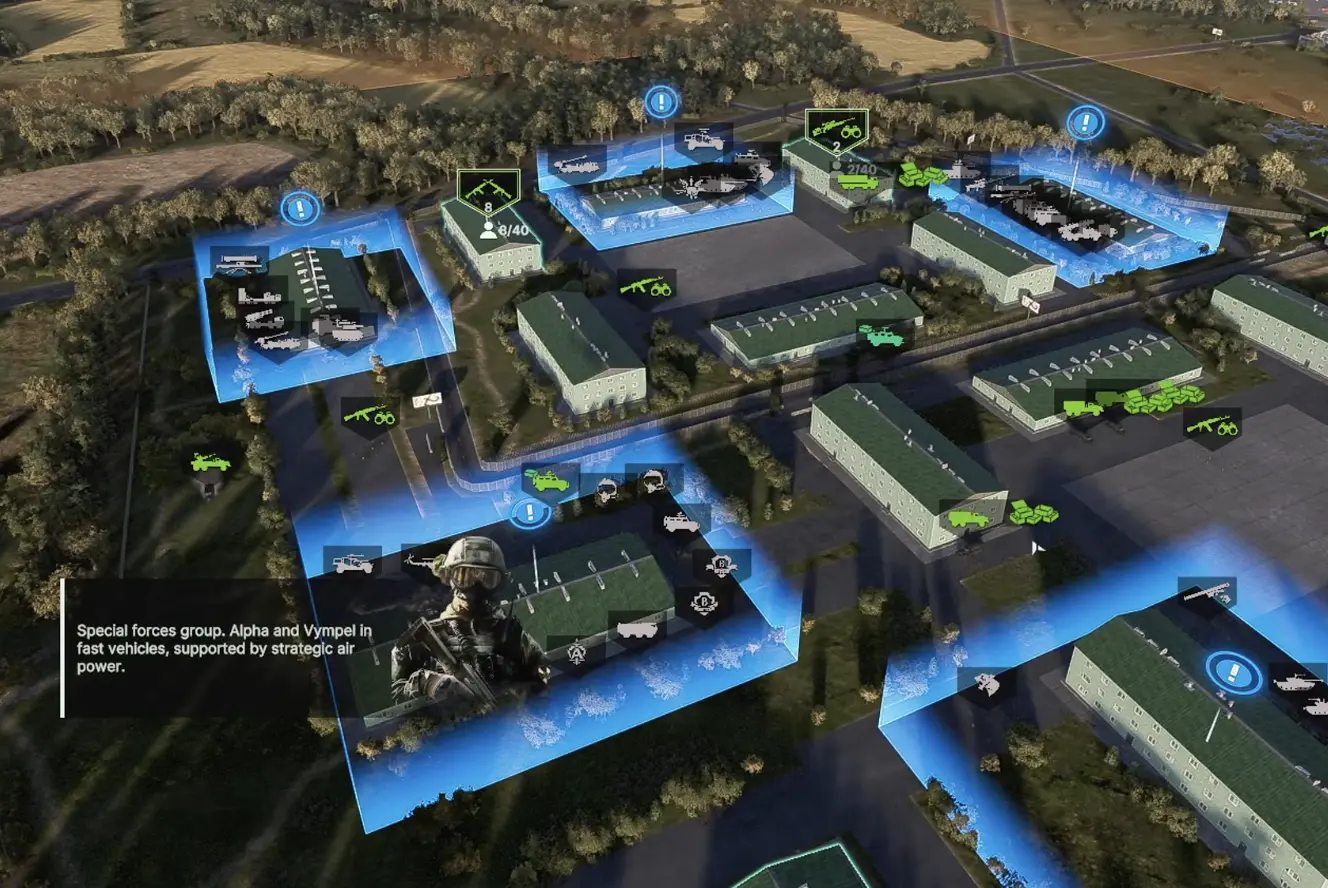
My first-clear choice is Special Forces.
It gives me Alpha and Vympel in fast vehicles plus strategic air power, which fits a mission that repeatedly asks me to move from one type of problem to another.
The alternatives change the emphasis rather than making the mission impossible.
Reinforced Infantry gives me a broad infantry-and-armor force, but I have much less comfortable fire support. I take it when I am willing to solve more of the city at close range.
Fire Support gives access to ATGMs, artillery, helicopters, bombers and long-range air defense. It is attractive if I want the mission to revolve around spotting and long-range removal.
Army Reserve is the option I leave for a harder replay. A complete run with it exposed several weaknesses at once: weaker infantry, no comfortable long-range AA answer, and cheap armor trying to operate against Javelins, artillery and short-range air defense.
The first half can still be managed with Reserve.
The later mission is where those missing tools become expensive.
Phase 3: Clear the Outskirts in One Direction
Once the daytime assault begins, I use this objective order:
Charlie → Bravo → Alpha → Delta
The value of the route is not the exact lettering.
It keeps most of my force supporting one active fight while previous objectives remain close enough to reinforce when the mission turns defensive.
Charlie: establish a healthy first position
I approach Charlie with recon first and enough direct fire to remove the opening defenders without unloading the entire battlegroup into the sector.
Once the capture is secure, I check the force before continuing.
If infantry has taken meaningful losses or the vehicles are already short on ammunition, this is a good place to fix the problem.
The scenario is too long to drag a damaged opening force through every later objective.
Bravo: remove the support around the objective first
Bravo rewards indirect fire more than a fast drive onto the marker.
Enemy supply and defended buildings can be attacked before my infantry enters the block. Mortars, artillery or an air strike on the strongest position often saves more resources than another assault squad.
The sequence I want is:
spot the defended building → remove or suppress the support → enter after the defenders have fewer ways to sustain the fight.
Driving directly into the objective compresses my force around exactly the area enemy fire is already prepared to hit.
Alpha: keep one eye on the reinforcement route
Alpha is easier from the side than from the obvious approach.
I maintain a screen toward incoming reinforcements, then rotate tanks and recon around the sector instead of pushing every unit through the same entrance.
The mission keeps trying to refill openings with fresh American units. A flank that looked safe during the initial contact may not stay safe long enough for the capture.
Alpha also starts making captured logistics more important.
One route provided roughly 1,200 supply at one position and another 2,200 supply farther in.
I use those stocks before moving on.
A damaged tank making a short trip back to captured supply is cheaper than replacing it after the next objective.
Delta: prepare the defense before finishing the capture
Delta is where I start thinking about the coming counterattack.
Before the last outskirts objective completes, I leave useful units in the ground behind the assault.
I want:
- infantry still occupying previous zones;
- tanks positioned where they can move into more than one sector;
- AA with ammunition;
- supply behind the capture line rather than on top of it.
Committing the whole force into Delta makes the capture faster but leaves the counterattack much harder to absorb.
Enemy Aircraft and Helicopters Are Also a Reserve Source
The scenario grants additional reserves when enemy aircraft or helicopters are destroyed.
That changes the economics of AA.
A successful air-defense engagement is doing two jobs: protecting the current force and increasing what I can bring into the later phases.
I therefore keep an AA layer close enough to move with the assault even when the ground contact currently looks more dangerous.
MANPADS ammunition also becomes something I actively manage.
If a squad has spent most of its missiles, I resupply it before completing another objective rather than assuming the next aircraft will arrive later.
The defensive phase is exactly when empty launchers become noticeable.
Phase 4: The Foothold Message Means Stop
When the game confirms that the foothold is secure and the enemy is withdrawing deeper into Daugavpils, I halt the advance.
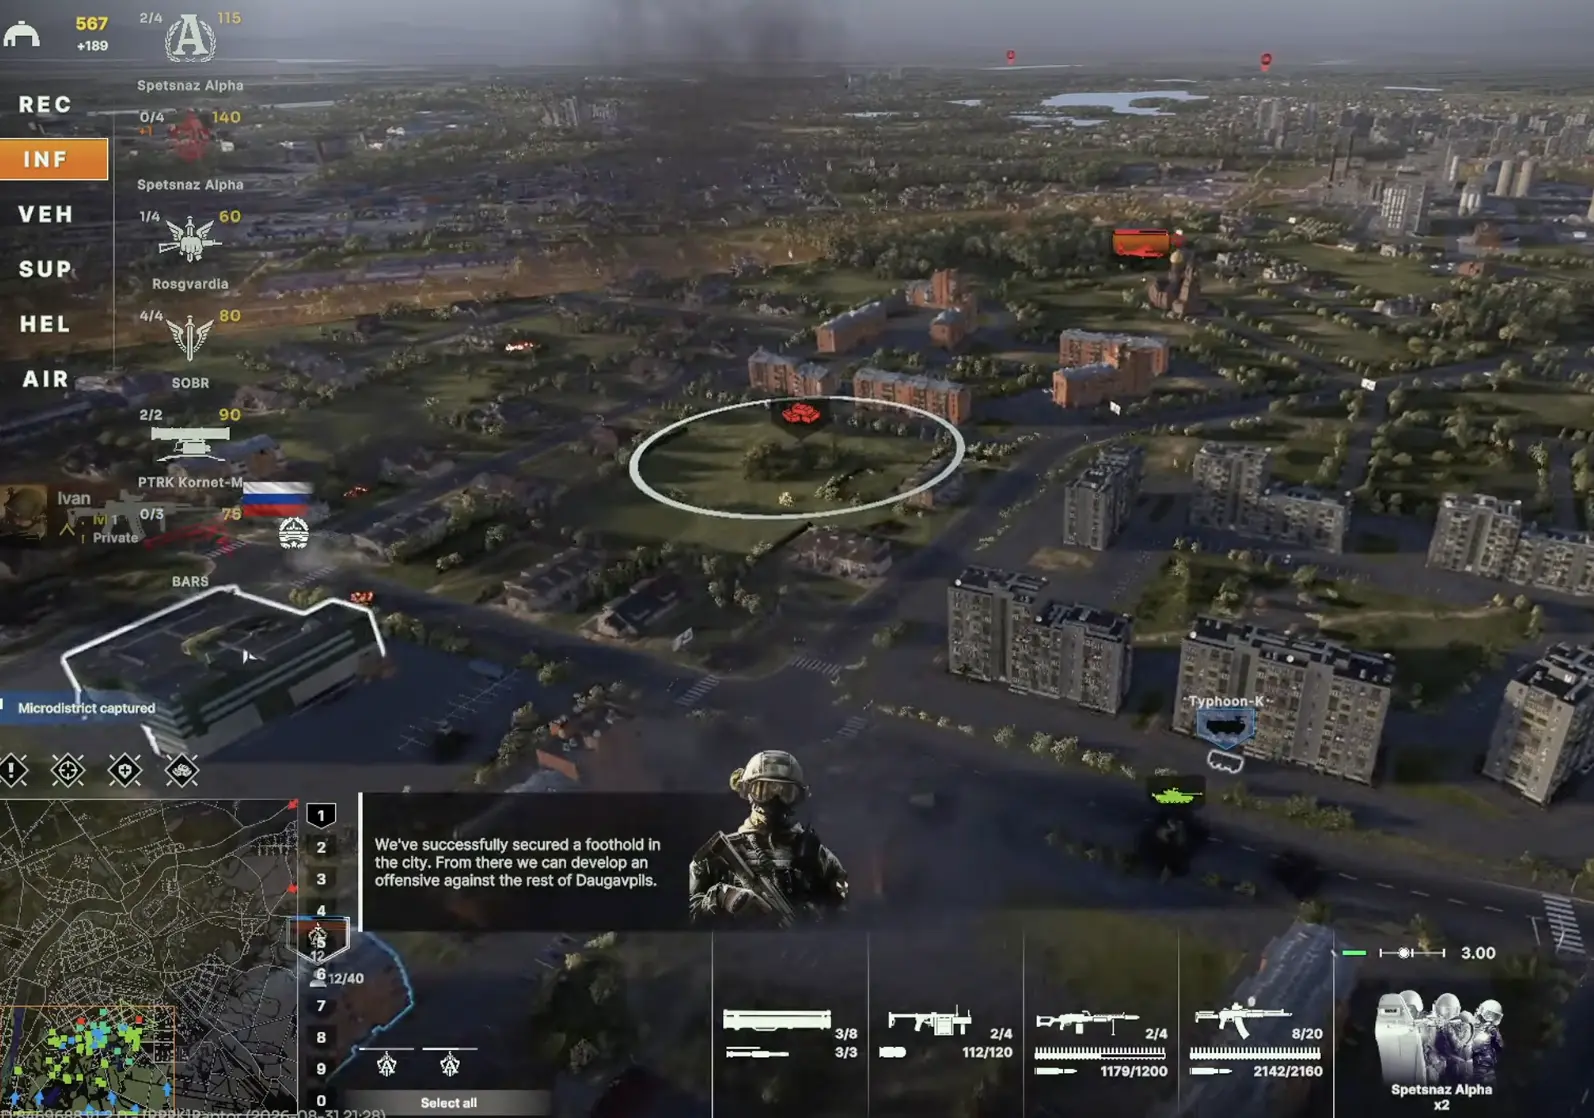
I use this pause to:
- refill AA;
- repair damaged tanks and other vehicles;
- replace depleted infantry;
- move supply forward to covered positions;
- spread units back across the captured sectors;
- position a reserve behind the center.
Retreating units are not my priority here.
Chasing two damaged vehicles into the next block may produce an easy kill, but it also moves one of my useful defensive units away from the sector the enemy is about to attack.
The pursuit is usually worth less than the position I give up.
Phase 5: Defend a Line, Not One Capture Point
The counterattack can pressure several parts of the foothold.
I do not respond by stacking the entire army on the first red contact.
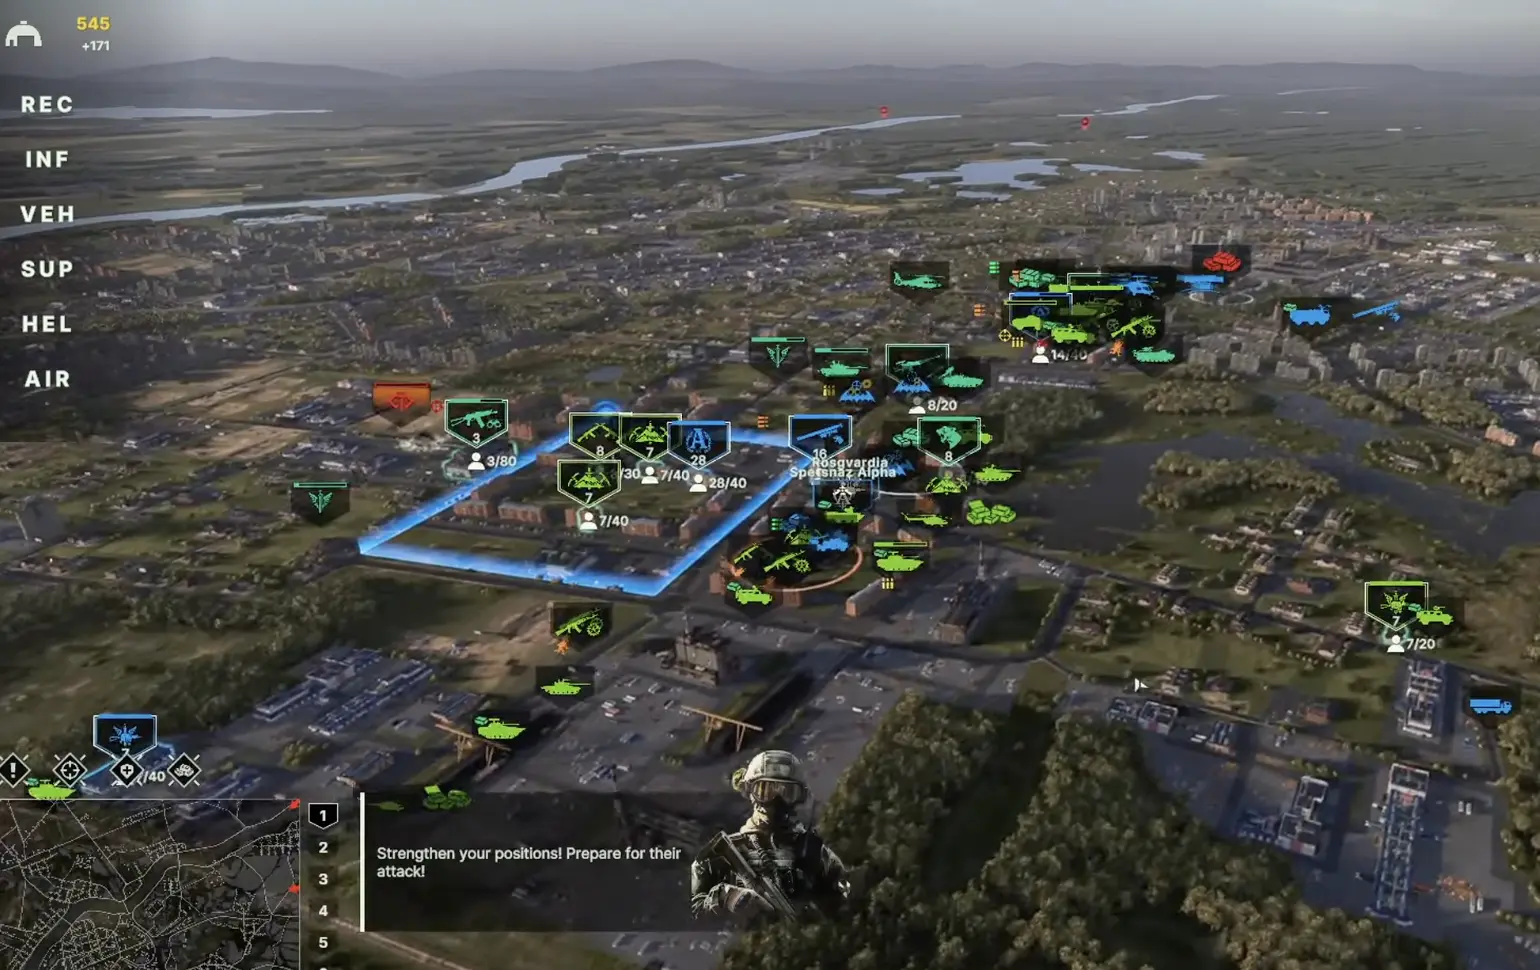
My defensive layout has four parts.
The forward layer is infantry, recon and cheaper units. Their job is to show me where the real attack is developing.
Tanks sit behind that contact, positioned to fire into an approach instead of occupying the exact capture marker.
AA covers the central area without stacking every system together. The middle lets it influence several sectors, while at least some coverage remains toward the flanks.
One mobile reserve stays behind the line.
I only commit that reserve once I can see which part of the foothold is receiving the heavier attack.
Helicopters are the reason I avoid abandoning the outer sectors completely. One aircraft slipping around the main defense can reach supply, damaged vehicles and other units I assumed were safely behind the line.
When the counterattack is defeated, I resupply again.
The mission is about to give me a different problem.
Phase 6: Observer Buildings Come Before the Next Big Push
The second offensive introduces artillery observers in buildings.
As long as those observers remain alive, ballistic missile attacks can continue targeting my force.
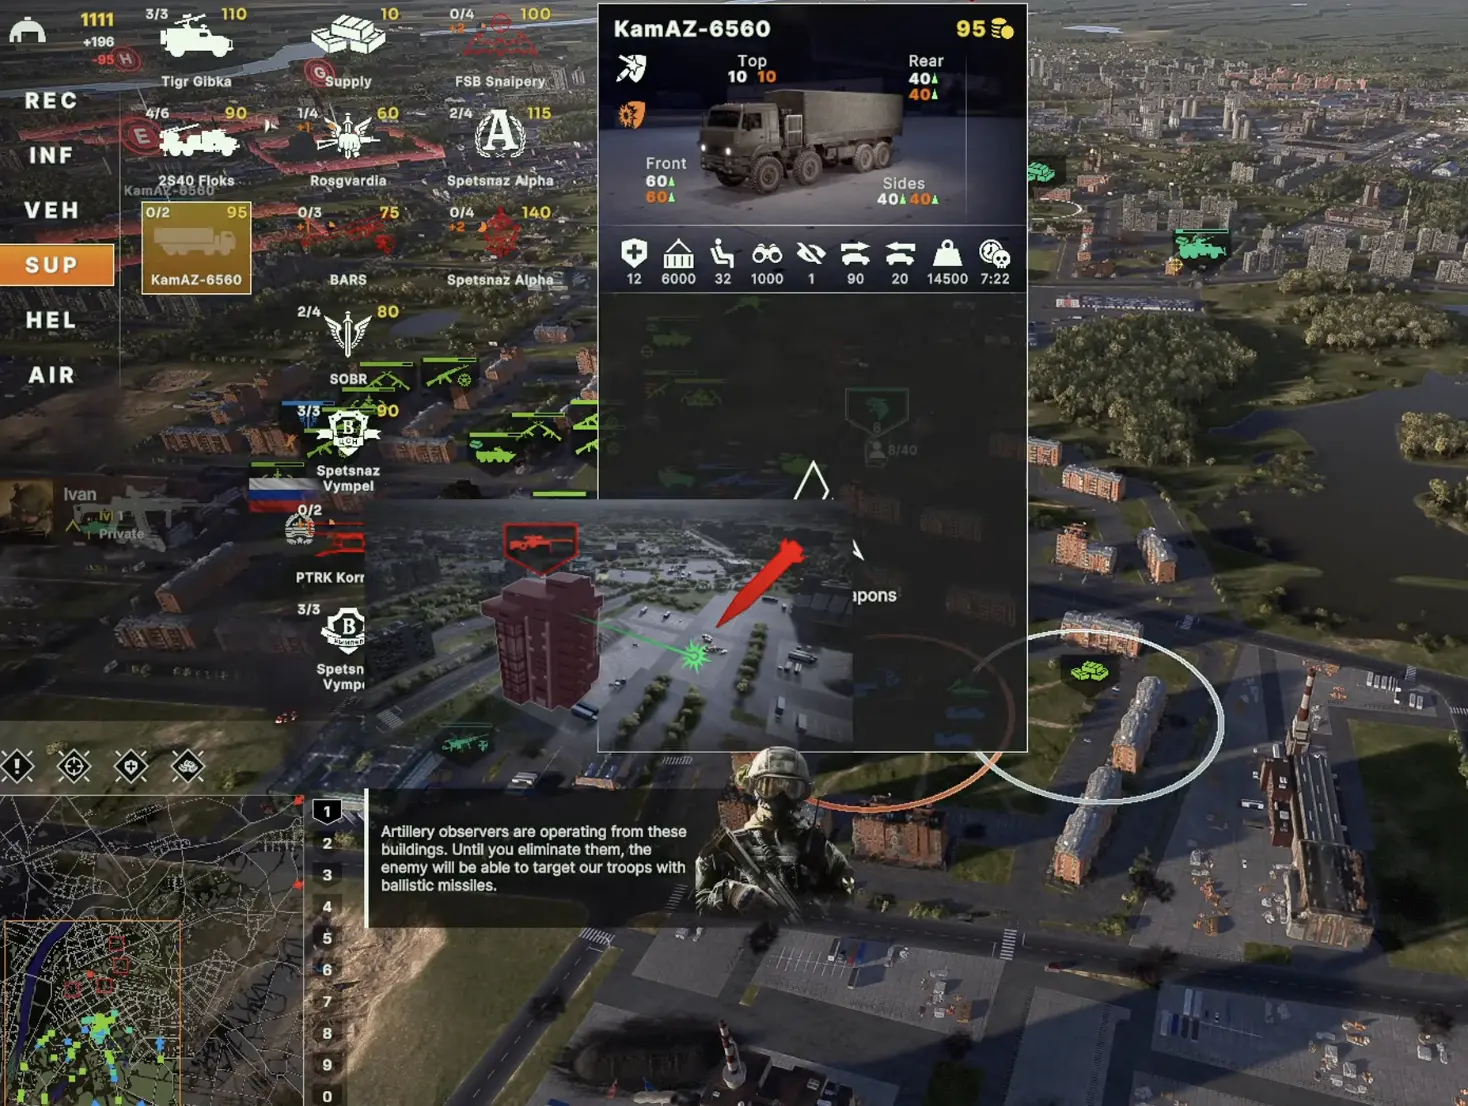
This is one of the easiest places to lose units without understanding why the push is failing.
A fortified block encourages me to collect tanks, infantry and support behind one corner.
With an observer alive, that concentration becomes an increasingly valuable missile target.
I separate the jobs.
The main force holds the current line.
Recon or a fast squad searches the relevant buildings.
Accurate artillery or air power goes toward the observer if I can identify it cleanly.
Only after the spotters are gone do I rebuild a large assault group.
Clearing them also leads to motorized rifle reinforcements, which gives me another reason to finish the observer hunt instead of trying to push through the missile pressure.
If ballistic strikes are still arriving and I know a spotter remains somewhere ahead, I postpone the large advance.
Replacing the observer is harder for the enemy than replacing the units I would lose by ignoring it.
Phase 7: Change the Reinforcement Route When the Map Changes
A new right-flank reinforcement axis opens during the later offensive.
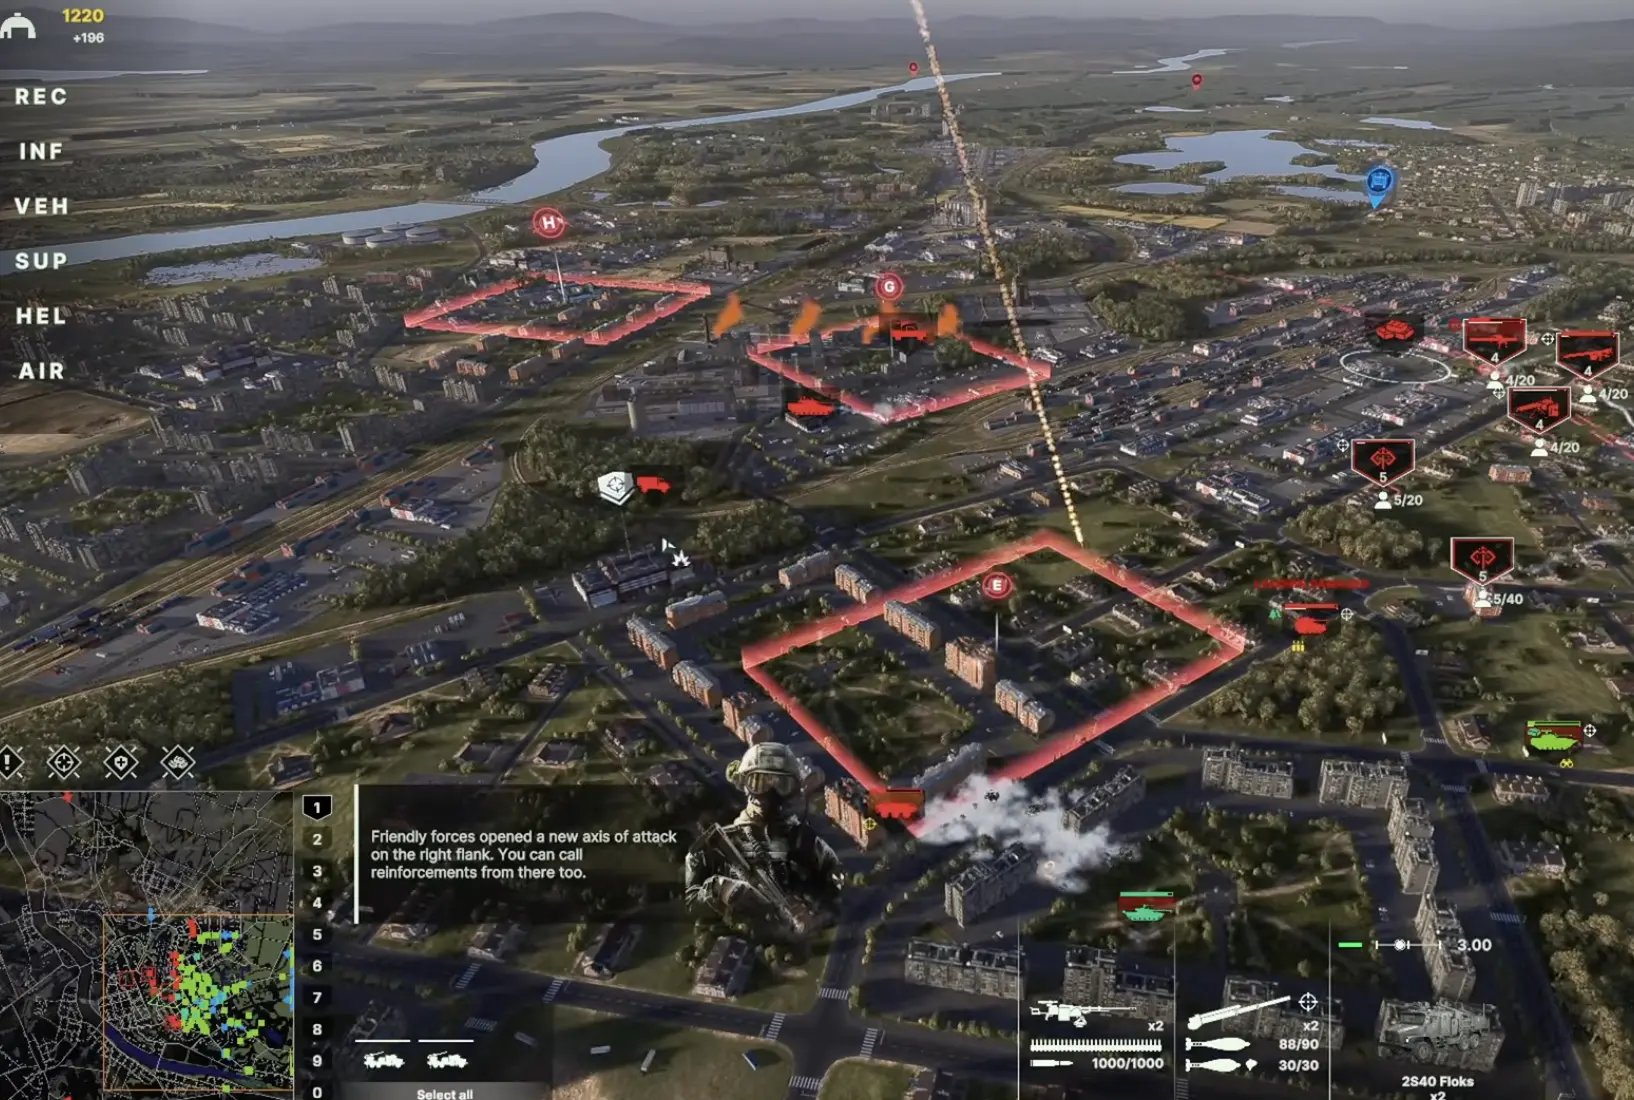
I immediately change where fresh combat units enter.
The original approach remains useful for supply and units cycling away from the front, but it no longer makes sense as the default route for every replacement.
This matters around the later Hotel/Golf side of the city, where travel time from the original side becomes increasingly wasteful.
The sabotage teams from the opening also return later to support the assault.
Their reappearance reinforces the same idea: later phases give me new ways to apply force, and I get more value from adapting the route than from keeping the original deployment pattern.
Phase 8: Use the Left Air Corridor for Short, High-Value Jobs
The mission later secures a left-flank air corridor, allowing helicopter reinforcements from that side.
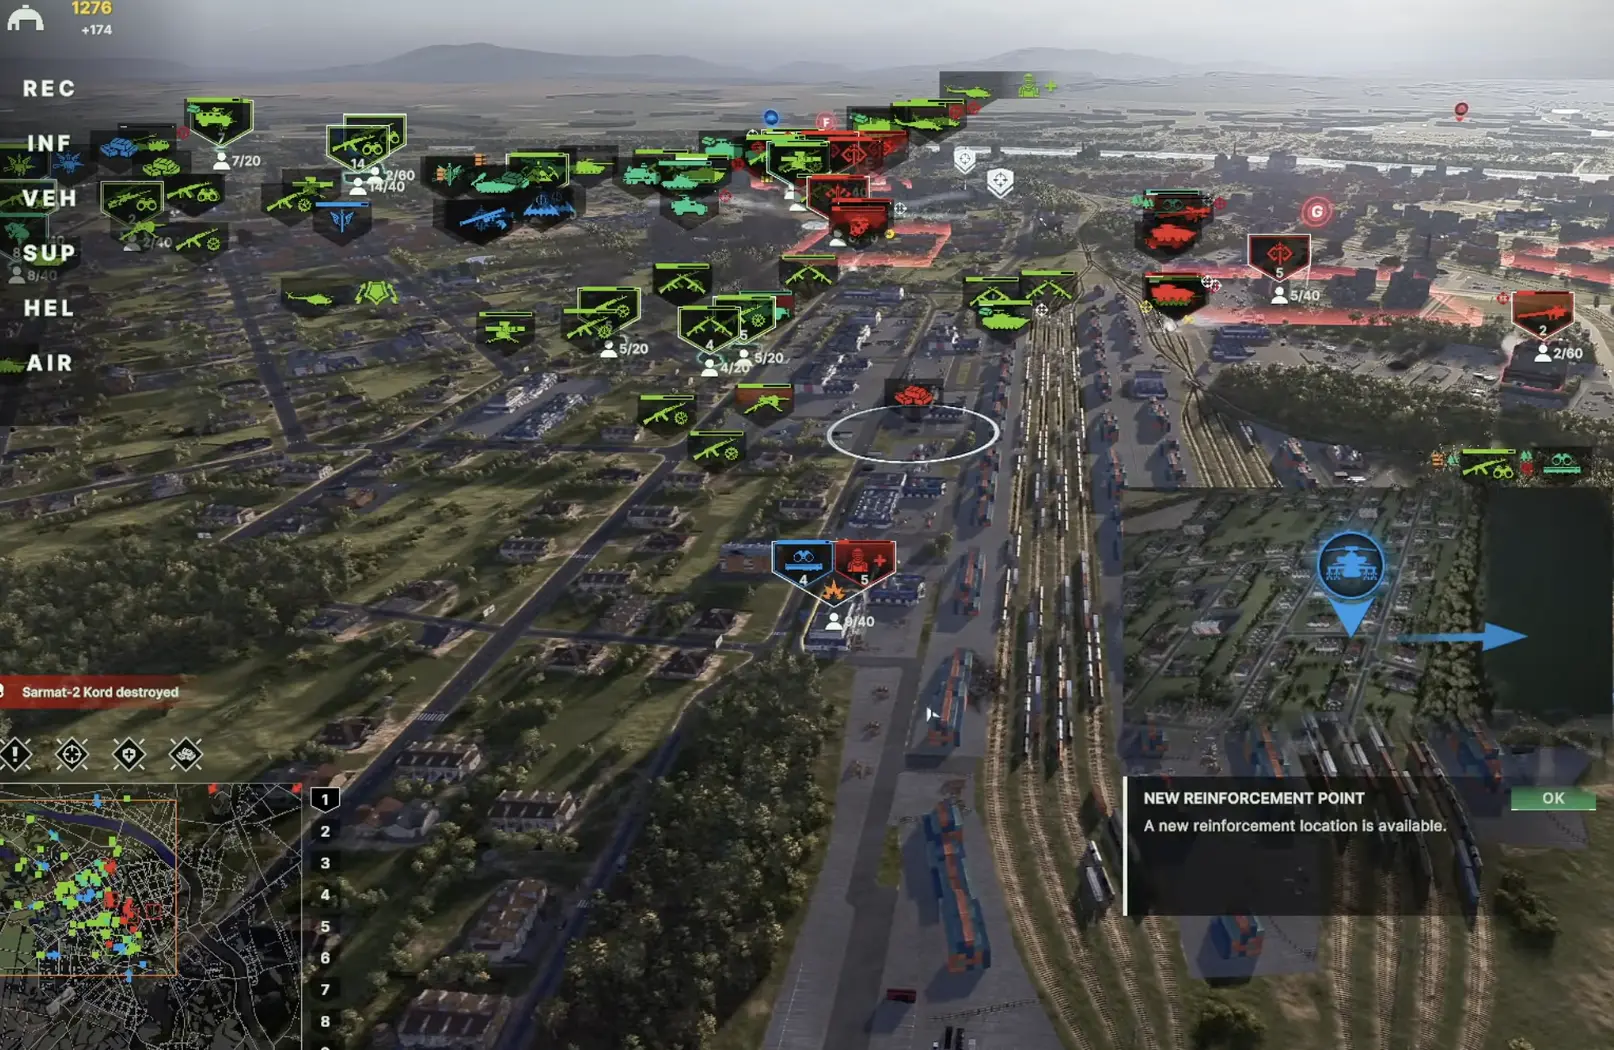
I use the new corridor when speed matters:
- an exposed observer needs to disappear quickly;
- infantry is stalled against a position with limited AA;
- an isolated unit can be punished before support arrives;
- the opposite side needs pressure while my ground force repairs.
I rarely keep helicopters circling after the target is gone.
Later Daugavpils still contains enough AA that a safe first pass does not guarantee the same route remains safe.
The aircraft completes the task, then leaves.
Phase 9: Advance One Late Objective at a Time
Several sectors become relevant during the final third of the scenario.
I resist the urge to turn every newly opened route into another simultaneous attack.
An Echo-first transition works well after the defensive phase.
From there, the Foxtrot and Hotel/Golf side becomes easier to feed as the right-side reinforcement axis opens.
My rule for the late city fight is simple:
one fresh attack, one secure logistics route, one reserve capable of turning around.
If enemy reinforcements appear behind the leading group, I turn back before forcing the next capture.
Losing progress on a half-captured objective costs less than losing the route carrying every replacement and supply vehicle into the fight.
Phase 10: Spend the Saved Force on the Final Fortified Area
Eventually the game confirms that one fortified area remains.
This is when the reserve I preserved through the earlier phases becomes useful.
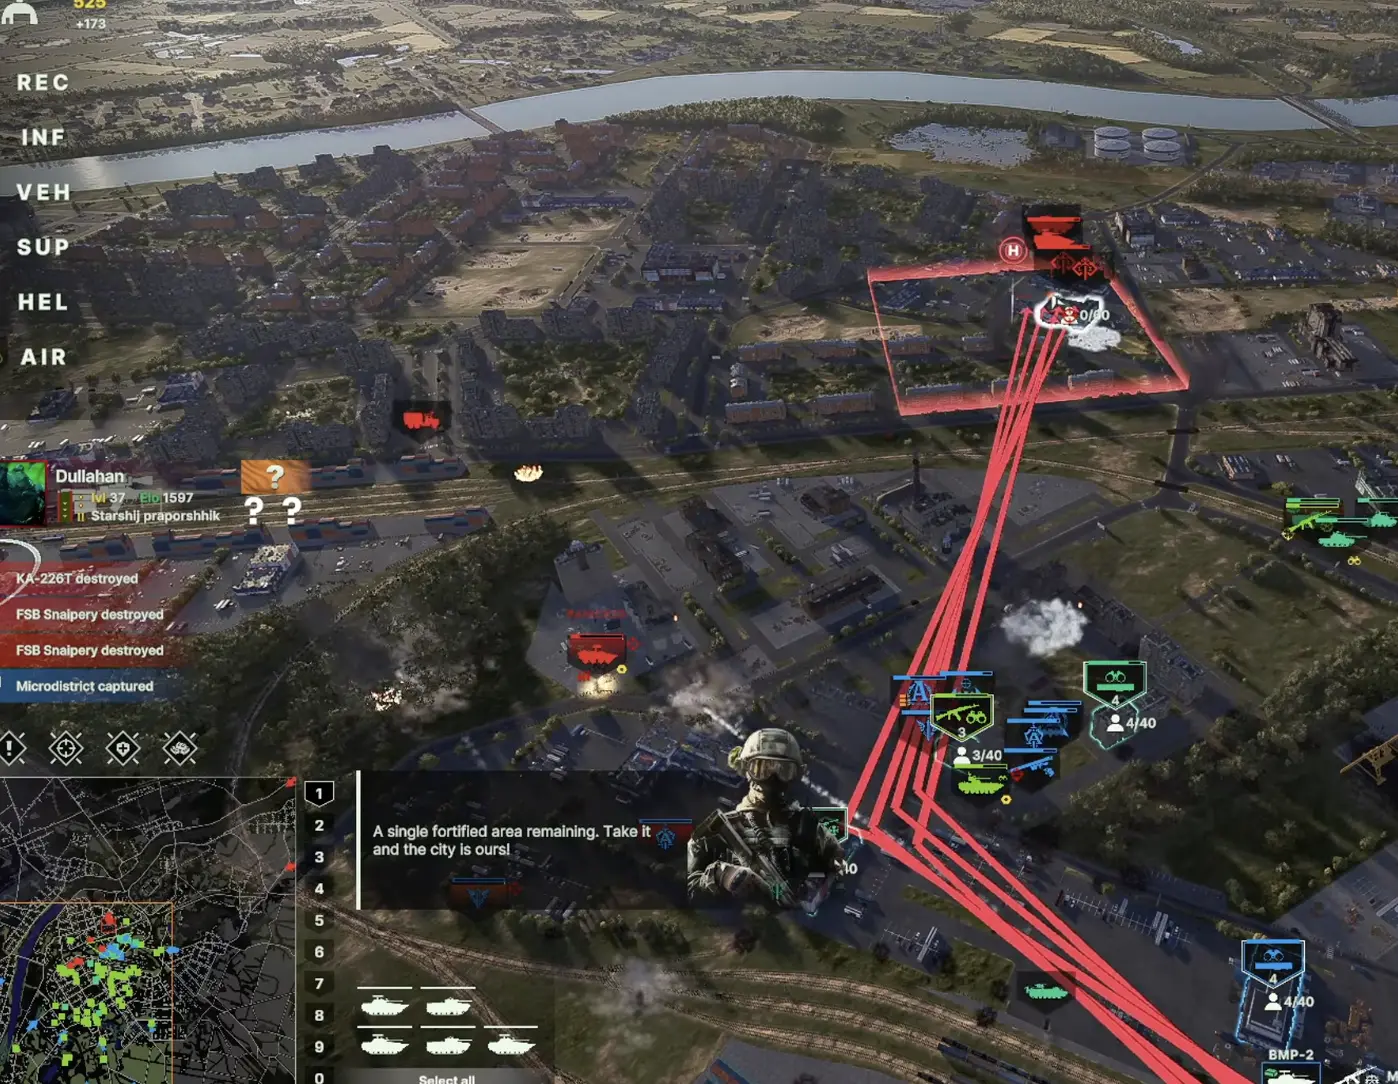
The enemy still launches a final counterattack during this phase, so I do not empty every captured sector just to speed up the last objective.
My closing sequence is:
- keep the important captured zones occupied;
- send the mobile reserve toward the new counterattack;
- pull damaged frontline units back to supply;
- bring fresh reinforcements into the final assault;
- commit remaining artillery and air power after the AA picture is understood;
- finish the fortified position once the rear line is stable.
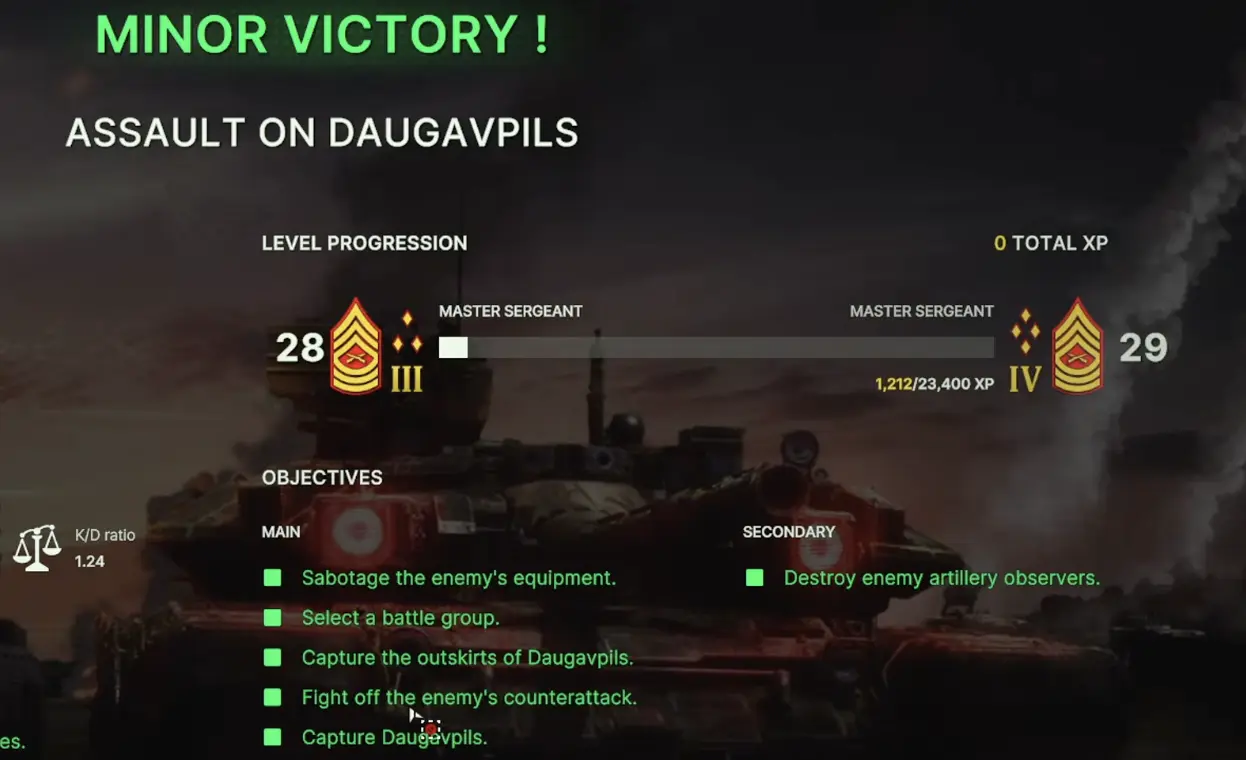
The final capture completes the scenario and confirms Daugavpils under Russian control.
When I Stop Advancing
Most of my expensive mistakes in this scenario happen after a successful action, not during a failed one.
I stop the push when any of these conditions appear:
- AA is low on ammunition;
- the closest useful supply point is still too far behind;
- several infantry squads need replacement;
- captured zones have been left with no real rear guard;
- ballistic strikes are still arriving because an observer remains alive;
- the next objective requires me to expose the supply route;
- the newly opened reinforcement route has not yet been repositioned into the plan.
The mission repeatedly gives me a window to fix those problems.
Using those pauses is faster than recovering from a collapsed foothold.
The Route I Use From Start to Finish
For a reliable first clear, my full sequence is:
sabotage the most expensive later threats → choose Special Forces → Charlie → Bravo → Alpha → Delta → stop at the foothold → defeat the counterattack → remove the artillery observers → use the right-side reinforcement axis → open the left helicopter corridor → push Echo and the later city sectors one at a time → commit the reserve to the final fortified area.
The individual battles are manageable once the force reaches them in good condition.
The real challenge is carrying the same battlegroup through several different mission states without treating every capture as permission to keep moving.