Coal Mountain Map Guide: Positions, Pushes & Stop Points
Coal Mountain rewards early tree-line control, linked center lanes and disciplined stops before exposed crossings. This is how I read the map.
Updated:
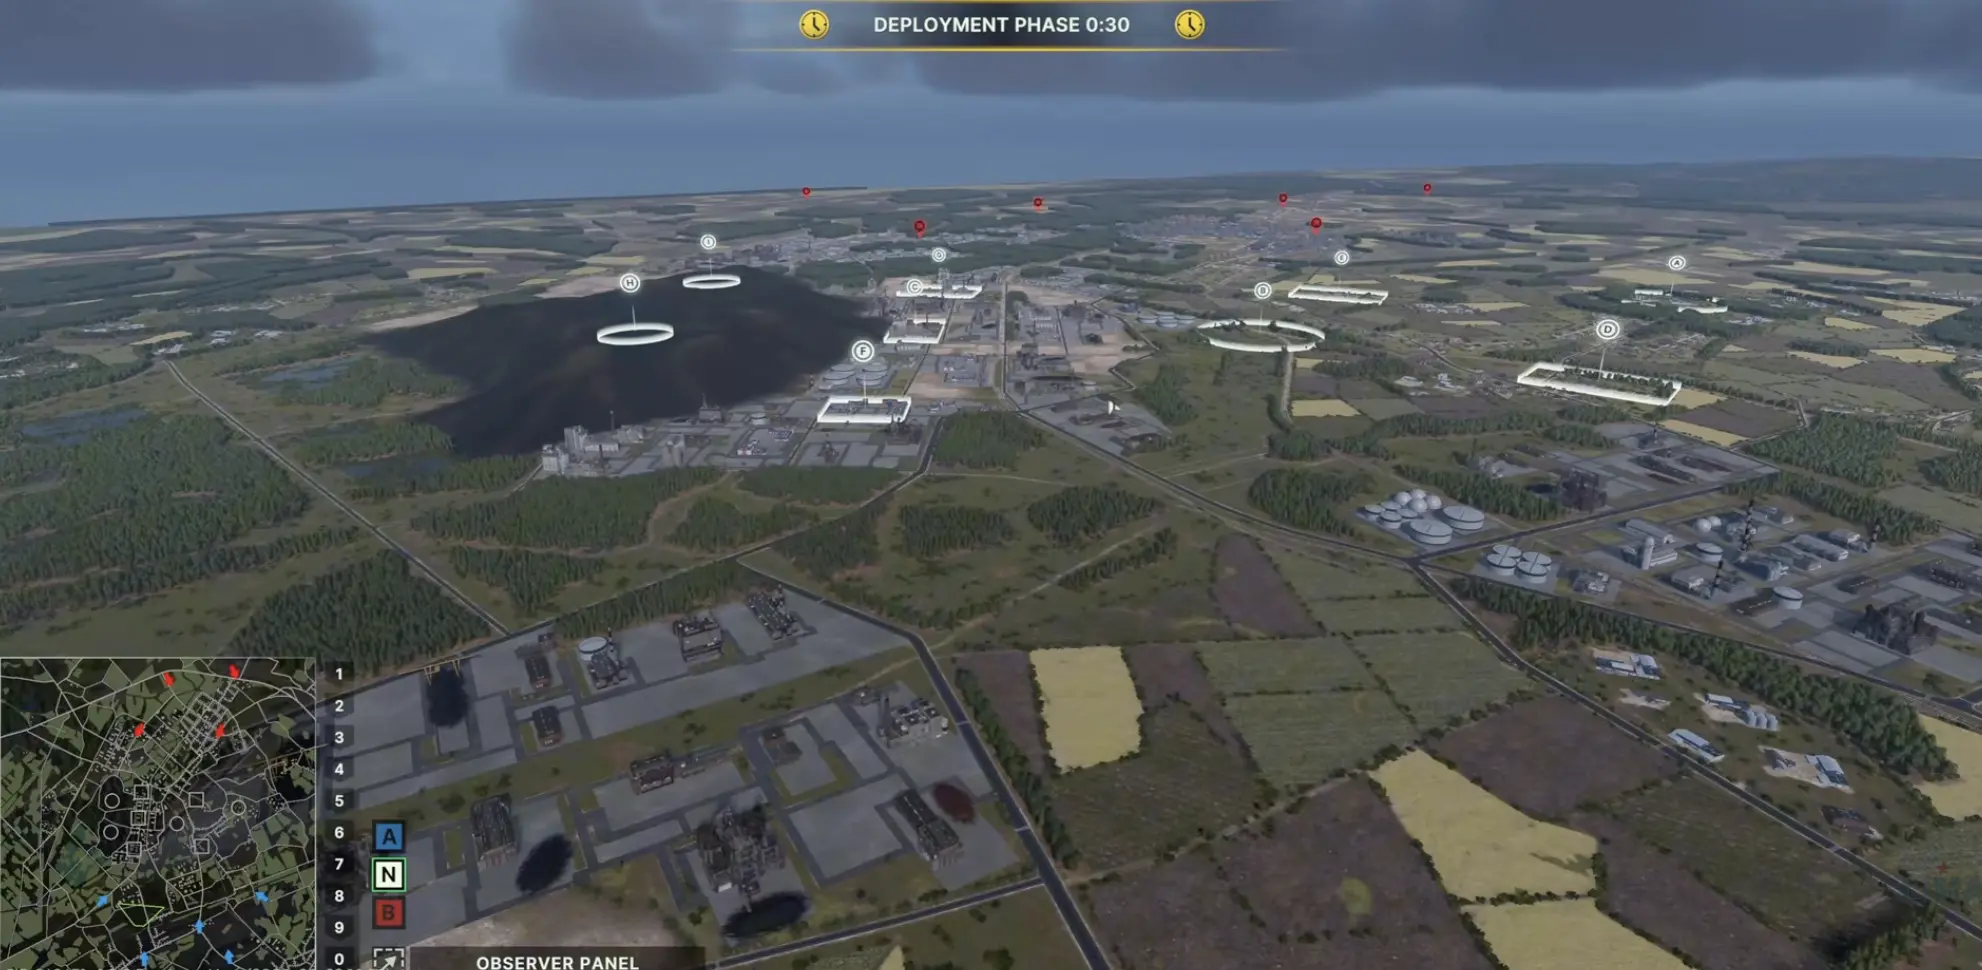
Quick answer: I spend the opening on Alpha’s forward tree line and the Bravo-Delta center connection, not on the coal hill. Infantry crosses open ground only after I have vision, smoke or suppression ready. The hill is a temporary firing position, Charlie needs spacing against artillery, and the open side needs AA close enough to travel with the frontline. Once Alpha or another flank can be held cheaply, I move new points toward the center instead of extending into worse terrain.
Coal Mountain punishes momentum for its own sake.
The objectives are close enough that the next capture marker always looks reachable. The terrain between those markers is the real constraint: exposed fields, crest lines, a hill with enormous sight lines and very little protection, and reinforcement routes short enough for a failed attack to meet fresh defenders almost immediately.
I read the map with three questions:
Which cover do I need before the objective?
What will see me during the next crossing?
If I win this sector, does the next hundred points belong here or somewhere else?
Alpha: Win the Tree Line Before You Worry About the Marker
Alpha is the opening where a small timing difference can change the whole lane.
The capture zone matters, but the forward tree line matters more. Once infantry or recon reaches that cover, the open approach in front of it becomes difficult for the other player to cross without smoke, suppression or vehicle support.
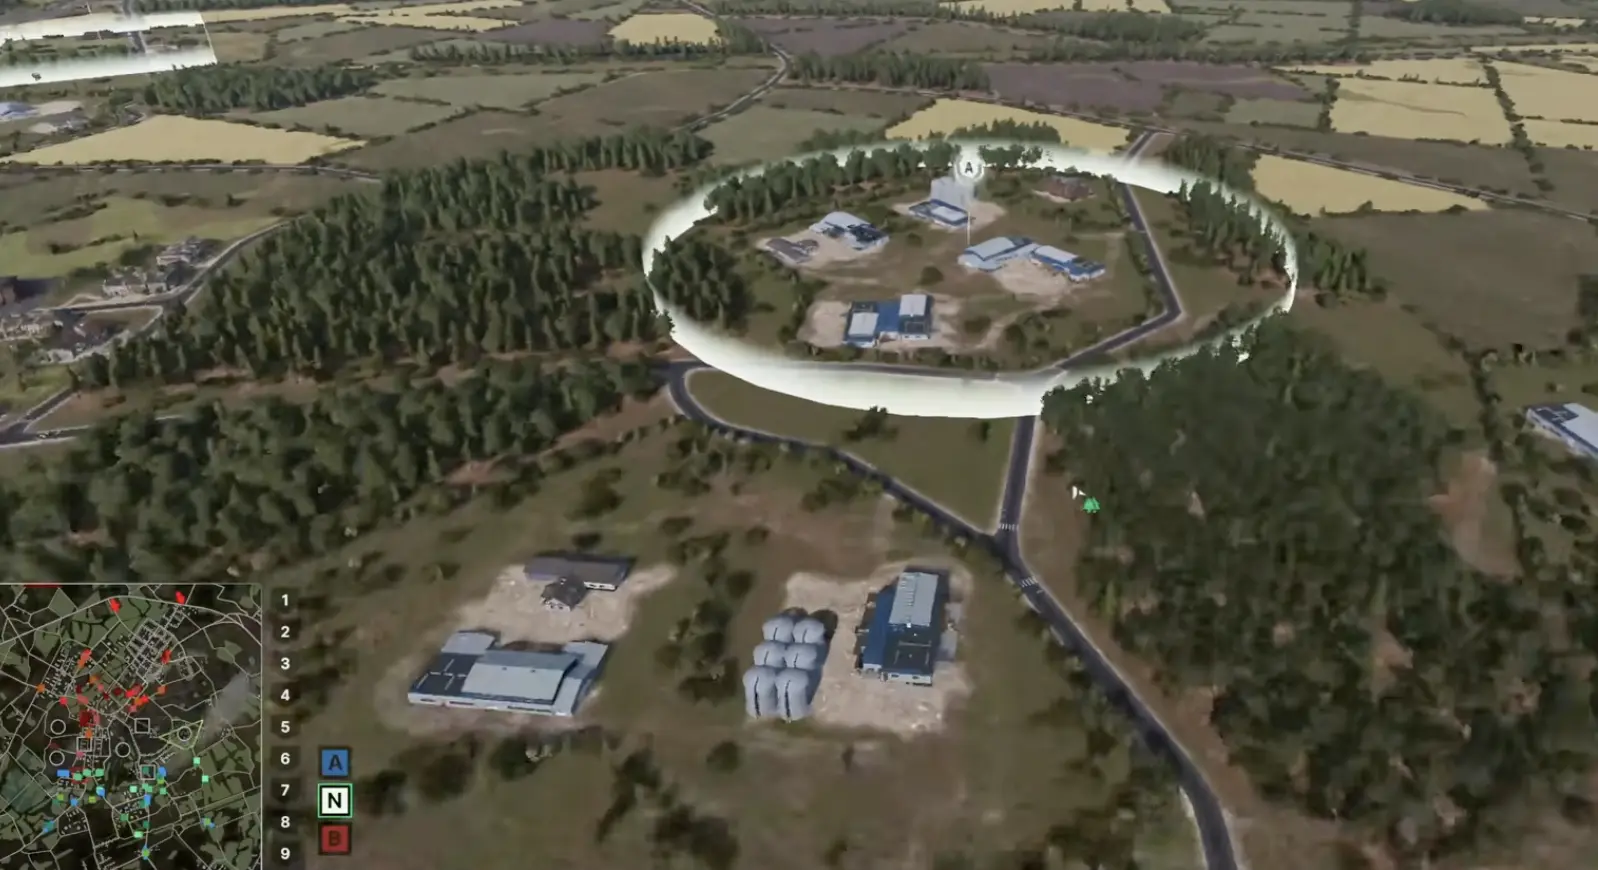
My opener is built for arrival speed:
- fast transport carries infantry or recon to the forward cover;
- the squad unloads before the transport becomes the obvious target;
- the empty vehicle moves away from the firing lane;
- smoke stays unused until a real exposed crossing appears;
- heavier armor and support arrive after the first position is occupied.
A slow deployment to the rear feels safe, but it gives the other side the stronger geometry.
Once the opponent is already inside the forward trees, every reinforcement I send toward Alpha has to solve the same open strip while being watched.
Alpha changes role after the opening
If I take the useful cover and the opponent can no longer threaten the objective cheaply, I reduce the investment.
One player can often maintain the flank with:
- enough infantry to stop a walk-in capture;
- an anti-vehicle weapon watching the obvious road;
- reconnaissance on the next approach;
- AA if aircraft are actively working the sector.
The next tank does not automatically belong at Alpha.
If Bravo or Charlie is still undecided, that tank usually creates more value there than it does extending a won flank toward stronger enemy reinforcement.
The early Alpha win is valuable because it can become cheap territory.
Bravo and Delta: I Want Two Players Solving One Center
Bravo and Delta work better when the players assigned to them can see the same fight.
I treat the two sectors as a linked center rather than two sealed lanes.
One player establishes the Bravo side.
The other stabilizes Delta.
Their reconnaissance, ATGM coverage and indirect fire should overlap toward the space between them.
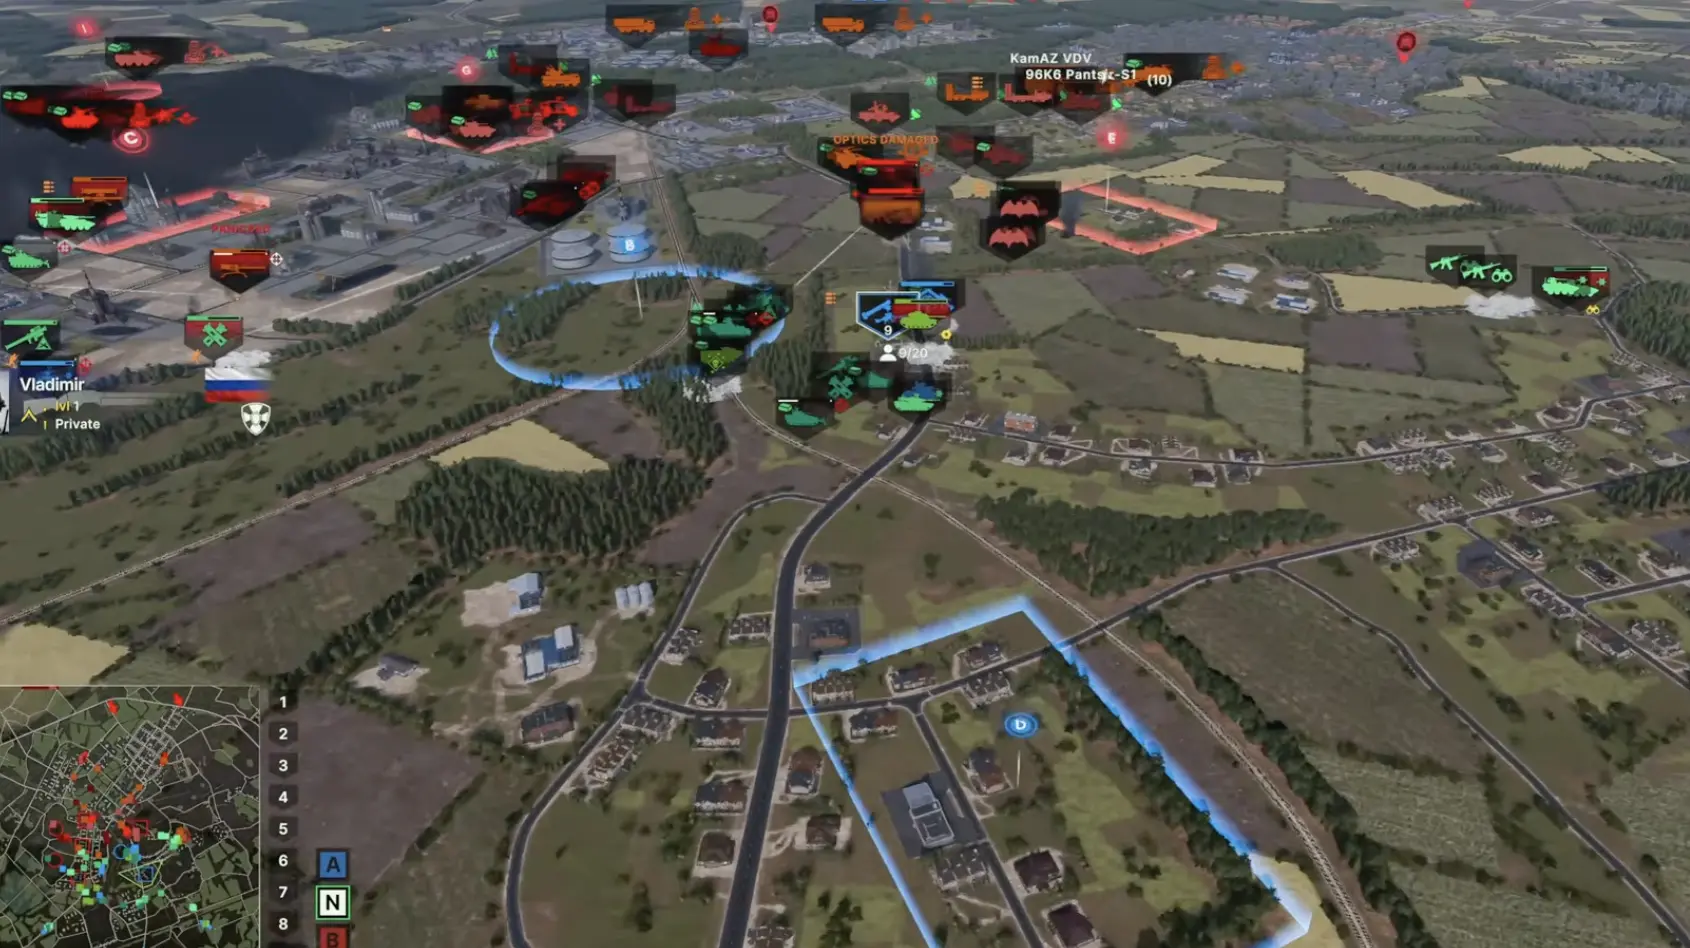
This cuts down the amount each player has to buy locally.
A Bravo ATGM can discourage a vehicle moving toward Delta. Delta recon can reveal a target for artillery supporting Bravo. Smoke from one lane can create the timing window for the neighboring push.
The benefit is not simply “two players are stronger than one.”
It is that the same support unit can affect two objectives.
The Central Open Ground Is a Fire-Control Problem
The broad crossings around the center are where I lose the most units if I start movement before the firing picture is understood.
There is not enough cover to let infantry wander forward and discover the defense by contact.
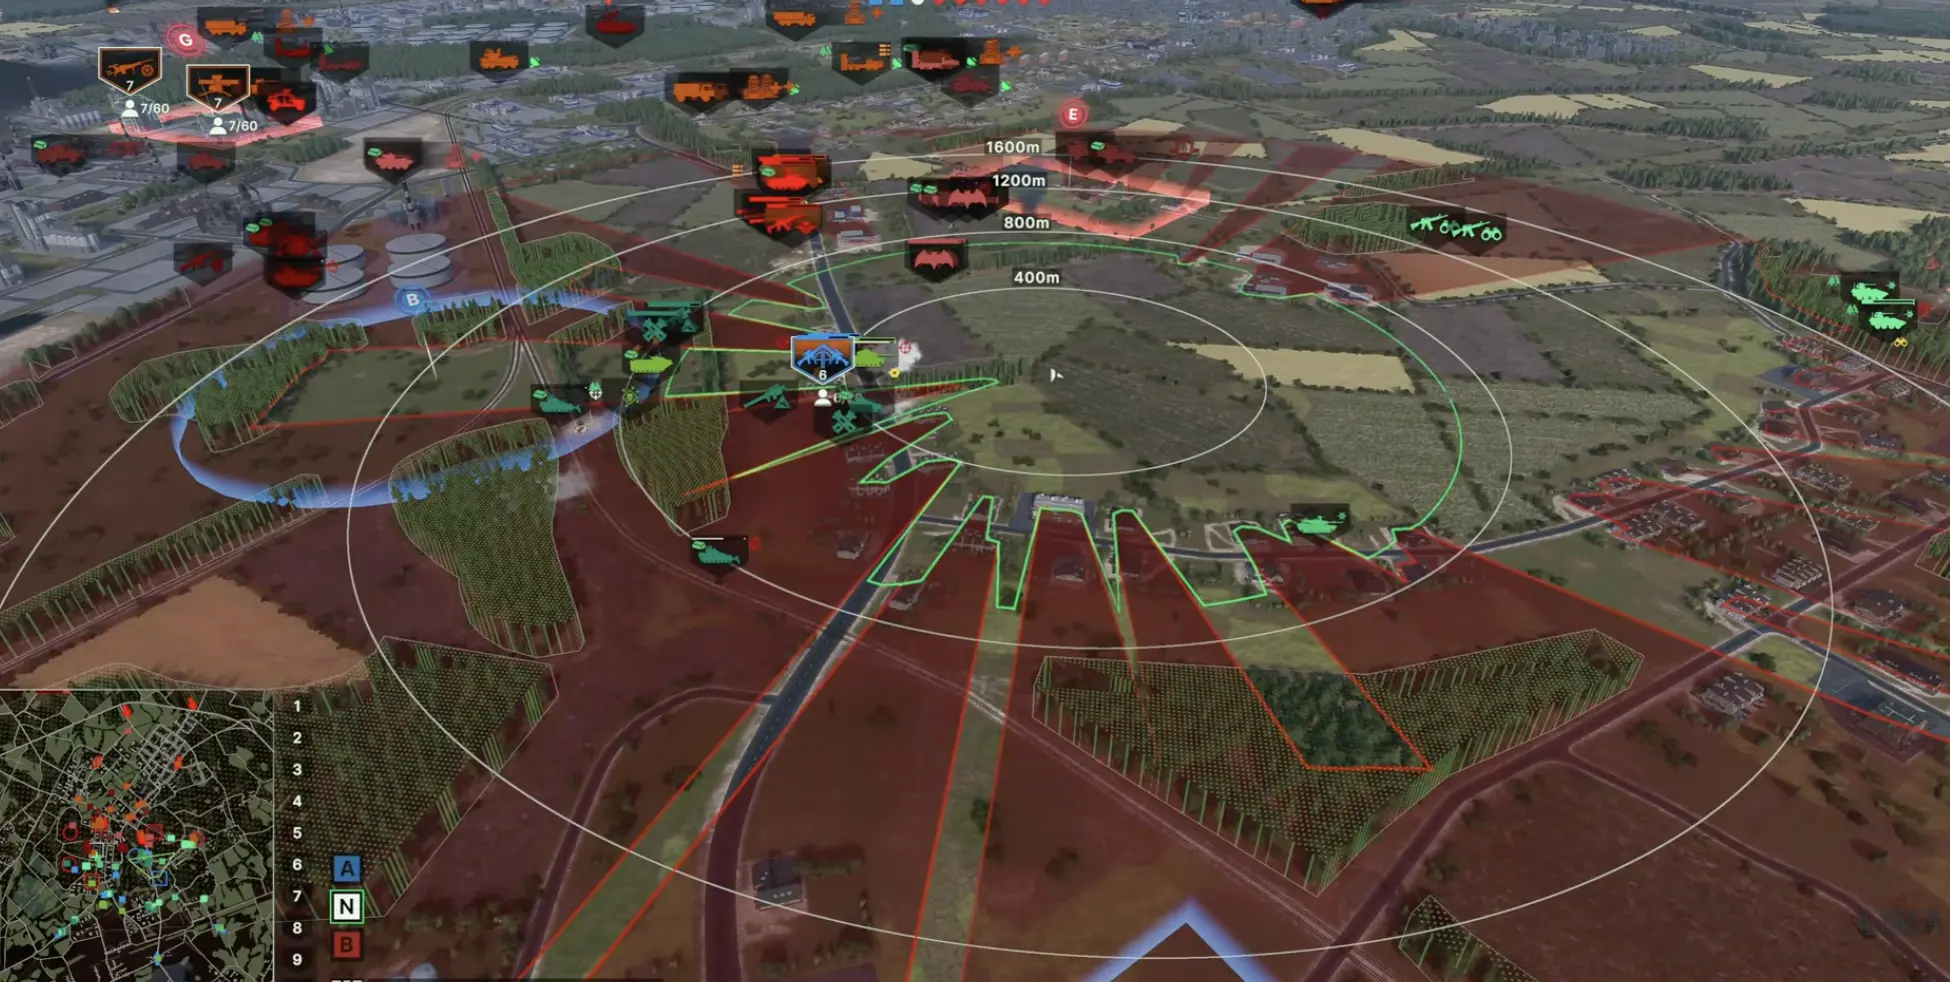
I prepare the crossing from the near side.
First, recon gets a view of the next tree line, building or crest.
Then ATGM, tanks or another direct-fire system takes a position that can punish anything revealing itself.
Smoke goes onto the dangerous part of the crossing, not onto the safe approach.
Infantry and vehicles move only after those pieces are ready.
If the smoke expires before the force is across, I abort the movement rather than feeding the remainder into a now-visible lane.
What makes the crossing worth taking?
I want at least one of these advantages:
- the defender has been displaced by artillery;
- a second angle is opening from Bravo or Delta;
- recon has identified the main AT threat;
- smoke removes the strongest line of sight;
- enemy armor is already committed against the neighboring player.
Without one of them, staying in cover usually costs less than discovering the defense halfway across the field.
Bravo: Secure the Approach Before Looking Beyond It
Bravo often tempts me into continuing because the next terrain looks close.
The distance is deceptive.
The useful question after taking Bravo is whether I control the cover and resupply route behind the objective.
If tanks are already sitting ahead of the infantry, supply has nowhere safe to follow and recon has not looked over the next rise, Bravo is finished for the moment.
I set up around the buildings and tree lines that keep the sector defendable.
From there I can punish an exposed enemy or support Delta without turning the entire formation into a deep attack.
A short advance for a known target is useful.
Following a retreating unit over an unseen crest is usually how I trade the advantage back.
The Coal Hill Is a Temporary Weapon Position
The hill provides some of the strongest line-of-sight opportunities on the map.
It also has almost none of the qualities I want from a permanent base.
Vehicles can climb the sides rather than being restricted to the roads, so an angle that looks protected from one direction may still be reachable from another.
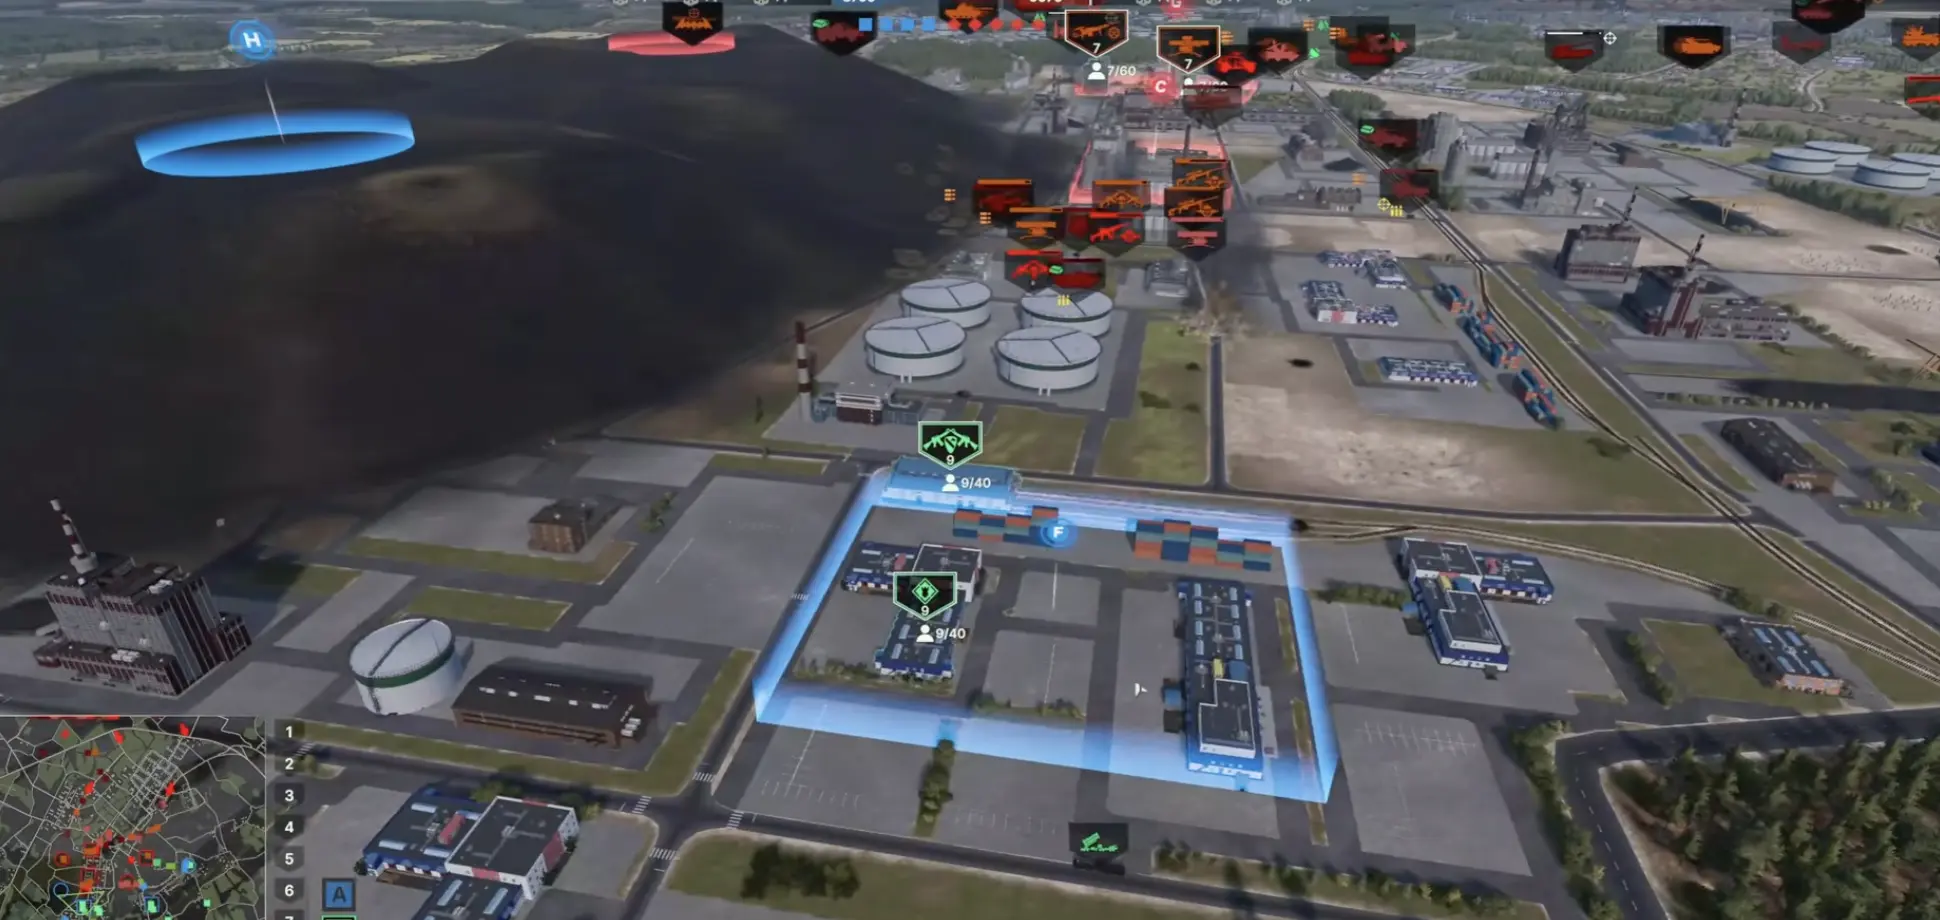
I climb when the elevation gives me an immediate purpose:
- recon needs a short look into a defended sector;
- an ATGM or gun platform can reach a target unavailable from the normal lane;
- a vehicle can expose briefly, fire and reverse;
- another player needs a temporary angle into a central engagement.
I leave when that purpose is finished.
Artillery and aircraft do not need long to punish a vehicle that stays silhouetted on the hill. With reinforcement points relatively close to the battle, enemy support can respond quickly enough that building a permanent hilltop concentration rarely pays.
Charlie: Spread First, Reinforce Second
Charlie attracts indirect fire because both teams can keep feeding units back into the sector.
That makes a dense capture group especially expensive.
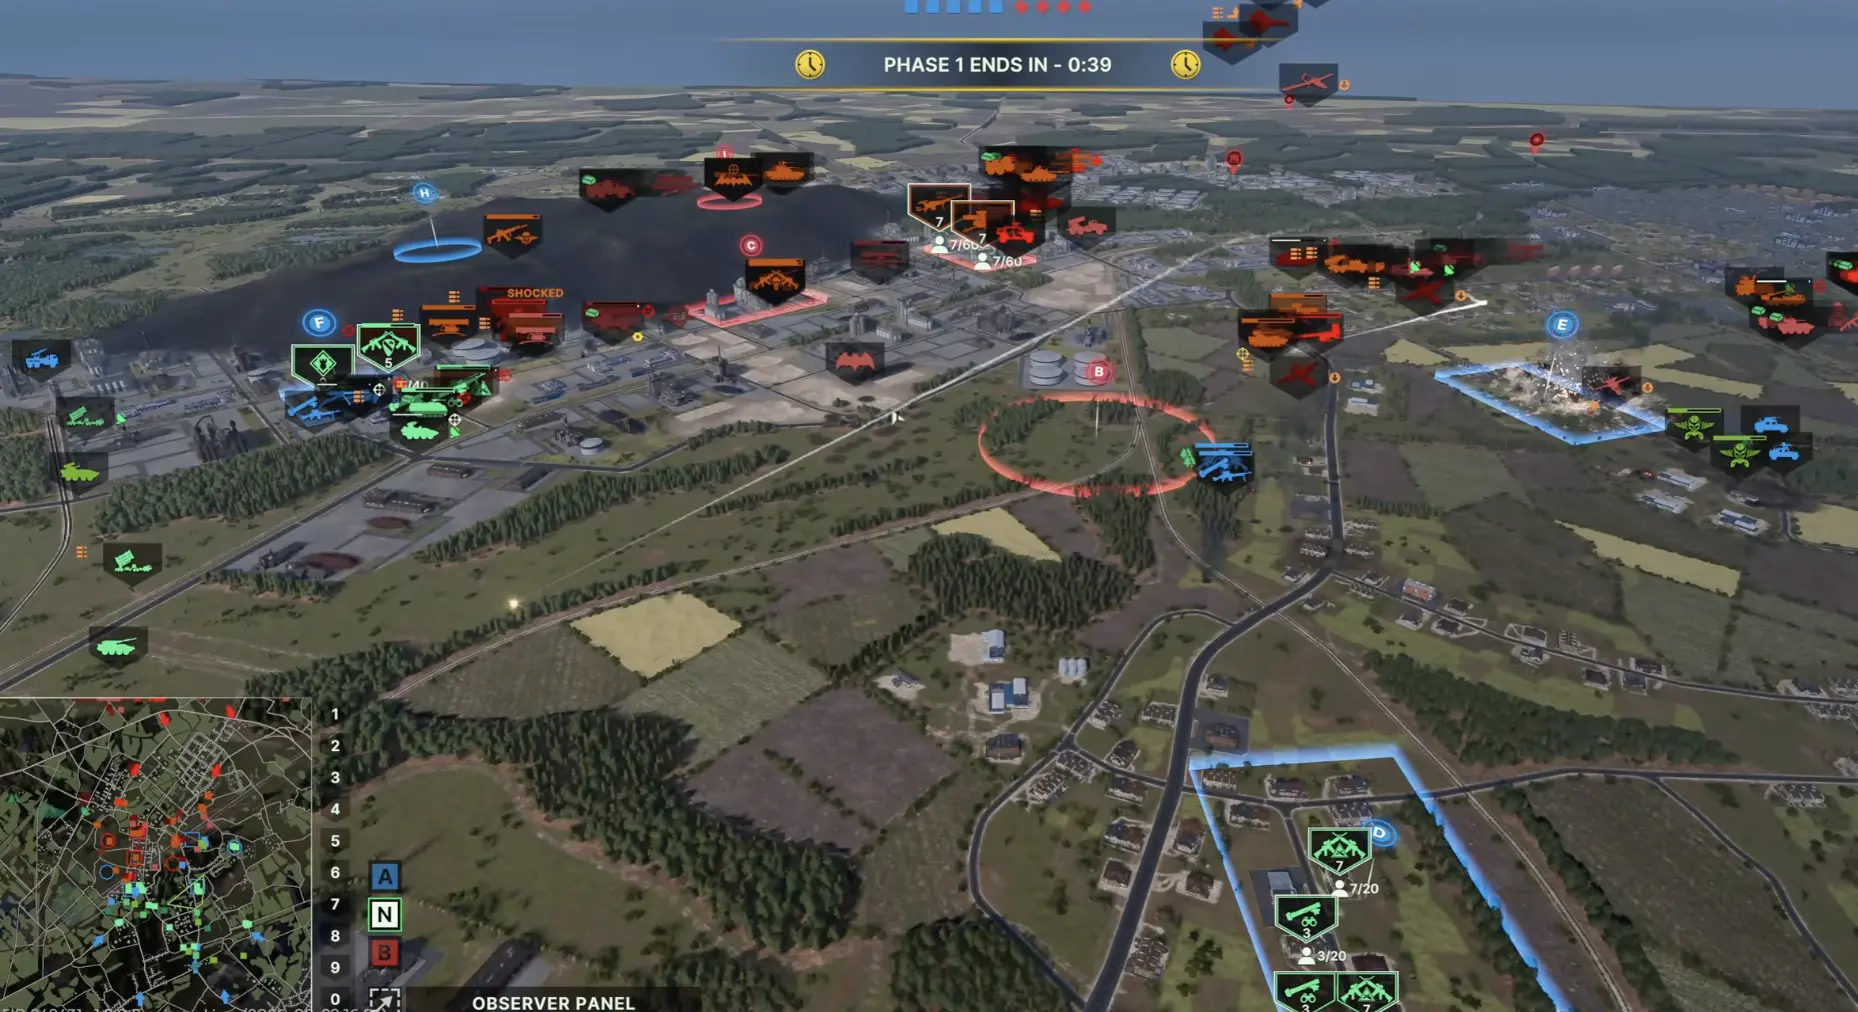
My Charlie position usually has different units doing different jobs.
The minimum infantry needed to maintain the objective stays near the zone.
Recon watches the approach from another piece of cover.
Vehicles sit offset far enough that a barrage centered on the marker does not hit everything.
Supply remains farther back again.
When artillery starts landing repeatedly, adding another squad to Charlie gives the enemy another target without changing the engagement.
At that point I spend on reconnaissance, counter-battery pressure or another lane.
Crest Lines: I Need a Reason to Show the Tank
Several approaches on Coal Mountain hide the defender until the attacker reaches the ridge.
The crest therefore becomes a commitment line.
A tank that crosses it can immediately expose its front, side or top geometry to weapons I had no vision on seconds earlier. Infantry can step into the same problem against RPGs, autocannons or prepared squads.
I cross the crest when the defender has already lost some control over the engagement.
Useful signals include:
- recon has identified the main weapons;
- artillery has forced units away from the firing position;
- smoke blocks the most dangerous angle;
- another lane is attacking at the same time;
- the defender is moving rather than waiting stationary.
If none of those conditions exists, staying below the ridge can be an advantage.
The enemy eventually faces the same exposure problem if they decide to push into me.
A standoff is not automatically lost time on Coal Mountain. Sometimes the player who crosses first is the player accepting the worse shot.
Close Reinforcements Change How Long I Stay in a Bad Fight
Coal Mountain feels compressed because replacements can return to contested sectors quickly.
That has an important effect on retreat decisions.
Suppose my push has lost the front tank, two infantry squads are damaged and the remaining vehicle is low on ammunition.
Keeping those survivors forward does not preserve the attack for long. The defender’s next wave is already on its way.
I pull the damaged group toward my own reinforcements instead.
A shorter retreat gives me:
- repaired or resupplied survivors;
- fresh units arriving into the same defensive area;
- less chance of losing expensive pieces while isolated;
- a new attack built from a full formation rather than leftovers.
The same short distance helps artillery.
MLRS can enter, fire from relatively safe territory and leave before a ground force can realistically reach it. When repeated salvos arrive, I start tracking their direction and move my own firing platforms after use.
Rear territory on this map is safer than the frontline.
It is not automatically safe.
The Open Side Needs AA That Can Follow the Fight
The exposed side of Coal Mountain gives aircraft long attack windows because terrain does little to interrupt the pass.
A single long-range launcher somewhere in the rear does not always solve that.
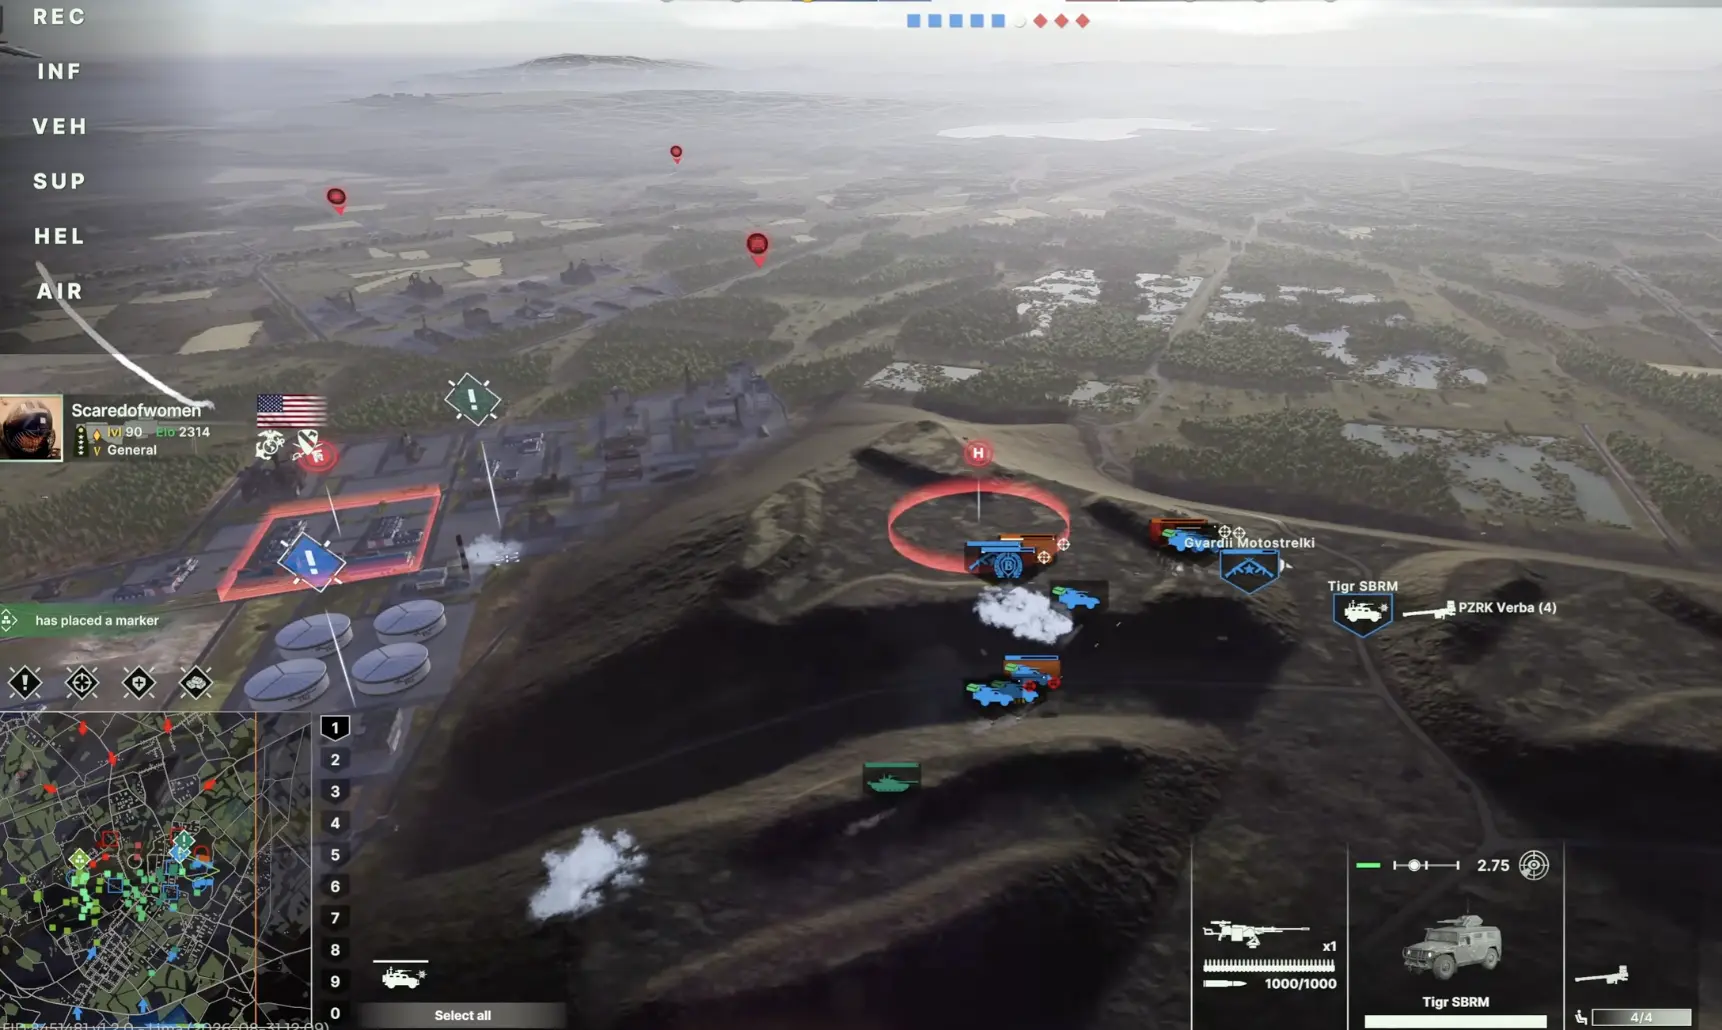
I prefer overlapping coverage:
- medium or longer-range AA threatens aircraft before the attack;
- mobile AA stays close enough to the frontline to punish the committed pass;
- MANPADS or another short layer protects infantry and support positions where practical.
The exact systems depend on the battlegroup.
The positional requirement stays the same.
If the ground force moves forward and the AA does not, I have created a window for aircraft even though the deck still contains plenty of air defense.
Supply needs a different position on the open side
Some objectives do not offer a comfortable logistics pocket.
I accept a longer drive instead of forcing the truck close to the capture area.
The dangerous arrangement is a damaged armored group, AA and supply all sitting in the same exposed location. One good air or artillery attack can turn a resupply stop into the most valuable target on the lane.
I keep the logistics one layer behind and rotate damaged units through it.
When a Lane Stops Receiving Points
The physical distance to the next objective is a poor reason to continue spending.
I stop reinforcing a Coal Mountain lane when:
- the next movement requires crossing open terrain without smoke;
- the enemy owns the crest and recon cannot see behind it;
- supply cannot move forward safely;
- aircraft are making repeated passes while AA is depleted or too far back;
- the current sector can already be held with a smaller force;
- another objective is consuming significantly more enemy attention.
That last condition changes the whole map.
A secure Alpha lane that only needs one player can release units and points toward Bravo or Charlie.
A quiet Bravo position can provide recon or fire support to Delta instead of attempting another unsupported push.
A hill angle can help a neighboring sector without becoming its own battle.
Coal Mountain becomes much easier once each player stops treating “my lane” as the only place their next purchase can go.
My Coal Mountain Match Flow
I approach the map in three stages.
Opening: take useful cover before chasing capture depth. Alpha races for its forward trees; Bravo and Delta establish positions that can support each other.
Middle game: convert those positions into cross-lane pressure. Smoke and recon prepare exposed crossings, the hill supplies temporary angles, Charlie stays spread under indirect-fire threat, and AA moves with the valuable ground group.
After a lane is won: reduce the local investment. Keep enough force to deny a cheap recapture, then redirect new points toward the fight that can still move the score.
The map rewards territory that is easy to defend far more than territory that was expensive to reach.
When the next hundred meters require worse vision, worse supply and more exposure than the ground I already hold, I am usually better off making the opponent cross them first.