Alchemy Factory Levels 5–7: Mid-Game Progression and Factory Rebuild
Levels 5–7 are where my starter factory finally stops scaling cleanly. I finish the Vitality Potion gate, rebuild farming around Advanced Fertilizer, get Steel online before locking in the new layout, then use filters and spare wood to prepare for Transformation Potions and Jupiter.
Updated:
Quick Answer
Finish the 100 Vitality Potions before committing to a large rebuild. Once Level V opens and the Main Quest moves to 100 Transformation Potions, I use the new tier to establish Advanced Fertilizer, filtered Rotten Log processing and a small working Steel line. Only after those pieces are stable do I give them permanent floor space and scale toward Jupiter.
The 100 Vitality Potions Are the Last Job I Give the Starter Factory
The transition into Level 5 is where several systems that were merely adequate in the early game begin exposing their limits at the same time. The Association asks for 100 Vitality Potions, and I treat that batch as the last major objective the compact starter layout needs to survive before I start making permanent mid-game changes.
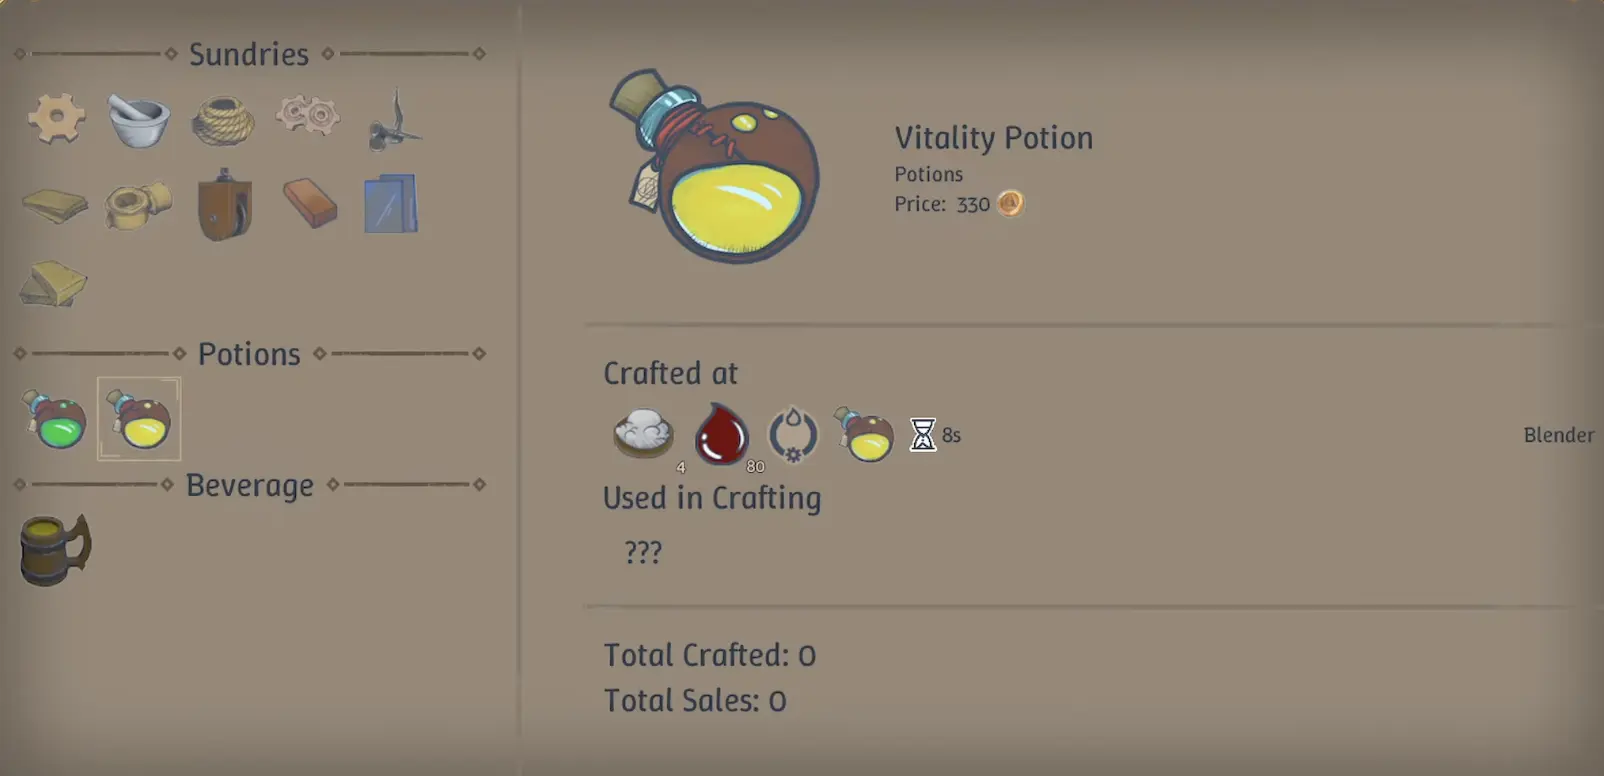
Vitality Potions use Fruit Wine and Quicklime Powder in a Blender. Fruit Wine brings liquid processing into the route, while Quicklime pulls demand back into a Stone chain that may already be feeding construction and other recipes. The Quicklime side runs from Stone → Quicklime → Quicklime Powder, using the existing stone-processing setup, a Crucible and then a Grinder.
This is a bad moment to demolish half the factory. If Stone storage is already empty, the solution is upstream capacity, not another Blender sitting idle. I keep the old lines functional long enough to complete the batch, because the next research tier contains upgrades that change how I want the permanent factory to look.
Level V Gives Me a Better Reason to Rebuild: 100 Transformation Potions
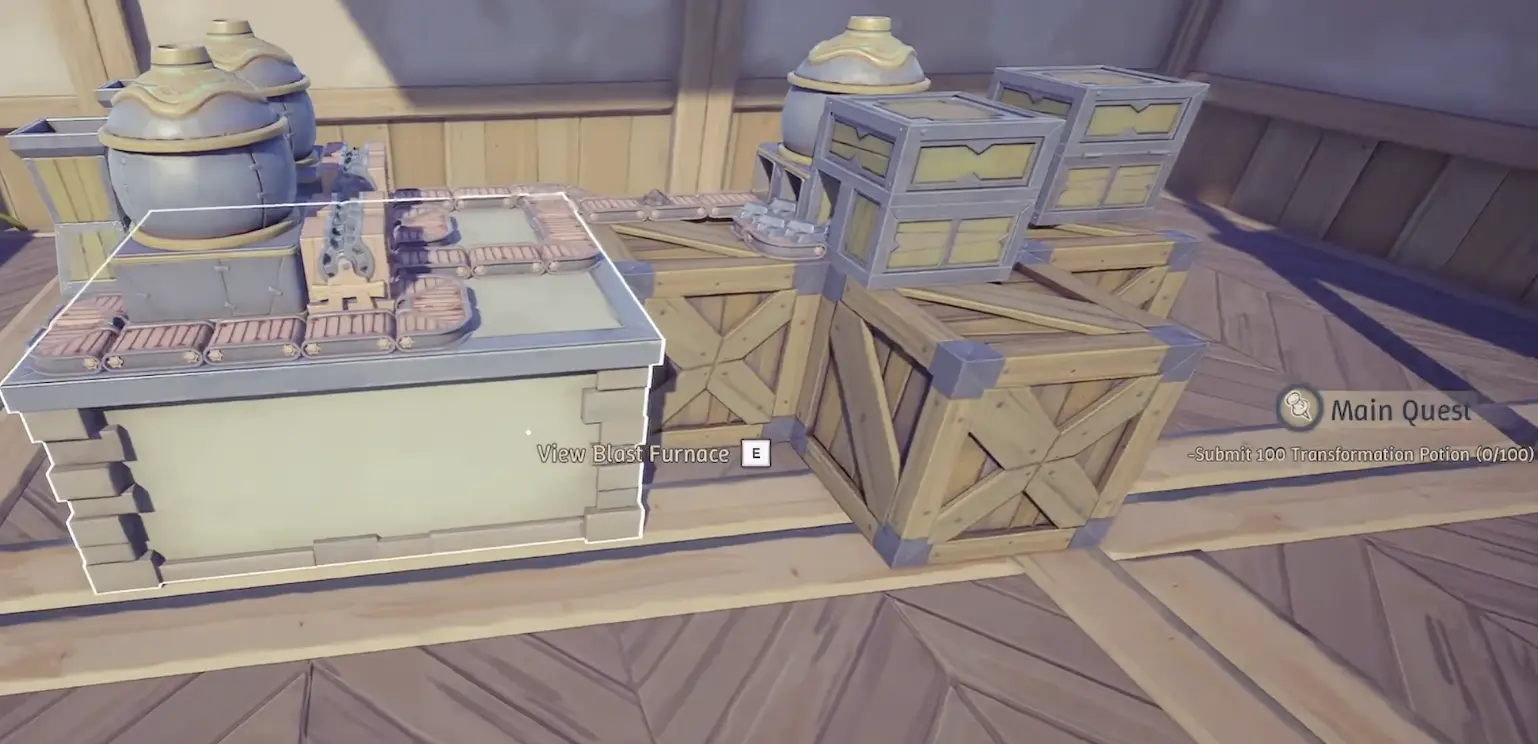
After that transition, the objective on my Level V run became Submit 100 Transformation Potions. This is the point where I stop thinking about the rebuild as a cosmetic cleanup and start treating it as preparation for the next production chain.
The important part is the timing. Advanced Fertilizer, better logistics, Steel-dependent equipment and larger production buildings are now close enough together that rebuilding around the old machines can leave me redesigning the same area twice. I let the Transformation Potion objective remain the destination while I fix the systems that are going to feed it.
That makes Levels 5–7 less about rushing from one Alchemy number to the next and more about getting the factory into a shape that can absorb the new recipes without another emergency rebuild every hour.
Advanced Fertilizer Is the Upgrade Worth Waiting For
Nurseries are tempting before this point because automated farming sounds like an obvious improvement over manual crop plots. The problem is not whether a Basic Fertilizer farm works; it is how much production space I would commit to a system that is about to become much denser.
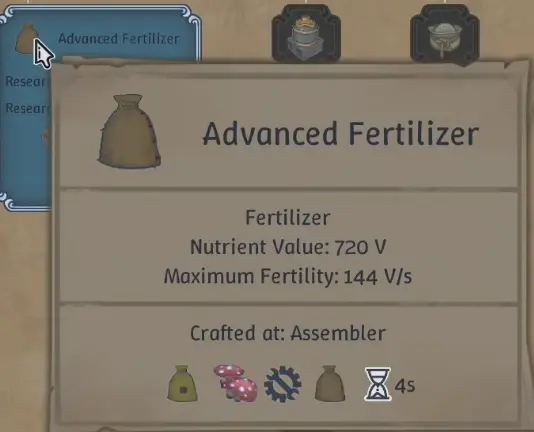
Advanced Fertilizer changes that calculation. Its item screen shows 720 V Nutrient Value and 144 V/s Maximum Fertility.
The underlying fertilizer progression still matters because Advanced Fertilizer does not replace the entire old recipe. I still need Basic Fertilizer, which draws on Plant Ash and Quicklime Powder, and then add Gloom Fungus for the upgraded product.
That dependency changes how I rebuild. Sage and Plant Ash still need a reliable route, Quicklime now competes with potion and industrial demand, and Gloom Fungus adds a new wood-processing branch. The permanent nursery area only becomes useful when those three inputs can reach it without constant hand-feeding.
Rotten Logs Turn One Wood Line Into Two Supply Chains
Gloom Fungus becomes much easier to source once Rotten Logs enter the factory, but they introduce a logistics problem that the earlier wood setup did not have.
Processing a Rotten Log produces:
- 40 Gloom Fungus
- 160 Planks
Both outputs leave the same process, yet they belong to completely different destinations. Gloom Fungus feeds Advanced Fertilizer; Planks belong in storage, downstream wood components and eventually much larger consumers.
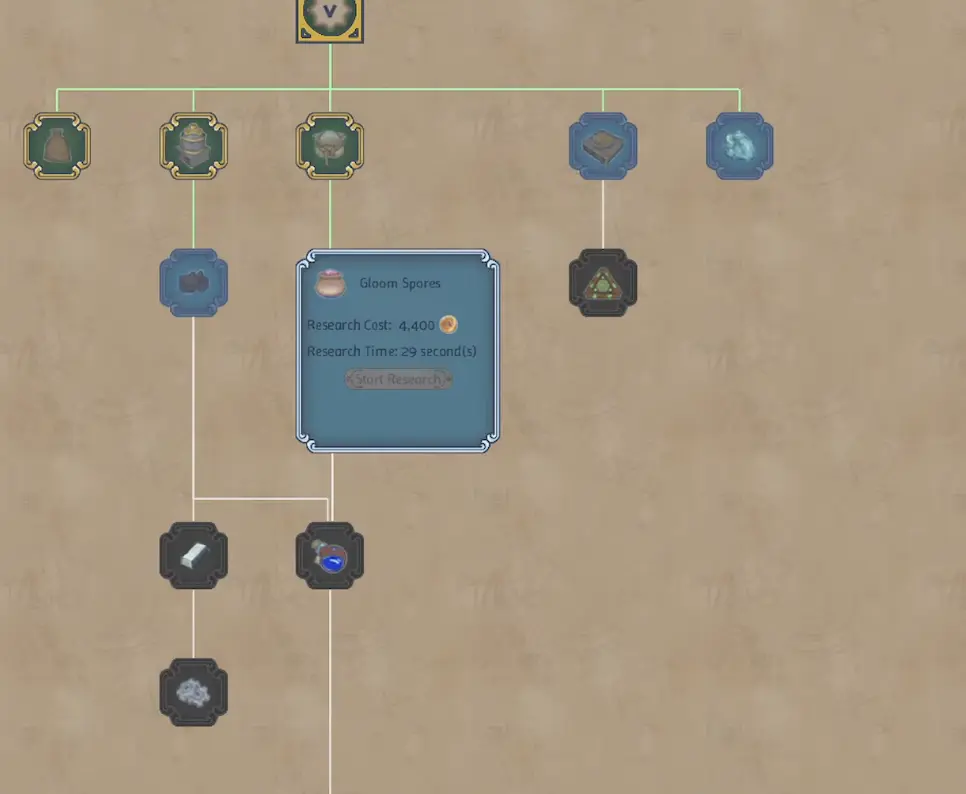
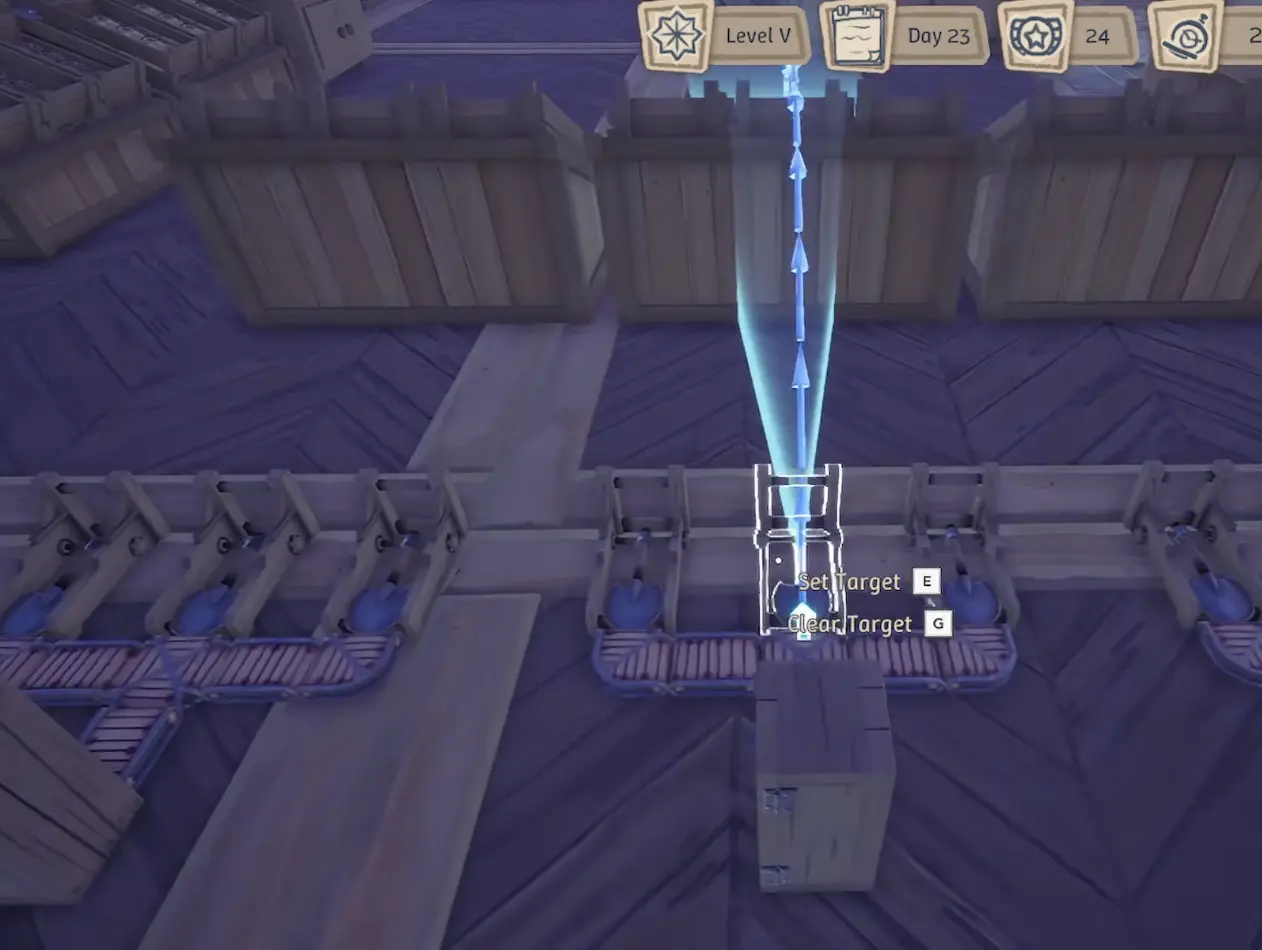
This is the moment Filter Splitters become genuinely useful. A long unsorted belt can work for a few minutes, but as soon as one destination backs up, the other product becomes harder to diagnose. Separating Gloom Fungus toward fertilizer while letting Planks continue into the wood network keeps two unrelated bottlenecks from becoming one tangled belt problem.
The same research stretch also introduces Priority Splitters and other logistics options. I do not rebuild every conveyor just because those pieces appear, but any section I am already replacing gets designed around the new tools rather than reproducing the old layout exactly.
My Rebuild Starts When the New Unlocks Change the Layout, Not When the Floor Looks Ugly
The starter factory can hold far more machinery than it should. I proved that by repeatedly adding one more belt, one more buffer and another machine wherever an empty rectangle remained. Eventually the problem stopped being space alone: Stone wanted more capacity, fertilizer had multiple inputs, Rotten Logs needed filtering, the shop occupied valuable ground-floor room, and newer equipment was changing the ratios I had designed around.
At that point I wanted separate areas with clear jobs. Stone had become large enough to justify its own production zone, while compact Wood and Iron sections could still share space elsewhere. That is a much more useful way to expand than assigning a floor to every resource automatically.

The actual construction mechanics belong in the Building Tool guide. For this stage of progression, the important decision is when the extra floor earns its cost: when a new permanent chain would otherwise force me to tear through several older ones.
I also avoid a full shutdown if I can. A new section can be rough, temporary and partially supplied while the old factory keeps producing the materials needed to finish it. Once the replacement line survives on its own, then the obsolete machines can disappear.
Steel Comes Before I Lock In the Permanent Mid-Game Layout
One of the strongest reasons to delay the final layout is Steel.
The new tier starts showing equipment that depends on Steel Ingots or Steel Gears, including improved production and logistics hardware. An Enhanced Grinder, for example, is described as working at twice the speed of a regular Grinder. Building a carefully measured floor around the old Grinder count immediately before upgrading them creates unnecessary dead space and rerouting.
So I establish Steel before I finalize that part of the factory.
The practical chain I used was:
Coal Ore → Coal → Coke → Coke Powder
with the processing moving through the Stone Crusher, Crucible and Grinder, followed by:
Iron + Coke Powder → Athanor → Steel
I only need a modest line at first. Its purpose is to start producing Steel and build a buffer, not to predict every late-game Steel requirement in advance.
That small line immediately removes several blockers. Steel can fund the better machines that affect my permanent ratios, and it can cover construction or equipment requirements without forcing me to halt everything else whenever one new recipe asks for another batch.
Coal Is Better Per Piece, but That Does Not Automatically Make It the Cheaper Fuel
Coal looks like an obvious fuel upgrade when I compare individual heat values. In the setup I tested, a Log carried 2,000 heat, while a piece of Coal carried 30,000.
The buying price changed the decision.
One Coal cost roughly the same as 24 Logs. At that price, those 24 Logs represented about:
24 × 2,000 = 48,000 heat
against 30,000 heat from the Coal bought for the same money.
That made Logs more cost-effective for ordinary heating in that run, even though Coal was dramatically denser per item. I still needed the coal branch because Coke and Coke Powder feed Steel, but I did not replace every existing Log-fed heat source simply because Coal had unlocked.
This distinction becomes increasingly useful in the mid game: density and purchase efficiency are not the same thing. Coal can reduce the number of fuel items moving through a line, while cheap Logs can remain the better choice where money matters more than belt volume.
I Size the Nursery Floor From Fertilizer Demand
A full farming build gets large quickly, so I prefer to work backward from the fertilizer line instead of placing a row of Nurseries and hoping production catches up.
The measured consumption I use is roughly:
3 Advanced Fertilizer per minute per Nursery.
At that rate:
60 Advanced Fertilizer/min → 20 Nurseries
If one of those Nurseries is growing Sage to help sustain the fertilizer loop, that leaves about 19 Nurseries for the other crops.
Sixty per minute is a ceiling to design around, not a requirement for entering the mid game. Five additional Nurseries only need about 15/min more sustained fertilizer output, so the farm can grow in manageable blocks instead of consuming an entire floor immediately.
The same test also showed why automation becomes attractive once the fertilizer chain is mature: for a basic crop in the measured setup, one automated crop plot could produce roughly what five manual plots were producing. Crop growth differs by seed, so I do not apply that ratio blindly to every plant, but it explains why a well-fed automated farm can replace a surprisingly large patch of manual agriculture.
Buffer the Planks; Jupiter Eventually Wants a Lot of Them
Rotten Log processing can make the Plank side look absurdly overbuilt before the next major wood consumer arrives. A full storage box does not necessarily mean I should throttle the line, because lowering Rotten Log throughput also lowers the Gloom Fungus feeding Advanced Fertilizer.
Jupiter gives that wood somewhere useful to go.
The Jupiter relic uses 1,200 Planks, along with wooden components such as gears and pulleys, and is produced with a Shaper. The Shaper itself is also a substantial machine, with six conveyor inputs and one output, which is another reason I prefer to leave clean mid-game space instead of trying to wedge relic production into an early wood corner.
I therefore treat the Rotten Log output as a coupled system:
Gloom Fungus keeps the fertilizer economy moving, while Planks accumulate for wood components and Jupiter.
That is more stable than throttling Gloom Fungus production whenever the Plank box happens to fill. If wood storage is overflowing before Jupiter is ready, I increase buffering or redirect useful downstream production first.
The 100 Transformation Potions Stay at the Center of the Stage
Factory rebuilding can become its own game if I let it. During this stretch I spent enough time moving Stone, reorganizing farming and establishing Steel that it would have been easy to forget why those upgrades mattered in the first place.
The Main Quest is still sitting there asking for 100 Transformation Potions.
That objective keeps the rebuild bounded. I am not trying to solve every future factory problem before producing them; I am removing the bottlenecks that prevent the current tier from running cleanly.
By the time I commit serious output to the Transformation Potion chain, I want the surrounding factory to have:
- reliable Advanced Fertilizer without routine manual feeding;
- enough nursery capacity for current crop demand rather than a speculative maximum farm;
- Rotten Log outputs split cleanly between Gloom Fungus and Planks;
- a working Steel supply with some reserve beyond the next single recipe;
- enough free space for large-input machines such as the Shaper;
- contract exports taking genuine surplus rather than materials needed by the active Main Quest.
The Contracts guide covers the Dispatch side in detail. During progression I only need one rule from it: if bulk delivery and the Association are fighting over the same product, I protect the Main Quest supply first.
Cauldron Research Is an Unlock, Not a Reason to Tear the Factory Apart Again
Cauldron research starts entering the picture later in this stretch, but I do not treat its arrival like another compulsory factory reset.
By then I already have Advanced Fertilizer, Steel, filtered multi-output chains, larger farming and relic production competing for attention. Adding a completely different transformation system before those inputs are stable makes it harder to see whether a shortage comes from the new system or from an older line that was already underfed.
I unlock the Cauldron as progression reaches it, leave room to experiment, and keep conventional production running until there is a concrete reason to replace something. The current factory has enough jobs without rebuilding a working line simply because another method has become available.
Levels 5–7 Feel Finished When New Recipes Stop Breaking the Factory
The useful milestone at the end of this stage is not a perfectly symmetrical building. It is a factory that can absorb another requirement without collapsing into emergency rerouting.
Advanced Fertilizer gives farming enough density to scale. Rotten Logs connect Gloom Fungus production with a large wood surplus, and Filter Splitters keep those destinations separate. Steel lets me adopt the better equipment before finalizing permanent layouts, while Jupiter turns much of the accumulated wood into a legitimate downstream resource sink.
Once those systems are stable, the second floor stops feeling like overflow space and starts functioning as part of the production plan. More importantly, the next large recipe no longer means dismantling three older chains just to create a route for it.
That is the point where I am comfortable leaving the mid game behind.