Alchemy Factory 1.0 Beginner Guide: Best Start and Early Priorities
A good opening is less about building everything and more about keeping the first few systems easy to feed. I keep the factory compact, let the Main Quest decide what comes next, use the shop for cash without letting it drain progression stock, and work toward Level 4 before spending heavily on expansion.
Updated:
Quick Answer
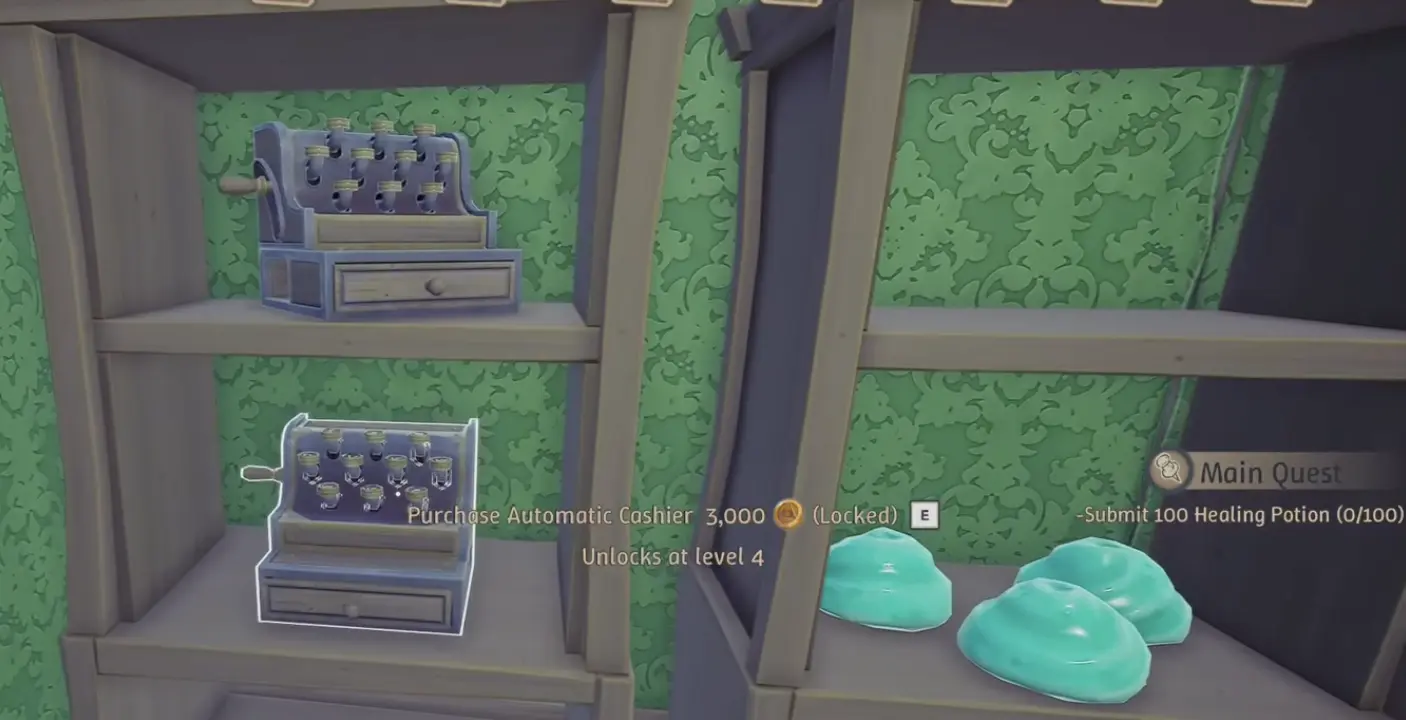
Keep the opening factory smaller than you think you need. Get reliable wood and Stone, let the Alchemy Association Main Quest decide which production line comes next, and treat Level 4 as the first major destination because the Automatic Cashier removes a large amount of shop babysitting. I use Random Quests when their payout solves an immediate cash problem, keep the storefront narrow until production can support it, and buy land only when space—not supply—is actually blocking the next build.
I Play the Opening Around Time, Not Around Maximum Output
The first few hours offer more options than the factory can comfortably support. New research appears, land is available, shelves can be filled with several products, and it is easy to mistake access to a system for a reason to build it immediately.
What slows the opening most is usually not raw machine capacity. It is attention. I am still moving materials by hand, checking storage, restocking products, dealing with customers and learning which intermediate resources feed several different recipes. Every extra production branch adds another place that can run dry while I am somewhere else.
For that reason, my early factory stays narrow. Wood and Stone form the backbone, storage absorbs short interruptions, and the next Association requirement decides which additional line gets space. I would rather have four systems that keep running when I walk away than ten that work only while I am standing beside them.
Level 4 Is the First Milestone I Build Toward
Level 4 matters because it changes how the shop consumes my time. The Automatic Cashier becomes available there, removing the need to return to checkout every time a customer finishes shopping.
That makes Level 4 more useful to me than several early side upgrades combined. Before the cashier, every larger storefront creates more customer traffic without removing the manual checkout job at the end. Afterward, I can spend longer stretches fixing production, researching and expanding while the front of the shop keeps functioning.
I do not need to memorize the entire level route to benefit from that target. The Levels 1–4 guide covers the actual Linen Rope and Healing Potion progression. Here, Level 4 simply gives my opening decisions a filter: does this purchase make the factory more capable of reaching that automation breakpoint, or is it creating another job?
Wood and Stone Are the Backbone I Want Before Variety
My first dependable production area is deliberately boring. Logs feed the wood chain, Stone begins accumulating early, and both outputs get storage instead of being sent immediately into every recipe I can see.
That reserve is what makes later construction painless. A new machine does not help if placing it empties the same Stone stock needed for the rest of the line, and a beautiful wood network is not useful if every plank is consumed the moment it appears.
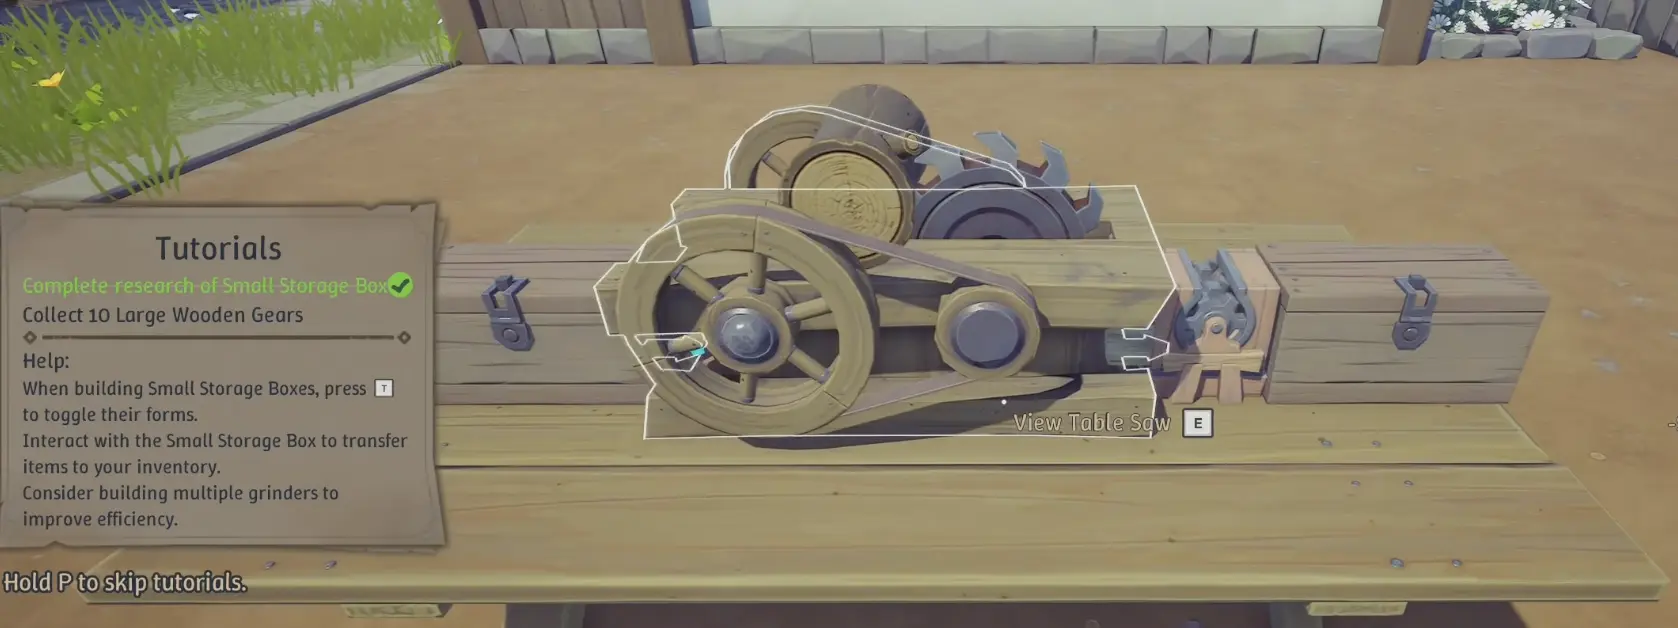
One early throughput number is worth remembering. A Table Saw outputs 30 per minute, while a Crucible consumes 15 per minute once I reach the stage where those systems interact. One Table Saw can therefore supply two Crucibles at that rate.
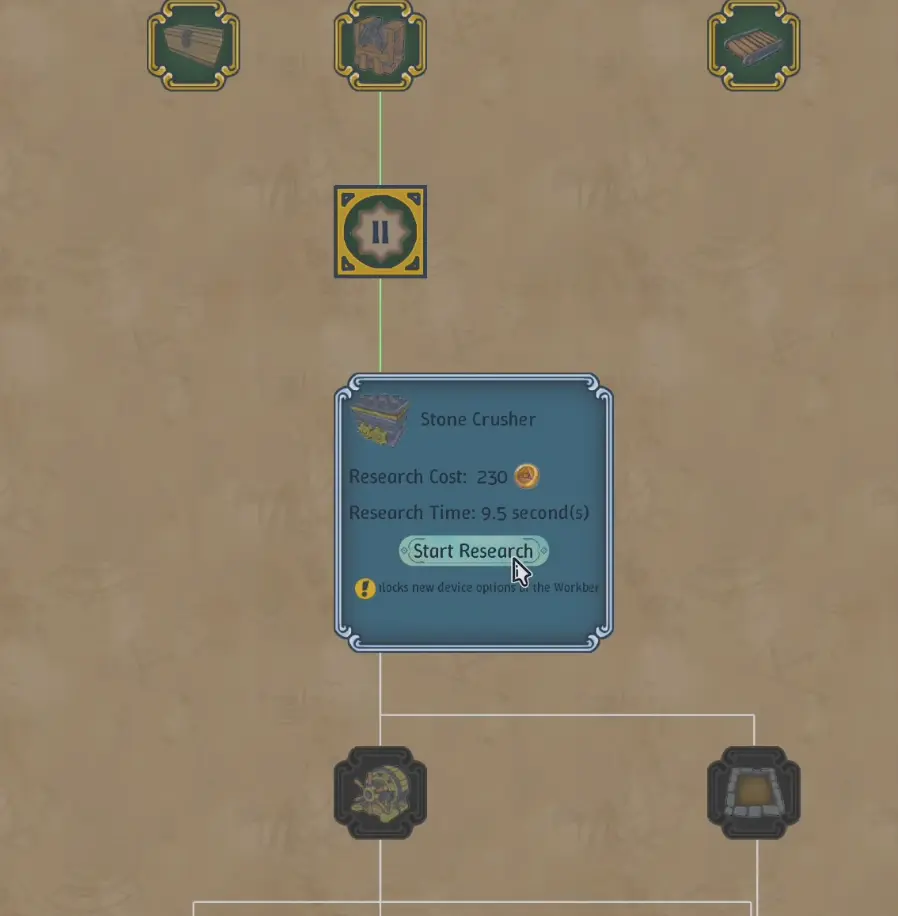
I do not turn the opening into a ratio spreadsheet. The value of numbers such as 30/min and 15/min is diagnostic: if one machine should be supplying two consumers and both are still waiting, I know to inspect the input route rather than immediately adding another producer.
Let the Main Quest Narrow the Research Tree
The Research Tree makes it easy to spend Gold on something useful in theory but irrelevant to the next hour. The Association Main Quest gives me a much better reason to choose one branch over another because completing those assessments raises Alchemy Level, and Alchemy Level opens later research.
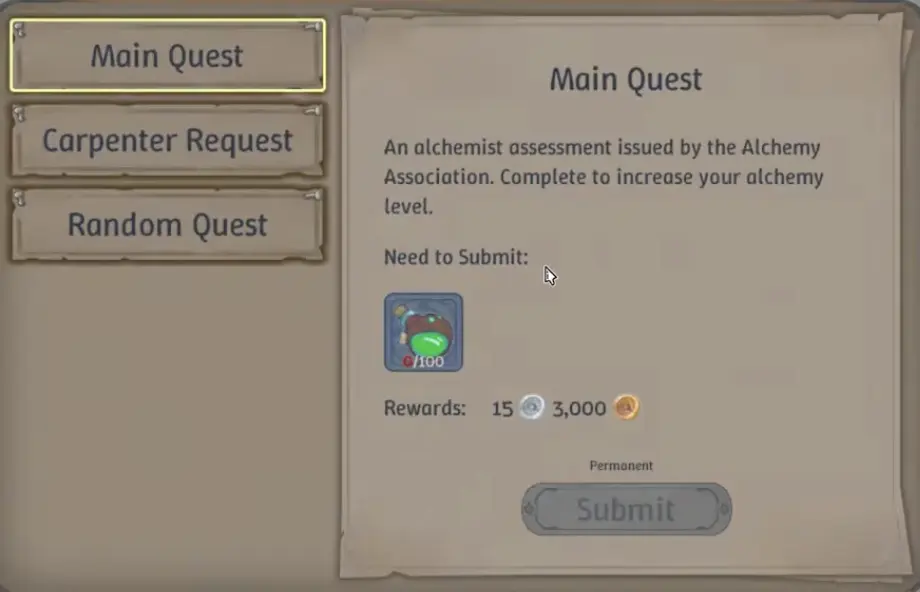
The opening progression eventually moves through plant processing and Healing Potions. I use those requirements as production assignments rather than trying to establish a permanent line for every item that appears in research.
That distinction keeps the first factory flexible. A line built for the current assessment can remain useful afterward, but I do not keep scaling it automatically once the Association has moved on. The next requirement may reuse the same crop, machine or processed material in a different form.
If the Research Tree stops opening entirely, the progression guide follows the Main Quest route through the later Alchemy Levels.
Keep the Shop Small Enough That Production Can Ignore It for a While
The shop can produce useful early cash, but there is a practical difference between selling goods and trying to operate a large store before automation exists.
Every extra product on the shelves creates another stock obligation. The item has to be produced, transported, restocked and eventually paid for at checkout. If the same resource is also feeding the Association objective, the storefront can quietly become the reason progression slows down.
I keep the early selection limited to goods the factory can replenish without draining important inputs. Shelves close to the customer area are easier to support, and a few consistently stocked products are more useful than a large room full of empty displays.
A simple test works well: I leave the production area for a while and then come back. If several shelves are empty, machines are starved and I spent most of that time running between the shop and storage, the storefront has grown faster than the supply chain behind it.
Random Quests Are Best When the Reward Removes a Current Blocker
Random Quests can be excellent in the opening because one strong payout may cover the machine, research or materials I am currently short on. I take them selectively rather than clearing every request that appears.
The best early Random Quest is usually one of two things: it asks for a product I can already supply without disrupting progression, or its reward pays for something I need immediately. A quest that forces me to research a side product, dedicate fresh floor space and consume scarce materials has a much higher hidden cost.
That means I judge the reward in context. If the payout lets me finish a machine line I was already building, it is valuable. If I spend half an hour creating a temporary factory for the quest and then return to the same Main Quest bottleneck I had before, the nominal reward was misleading.
Random Quests are also worth continuing over the long run because the achievement list eventually asks for 30 completions, but there is no advantage in turning that long-term counter into an early-game grind.
Buy Land Only After I Know Space Is the Problem
The opening factory can feel cramped even when space is not the thing slowing it down. Missing Flax, an empty Stone box, poor storage placement or a half-manual production line can make a crowded layout look like a land problem.
I buy another plot when the geometry itself is stopping a useful build: a production chain has no clean route, farming cannot expand without blocking the shop, or a new system needs enough room that squeezing it into the starter area would make several existing lines worse.
I wait when the factory is simply underfed.
| Situation | I usually do | Why |
|---|---|---|
| Current machines are waiting on raw materials | Increase or stabilize supply first | More land does not feed an idle machine |
| Shop and production are fighting for the same usable area | Consider another plot | The new space can separate two systems with different traffic needs |
| Farming cannot expand without blocking routes | Consider agricultural space | Crop area is a real geometric constraint |
| Storage is overflowing into walkways | Rework buffers before buying blindly | Poor placement can follow me onto the new plot |
| A new production chain has nowhere clean to run | Buy space if the chain is actually needed now | This is a direct capacity problem |
| I simply unlocked several new machines | Wait | An unlock does not mean all of them need a home immediately |
| Manual restocking and checkout consume most of my time | Improve automation first | A larger storefront adds more manual work |
The distinction saves a surprising amount of early Gold. Space is worth buying when it creates usable capacity; it is expensive scenery when the current factory has not yet learned how to use the space it already owns.
Research That Removes Labor Beats Research That Creates Another Side Project
I do not use a fixed “buy these exact nodes in this exact order” list, because the current bottleneck matters more than the visual position of a node on the tree. My early research still follows a consistent priority.
Machines required by the Association come first. After that, logistics and automation that reduce repeated manual work usually beat optional product variety. Anything that shortens the loop of picking up, carrying, restocking or checking the same system again and again has compounding value because I benefit from it during every later build.
The opposite is also true. A product line that has no quest use, no stable shop demand and no meaningful downstream consumer can wait even if its research is affordable.
Before spending, I ask what the unlock will change during the next thirty minutes. “I can make another item” is a weaker answer than “this fixes the line currently blocking progression” or “this removes a task I am repeating constantly.”
A Few Early Decisions Have Outsized Consequences
The opening mistakes that hurt most are rarely catastrophic. They simply keep charging small amounts of time.
Overproducing every sellable item is one of them. Broad inventory looks healthy until I realize six weak product lines are all competing for crops, storage and attention. Reliable supply on fewer shelves produces a calmer shop and makes shortages much easier to understand.
Building final machines before checking upstream supply is another. When a producer is idle because a Grinder, crop plot or raw-material line cannot feed it, another copy of the final machine only duplicates the symptom.
Keeping an old quest line at full throughput can be equally costly. Early resources are reused frequently, so I reduce production once an assessment item has enough reserve rather than letting yesterday’s target monopolize tomorrow’s material.
And researching by curiosity alone gets expensive quickly. I still experiment, but I do it after the current progression chain is secure rather than using the last available Gold to create a completely new production obligation.
The Opening Is Healthy When I Can Walk Away From It
I know the beginner stage is working when leaving one part of the factory no longer causes another part to fail immediately. Wood and Stone have buffers, the shop can sell for a while without emptying every shelf, the active Association product has a dependable input path, and I am no longer carrying the same intermediate material back and forth simply to keep machines alive.
Level 4 strengthens that stability because the Automatic Cashier removes one of the most persistent manual jobs. From there, the game starts asking for production chains that reach across several older systems instead of teaching one machine at a time.
That is where I move from opening decisions into the Levels 1–4 progression route for the exact early assessment path, then into Levels 5–7 once Vitality Potions, Advanced Fertilizer and Steel begin changing the scale of the factory.