Kingdom Rush 6 Genesis Walkthrough: All 18 Stages
Clear all 18 campaign stages with stage-by-stage build priorities, enemy fixes, boss preparation and Veteran 3-star adjustments.
Updated:
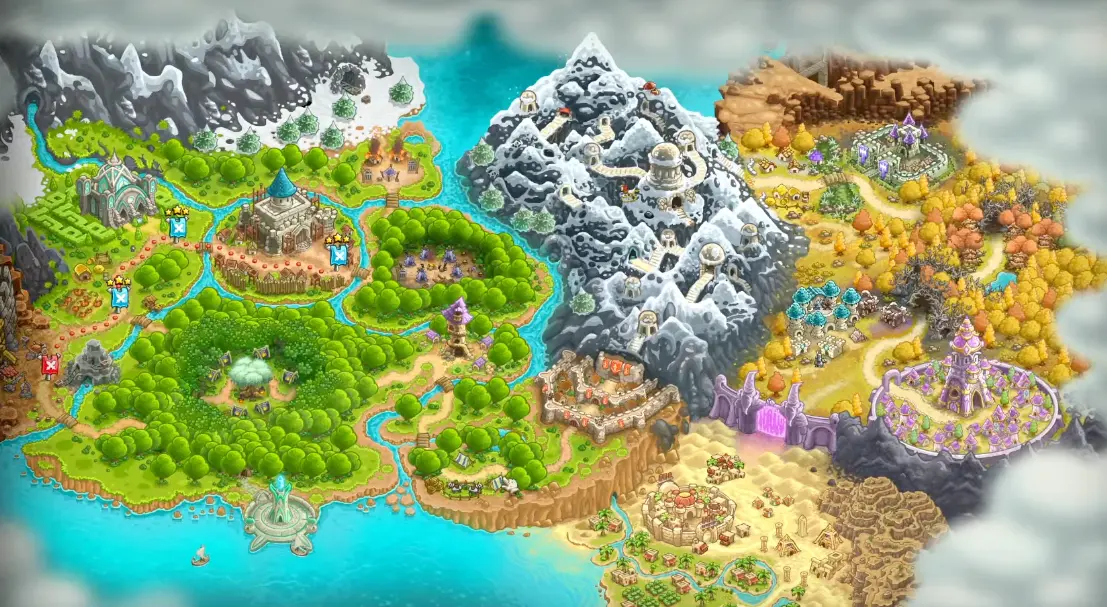
Quick Answer
Follow the campaign in order and spend the first attempt learning where each stage actually breaks your defense.
The biggest jumps come at Three-Side Ambush, Fortress of Acaroth, Path of Peril, Frostbite Nest, Stormcloud Halls and Vez’nan’s Tower. On those maps, keep enough Gold to react to new routes, flyers or backline pressure instead of committing every upgrade before the danger is visible.
The opening campaign gives you enough room to recover from a bad purchase. Later stages do not.
By the Stormcloud section, enemies can reach parts of the map that looked safe at the start, Troll Gliders force real anti-air investment, Troll Champions can appear behind a front-loaded defense, and the bosses arrive after fifteen-wave runs where one bad Gold decision can still matter at the end.
I use the first attempt to identify the stage’s actual failure point. Once that is clear, the next run becomes much more specific: another Barracks near the rear route, an earlier Archer upgrade before a flying wave, a Royal Catapult covering a shared lane, or Gold held back for the stage weapon instead of another ordinary tower.
All 18 Campaign Stages
| Stage | Location | Waves | Starting Gold | Boss |
|---|---|---|---|---|
| 1 | Linirean Castle | 5 | 175 | — |
| 2 | Arcane Academy | 8 | 300 | — |
| 3 | Raided Farmlands | 10 | 400 | — |
| 4 | Western Wall | 12 | 600 | — |
| 5 | Silveroak Village | 15 | 700 | — |
| 6 | Lozagon Tower | 15 | 850 | — |
| 7 | Three-Side Ambush | 15 | 1,000 | — |
| 8 | Fortress of Acaroth | 15 | 1,000 | Gor’Thok |
| 9 | Path of Peril | 15 | 1,000 | — |
| 10 | Abominable Lair | 15 | 1,300 | J.T. |
| 11 | Frostbite Nest | 15 | 600 | Sarelgaz |
| 12 | Ha’kraj Village | 15 | 1,400 | — |
| 13 | Stormcloud Halls | 15 | 1,400 | Moglok-Hai |
| 14 | Brightwick Town | 15 | 1,200 | — |
| 15 | Castle Blackburn | 15 | 1,200 | Lord Blackburn |
| 16 | Golden Grove | 15 | 1,450 | — |
| 17 | Paladin Enclave | 15 | 1,400 | — |
| 18 | Vez’nan’s Tower | 15 | 1,400 | Vez’nan |
Stage 5 is where the campaign settles into the fifteen-wave format. From there, a tower bought in the opening can still be occupying an important build point when the final enemy set appears, so selling and rebuilding a bad position becomes increasingly reasonable.
Stage 1 — Linirean Castle
Linirean Castle only has 5 waves and 175 starting Gold, so there is no need to plan around an expensive late-game tower.
Use the starting physical towers to cover the main road, then place Reinforcements where they hold enemies inside that fire. The Black Guard is the first enemy that survives noticeably longer than the basic bandits, but the map still gives plenty of road for a recovery.
I save Rain of Fire for the first group that is genuinely reaching the final section rather than using it the moment it becomes available.
A 3-Star clear here is mostly about avoiding a careless leak. The two hidden Linirean Castle interactions do not require a special defense; their locations are covered in All 53 Achievements.
Stage 2 — Arcane Academy
Arcane Academy begins with 300 Gold and eight waves, which is enough to start combining roles instead of stacking one tower family.
I put physical ranged damage on the long approach, then use Barracks farther down the road so those ranged towers continue shooting while enemies are held. Once groups begin accumulating behind the blockers, Artillery starts paying for itself.
Shadow Blades and the ranged enemies behind them punish a weak single blocking point. Gerald should stay close enough to catch anything that gets through, not so far forward that he spends half the wave dead.
The statue teleport can rescue the stage, but using it prevents WELCOME TO THE MASTERCLASS. For the first campaign clear, take the win; do the no-teleport condition on a cleaner replay.
Stage 3 — Raided Farmlands
Raided Farmlands is the first map where defending one beautiful choke is not enough.
With 400 starting Gold and two routes to protect, I use a central damage position that can influence both sides, then add physical ranged coverage before Crows turn the weaker route into a free exit.
Artillery works well on the ground groups, but investing too much into it before anti-air exists is the easiest way to lose a heart here. My safer order is a shared damage position, one Archer covering the flyer route, then Barracks where the ground enemies can be held inside that shared range.
Only after both exits are stable do I push the busiest tower upward.
Baby Jenkins and the fisherman can be handled without changing the combat setup. Their achievement conditions are in All 53 Achievements.
Stage 4 — Western Wall
Western Wall gives you 600 starting Gold, twelve waves and the first stage weapon that can meaningfully change a bad wave: the dwarven Crane.
The Crane costs Gold every time it is used. I treat it as burst damage, not as a replacement for a permanent tower.
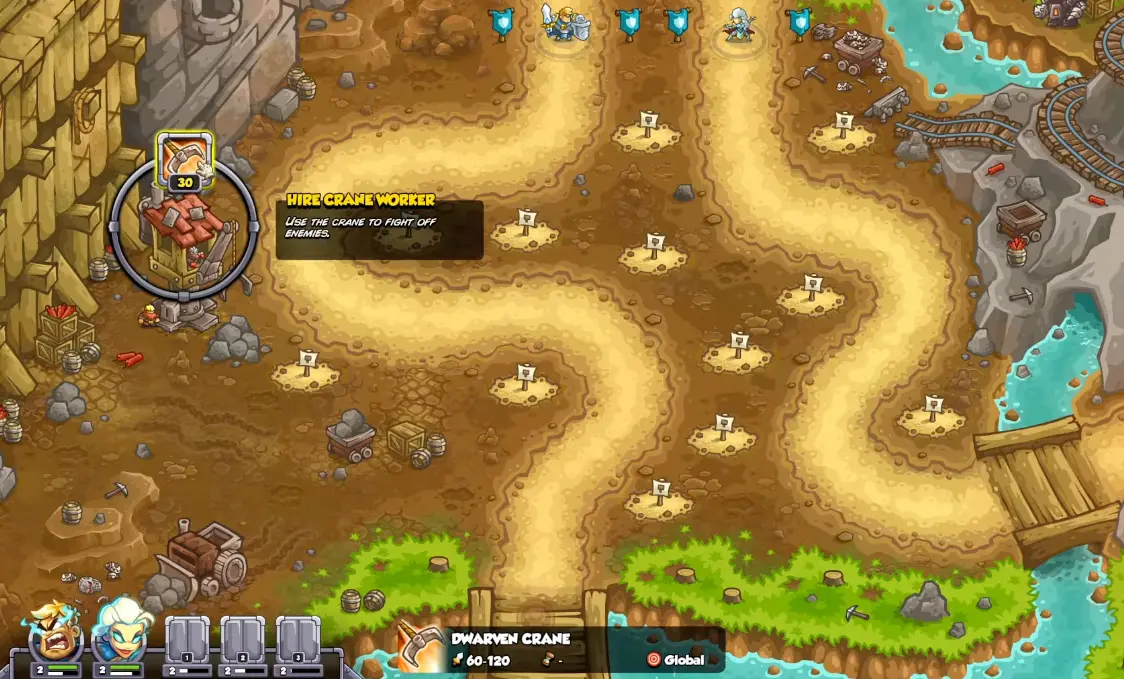
A Crane shot can remove a large amount of pressure, but the stage also brings Crow Callers and flying enemies. I keep an Archer on the side that actually sees the air route instead of expecting Dwarven Culverin splash to solve everything.
On my first rough run, the important correction was not another expensive Artillery upgrade. I was too thin on blockers. Adding another low-level Barracks and reacting faster with heroes and Reinforcements stopped the same type of leak more reliably.
Use the Crane once a dangerous ground pack is inside its useful area; do not spend the first available Gold on it while an empty build point still needs a permanent tower.
Stage 5 — Silveroak Village
Silveroak Village is the first 15-wave stage and starts with 700 Gold.
The Silver Oak gives you a powerful stage ability, but the normal defense still has to handle healing enemies and longer fights between activations. I prefer a mixed opening here: Artillery for grouped enemies, physical ranged damage for flyers, one Mage answer for armor and enough soldiers to keep the busy lane from walking straight through the splash.
When healing support appears, concentrated damage matters more than touching every enemy in the wave. Remove the healer, then let the AoE clean up the group it was extending.
The Silver Oak is strongest when a large pack has already entered its area. Using it on the first small group wastes the part of the ability that can stop an overloaded lane.
The forest spirits and the 20-enemy Silver Oak condition belong to the achievement run: All 53 Achievements.
Stage 6 — Lozagon Tower
Lozagon Tower starts with 850 Gold, but the map itself is the first problem.
The exit is much closer to the active combat area than it initially appears. On my first attempt, understanding that too late cost a heart.
I had better results after treating the level as two stopping points instead of trying to force everything into one entrance choke. Dwarven Culverin is useful early because the road geometry creates compact groups, while ranged physical damage catches anything that escapes the first clump.
Nivus can contribute several abilities during the stage, but the permanent defense still needs to survive between those uses. A tower that can reach more than one part of the road is especially valuable here because the map gives very little time to recover once an enemy reaches the rear section.
Stage 7 — Three-Side Ambush
Three-Side Ambush gives you 1,000 Gold and attacks from several directions.
Trying to build three complete defensive lines immediately burns through the opening economy. I spend first on positions that can influence more than one route and use the stage’s footmen to add bodies where a lane needs temporary help.
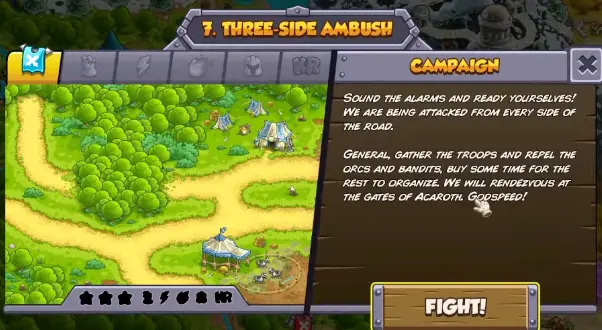
AoE becomes important early because swarms can pressure one route while the heroes are occupied elsewhere. I keep the heroes apart unless one side has clearly gone quiet; putting both on the same road leaves too much travel time when the next group arrives elsewhere.
The horse riders are useful extra pressure, but they should not consume the Gold needed to keep the permanent towers competitive through all fifteen waves.
Stage 8 — Fortress of Acaroth
Fortress of Acaroth is the first full boss test, and the battlefield is much tighter than the maps immediately before it.
With only 1,000 starting Gold, I favor two reliable blocking points rather than gambling the stage on one aggressive Barracks. The limited space means every tower needs a clear job.
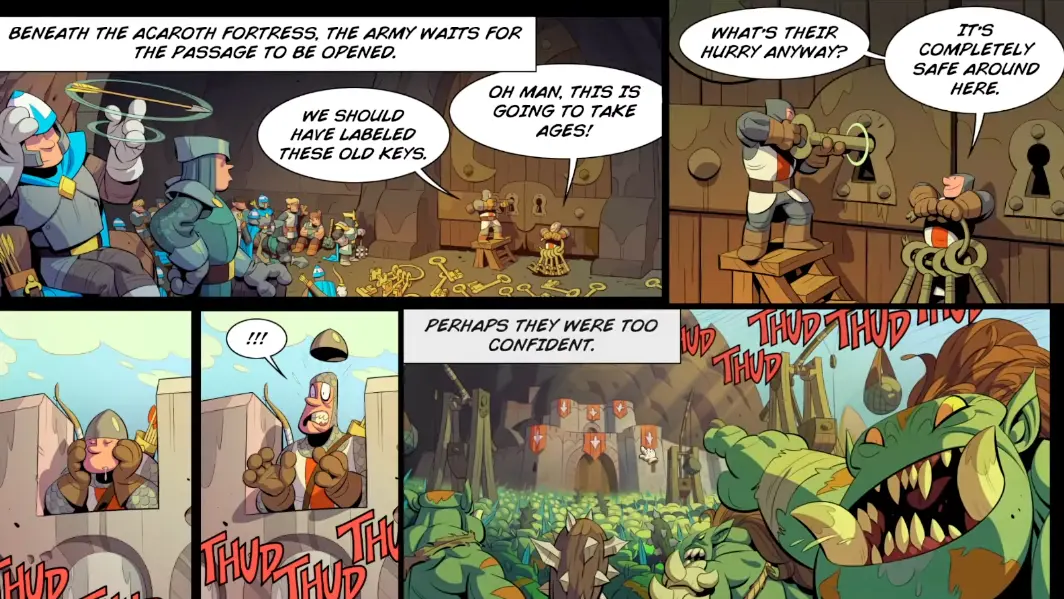
The fortress provides a catapult and Archer support. The catapult is worth saving for a real group: one well-timed shot can wipe out a packed set of Archers instead of shaving health from a few scattered targets.
Towers can also be set on fire. When that happens, extinguish the tower and restore its output before buying another luxury upgrade elsewhere. A disabled Tier III or Tier IV tower is dead Gold until it is working again.
The most dangerous ordinary combination is Shaman support behind Ogres. Shamans can keep the Ogres alive long enough for the whole rear defense to become overloaded, so I move ranged damage or a hero onto the Shaman instead of letting every unit attack the Ogre in front.
When Gor’Thok arrives, keep the rear blockers intact. The boss already puts enough pressure on the road without allowing the supporting wave to pass around him.
Stage 9 — Path of Peril
Path of Peril is where a front-loaded build starts failing for reasons that are not visible from the opening road.
The map begins with 1,000 Gold, but four normal tower spots are effectively given up to the stage’s pillars. Those pillars can deliver huge AoE kills, so I use the remaining permanent positions for reach rather than trying to recreate four missing towers elsewhere.
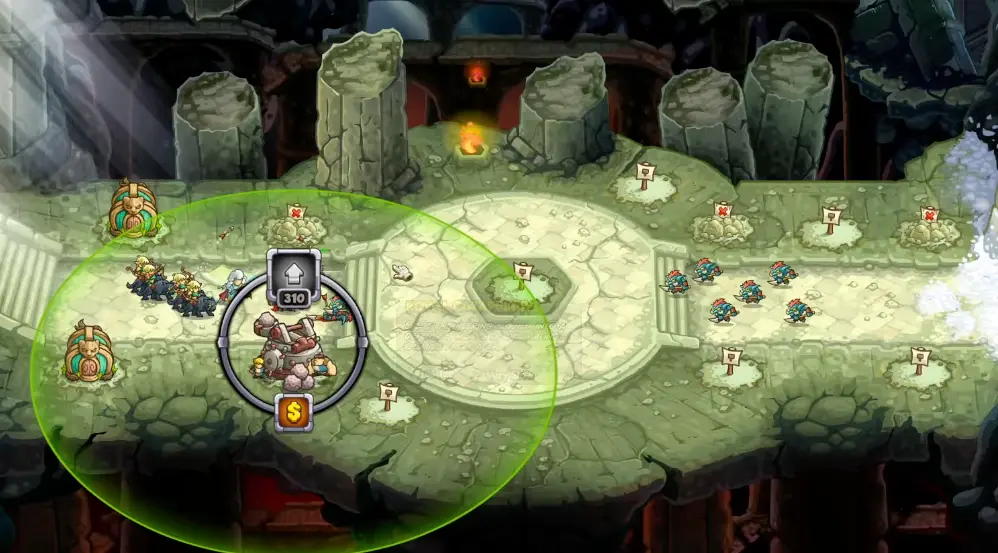
Royal Catapult is a strong fit because one long-range position can stay involved for much more of the route.
The bigger trap appears later. Troll Gliders force anti-air, and Troll Champions can appear in the backline instead of walking through the entire front defense.
That means I want at least one real Barracks covering the rear half of the map before the Champions become a crisis. Tier III soldiers were enough to hold the first backline pressure in my run, but the heavier Champion wave pushed that position toward Tier IV.
The same attempt also showed why anti-air has to be purchased before the flyer wave arrives. Waiting until Troll Gliders are already crossing the map leaves too few shots to correct the mistake.
Teleportation Sigil can buy a valuable reset against a dangerous target here, but the permanent fix is still rear coverage. The spell should save a bad moment, not compensate for an empty backline every wave.
Stage 10 — Abominable Lair
Abominable Lair opens with 1,300 Gold, enough to establish a stronger defense before the first serious pressure.
I use that budget to get the permanent lanes working before saving for premium abilities. Physical ranged damage handles general traffic, magic covers armor, and a blocker near the busiest section keeps those towers firing long enough to matter.
J.T. arrives after a full fifteen-wave run, so the final phase is much easier when the ordinary enemies are already under control. I want Rain of Fire or another major spell available at that point instead of spending it to make wave fourteen slightly faster.
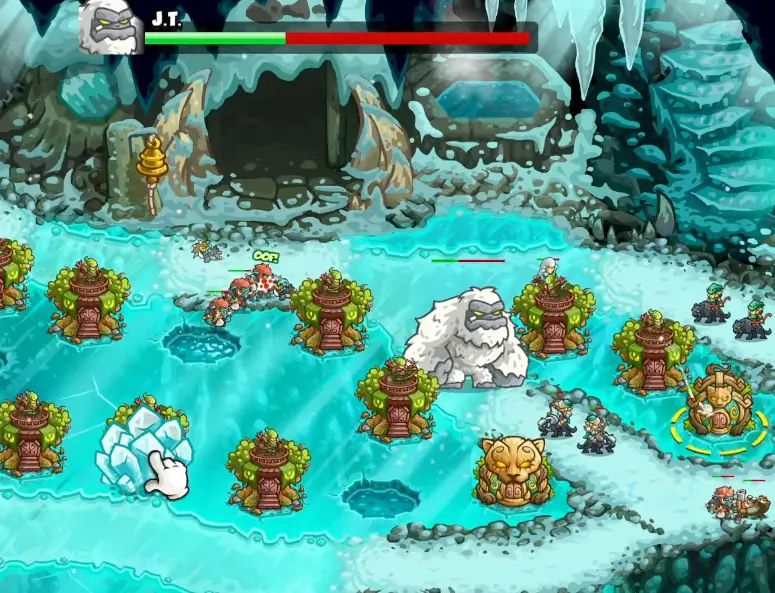
There is a separate achievement for letting J.T. eat 30 enemies. That goal works against the cleanest 3-Star strategy because you must deliberately leave enemies alive for the boss. I keep that for a separate run rather than weakening the first clear.
Stage 11 — Frostbite Nest
Frostbite Nest begins with only 600 Gold, and the map hides enough of the battlefield that you cannot make a fully informed opening build.

The stage gradually reveals more of the route. I avoid spending the whole opening budget on one side before that happens.
Anti-air deserves early priority. The wider icy layout gives flying enemies enough room to bypass a ground-heavy defense, and a long-range physical tower can start contributing before they reach the central area.
Elven Elite Ranger performed particularly well for me here. Its reach let it cover the developing battlefield, and the tower was doing strong work against the spider waves instead of being locked to one short choke.
That does not remove the ground problem. Troll Pathfinders and Champions can occupy so much attention that the opposite route becomes vulnerable. Keep one hero or blocker tied to the quieter lane instead of pulling everything toward the largest enemy on screen.
Sarelgaz is the final threat, but the stage still needs anti-air and lane control around that fight. Selling those tools for a little extra boss damage can turn a winning setup into a leak somewhere else.
Stage 12 — Ha’kraj Village
Ha’kraj Village gives you 1,400 Gold, a much healthier opening budget than Frostbite Nest.
The main adjustment is damage type. Frost Heralds resist magic heavily enough that a Mage-heavy setup from the previous Troll stages can suddenly feel weak.
I keep strong physical ranged damage on the first useful approach and let magic support the defense rather than dominate it. Heroes stay near their assigned lanes because the winding layout can make a short-looking reposition take long enough for a leak.

The vases scattered around the village are only needed for WREAK HAVOC and do not change the combat plan: All 53 Achievements.
Stage 13 — Stormcloud Halls
Stormcloud Halls starts with 1,400 Gold and combines most of the problems introduced in the previous four stages.
Troll regeneration rewards finishing targets instead of spreading damage too thinly. Flyers still need physical ranged coverage. Champions can hold a choke for a long time, while the sorcerers on the map are valuable enough that losing them weakens both the battle and a separate achievement attempt.
The stage’s Sunray Tower is a special battlefield weapon. It is different from the equippable Sunray Master tower in the normal roster.
I spend enough on the regular defense that a basic wave does not depend on the Sunray being available, then use the Sunray on durable targets that will stay in its effective area long enough to justify the activation.
Moglok-Hai should reach a finished defense rather than a half-built one. By the final waves, the main blocking point needs to survive heavy ground pressure, physical ranged towers should already cover the air lanes, and at least one source of burst damage should be ready for the group that arrives with the boss.
The Sunray damage and no-lost-sorcerer conditions are easier to manage as separate goals: All 53 Achievements.
Stage 14 — Brightwick Town
Brightwick Town begins with 1,200 Gold and adds another temptation: spending resources on town buildings while the road still needs attention.
I build enough permanent defense to survive ordinary waves before putting spare economy into the town. An incomplete building does not cost a Star; an enemy walking through the exit does.
The stage works well with a balanced five-tower loadout because the late enemy mix can punish a setup that has one excellent answer and several missing ones. When the basic lanes are stable, the building upgrades become much easier to finish without sacrificing lives.
For the broader tower choices rather than this stage’s route, see Best Towers & Tower Tier List.
Stage 15 — Castle Blackburn
Castle Blackburn gives you 1,200 Gold and fifteen waves before the fight with Lord Blackburn.
I build for the stage first rather than treating every opening purchase as boss prep. The road still needs AoE, blocking and enough ranged damage to arrive at the final phase with all three Stars intact.
Once the boss phase begins, I leave at least one hero or blocker responsible for the exit. Putting both heroes on Blackburn can create a situation where the largest enemy is under control but a smaller unit becomes the one that ruins the run.
Castle Blackburn also contains fishing and Lord Blackburn kill achievements. Those change what you deliberately allow to survive, so I keep them separate from the clean first-clear route: All 53 Achievements.
Stage 16 — Golden Grove
Golden Grove has 1,450 starting Gold, the largest opening budget before the final two stages.
I still avoid spending it all on Tier IV upgrades at the start. The map gives enough money to build broad coverage first, see which routes become busiest, then commit the remaining Gold to the towers actually getting continuous targets.
The Old Treants provide extra battlefield pressure without consuming ordinary build points. They work best when enemies are already grouped, so Barracks and heroes should hold the road where the Treants and nearby AoE can attack the same pack.
If the Treant achievement is the goal, let them finish weakened enemies instead of allowing the permanent towers to take every last hit.
Stage 17 — Paladin Enclave
Paladin Enclave starts with 1,400 Gold and adds the local knight duels on top of a normal fifteen-wave defense.
I set the road up before paying much attention to the side activity. The duel does not protect an exit, and losing a normal lane while watching it is still a failed 3-Star run.
The betting interaction and the no-lost-duel achievement are separate goals. For the latter, I treat the duel outcome as part of the main attempt and keep enough hero and spell attention available to stop the rest of the stage from collapsing around it.
This is not the same duel as KOMBO FINISHER in Path of Peril. The Paladin Enclave condition is THERE CAN BE ONLY ONE.
Stage 18 — Vez’nan’s Tower
Vez’nan’s Tower starts with 1,400 Gold and ends the campaign after fifteen waves.
The final map punishes a loadout with several towers competing for the same role. I want physical ranged damage that stays relevant against flyers, magic for armor, a blocker that can hold the main pressure, AoE for packed waves and at least one long-range position that keeps firing as targets move.
Once those jobs are already covered, Gold can go into the high-value Tier IV abilities rather than another low-level tower on a quiet edge of the map.
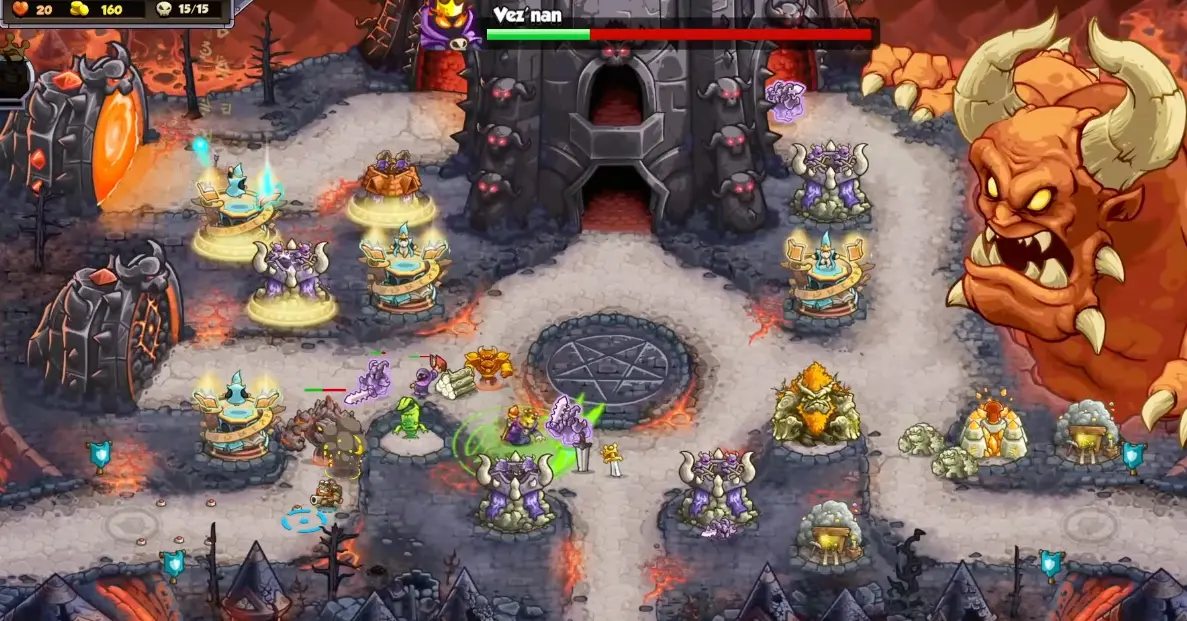
During the Vez’nan phase, I split the hero responsibilities instead of parking both on the boss. One can stay on the main fight while the other remains close enough to catch anything moving toward the exit.
I also stop treating early-wave bonuses as free Gold once the final sequence is close. Entering the boss fight with Rain of Fire, Reinforcements and the tower abilities ready is worth more than squeezing one last premature wave into an already busy battlefield.
Defeating Vez’nan finishes the campaign. Impossible and the remaining Star milestones are covered in Unlocks & Progression.