How I Reached, Beat or Skipped the Trapezist in Endacopia
I reach the Trapezist by getting the missing Bingo Ball, using Boon's current insecurity clue, freeing the microphone and clearing the Misery Town crowd.
Updated:
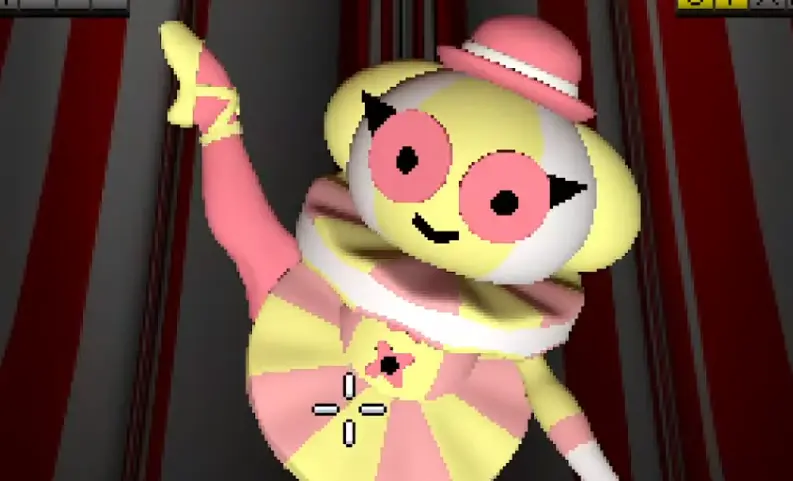
Quick answer: The Trapezist is the Misery Town boss at the end of the area’s crowd and microphone route. To reach her, complete: Scalpel → missing Bingo Ball → Boon’s game → current insecurity clue → Cutie Plushie → microphone → Tell Everyone to Leave. After the stage performance, beat the normal boss fight for Fatal Performance, or use the Scalpel on the Trapezist’s line to skip the fight for Cut The Act.
The hardest part of the Trapezist route was not the boss fight itself.
It was figuring out that several strange Misery Town activities were actually one progression chain.
The microphone worker refuses to let me use the intercom. Boon’s game is missing a ball. An Operation-style patient needs the Scalpel. A clown girl is interested in the microphone worker.
None of those problems looks directly connected to the Trapezist at first.
They are.
Once I follow them in the correct order, reaching the boss becomes much more predictable.
Jump to: Reach the Trapezist · Missing Bingo Ball · Boon’s insecurity · Microphone · Stage performance · Beat the Trapezist · Skip the fight
How to Reach the Trapezist in Endacopia
The Trapezist is Misery Town’s main attraction, but I cannot simply walk into her show.
A crowd blocks access to the stage.
The microphone worker near the entrance controls the announcement system, but he refuses to let Melo use it.
Repeatedly asking him for the microphone does not solve the problem.
The route I use is:
- inspect Boon’s incomplete game;
- solve the dead-clown puzzle;
- collect the Scalpel;
- use the Scalpel on the Operation patient;
- recover the missing Bingo Ball;
- return the ball and complete Boon’s game;
- learn his twin’s current insecurity;
- use that clue on the blue Boon;
- collect the Cutie Plushie;
- use the plushie to get the microphone worker away from his booth;
- use the microphone;
- choose Tell Everyone to Leave;
- enter the newly cleared Trapezist stage.
The important thing is that I do not treat the carnival activities as unrelated side content.
They all feed the same route.
Start With Boon’s Missing Bingo Ball
My first useful lead is Boon’s game inside the porta-potty.
When I inspect the game, Boon points out that one ball is missing.
Without that ball, I cannot complete the game and therefore cannot get the clue I need later.
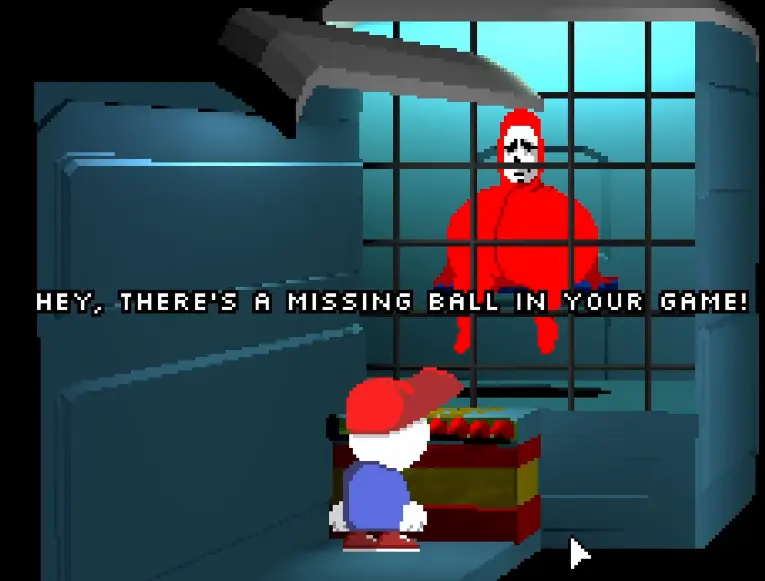
I leave the board for now.
The missing ball comes from a different Misery Town interaction.
Get the Scalpel From the Dead-Clown Puzzle
The next item I need is the Scalpel.
I obtain it by connecting the clown cinema with the nearby dead-clown puzzle.
The detail that matters is whether each clown in the films died or survived.
There are eight results in total.
I use those results on the corresponding clown puzzle until it gives me the Scalpel.
I keep the exact puzzle-answer reference in the Endacopia Puzzle Solutions Guide because this page is focused on the Trapezist route rather than every Misery Town puzzle.
Once I have the Scalpel, I do not spend it and forget about it.
It is required immediately for the missing ball, and it has another use during the Trapezist’s alternate resolution.
How to Get the Missing Bingo Ball
With the Scalpel in my inventory, I return to the Operation-style patient.
This interaction is the source of Boon’s missing Bingo Ball.
I use the Scalpel and guide it through the internal paths without touching the dangerous edges.
The route contains three Operation sections.
The later sections are tighter, so I slow down instead of trying to drag the Scalpel through them in one fast movement.
At the end of the final section, I recover the missing:
Bingo Ball
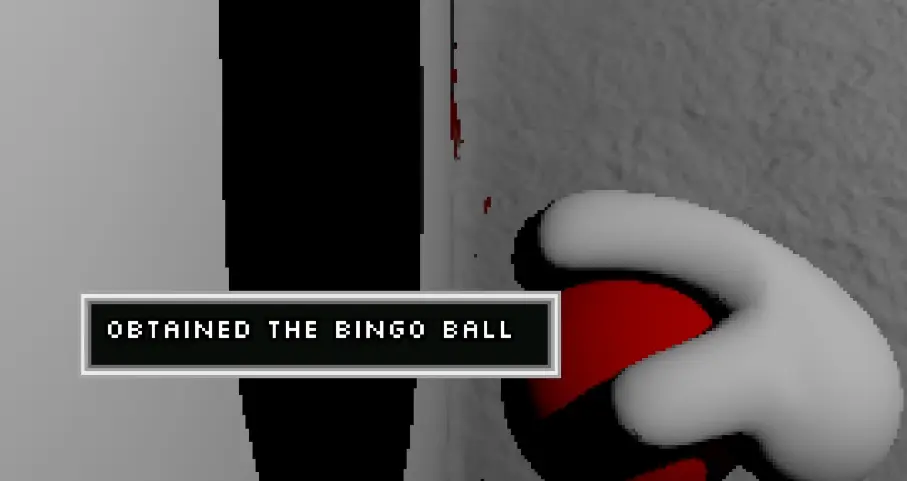
If I fail the Operation sequence, I retry it.
I do not start searching the rest of Misery Town for another ball once the Scalpel interaction is already available.
The ball is inside this patient route.
Complete Boon’s Game and Get the Insecurity Clue
I return to Boon and put the missing Bingo Ball back into his game.
The goal is to form a valid Bingo-style line.
Once the game registers the win, I ask Boon for information about his blue twin.
That information is the real reward from the minigame.
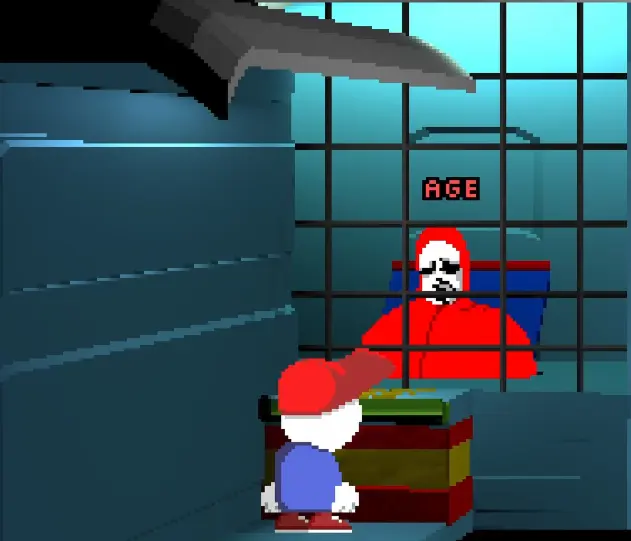
Boon reveals something his twin is insecure about.
The important detail is:
The insecurity can change between saves.
I have completed routes where the clue was age and another where it was smell.
Another completed route produced voice.
That means I never copy one insecurity from a previous playthrough and assume it will work again.
Use the Insecurity on the Blue Boon
After getting the clue, I return to the blue Boon.
I choose the dialogue option that targets the insecurity I was just given.
Using the correct clue breaks through his normal comeback routine.
He eventually gives Melo the prize:
Cutie Plushie
If the conversation does not progress, I do not keep selecting random insults.
That usually means I am using the wrong insecurity for the current save.
Get the Cutie Plushie to the Microphone Worker
The Cutie Plushie looks like a separate carnival reward, but it is the item that finally changes the microphone situation.
I take it to the clown girl near the bouncy-castle side of Misery Town.
She is interested in the red jester who operates the microphone near the entrance.
After I show her the plushie, the gift becomes part of that relationship route.
I then take the plushie back to the microphone worker.
The gift gets his attention.
He leaves his post to speak with the clown girl.
That is the first point where the announcement booth is actually available.
How to Get the Microphone in Misery Town
I do not get the microphone by repeatedly asking the worker to let me use it.
He can refuse again and again.
The real solution is to make him leave the booth through the Cutie Plushie route.
Once he is gone, I return to the microphone booth and interact with the intercom.
I choose:
Tell Everyone to Leave
The announcement clears the crowd standing in front of the Trapezist’s attraction.
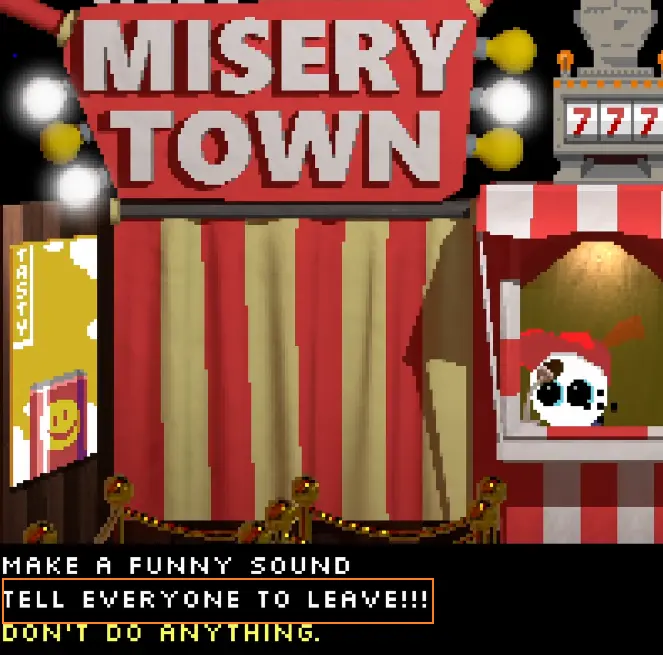
If the microphone worker is still standing at his post, I know I am not ready yet.
I go back through this chain:
Boon clue → blue Boon → Cutie Plushie → clown girl → microphone worker
I do not keep repeating the microphone dialogue.
Save Before the Trapezist Performance
After the crowd leaves, the route to the Trapezist opens.
Before starting the final sequence, I create a separate manual save.
This is one of the most useful saves in the entire Misery Town route because it comes after:
- the dead-clown puzzle;
- the Scalpel;
- the Operation sequence;
- the missing Bingo Ball;
- Boon’s game;
- the insecurity clue;
- the Cutie Plushie;
- the microphone;
- the crowd removal.
I preserve this save if I want both Trapezist resolutions.
One route is the normal boss fight.
The other uses the Scalpel to avoid that fight.
Complete the Trapezist Performance
Reaching the stage does not begin the normal boss battle immediately.
I first have to complete the Trapezist’s performance sequence.
I wait for each visible input cue before moving.
Trying to predict the next cue made this harder for me because a wrong input can reset the performance.
Late in the sequence, the required input can move to the opposite side of the play area.
I have more success if I return the cursor toward a neutral position after each completed cue instead of leaving it parked at the previous edge.

Near the end of the performance, Melo enters the cannon and the encounter moves toward the final resolution.
Failing the performance does not reset the entire Misery Town route.
I do not have to recover the Scalpel, Bingo Ball or microphone again.
How to Beat the Trapezist
The Trapezist uses the same basic Endacopia combat controls introduced earlier:
- right click for the defensive stance;
- move the cursor to align the guard;
- left click to attack;
- manage the shared stamina needed for offense and defense.
The important difference is that I do not react to every incoming object in the same way.
Some attacks should be blocked.
One important returnable attack should be hit back.
My basic decision loop is:
- normal directional attack → block;
- returnable object still high → wait;
- returnable object low and close → attack once;
- unclear pattern → defend;
- low stamina → stop forcing damage.
Block the Directional Attacks
When the Trapezist sends a normal attack toward Melo from a clear direction, I move the guard toward that side.
Then I keep the guard held through the actual impact.
Moving into the correct defensive position but releasing too early can still cost health.
After the attack lands, I reset toward the middle so I am ready for whichever direction comes next.
I also avoid immediately throwing several punches after every successful block.
Not every block creates a long damage window.
Wait for the Returnable Attack to Drop Low Enough
This was the Trapezist-specific mechanic that caused most of my early failures.
One attack can be returned.
The mistake is swinging as soon as I see it.
The object can be visible while still being:
too high to hit
I let it approach.
I wait until it drops into a low, clear striking window.
Then I attack once.
If I attack while the object is still high, Melo’s swing can finish before the object reaches the useful part of its path.
After a successful return, I stop attacking and read the next pattern.
Preserve Stamina Instead of Forcing Damage
I do not empty the stamina bar because the Trapezist looks temporarily vulnerable.
Stamina is also what keeps the next defensive sequence manageable.
When the bar gets low, I give up the next possible counter and use the incoming pattern to defend and recover.
My priority is:
- survive the next attack;
- recover stamina;
- take the next confirmed opening.
One missed damage opportunity is recoverable.
Entering the next attack pattern without enough stamina is much more dangerous.
Fatal Performance Achievement
If I finish the normal combat route and defeat the Trapezist directly, I get the battle resolution tied to:
Fatal Performance
Completing the stage performance alone is not enough.
I still have to finish the combat encounter.
If I lose after the battle has already started, I retry that encounter.
The earlier Misery Town item chain remains complete.
How to Skip the Trapezist Fight
The Scalpel from the earlier dead-clown and Operation route has a second use.
For the alternate Trapezist resolution, I preserve my pre-boss save and keep the Scalpel available.
Instead of completing the normal combat route, I use the:
Scalpel on the Trapezist’s line
Cutting the line resolves the encounter without fighting the normal boss battle.
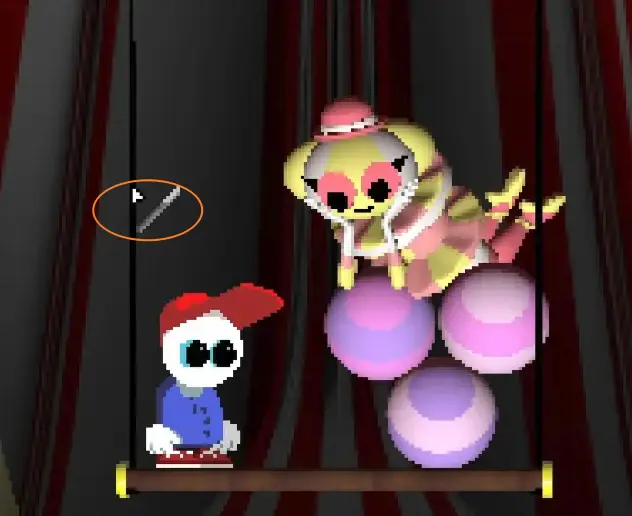
This is why I save after clearing the crowd.
I can:
- complete the normal battle;
- confirm Fatal Performance;
- reload the pre-Trapezist save;
- use the Scalpel route.
I do not need to replay the missing Bingo Ball or microphone sequence.
Cut The Act Achievement
The Scalpel-based non-combat resolution is tied to:
Cut The Act
I treat this as the alternate Trapezist achievement.
If I want both Fatal Performance and Cut The Act, I use the manual save from immediately before the final Trapezist commitment rather than replaying Misery Town from the beginning.
When I Reload and When I Keep Going
I keep playing when:
- I miss one returnable attack;
- stamina gets low but I still have enough health to defend;
- I fail the stage performance and it restarts;
- I lose after the combat encounter has already begun.
None of those failures means the Misery Town progression chain is broken.
I reload the pre-Trapezist save when:
- I entered combat but wanted the Scalpel resolution;
- I used the Scalpel but still want Fatal Performance;
- I completed one resolution and now want the other.
I do not replay the full area because of one bad boss attempt.
Does the Trapezist Choice Change the Ending?
The Trapezist battle-versus-Scalpel choice is not the main Ending A versus Ending B decision.
I can continue into the later story after resolving the Trapezist.
The major normal-ending branch happens later around Roger’s saw request and the route that follows it.
For those branches, I use the Endacopia Endings Guide.
If I need the entire story order rather than only this boss route, I return to the Endacopia Walkthrough.
For exact passwords, codes and puzzle answers outside the Trapezist progression chain, I use the Endacopia Puzzle Solutions Guide.
For the AI and Chameleon battle routes, I use the Endacopia Boss Guide.
FAQ
How do I reach the Trapezist in Endacopia? +
Complete the Misery Town chain in order: get the Scalpel, recover the missing Bingo Ball, finish Boon's game, use the current insecurity clue on his blue twin, get the Cutie Plushie, free the microphone and choose Tell Everyone to Leave. The cleared crowd opens the route to the Trapezist stage.
Can I skip the Trapezist fight in Endacopia? +
Yes. Keep the Scalpel from the earlier Misery Town puzzle and use it on the Trapezist's line during the alternate resolution. This skips the normal combat route and gives the Cut The Act resolution.
Is Boon's insecurity always the same in Endacopia? +
No. I have completed routes with different insecurity clues, including age and smell, and another completed route produced voice. I always finish Boon's game and use the clue given in the current save instead of copying a fixed answer.
Do I lose the Misery Town item chain if I fail the Trapezist fight? +
No. Once I have recovered the Bingo Ball, obtained the Cutie Plushie, freed the microphone and cleared the crowd, failing the stage or boss fight does not make me repeat those earlier progression steps.