My Endacopia Timesville Walkthrough
I clear Endacopia's Chapter 3 Timesville investigation through the night jail, prisoner clues, Telescope, beach investigation, reference room and VHS route.
Updated:

Quick answer: When Chapter 3 sends me back to Timesville, I wait until night so the jail guard falls asleep, reach the prisoner and copy his location-and-time clues. I help the residents only far enough to get the Fishing License and Telescope, use the clue to return to the shed at the correct time, then take the Metal Detector to the beach. That opens the investigation chain that leads to the reference room. Once every room state matches, I get the VHS Tape, read its five hidden positions and use them behind the waterfall to reach the hidden film set.
Timesville was the Chapter 3 area where I wasted the most time by trying to finish whatever happened to be in front of me.
That approach works badly here.
The town mixes together:
- story progression;
- resident favors;
- different day and night states;
- fishing;
- paranormal encounters;
- investigation items;
- optional completion work.
The route became much easier once I stopped asking, “What else can I finish in Timesville?” and started asking, “What does my current clue actually point to?”
For a normal Chapter 3 run, my goal is simple:
reach the hidden film set
I do not finish the complete fishing collection, and I do not turn every Timesville side activity into a requirement.

Where My Timesville Chapter 3 Route Starts
I start this route after Chapter 3 has actually begun.
Timesville is not new at this point, but the area is no longer functioning like the version I explored earlier.
If I arrive here while Melo is still trying to recover his missing Eyes, I am too early for this walkthrough. I use the Endacopia Eyes, Hands and Mouth Guide for that route instead.
During Chapter 3, I start by talking to the residents again.
Old locations now produce information about:
- the jail;
- the nighttime guard;
- missing residents;
- the house near the waterfall;
- the serial-killer investigation.
The useful clue I get very early is that the guard does not stay alert all night.
That tells me what to do next.
Go Back to the Jail at Night
During the day, the jail guard is the blocker.
I do not keep asking him to move.
I also do not wander around looking for a key that makes him disappear.
A resident tells me that he falls asleep at night.
So I change Timesville to a night state and come back.
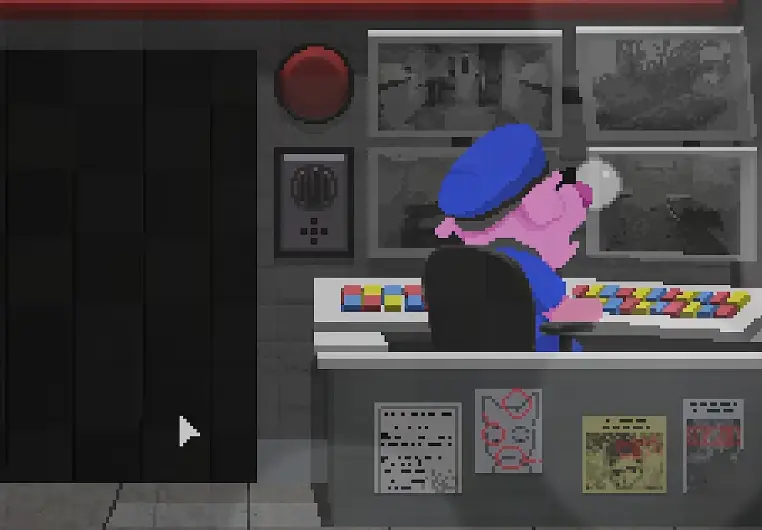
This is one of the first real Timesville checks:
If the guard is awake, I leave and change the time.
When he is asleep, I move past him and work through the jail interior.
The hazards inside are more important than speed.
I take each safe opening instead of trying to run the entire section in one move.
Once I reach the prisoner, I stop and inspect the cell before leaving.
Copy the Prisoner’s Wall Clues
The prisoner himself is strange enough to make the room feel like optional dialogue.
It is not.
The drawings on his wall are the useful part.
I see clues built around things like:
- a house;
- a key;
- eggs;
- a time state;
- looking toward a particular place.
I do not try to solve every drawing while I am still standing in the cell.
I remember the shapes and return to town.
That saves me from running through the jail again just because I forgot which object was paired with which time state.
Get the Fishing License From Hide-and-Seek
One resident wants to play hide-and-seek.
I initially treated this like a normal Timesville distraction.
It turned out to be useful.
The rules are simple:
Find him three times.
I search the outdoor areas and complete all three rounds.
After the third find, he gives me his Fishing License.
That is the point where I stop treating hide-and-seek as unfinished side content.
I already have what I need from it.
If I go to the fishing area before getting the license, the route is blocked.
Once the license is in my inventory, I return to the water and can start fishing normally.
Fish Only Until the Aquarium Route Advances
This was one of my biggest time traps.
Once fishing opens, it is very easy to assume that Chapter 3 expects the entire collection.
It does not.
I catch some fish, then go back and check the aquarium instead of grinding the whole list in one sitting.
The aquarium updates from the fish I catch.
After enough progress, the resident connected to it gives me another lead: a party in the condo around sunset.
That is the story step I want.
For this route, my stopping rule is:
Once the aquarium dialogue advances and I get the party invitation, I stop fishing.
I do not continue trying to fill every fish slot.
The complete fish collection becomes important for the secret Ending C route, which I keep in the Endacopia Endings Guide.
That distinction saved me a lot of unnecessary work on a normal Chapter 3 run.
Attend the Yellow Party and Take the Telescope
I set the town to the requested evening state and go to the condo party.
The party host is disappointed with how the event turned out.
I talk through the conversation and cheer him up rather than immediately leaving.
That gives me the item I actually came here for:
Telescope
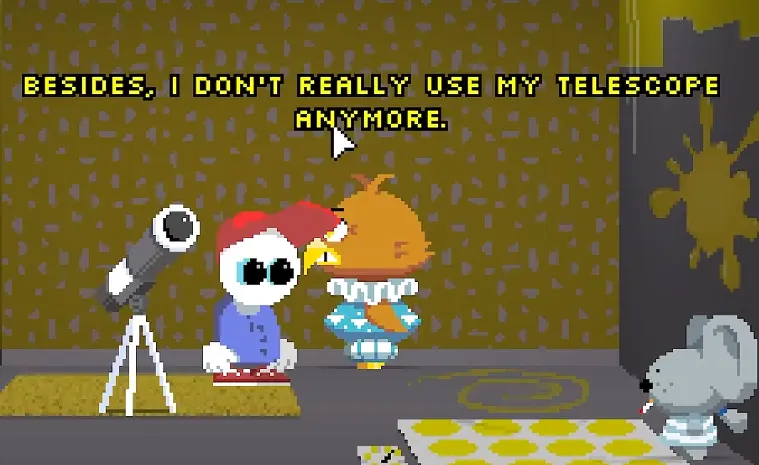
This is another point where I deliberately leave content unfinished.
I do not need to exhaust every condo conversation before continuing.
I have the Telescope, so I go back to the investigation.
Use the Telescope to Narrow Down the Shed Clue
The prisoner’s drawings make more sense once I have the Telescope.
I use it around the location indicated by the clue instead of testing it on every Timesville screen.
The useful combination points me toward:
- the shed;
- the key;
- the egg clue;
- a particular time state.
Now I have both parts of the instruction:
where to return and when to return.
I change the clock to match the clue and go back to the shed.
If the expected interaction is not there, I do not start searching a different building.
I recheck the time first.
The nighttime creature can also interfere with this run.
If it appears and forces me out of position, I reset the state and come back rather than trying to turn the chase into a boss fight.
Return to the Shed at the Correct Time
With the correct state active, the shed route finally changes.
The key becomes available.

I use it to continue through the shed-related area.
Inside, I reach a small positional puzzle.
The important reward from this branch is the:
Metal Detector
Once I have it, I leave.
I do not keep changing Timesville’s clock looking for another shed reward.
The next useful location is the beach.
Take the Metal Detector to the Beach
The beach is where the Metal Detector starts turning the investigation into a real item chain.
I sweep the sand and follow the stronger signal instead of walking a straight line from one end of the beach to the other.
The useful finds in my run include:
- a Lockpick;
- a Camera;
- the fish-collection paper.
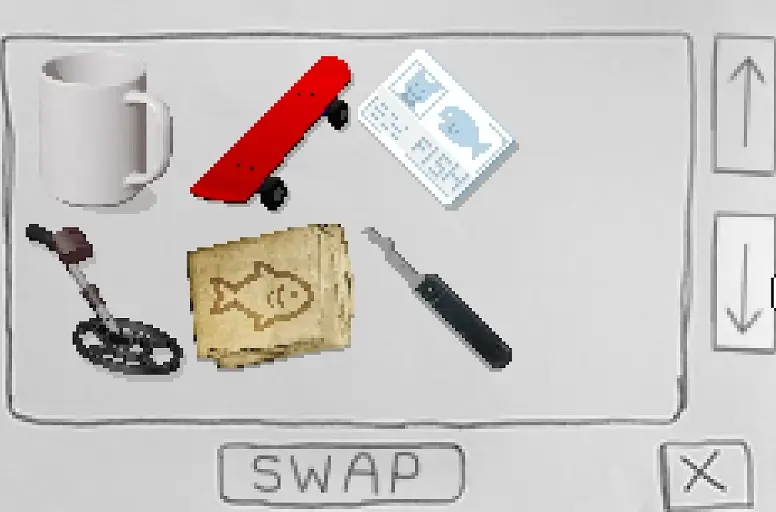
The fish paper is the dangerous distraction here.
It makes it obvious that a larger fishing objective exists.
I leave that objective alone on this run.
The Lockpick and Camera are what move my current investigation forward.
Use the Lockpick While the Residents Are Away
I return to the residential area during a state when the rooms I need are not occupied.
This is where the clock becomes useful for more than the jail.
I do not try to force a locked room while its resident is standing nearby.
I come back when the room is empty, use the Lockpick and inspect the interior.
Inside the suspicious room, I find evidence connecting one resident to another.
I use the Camera on that evidence.
That matters because confronting the suspect before I have proof gets me nowhere.
After I have the evidence, I talk to him again.
The conversation finally moves.
He admits that the missing PGD ended up on the beach.
That sends me back to the sand with a specific target instead of another blind Metal Detector sweep.
Recover the PGD and Return It
Back at the beach, I follow the marked area and recover the missing portable gaming device.
Then I return it to its owner.
The reward is a:
Black Rose

At this point I already know who needs an item connected with grief.
So I do not test the Black Rose on random residents.
I return to the grieving resident and then take the flower to her mother’s grave.
That grave interaction pushes the investigation toward the strange reference sequence I need next.
Return to the Reference House
The next major blocker is the house whose interior changes with Timesville’s state.
This room is much harder than it first appears because matching the furniture alone is not enough.
I use the reference I uncovered and reproduce the scene.
I check:
- the table position;
- the microwave position;
- the microwave door state;
- the food or bowl state;
- the temperature-related state;
- the fan;
- the other movable room objects;
- the window.
The last one is important.
In my run, I had most of the room looking right and still got nothing.
I kept checking the larger objects because they looked like the obvious mistake.
They were not.
The final state I had missed was the:
window
Once that was correct as well, the room finally registered.
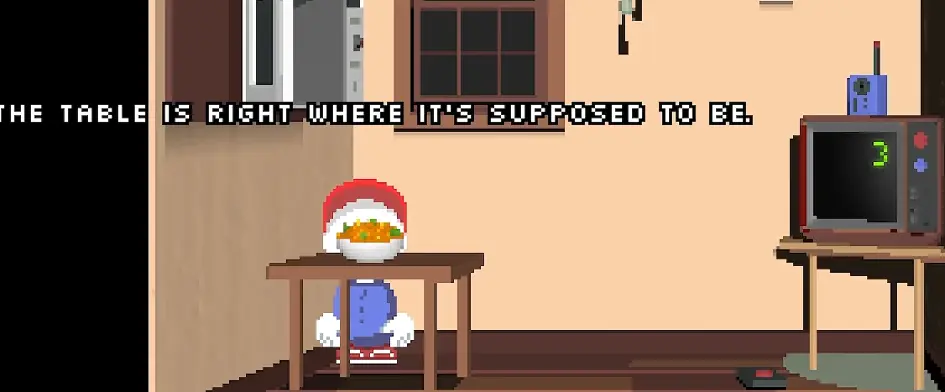
The reward is the:
VHS Tape
Take the VHS Tape to the Large TV
I bring the VHS Tape back to the large television setup.
Watching it once normally was not enough for me.
The useful information appears very quickly.
I use the player’s frame controls and work through the tape carefully.
I am looking for:
five positions
I write those five positions down in the order they appear.
I do not need to interpret the story scenes before continuing.
For the investigation, the position sequence is what matters.
If I only want the exact input rather than deriving it from the VHS, I use the Endacopia Puzzle Solutions Guide.
That keeps the exact puzzle answer in one place.
Use the Five VHS Positions Behind the Waterfall
Once I have recorded all five positions, I return to the waterfall.
Behind it is the input that matches the VHS clue.
I enter the five positions in the same order I recorded them.
If nothing opens, I check the order before going back through the entire Timesville investigation.
The VHS is the immediate source of the answer.
I do not need another fishing item, another resident favor or another jail visit at this point.
When the sequence registers, the hidden route opens.
Reach the Hidden Film Set
I follow the newly opened passage until the environment changes into the hidden film set.

This is where I make a manual save.
The Timesville investigation has done its job:
I found the Chameleon.
From here, my decision is no longer about the jail, clock, shed or reference room.
It is about how I want to resolve the Chameleon encounter.
I use the Endacopia Bosses Guide for the direct puppet fight and the alternate Case Closed route.
FAQ
Do I need to fight the creature that chases Melo at night in Timesville? +
No. I treat it as a hazard during this route. Getting caught killed my attempt instead of starting a required boss fight, so I use the clock state and safe paths to keep moving rather than trying to defeat it.
Do I need every fish to finish Timesville Chapter 3? +
No. I stop once the aquarium and resident progression has advanced far enough to give me the party route and Telescope. Completing the entire fishing collection is for the separate secret-ending route.