How I Beat Luciame Without Letting Her Homing Attacks Trap Me
My Luciame fight route in the Ash Forest: why my first attempt failed, when I take recovery, how I handle her homing attacks, and why Burn helped me finish.
Updated:
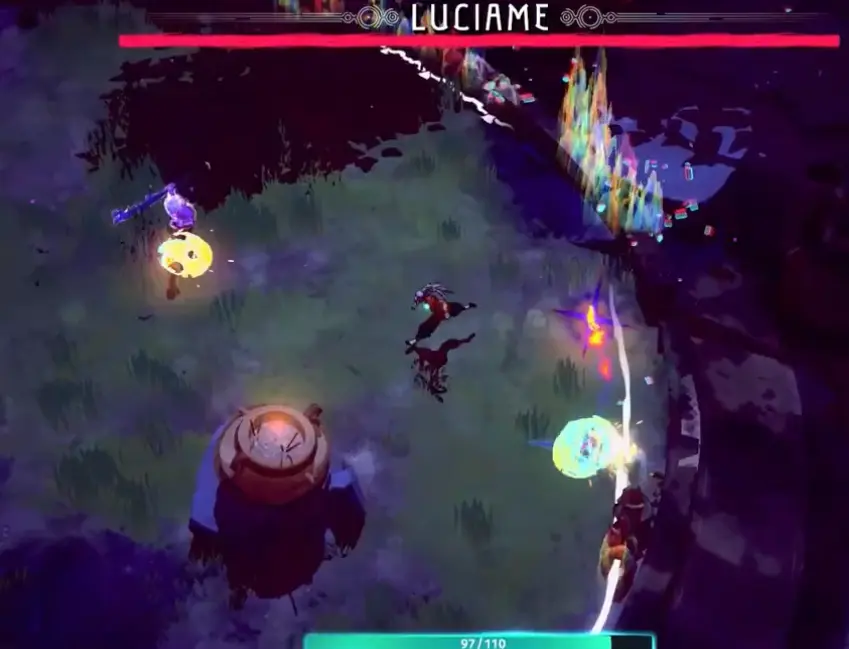
Quick Answer
I beat Luciame on my second serious attempt by respecting how hard her attacks hit instead of trying to overpower the encounter. Her projectiles can home in on me, so I keep moving and create space before committing to another cast. I also take recovery if I can get it before the encounter rather than entering damaged. On the successful run I kept the Spell that was already shredding normal enemies, added Burn, and let that damage keep working while I moved. Once the fight ends, I can pull Lue out of the memory and send her home.
Luciame surprised me more than Therakan did.
Not because the encounter was more complicated.
Because I did not expect it to become such a serious damage check.
The first time I found her, I was still treating the room like another piece of Ash Forest progression.
Then her attacks started tracking me.
My health disappeared far faster than I expected.
And a run that had been going extremely well was suddenly over.
That failed attempt taught me the main rule I use now:
I do not fight Luciame like a normal room just because she is not a Guardian.
I treat the encounter like a boss check.
Where I Find Luciame
I reach Luciame while progressing through the Ash Forest.
The first time I found her, I had already been exploring the region and meeting its people.
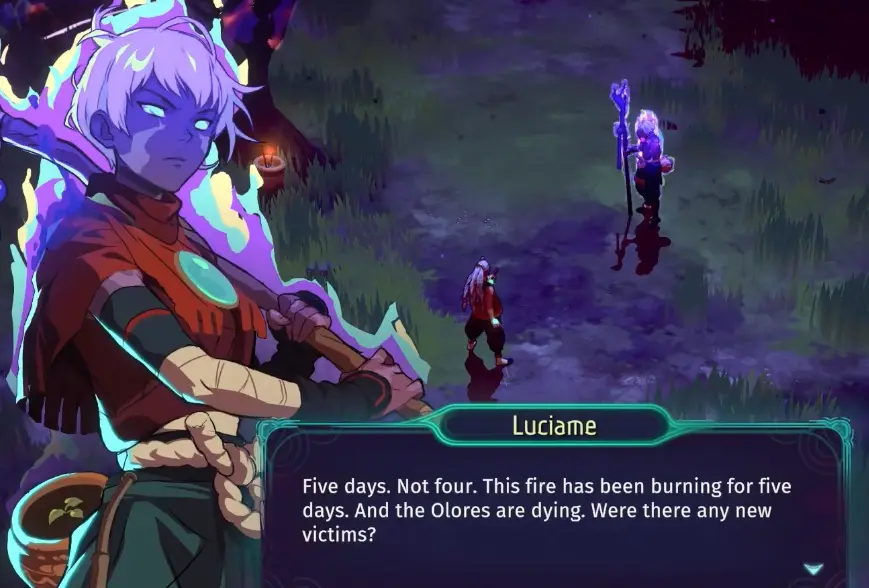
Then the run explicitly led into finding Luciame in much worse condition than when I had last seen her.
I do not use a rigid:
left → right → third room
route for this guide.
What matters more is the progression state.
When Luciame appears, I know I am far enough into the Ash Forest that the next decision is whether the current run is actually ready to take her on.
That distinction became important after my first failure.
My First Attempt Failed Because I Underestimated Her Damage
My first reaction was basically:
Are you actually a boss?
Then the projectiles started following me.
That changed the answer very quickly.
The attacks were strong enough that I immediately had to stop thinking about maximum damage.
I needed space.
My first attempt went wrong because I kept trying to recover the fight after already losing control of my positioning.
That is a bad place to be against homing pressure.
Once several attacks are already following me, every extra second I spend standing still makes the next dodge harder.
So on later attempts I try to prevent that situation instead of fixing it after it starts.
I Move Before the Homing Attacks Reach Me
The biggest practical difference on my successful attempt was that I stopped waiting until the projectile was already on top of me.
I start moving earlier.
My rhythm is:
cast
→ move
→ let the tracking attack commit
→ change my position again
→ cast during the space I created
I do not stay in one place because the Spell still has another cast available.
That is especially important if my build is doing enough damage without constant casting.
If the enemy is already Burning or another effect is continuing to work, I use that time to move.
I Do Not Chase Damage While a Homing Attack Is Already Closing In
This was the mistake I had to actively unlearn.
I would see Luciame getting low.
Then I would think:
one more cast
But one extra cast is expensive when an attack is already tracking me.
The better decision is:
move first, attack again once the lane is clean
Luciame does enough damage that I do not need many greedy mistakes before the attempt collapses.
So even if the health bar looks close, I do not turn the final section into a race.
I Take Recovery Before the Fight If the Run Gives Me the Choice
My successful run became much easier because I remembered how hard Luciame had hit me the first time.
When I was deciding whether I was ready to take her on again, I had another possible route and was not completely sure I wanted to commit.
Then I found recovery.
I took it.
That was an easy decision.
I already knew Luciame could erase a damaged run quickly.
So I did not treat healing as a boring alternative to another upgrade.
I treated it as preparation for a fight I had already failed once.
This is different from blindly taking health every time.
I had actual information from the first attempt.
Luciame had already shown me what the run was missing.
I Keep the Spell That Is Already Working
Before the successful fight, I had a Spell that was performing extremely well against normal enemies.
It was not just theoretically strong.
I had already watched it shred encounters.
That changes my pre-fight decision.
I do not rebuild a Spell that is already working simply because I am about to enter a harder room.
Right before Luciame I opened the build again and considered moving pieces.
Then I stopped.
The existing setup was already doing its job.
That is exactly the kind of moment where last-second optimization can create a new problem.
If I need to understand why a Trigger or Modifier is connected a certain way, I solve that earlier in the run through my Spellcrafting Guide.
Before Luciame, I want the Spell I already know how to use.
Burn Was the Extra Piece That Helped My Successful Run
Shortly before the successful encounter, I had the chance to strengthen the build with Burn.
That was a much better fit than adding a completely unrelated effect.
My Spell was already killing normal enemies quickly.
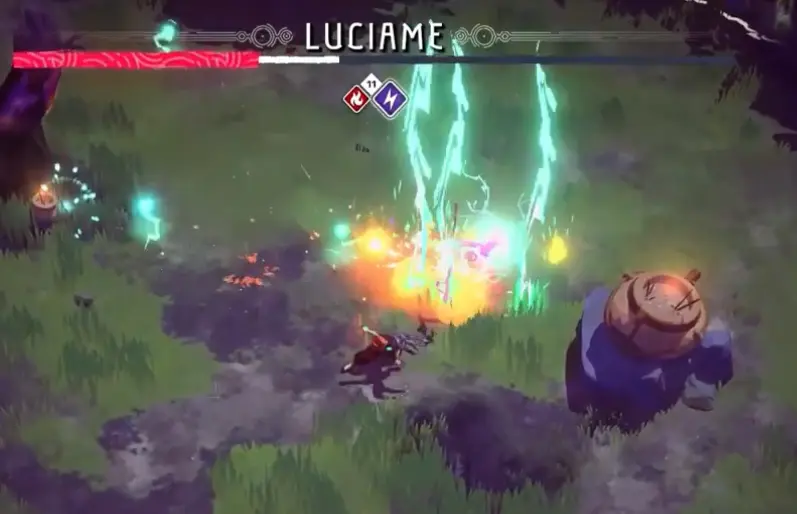
Burn gave me damage that could keep contributing when I needed to stop casting and reposition.
That is exactly the kind of effect I like for Luciame.
I do not need to remain stationary to get all of its value.
During the final part of the successful fight, Burn was still contributing while I concentrated on getting out of the way.
That does not mean Burn is the only viable way to beat Luciame.
The more useful principle is:
damage that continues while I reposition is especially valuable here
Burn happened to be the version that worked in my run.
I Do Not Add a New Mechanic Just Because the Fight Is Hard
There is another temptation after losing once.
I want to completely rebuild.
New Spell.
New Trigger.
Different route.
Different everything.
I avoid that unless the first build was genuinely bad.
My first Luciame attempt did not fail because I could not damage her.
It failed because I was getting hit too much.
Those are different problems.
If damage is already fine, the solution is not automatically more damage.
The solution can simply be:
- enter healthier;
- maintain more distance;
- stop planting myself for long casts;
- and let existing damage-over-time work while I move.
That is a much smaller adjustment.
It is also easier to execute.
The Successful Attempt Starts With Restraint
Right before the clear, I checked the build one last time.
I considered moving things around.
Then I kept what I had.
That decision mattered.
Once the encounter started, I did not need to think about the Canvas.
I only needed to think about Luciame.
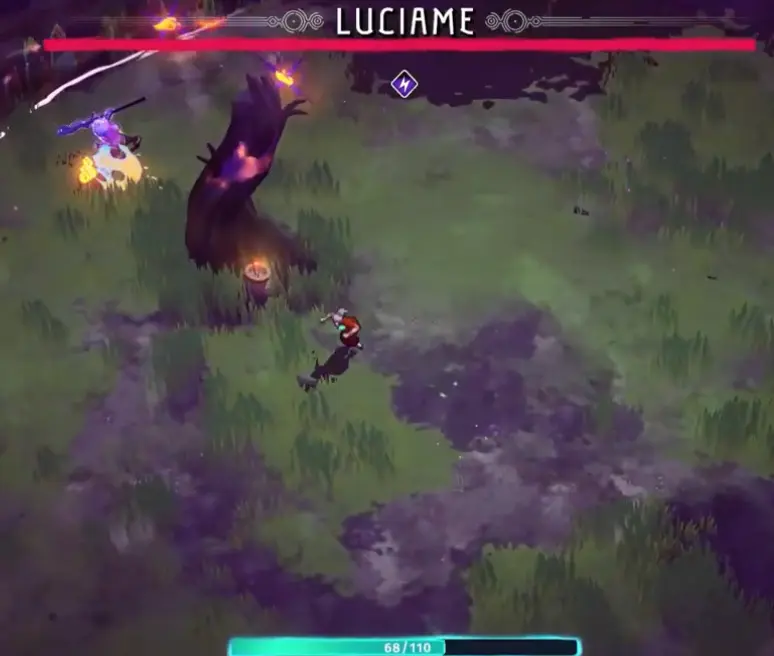
The fight still hurt.
I still had moments where I was trying to get out before the next attack landed.
But I stayed in control long enough for the damage to finish the encounter.
That is the difference between the two attempts.
The first one became panic.
The second one stayed readable.
I Treat Low Luciame Health as a Warning, Not Permission to Rush
Near the end, I was extremely close.
Burn was still helping.
That is exactly where I could have thrown away the clear.
When Luciame is nearly done, my instinct is to stop respecting movement and force the last cast.
I do not do that.
If the attack is already coming, I move.
The existing damage can keep working.
If it does not finish her, I get another cast after I am safe.
A low boss health bar is not worth another full Ash Forest attempt.
What Happens After I Beat Luciame
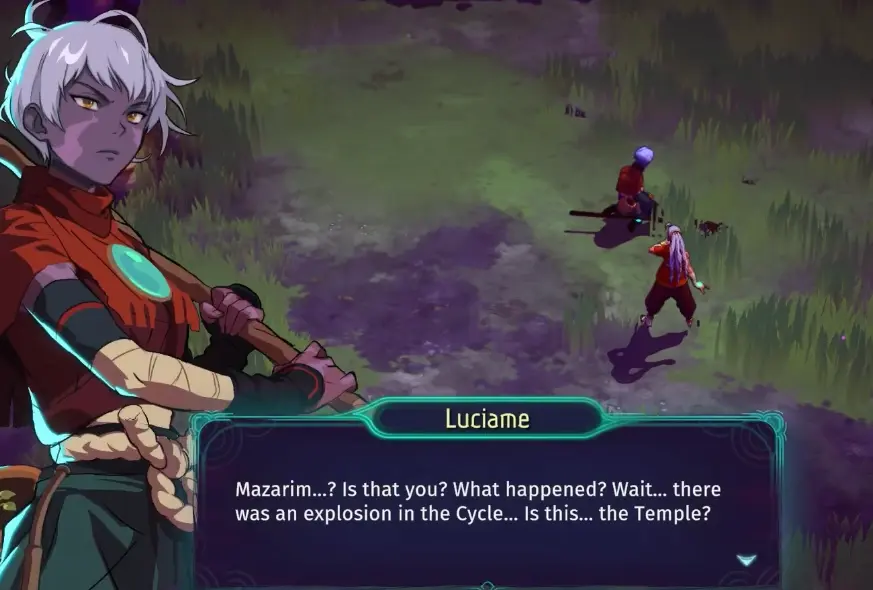
Once I win, the fight immediately changes back into a conversation.
Luciame can hear me again.
She realizes she is trapped inside one of her memories.
Then I tell her she cannot stay there.
She needs to go home.
That is the important progression result.
The related achievement is:
Luciame’s Safe Return — Bring Lue back to the Azimuth.
I keep the full achievement tracking in my Achievements Guide.
For this page, the important sequence is:
find Luciame → survive the memory fight → pull her back out → send Lue home
Once I have done that, I stop treating her as an unresolved Ash Forest problem.
After Luciame, I Reassess Before Therakan
My run did not end after rescuing Luciame.
That matters.
Immediately afterward I was already thinking about health again because the next major objective was still waiting.
I do not interpret a successful Luciame fight as:
the run is finished
I interpret it as:
one major Ash Forest problem is solved; what condition am I in for the next one?
If Therakan is still ahead, I check:
- current health;
- whether the Spell still feels reliable;
- whether I have recovery available;
- and whether another optional risk is worth taking.
Then I continue toward the Therakan Boss Guide rather than trying to rebuild everything after one successful encounter.
My Luciame Fight Order
When I reach her again, I keep the sequence simple.
Remember that her attacks can home in.
I start moving before they close the gap.
Take recovery beforehand if I need it.
I already know she can punish a damaged run.
Keep a Spell that is already clearing rooms well.
I do not create a new execution problem immediately before the encounter.
Use damage that can keep working while I move.
Burn did that job in my successful run.
Do not stand still for one more cast.
If the homing pressure is already coming, I create space.
Do not race the final health bar.
I let Burn or another safe damage source work while I stay alive.
Send Lue home once the memory breaks.
That is the actual progression result I need.
My first attempt taught me that Luciame can destroy a run very quickly.
My successful attempt taught me that I did not need a completely different build.
I needed to stop giving her free hits.