How I Solve the Ash Forest Guardian Seals
The Guardian Seal puzzles that stopped my Ash Forest runs, the solved layouts I use, what actually needs to connect, and the timed version I do not rush into blind.
Updated:
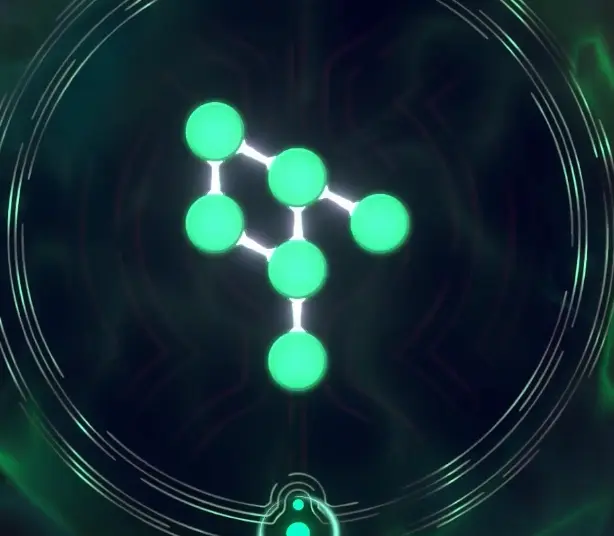
Quick Answer
For the Ash Forest Guardian Seals I have solved, I stop looking for a hidden button or combat trigger and read the board as a connection puzzle. I rotate or reposition the pieces until the active paths form a valid continuous network, then use the completed layouts below as my reference. One of the most useful things I learned is that a connection does not necessarily have to start from the place I first assumed. The larger timed version is different: I inspect the board immediately because the timer starts while I am still trying to understand the layout.
Guardian Seals caught me off guard because they appear in the middle of a run that had trained me to think mostly about combat.
I would clear a room.
Choose a route.
Improve a spell.
Then suddenly I was staring at a board with connected pieces and no obvious enemy to kill.
My first mistake was trying to solve the whole pattern at once.
What worked better was much simpler:
find one connection I know is valid, then extend outward from it
instead of:
randomly rotate everything until the game accepts it
That approach is especially useful in the Ash Forest because I do not want to spend several minutes staring at a Seal after I have already invested a good run into reaching it.
Ash Forest Guardian Seal #1
The first Seal that really made the system click for me appeared while I was still progressing through the forest.
At first I did not understand what the board wanted.
I moved one piece.
That looked wrong.
I moved another.
Then the shape started making sense.
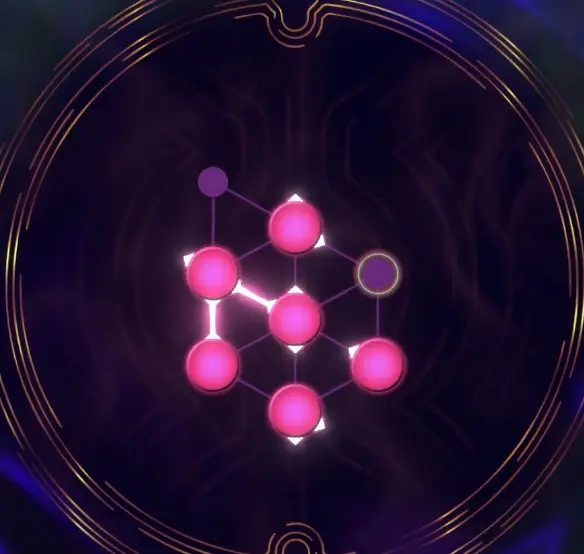
The biggest improvement was stopping after every change and asking:
Did this create one more valid connection?
If yes, I kept it.
If no, I backed up rather than changing another three pieces.
The completed layout looked like this:
This is the image I would use as the actual quick answer.
If my board is the same variant, I match the pieces to the screenshot.
I do not need to rediscover the reasoning every run.
How I Know the Seal Is Actually Solved
I do not walk away just because the pattern looks symmetrical.
A successful Seal gives me an immediate completion response.
After finishing this one, the game described an Echo-related reward that could be purified at the Altar to restore an artifact, and Lotus also appeared as part of the reward flow.
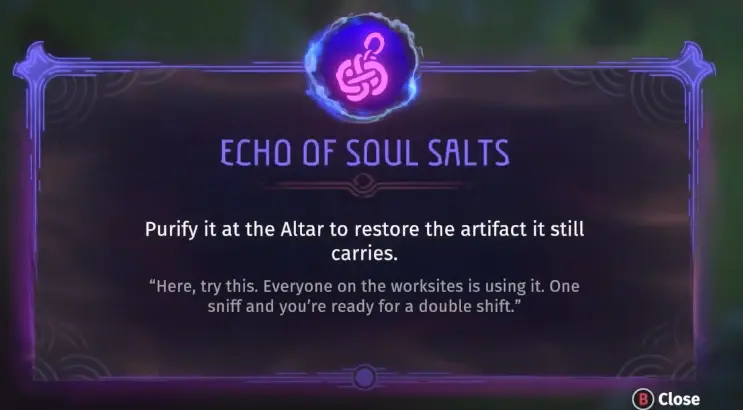
That gives me a useful check:
No completion response means I am still missing a connection.
I do not leave because the board looks close.
I keep checking the network.
Ash Forest Guardian Seal #2: The Starting Point Was My Wrong Assumption
The second Seal taught me a more important rule.
I initially assumed the puzzle had to begin from a specific point.
That sent me in circles.
I tried one orientation.
No.
Another.
Still no.
Then I tested the assumption itself.
The answer was:
the connection did not have to start where I thought it did
What mattered was that the pieces connected correctly.
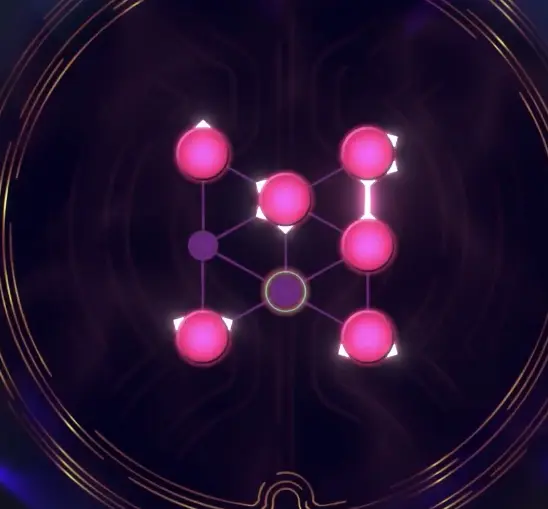
Once I made that change, the rest went quickly.
I connected one valid section.
Then the next.
Then the board completed.
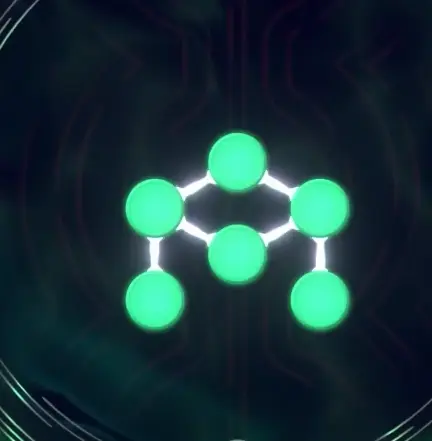
This changed how I approach every later Seal.
I no longer begin with:
Where is the start?
I begin with:
Which pieces can definitely connect?
That is a much safer question.
I Solve the Most Constrained Pieces First
When I cannot immediately match the completed screenshot, I work from the pieces with the fewest sensible orientations.
A piece with several possible exits can usually wait.
A piece that can only connect correctly in one obvious direction is more useful.
My order is:
find the least flexible piece
→ connect it to one valid neighbor
→ follow that line
→ leave the ambiguous pieces until the route reaches them
This is faster than constantly changing the center of the board.
It also makes it easier to undo one mistake.
If I change six pieces at once, I no longer know which move broke the route.
I Do Not Assume Every Seal Has the Same Layout
After solving one Seal, I was tempted to think I had learned “the Guardian Seal solution.”
That is not how I treat them now.
The useful thing I carry forward is the logic.
The exact board can change.
So when a new one appears, I check:
- whether the pieces match one of my solved variants;
- where the constrained connections are;
- whether I am inventing a starting point the puzzle does not require;
- and whether the board introduces a new condition such as a timer.
If it matches one of the screenshots above, I copy the solution.
If it does not, I solve the new structure instead of forcing an old answer onto it.
The Large Timed Guardian Seal Is a Different Problem
The hardest Guardian Seal I reached did not beat me because I could not understand connections.
It beat me because I did not notice the time limit quickly enough.
I entered the puzzle.
Started studying the pieces.
Moved one.
Moved another.
Then I realized the game was already counting down.
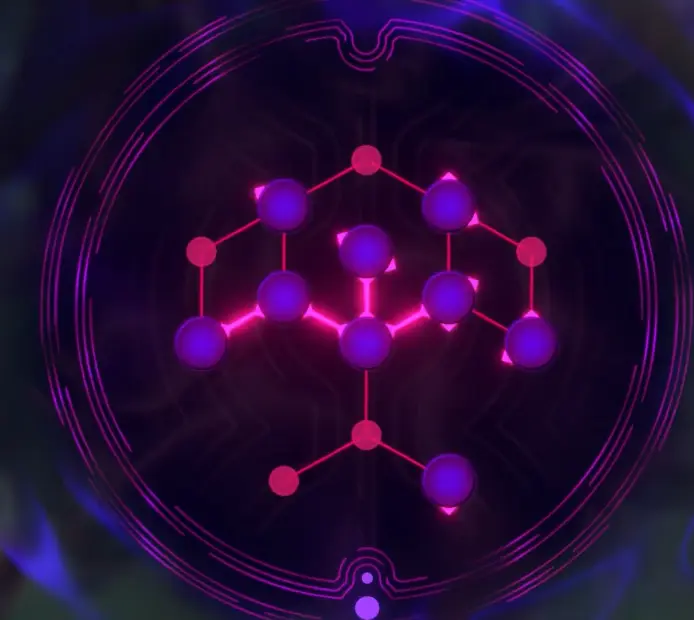
I did not solve that attempt, so I do not treat the image above as a solution.
It is a warning.
That distinction matters.
I would rather leave one puzzle incomplete than publish a guessed layout.
The failed attempt taught me three useful things.
I inspect before experimenting
On a normal Seal, a bad first move only costs a few seconds.
On a timed Seal, every exploratory move consumes part of the attempt.
I do not keep changing pieces I already understand
If one section is connected, I leave it alone and move on.
I accept the failed attempt instead of panicking
Once I knew I was not going to finish in time, the useful outcome was learning the structure for the next attempt.
The run continued.
The failed puzzle did not mean I had misunderstood the entire progression route.
I Decide Whether a Seal Is Worth Taking During a Strong Run
The other decision is not how to solve it.
It is whether I should enter it at all.
If my current run is weak and I am already struggling through normal rooms, I do not treat every optional puzzle as mandatory.
A Guardian route can still be more important than another side reward.
I am more willing to take the Seal when:
- my health is comfortable;
- my spell is already clearing encounters reliably;
- the route does not force me through another dangerous detour;
- or I specifically need the progression tied to the Seal.
I am more willing to pass it temporarily when:
- the current run is barely alive;
- I am close to the Guardian;
- I already have the power I need;
- or the puzzle variant is one I have not solved before and the room adds extra pressure.
That is the same route logic I use throughout the Ash Forest:
I do not risk a good Guardian attempt just because another reward is technically available.
When I am already prepared for Therakan, I keep moving toward the Therakan boss fight instead of turning every optional branch into a requirement.
My Fast Guardian Seal Check
When I hit another Seal now, I do four things.
First, I compare the board with my solved screenshots.
If it matches, I copy the completed layout.
Second, I stop assuming there is one required starting tile.
I look for valid connections.
Third, I solve outward from the most constrained section.
I avoid random global changes.
Fourth, I check for a timer immediately.
A timed Seal changes the entire pace of the puzzle.
That is enough for the Ash Forest variants I have actually solved.
I am keeping the exact completed layouts here because those are the part I would want in front of me when I hit the same room again.
The broader progression can change.
A solved puzzle state does not need to be rediscovered every time.