Where I Found Zia's Statue and the Hidden Laboratory
The two hidden discoveries I found while pushing past the Ash Forest: where Zia's Statue appeared, how I reached the Hidden Laboratory, and what I did after each.
Updated:
Quick Answer
I found Zia’s Statue before the mountain climb on a repeat run, after taking an early branch I had not visited before. The discovery gives me an Echo that the game tells me to bring back to the Altar to restore the fountain’s purpose. I found the Hidden Laboratory later in the mountains, after clearing another Fulgurea combat room. I do not rely on a rigid left-or-right map instruction for either discovery; I watch for the location itself, secure the permanent discovery, then decide whether my current health is good enough to keep pushing.
Zia’s Statue and the Hidden Laboratory were easy for me to miss for the same reason:
neither one was the main objective I was chasing when I found it.
I was trying to keep the run alive.
I was choosing Memories.
I was deciding whether another dangerous branch was worth taking.
Then I entered a room I had not seen before and suddenly found permanent progression instead of another ordinary encounter.
That changed how I treat unfamiliar branches.
If my run is healthy enough, I no longer ignore a new room just because it is not pointing directly at the next Guardian.
Where I Found Zia’s Statue
I found Zia’s Statue early in a repeat run after I had already pushed the Ash Forest progression forward.
I entered a branch I did not recognize.
It was still part of the stretch before the mountain climb.
The important part for me was that I did not reach it by solving a special combat condition or by defeating another boss.
I simply committed to the unfamiliar route instead of taking the path I already knew.
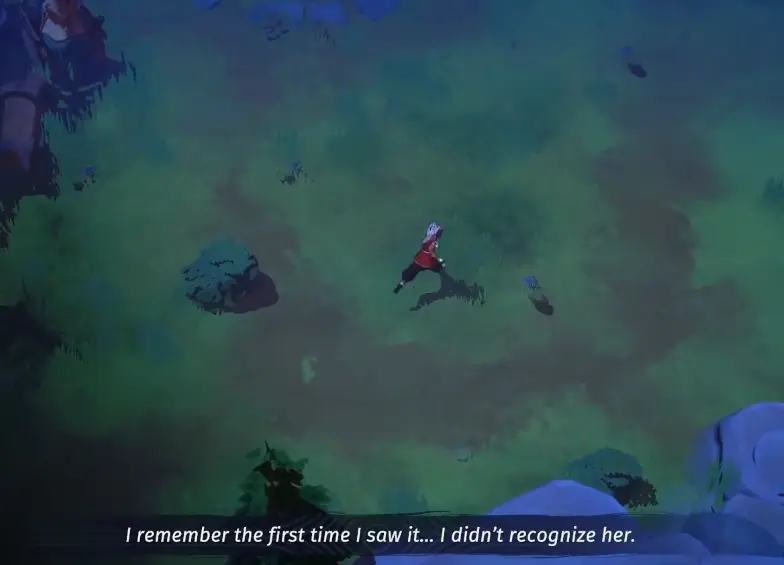
The game immediately confirmed the discovery.
That is important because I do not need to guess whether the statue is just background scenery.
Finding it completes the discovery tied to The Foundress Fountain.
The achievement requirement itself is simply:
Discover Zia’s Statue.
So once the discovery prompt appears, I know I have found the correct landmark.
I Do Not Leave Immediately After Finding the Statue
The discovery also gives me another instruction:
bring the Echo back to the Altar to restore the fountain’s purpose
That means finding the statue and finishing its progression are two different steps.
I do not waste the rest of a strong run just because I found it.
If my health and build are still good, I keep progressing.
The important thing is remembering that I now have something meaningful to return with.
That changed my extraction mindset.
Before finding a permanent discovery, dying only costs me the current run.
After finding one, I become more conservative because I have already gained something worth protecting.
When I Take the Zia Branch
I am most willing to investigate an unfamiliar early branch when:
- normal encounters are not draining my health;
- my current spell already kills reliably;
- I have not seen the room before;
- and I am not one bad hit away from losing the run.
If I am barely alive and already know where my next safe progression lies, I do not turn every unknown branch into an obligation.
But early in a healthy run, I take unexplored routes much more aggressively.
Zia’s Statue is exactly why.
A room that looks like a small detour can contain permanent progression that I would otherwise keep walking past.
What Happens When I Return With Zia’s Echo
After returning, the dialogue confirms that the statue is Zia the Foundress.
The fountain connection also becomes much clearer.
The fountains were created to make magic accessible, and Zia became the symbol associated with them.
I do not need to repeat the entire story explanation every time I revisit the hub.
For progression purposes, my sequence is:
discover Zia’s Statue
→ keep the Echo
→ return to the Altar
→ restore the fountain-related progression
That is the part I care about when deciding whether the detour was worth it.
And because the discovery itself is permanent, I do not need to search for the statue again just to prove I found it once.
The Hidden Laboratory Appeared Much Later in the Mountains
The Hidden Laboratory was a very different discovery.
I found it much later while progressing through the mountain route.
By that point the run was already more dangerous.
The enemies were stronger, I had more invested in the current build, and every optional choice mattered more.
The route I took immediately before finding it went through a mountain sequence where I was offered effects I did not fully trust.
I decided not to take them.
That decision mattered.
I did not buy or accept something simply because the game put an option in front of me.
The effects were not clear enough to justify changing a run that was still working.
Then I pushed into the next mountain combat.
I cleared the enemies.
And the next discovery was the Hidden Laboratory.
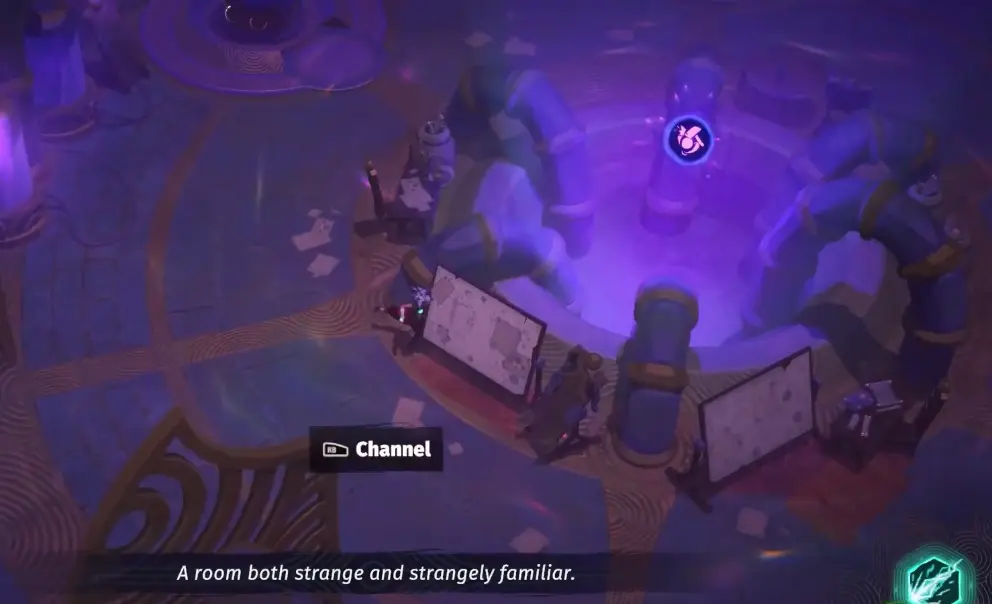
The game explicitly identifies the room as:
The Hidden Laboratory
and describes it as an Echo tied to a landmark or place of function.
That discovery is also what satisfies the Hidden Experiments achievement:
Discover the Hidden Laboratory.
So I do not need to complete a second hidden requirement just to make the discovery count.
The reveal itself is the key checkpoint.
The achievement list confirms both discovery targets: The Foundress Fountain
requires Zia’s Statue, while Hidden Experiments requires the Hidden
Laboratory.
I Use the Laboratory Before I Rush Into the Next Fight
Finding the Laboratory did not end the run.
There was an interaction inside that let me work with my current setup.
My first reaction was not even complete understanding.
I had to move pieces around and test what the room was allowing me to change.
That is exactly why I do not sprint through a landmark room after the discovery banner appears.
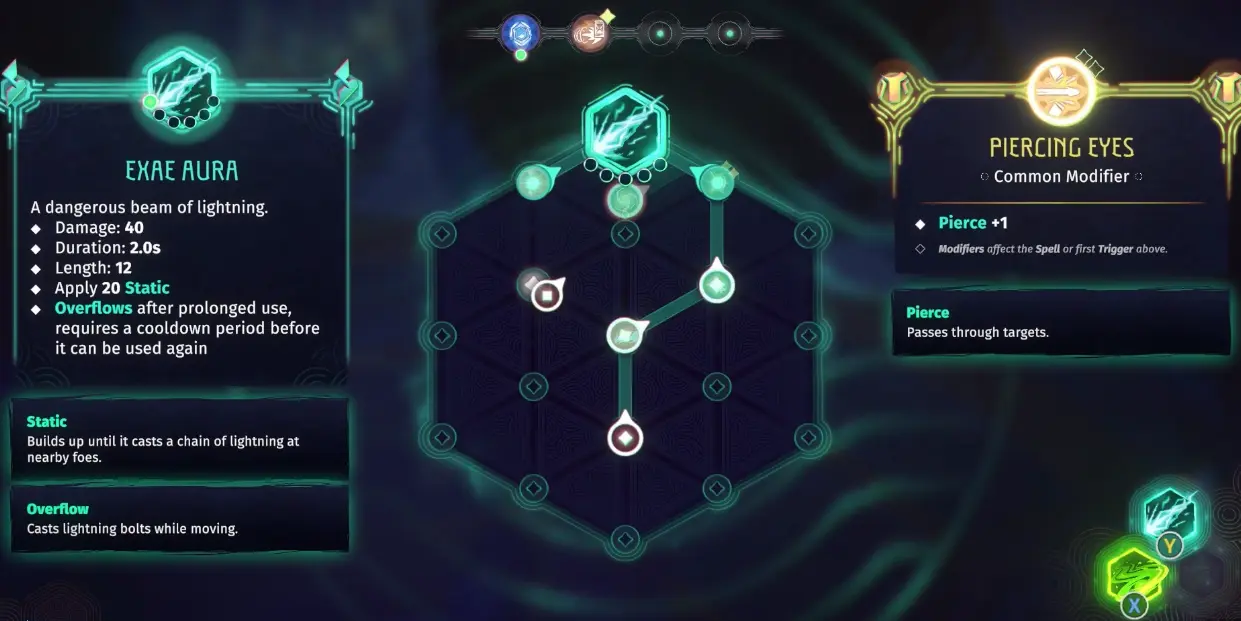
I take a moment to check:
What changed?
Can I strengthen something I already use?
Am I moving a piece because it helps, or just because the room lets me?
That last question matters.
I do not rebuild a working spell simply because I found another special location.
If the change clearly improves what I already have, I keep it.
If I cannot explain why it is better, I would rather preserve the build that got me through the mountains.
The broader logic for changing the Spell Canvas stays in my Spellcrafting Guide.
After the Hidden Laboratory, I Check Health Before the Next Dangerous Room
The most useful route decision came immediately afterward.
I was already considering whether to take another dangerous fight.
The temptation was obvious:
I have come this far, so I might as well keep pushing.
But then I found a fountain.
I took the healing.
That was the correct decision.
A hidden discovery does not suddenly make the rest of the run safe.
If anything, I become more protective after finding one because I already have something valuable from the route.
So after the Laboratory my order is:
finish the discovery
→ use the useful interaction
→ check current health
→ take recovery if it is available
→ only then commit to the next dangerous encounter
I do not convert a successful exploration run into a failed one because I feel obligated to fight immediately.
Zia’s Statue and the Hidden Laboratory Are Different Kinds of Detours
The two locations changed my route decisions in different ways.
Zia’s Statue appeared early enough that I was comfortable exploring.
The Hidden Laboratory appeared after I had already invested much more into the run.
So I do not apply one universal rule to every hidden room.
For an early unknown branch, I ask:
Am I healthy enough to explore something new?
For a late mountain discovery, I ask:
What have I already earned, and is another risky room worth losing it?
That is a much more useful distinction than simply calling every side path “worth it.”
What I Watch for on Later Runs
Once I have found these locations, I no longer wander randomly hoping to see them again.
For Zia’s Statue, I remember:
unfamiliar early branch before the mountain climb
For the Hidden Laboratory, I remember:
deep mountain progression → clear the combat room → watch for the Laboratory reveal
I use those as recognition points rather than pretending I have a fixed left-right map coordinate.
That keeps the guide useful even when the important part of the run is the room sequence rather than a static overworld path.
And most importantly, I do not confuse discovery with completion.
Zia’s Statue gives me something to return to the Altar with.
The Hidden Laboratory gives me a permanent discovery and an opportunity to work on the current setup before moving on.
Once I know which one I have found, the next decision becomes much easier:
secure what I gained first, then decide how much more of the run I am willing to risk.