What I Put in the Sacrifice Bowl and What Each One Does
I tested the Sacrifice Bowl with Golden Wood, eggs, chicken, a duck and a hamster. These are the combinations I can verify and when I actually use them.
Updated:
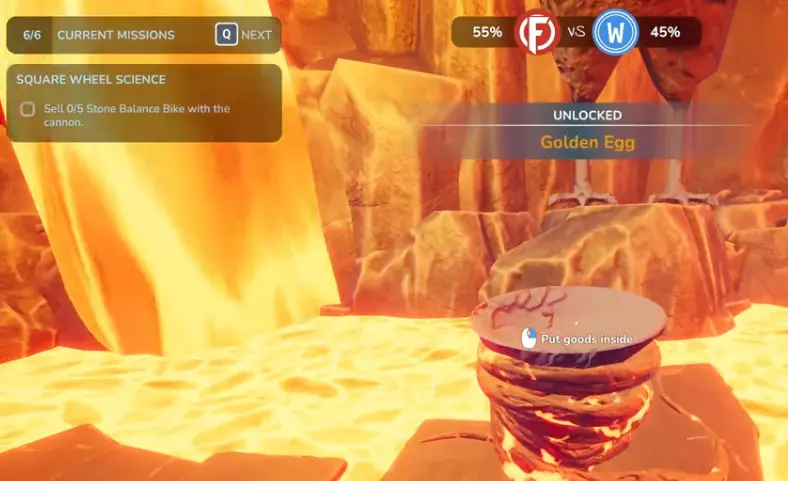
Quick answer: I currently use four Sacrifice Bowl combinations I can verify: 1 Golden Wood + 1 normal Egg gives a Golden Egg, 2 Cooked Chicken + 1 Golden Egg unlocks Demonic Chickens, 1 Raw Duck creates Mount Duckmore, and 1 Hamster + 1 Balloon causes Flying Hamsters to appear. I do the Golden Egg sacrifice first because that egg is also an input for the Demonic Chicken unlock.
The Sacrifice Bowl is exactly the kind of Chop Chop Inc interaction that made me waste resources the first time I found it.
There is no normal crafting recipe telling me exactly what belongs in the bowl.
It looks like the game wants experimentation.
That is fun until the item I am experimenting with is a Golden Egg, Golden Wood or a hamster I had to go out of my way to collect.
So I stopped throwing random inventory into it.
I now use combinations I have actually seen produce a result.
Sacrifice Bowl Recipes I Can Verify
| Sacrifice | Result |
|---|---|
| 1 Golden Wood + 1 normal Egg | Golden Egg |
| 2 Cooked Chicken + 1 Golden Egg | Demonic Chickens |
| 1 Raw Duck | Mount Duckmore |
| 1 Hamster + 1 Balloon | Flying Hamsters |
I use this as a verified list, not a claim that these are every possible Sacrifice Bowl recipe in the game.
That distinction matters.
There may be other valid inputs, but I would rather keep an unconfirmed combination out of the guide than tell myself to sacrifice valuable materials based on a guess.
I Start With Golden Wood + a Normal Egg
The first combination I prioritize is:
1 Golden Wood + 1 normal Egg
The result is:
1 Golden Egg
This is the most useful Sacrifice Bowl recipe for me because it feeds another sacrifice instead of ending as a one-off visual reward.
If I arrive with:
- Golden Wood;
- a normal Egg;
- Cooked Chicken;
I make the Golden Egg first.
Then I decide whether I actually want to spend that egg on the Demonic Chicken unlock.
Why I do not sell the Golden Egg immediately
A Golden Egg can be sold for 100 coins.
That sounds attractive when I am short on money.
But 100 coins is usually replaceable.
A progression or special-system item is harder to replace if I suddenly need it again.
So if I have only one Golden Egg, I keep it until I know whether I want the Demonic Chicken sacrifice or another later use.
If I already have extras and no current objective needs them, selling one becomes much easier to justify.
The Golden Egg Recipe Can Be Repeated
This is another reason I do not panic if I use my first Golden Egg.
The Golden Wood combination is repeatable.
If I need another one, I can return with:
1 Golden Wood + 1 normal Egg
and perform the sacrifice again.
That makes the Golden Egg different from a collectible I can permanently miss.
The real bottleneck is having Golden Wood available.
I cover where the advanced wood types fit into progression in the Special Wood guide, rather than repeating that resource route here.
For the Sacrifice Bowl itself, I just make sure I bring at least one piece.
Use 2 Cooked Chicken + 1 Golden Egg for Demonic Chickens
The second combination is:
2 Cooked Chicken + 1 Golden Egg
The result is the:
Demonic Chickens unlock
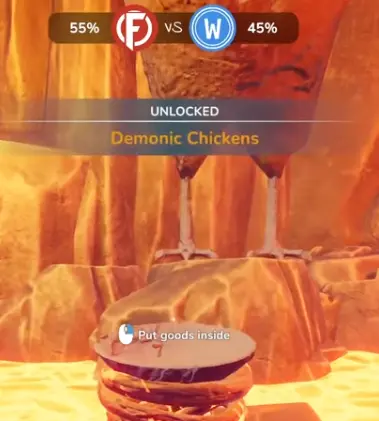
After this sacrifice, chickens can start appearing in different demonic-looking colors.
That makes this different from the Golden Egg recipe.
I am not simply receiving another inventory object.
I am changing what can appear in the world.
Because of that, I normally do this once rather than repeatedly feeding the same materials into the bowl.
Do Not Burn Through the Chickens Immediately
Once the Demonic Chicken effect is active, my instinct is not to start killing every chicken I see.
The safer approach is to let the altered chicken population exist first and see what it produces.
The Sacrifice Bowl testing specifically led to the practical warning:
do not kill the chickens
because keeping them around is more useful when I am interested in the Golden Egg side of the system.
I therefore avoid treating every spawned chicken as free Cooked Chicken material immediately after spending a Golden Egg to change the population.
If I need ordinary chicken meat, I can deal with that separately.
I do not sabotage the system I just unlocked.
One Raw Duck Creates Mount Duckmore
This one is much simpler.
I put:
1 Raw Duck
into the Sacrifice Bowl.
The result is:
Mount Duckmore
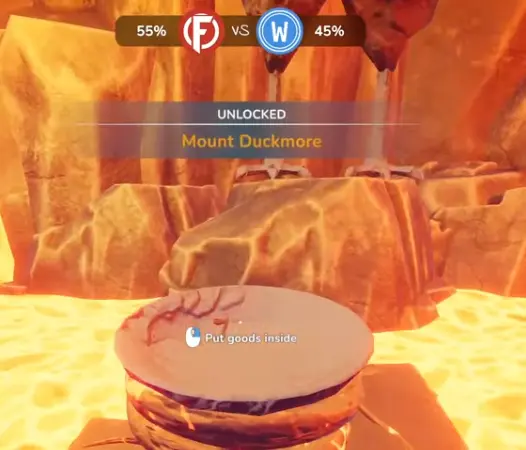
There is no Golden Egg chain to prepare first.
If Mount Duckmore is what I want, I bring the Raw Duck and use it directly.
This is also why I keep this knowledge on the Sacrifice Bowl page rather than turning it into a separate Mount Duckmore article.
The entire solution is one Sacrifice Bowl input.
Splitting that into another page would just duplicate the same answer.
I Do Not Sacrifice a Raw Duck Just Because I Have One
Raw Duck is still a real inventory resource.
So I do not throw one into the bowl the moment I happen to pick it up.
My decision is:
If I am deliberately unlocking Mount Duckmore, use it.
If I am still progressing through another resource-heavy objective, keep it.
The bowl is optional enough that I do not let it steal an item from a current mission just because I finally discovered a valid combination.
That rule applies to most Sacrifice Bowl experimentation.
A confirmed recipe tells me what works.
It does not automatically mean do this immediately.
Hamster + Balloon Gives Flying Hamsters
The fourth combination I can verify is:
1 Hamster + 1 Balloon
The result is:
Flying Hamsters
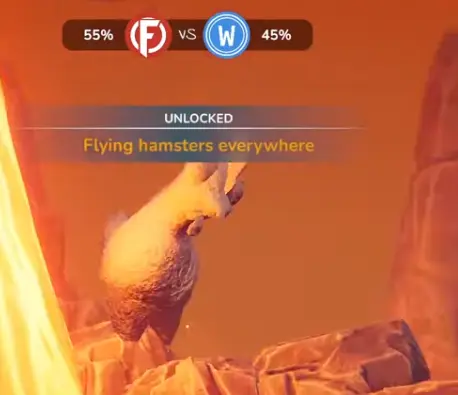
This is the combination I am most careful with.
Balloons are easy enough to understand as a disposable input.
Hamsters are different.
By this point in Chop Chop Inc, hamsters are connected to several machines and odd bits of progression.
I do not sacrifice my only hamster while another active build already needs one.
That would solve an optional Sacrifice Bowl unlock while creating a new blocker somewhere else.
When I do the Flying Hamsters sacrifice
I do it when:
- I already have access to more hamsters;
- none of my pinned construction recipes are waiting for the hamster in my inventory;
- I specifically want the Flying Hamsters result.
When I wait
I wait when:
- a machine is still missing a hamster;
- I only have one;
- obtaining another one still requires a detour.
This is a better use of scarce resources than completing Sacrifice Bowl effects in whatever order I discover them.
The Order I Use for the Four Sacrifices
If I arrive with enough resources for everything, I use this order:
1. Golden Wood + Egg
Make the Golden Egg first.
2. Cooked Chicken + Golden Egg
Use that egg for Demonic Chickens if I want the unlock.
3. Raw Duck
Create Mount Duckmore.
4. Hamster + Balloon
Do Flying Hamsters last because the hamster is the input I am most likely to need elsewhere.
This is not a mandatory game sequence.
It is the order that minimizes the chance that I consume something I still need for another system.
What I Bring Before Making the Trip
If I am going to handle the currently verified combinations in one visit, I prepare:
- 1 Golden Wood;
- 1 normal Egg;
- 2 Cooked Chicken;
- 1 Raw Duck;
- 1 Hamster;
- 1 Balloon.
I do not need to bring a Golden Egg separately if I plan to create it at the bowl first.
That saves one extra preparation step.
If I only want one unlock, I bring only the materials for that result.
There is no reason to carry every unusual resource around just because the Sacrifice Bowl accepts several combinations.
What I Do If the Sacrifice Does Nothing
When a Sacrifice Bowl attempt fails, I check the input before assuming the bowl is broken.
I check the exact item state
Raw Duck is not the same input as Cooked Chicken.
A normal Egg and Golden Egg also serve different recipes.
I check the quantity
The Demonic Chicken recipe needs:
2 Cooked Chicken
not one.
I make sure I am not mixing two known recipes
Golden Wood belongs with the normal Egg.
The Golden Egg belongs with two Cooked Chicken.
I do not dump all four items into the interaction and expect the game to infer which result I want.
I stop experimenting with valuable items
If the combination is not one of the verified recipes above, I remove it from my plan.
I would rather return later than lose another rare resource testing a theory.
I Treat These as Verified Recipes, Not a Complete Datamine
This is the boundary I keep on this guide.
I can verify four Sacrifice Bowl results:
Golden Egg
Demonic Chickens
Mount Duckmore
Flying Hamsters
The known Sacrifice Bowl testing also explicitly leaves open the possibility that more combinations exist.
So I am not going to pad this page with guesses to make the list look more complete.
If another Sacrifice Bowl combination starts showing real GSC impressions or I can verify a new input and result, this is the page that should receive it.
It remains the single Owner Page for the Sacrifice Bowl.
FAQ
Are these every Sacrifice Bowl recipe in Chop Chop Inc? +
I would not treat this as a guaranteed complete list yet. These are the four combinations I can verify directly. The Sacrifice Bowl may have additional combinations, so I would rather add those only after confirming their inputs and results.