Full Story Walkthrough by Chapter and Region
My complete mandatory route from the Foreman and Rangifer through Lacerta, the mountain regions, giant tree, Starfall Tower, capital, and final battle.
Updated:
Quick Answer
I follow six clear progression chapters: Foreman and Rangifer, Underground Ruins and Lacerta, the Mountainous Region and Bell Caverns, Matsukawa and Oi Colonies, Inugami River and Starfall Tower, then the Capital and final battle. When a specific objective blocks me, I use the focused guide instead of replaying the whole chapter.
This walkthrough covers the mandatory story route.
I split it at the points where the game clearly changes regions, returns Emma to the Walker, or completes a named Nushi chapter. That gives me a practical chapter order without turning every campsite, strongbox, shrine, seedling, or optional encounter into a required step.
The focused Spokes keep ownership of their exact solutions:
- Search for the Foreman
- Red, Blue, and Yellow Key Locations
- How to Open the Gate
- Rangifer Boss Guide
- Lacerta Boss Guide
- Ending Explained
Here I give the route, the next mandatory destination, and the decision that prevents a wasted return trip.
Before I Confirm Any Walker Departure
The Walker is where I make chapter-level decisions.
Before telling Brad that I am ready to leave, I check:
- the blade and ranged weapon I actually intend to use;
- Emma and Koo’s available skills;
- equipped Spirit Stones;
- healing and crafted ammunition;
- new conversations, cooking, farming, or enhancement options;
- whether I still want to buy anything in the current region.
I spend Amber when normal enemies are already draining the supplies meant for the next Nushi. I do not spend it because a locked gate happens to be near a merchant.
Chapter Group 1 — The Foreman, Three Keys, and Rangifer
Leave the Abandoned Village and Find the Foreman
The abandoned village looks like the first place to search thoroughly, but the useful clue points away from it.
The Rusted Golem sends me to the Sub-City at the end of the road. I follow that route, enter the interior, and clear the combat rooms blocking the deepest door.
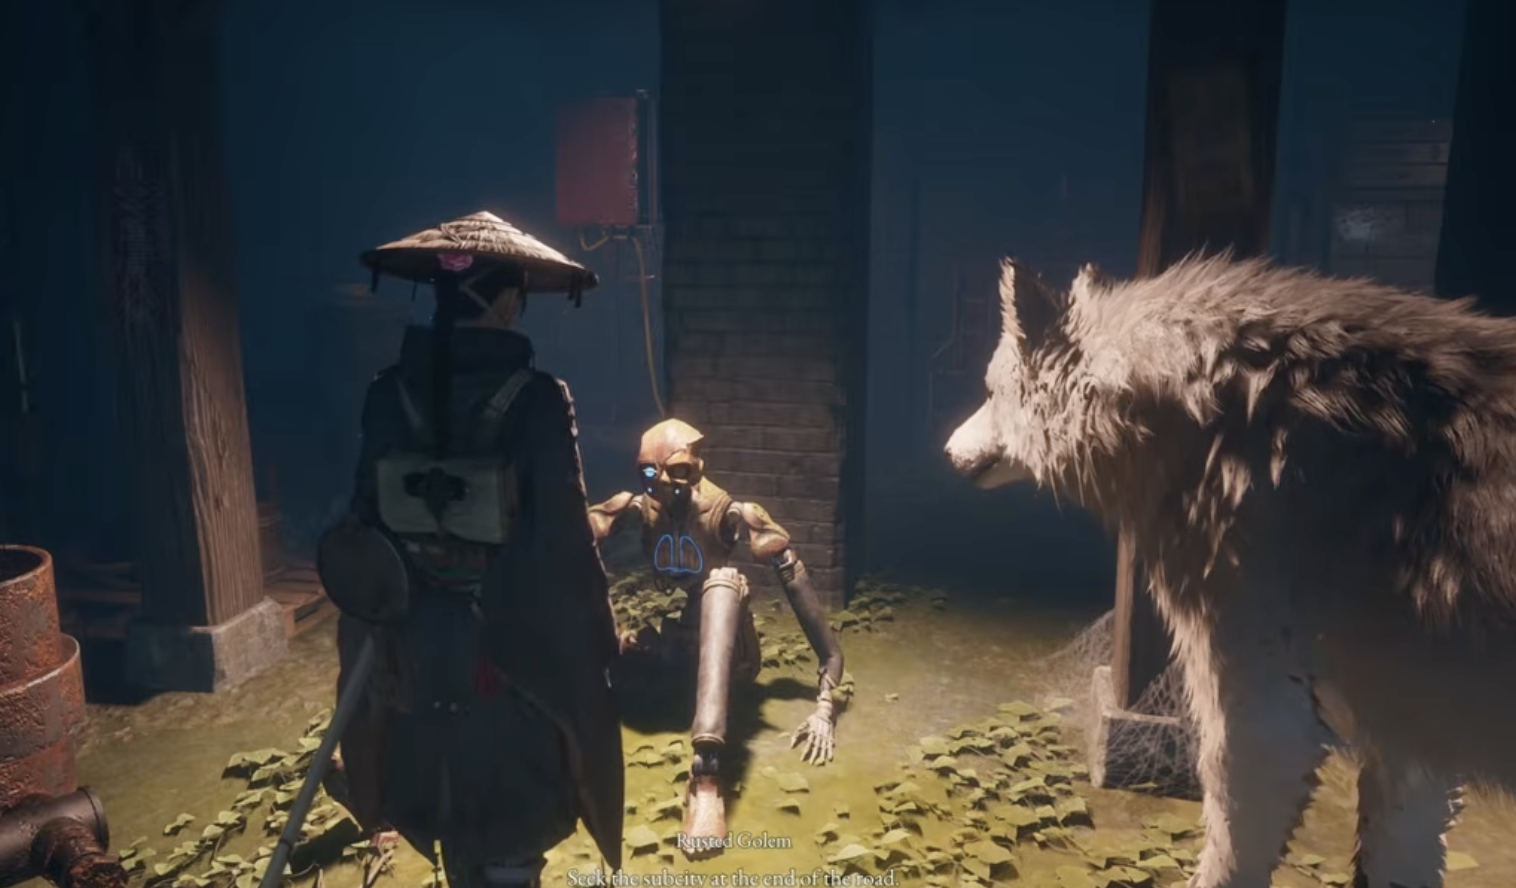
The story awards the Zangetsu Bow after the Foreman sequence. If the interior door will not open, I use the detailed Foreman route rather than searching the village for a key.
Force Rangifer to Retreat, Then Return to the Walker
The first Nushi encounter in this region is Rangifer.
I do not need to finish it during the first contact. After enough damage, Rangifer retreats toward its lair and the objective sends Emma back to the Walker.
I follow the return instruction.
Trying to chase immediately ignores both Emma’s condition and the story handoff that prepares the next route. At the Walker, I finish the available scenes and wait until the objective sends me back outside.
Use Sub-City 03 and Collect the Fire Clue
The way toward Rangifer’s lair runs through Sub-City 03.
A Keeper Golem on this route confirms that the Nushi reacted badly to a blaze and may have an aversion to flame. It also points toward a waterfall containing the Fire Arrow Manual.
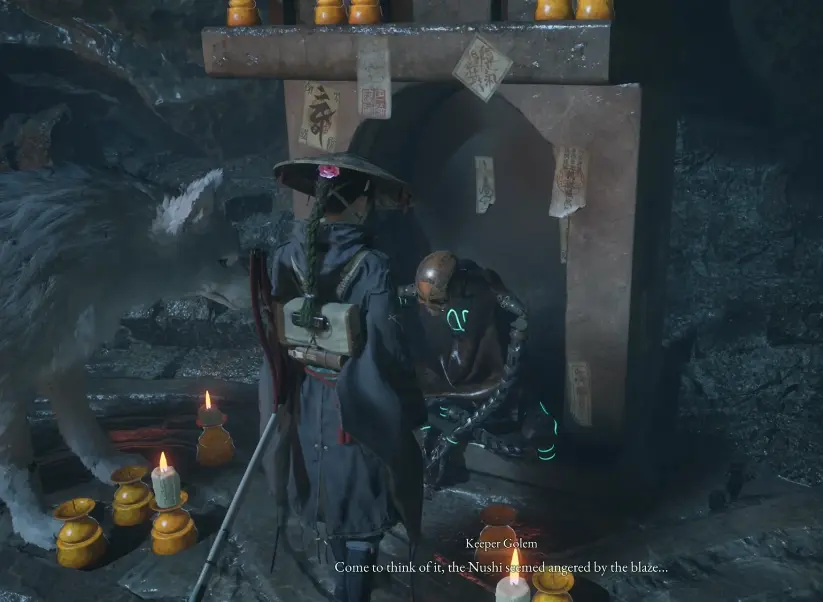
I collect the manual when I intend to use the bow and can craft enough arrows to matter. I skip a long return trip when my current setup already reaches the late part of the fight cleanly.
Collect Three Keys, Then Obey the New Objective
The sealed lair gate requires Red, Blue, and Yellow Keys.
For the full pickups, use the three-key guide. The story-level order is enough here:
- Red comes from the gate conversation;
- Blue is on the nearby lookout-shack route;
- Yellow is beyond the Tailwater Village camp.
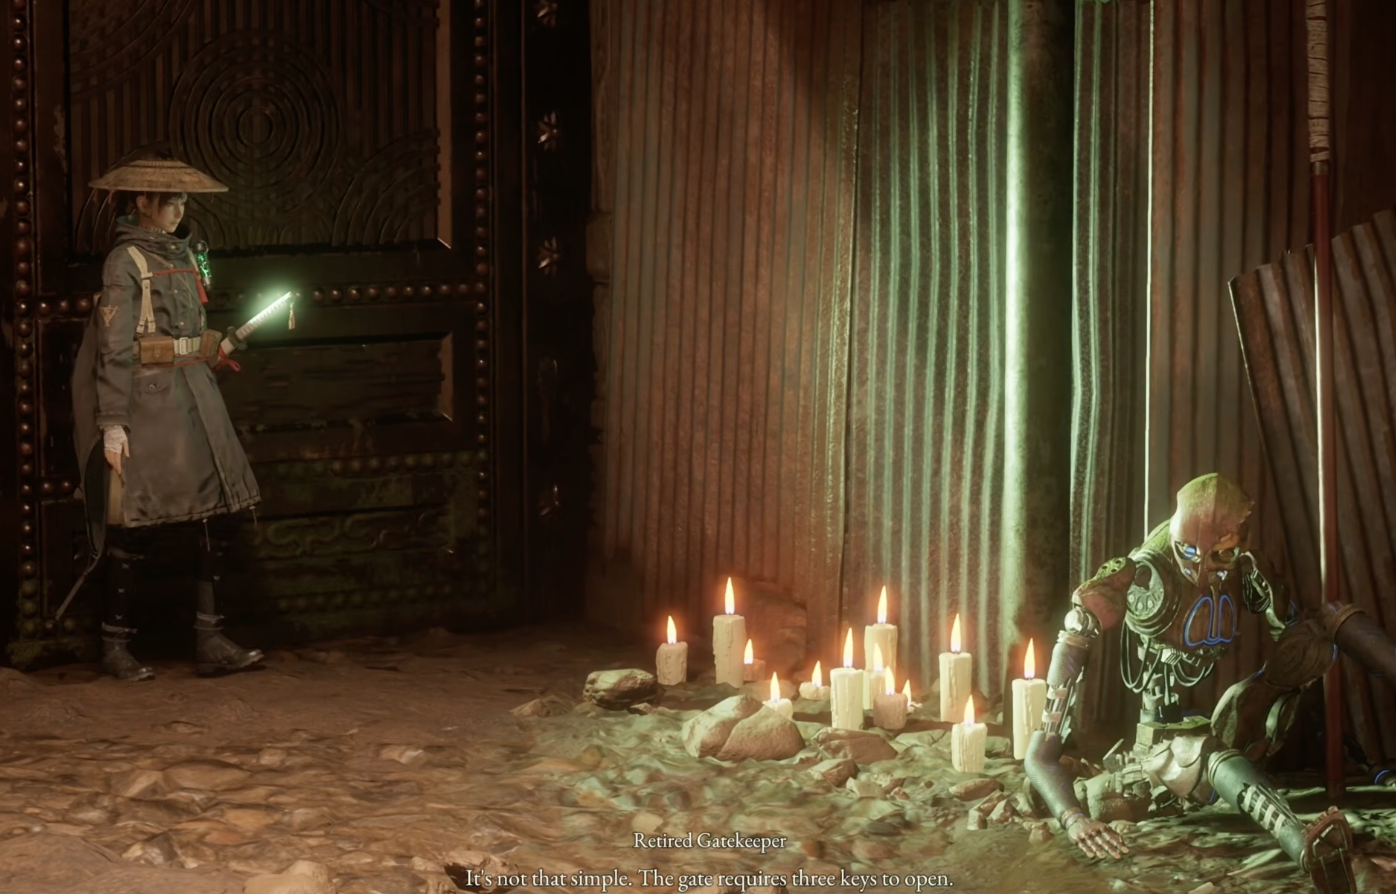
The important decision comes after Yellow. When the game says Kagura has woken up, I return to the Walker.
The colony sequence that follows is mandatory. I do not look for a fourth key or manually return to the old gate until the objective explicitly sends me back to the lair entrance.
Defeat Rangifer and Finish the Region
When the lair route becomes active again, I follow it to the final campsite and Spirit Stone merchant.
I activate the camp before buying anything. If my current setup reaches the late behavior change, I retry rather than purchasing after every failure.
The complete fire setup, camp decision, merchant check, and battle plan are in the Rangifer boss guide.
After Rangifer is defeated, Emma absorbs its power and returns to the Walker. Brad warns that I will not be able to leave once the Walker sets off, so I finish all current preparation before confirming the next region.
Chapter Group 2 — Underground Ruins, Reservoir, and Lacerta
Descend When the Surface Gate Will Not Open
The next region eventually stops me at a surface gate that cannot be operated from that side.
I descend into the underground ruins and speak with the Ancient Golem. It gives a two-part route:
- one generator is behind the merchant;
- one is on the lower floor across the river.
I activate both and continue until the objective reaches 2/2.
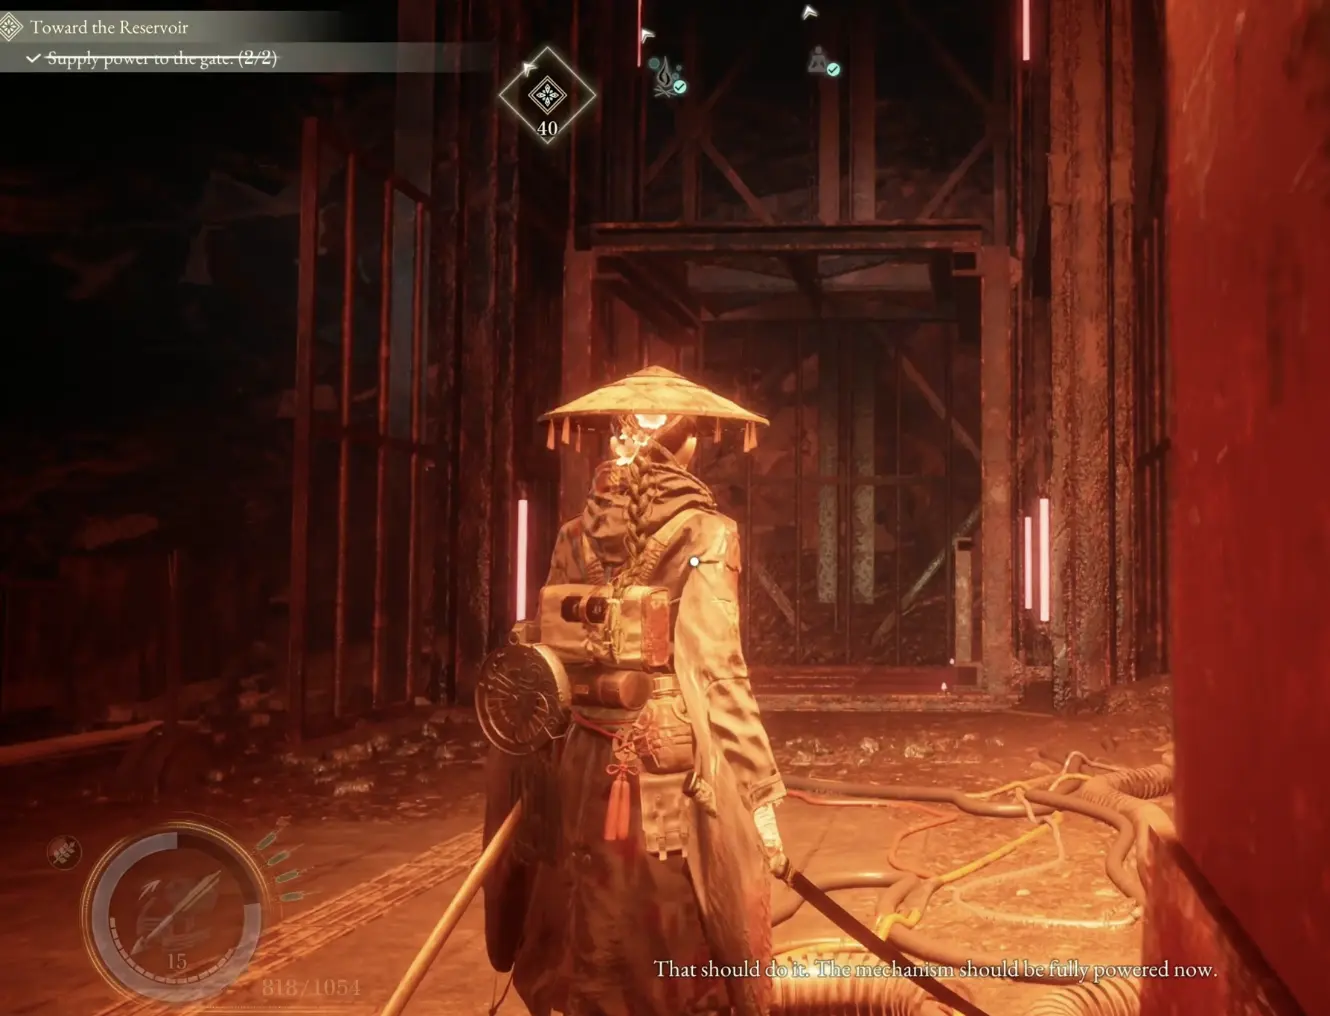
If I need the exact branches, camps, or control-panel checks, I use How to Open the Gate.
Fight Level 13 Lacerta in the Reservoir
The Nushi inside the Reservoir is Lacerta.
The first health bar identifies it as Lv. 13. This encounter ends in a scripted retreat after I deal enough damage.
When Lacerta dives beneath the swamp before attacking, I stop the current combo, move away from the last visible position, and wait for the resurfacing action. I do not heal while standing over the dive point.
After Lacerta retreats, I stop searching the room for another phase and follow the objective back toward the gate mechanism.
Find the Charged Lightning Stone
The Reservoir control panel reports Insufficient power.
This does not mean I missed a third generator. The panel requires a charged Lightning Stone.
I follow Koo, obtain the usable stone, return to the same panel, and open the surface route. The earlier depleted stone cannot power it.
Defeat Level 16 Lacerta
Beyond the newly opened route, the final encounter identifies the boss as Lv. 16 Lacerta.
Later in the fight, its front opens into a giant maw and the attack pattern changes.
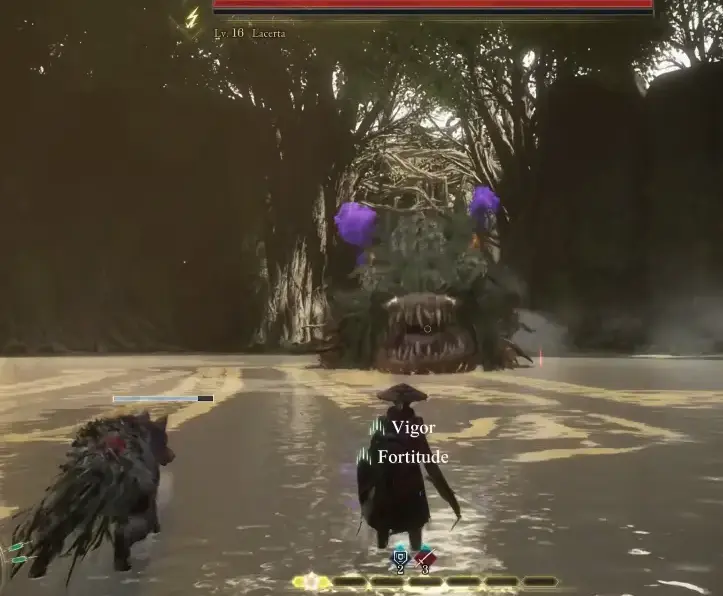
When the red finisher prompt appears, I stop normal attacks and use the input shown on screen.
The full dive timing, camp decision, Koo usage, evolved phase, and finisher are in the Lacerta boss guide.
After the victory, I return to the Walker and complete the new conversations before moving into the mountains.
Chapter Group 3 — Mountainous Region and Bell Caverns
Prepare Before Leaving the Walker
Brad announces that the Walker has reached the mountainous region and warns that the route is not well understood.
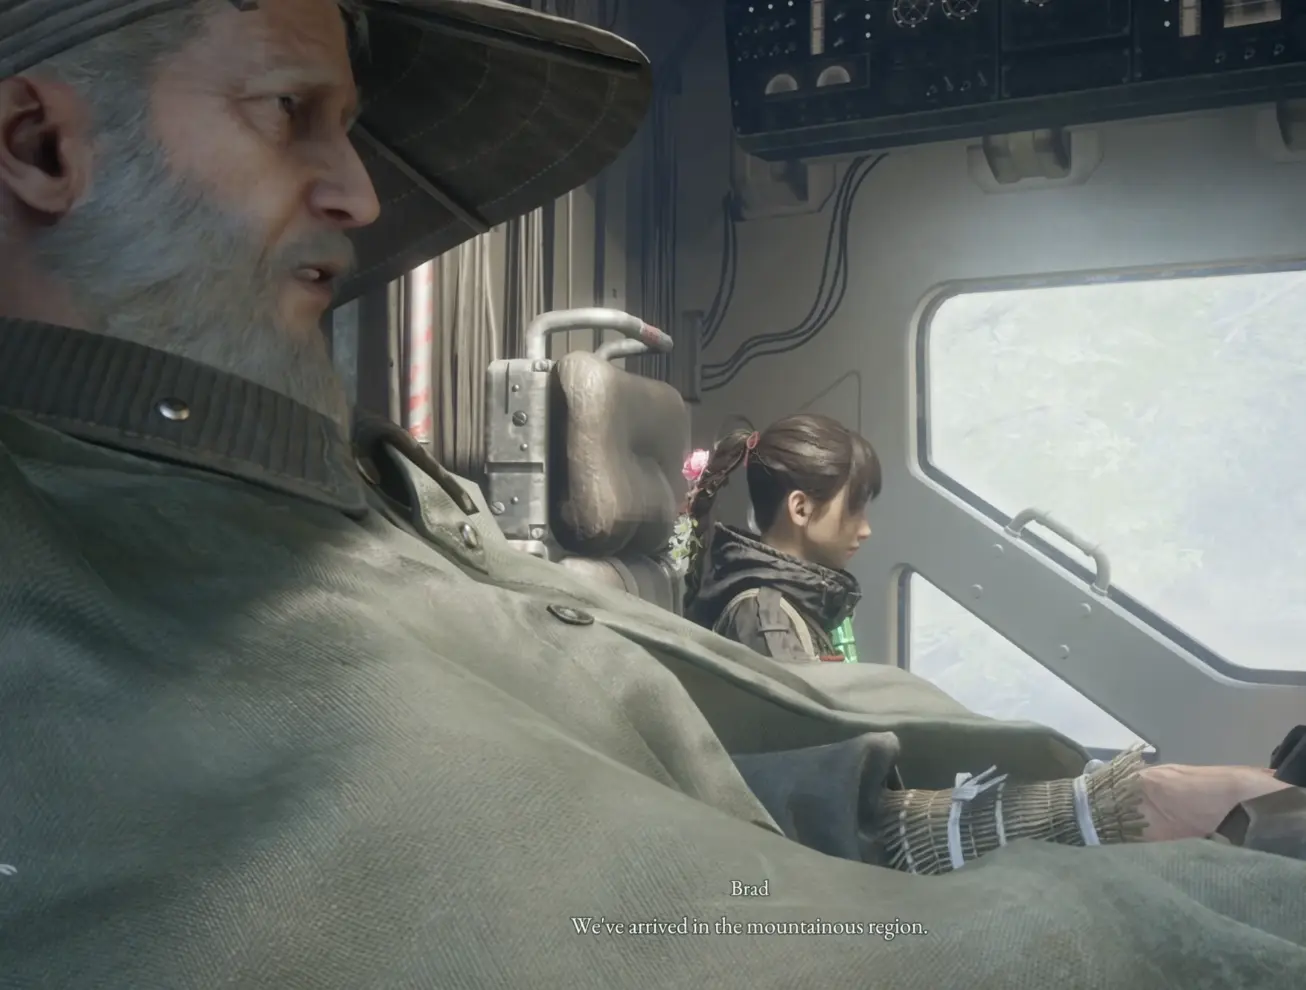
I activate every camp I pass because the region contains long routes around the wall, slopes, ruins, and elevators.
I spend Amber only when normal enemies are already exposing a build problem. I do not rebuild everything simply because Rangifer and Lacerta granted new powers.
Follow the Wall and the Active Nushi Signal
The large wall is my main orientation point.
When the signal moves across the valley, I follow the updated objective rather than returning to the first gate. The route eventually pushes me toward the next connected zone and its three major structures.
Enter the Nearby Cave When the Bell Rings
The Nushi reacts to a ringing bell.
Once the sound is located, the instruction says to enter through a nearby cave.
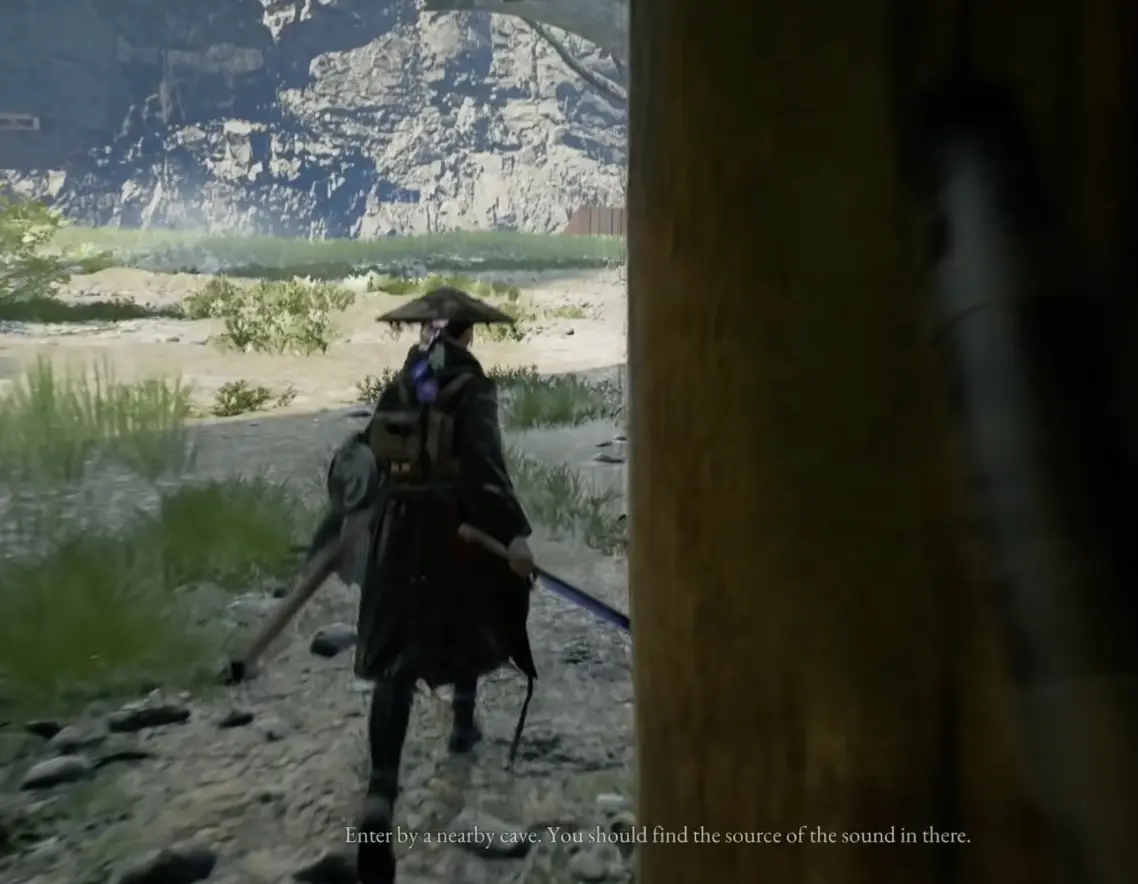
Inside, I follow the cave and stone-chamber route toward the inner belfry. I continue until the path to the Nushi’s lair opens.
When the objective says the only way is forward, I stop revisiting the earlier cave junctions.
Chapter Group 4 — Matsukawa, Oi Colony, and the Giant Tree
Detour Around the Lake to Matsukawa Colony
Matsukawa Colony is visible before it is directly accessible because the lake blocks the obvious approach.
I follow the detour into the settlement.
The Nushi signal may come from below, but I still complete the surface route through the colony first. The raised path eventually reaches the gate to the next zone.
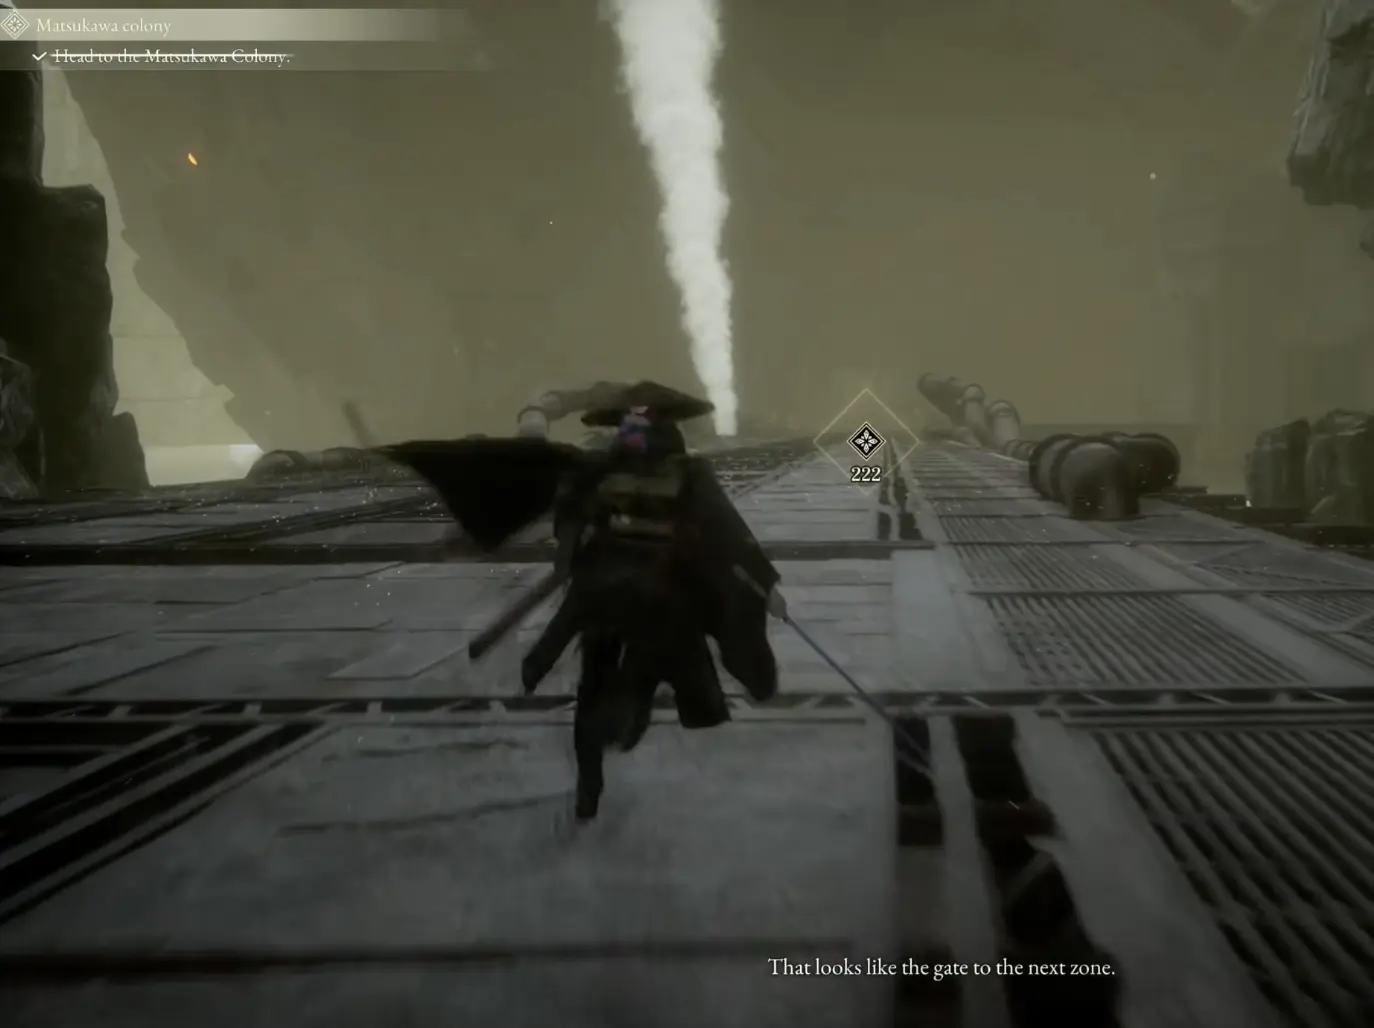
This is not a combat lock. I search the colony interior for the control panel that deactivates the lockdown.
After the route opens, I return to the active objective instead of clearing every released enemy.
Cross to the Opposite Shore and Reach Oi Colony
Beyond Matsukawa, the path narrows into cliff and shoreline routes.
When the signal is on the opposite shore, I search for the crossing rather than returning to the previous colony.
The next reliable destination is Oi Colony, which becomes the safe approach to the giant tree.
Use Oi Colony Before Entering the Flooded Ruins
Brad places the Nushi signal somewhere around the giant tree.
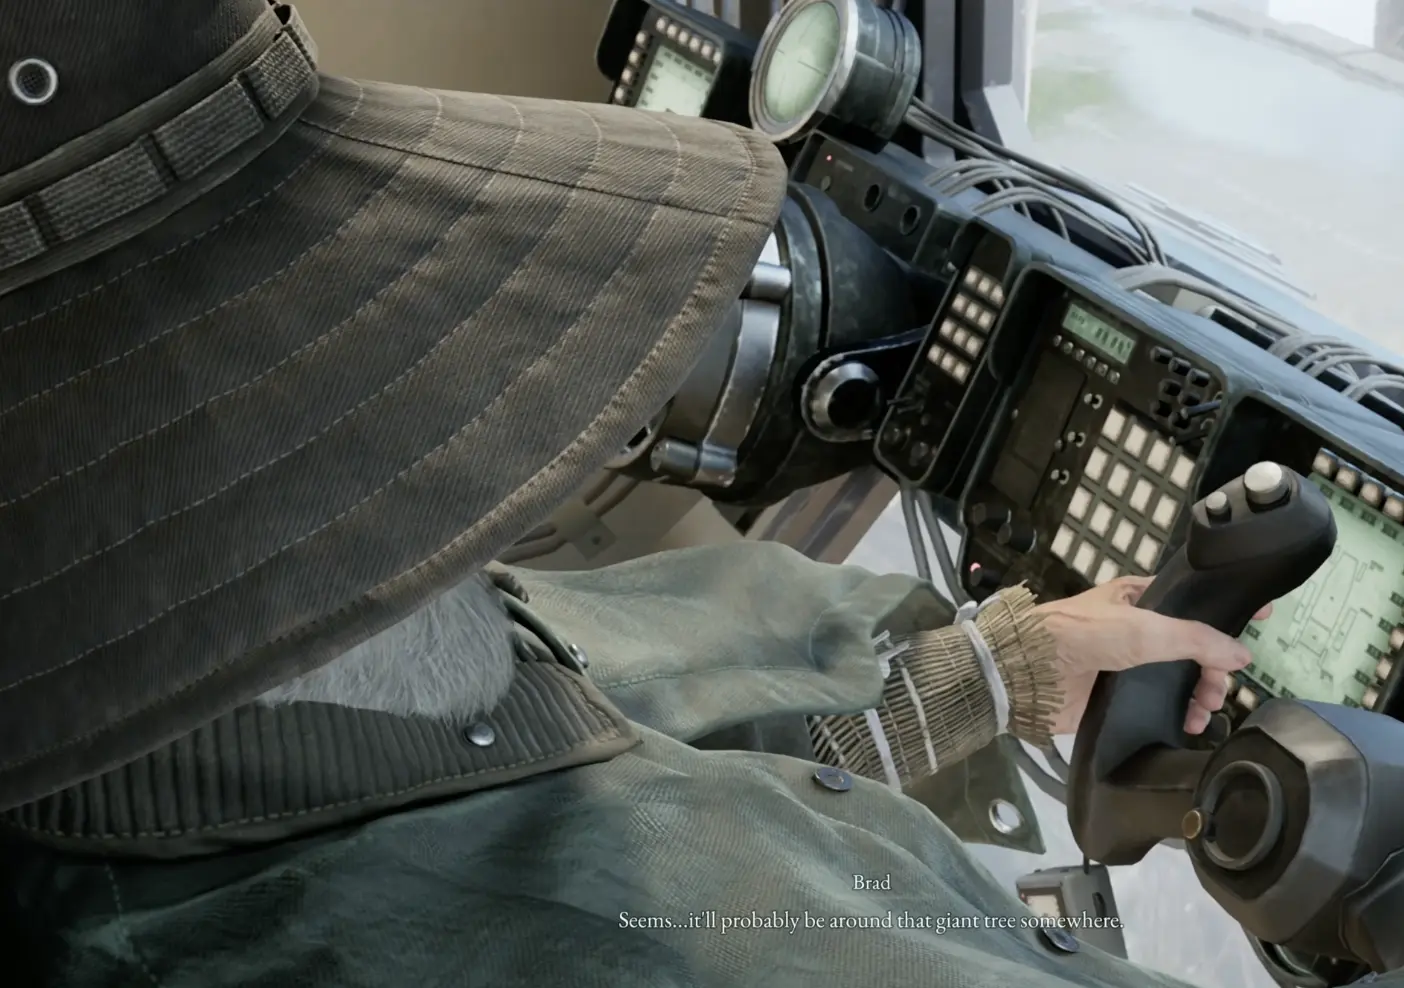
The elevator initially remains raised. The situation changes when the colony is attacked and the story reveals that two Nushi are active in the region.
I follow the current Nushi objective instead of trying to complete both routes at once.
Match the Numbered Card Keys
The giant-tree route uses numbered card-key panels.
When a card is rejected, I do not keep inserting it or replay the whole climb. I continue through the connected cave, tower, flooded ruin, or storehouse branch until I find the matching card.
I keep the panel number in mind before backtracking.
This region includes several camps and exposed climbing sections. I clear nearby enemies before committing to a platforming route where a fall would force a long repeat.
Chapter Group 5 — Inugami River and Starfall Tower
Open the Inugami River Route from the Fortress
The path toward Inugami River Colony is blocked by another operated gate.
A golem explains that the relevant control panel is inside the fortress. The most useful final landmark is the building with the yellow roof.
I enter the fortress instead of searching along the outside wall.
I use the nearby camp before operating the gate because the story has already warned that a Nushi waits in the cavern beyond it.
Finish the Walker Story Before the Next Departure
The late regional chapter changes Emma and Koo’s relationship and leads into a major confrontation.
When I return to the Walker, I complete the new conversations before choosing the next destination.
If the game says that today is the day to enter the next zone, I treat it as a departure lock: I spend the Amber I have already decided to use, finish equipment changes, save, and only then confirm departure.
Descend into Starfall Tower
At Starfall Tower, Brad’s message gives a direction that is easy to misread.
The route is into the tower’s lower levels, not up the structure visible above.
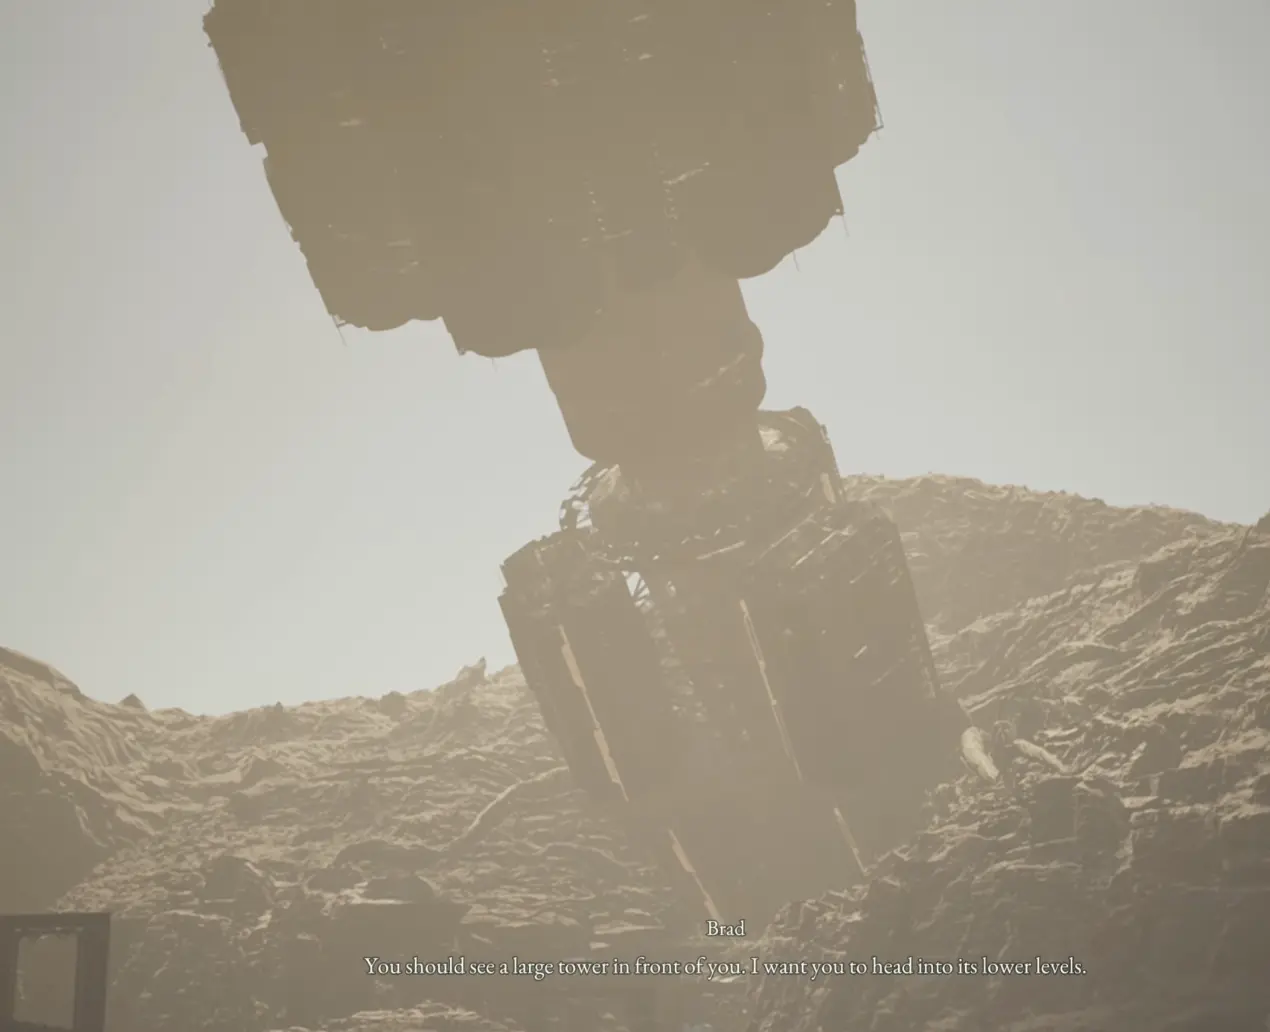
The Nushi signal also comes from below.
I follow Brad’s marked destination and complete the underground story route before trying to continue to the capital.
Chapter Group 6 — The Capital and Final Battle
Follow Bauera’s Marked Locations
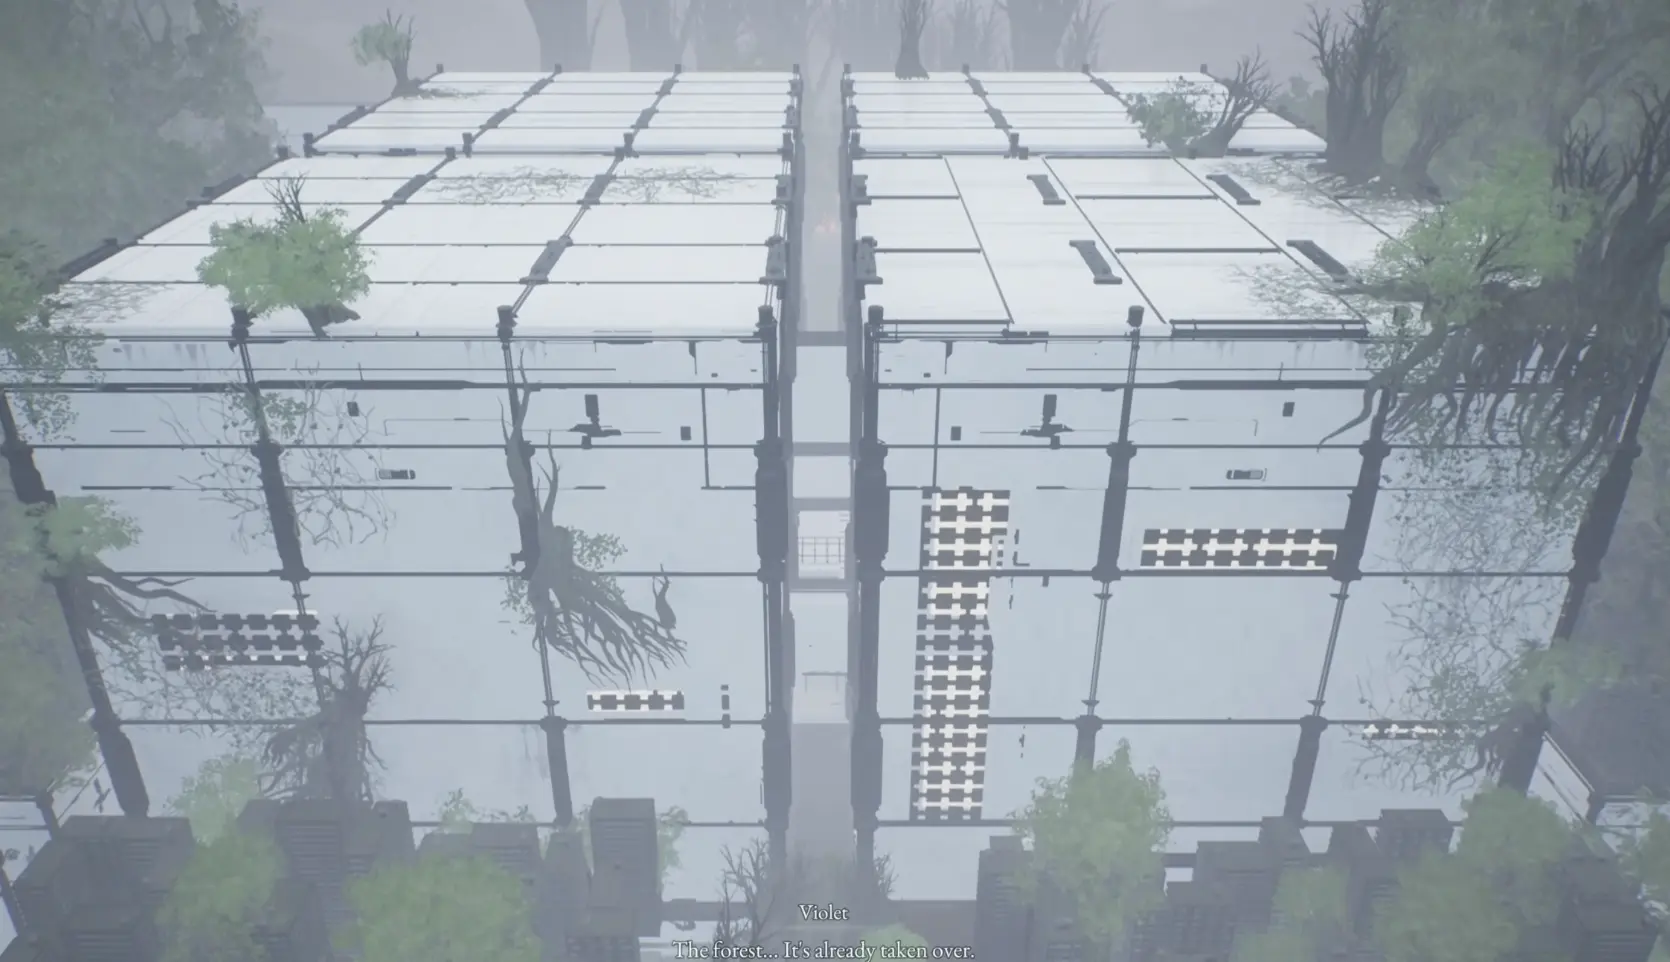
The capital is already overtaken by the blighted forest when I arrive.
Bauera provides the required locations for Kagura’s medical route and the Administrator.
I prioritize those objectives. Random street fights do not replace reaching the marked facility.
When a frontal approach is discouraged, I use the underground or interior route given by the objective rather than repeatedly testing the city-center entrance.
Stop at the No-Going-Back Warning
Bauera clearly warns that there is no going back past the final doorway.
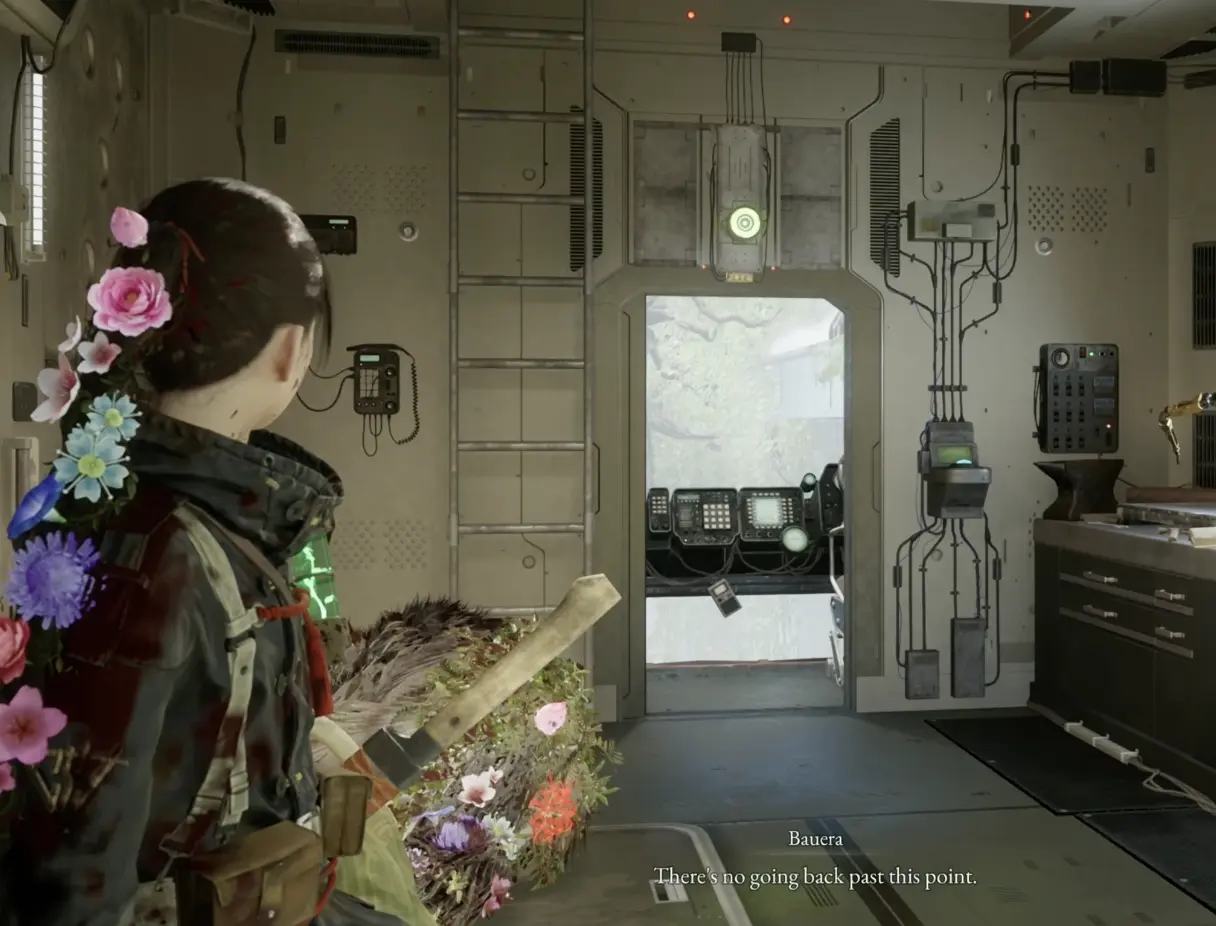
Before crossing, I:
- spend the resources I intend to use;
- equip a complete build rather than experimental parts;
- refill recovery and ammunition;
- save;
- finish anything I am unwilling to leave unresolved.
I do not carry Amber forward expecting another normal shopping stop.
After crossing, I follow the remaining capital route through the Administrator and Mikoto confrontations to the Beast of Reincarnation battle.
The walkthrough stays spoiler-light here. For Mikoto, Violet, Shambala, Koo, Emma’s vessel, and the final return scene, use the ending explanation.
If My Story Route Stops Progressing
I identify the obstacle before backtracking.
A combat door remains closed: I search the active and previous rooms for a surviving enemy.
A named key is missing: I return to that key’s pickup route, not the nearest merchant.
A generator objective is incomplete: I check the displayed count before looking for another mechanism.
The panel says Insufficient power after 2/2: I need the charged Lightning Stone, not a third generator.
A Nushi retreats: I follow the updated objective. The next step may be the Walker, a control panel, or a newly opened lair route.
A card key is rejected: I continue through the connected branch for the matching numbered card.
The Walker is about to depart: I finish all preparation before confirming the next chapter.
Return to the Beast of Reincarnation guide hub for the focused boss, route, and ending guides.
FAQ
Which Nushi is fought in the Reservoir? +
The Reservoir Nushi is Lacerta, not Rangifer. The first encounter shows a level 13 Lacerta, while the final lair fight shows level 16 after the Lightning Stone opens the surface route.
Why can I not leave the Walker after confirming departure? +
Some departures start the next regional chapter immediately and prevent Emma from going back outside. I finish shopping, upgrades, conversations, cooking, farming, and equipment changes before confirming that the Walker should set off.