How I Beat Rangifer Without Wasting Amber Before the Lair
My route from the Reservoir encounter to Rangifer's final lair fight, including the fire weakness, last campsite, merchant decision, and evolved phase.
Updated:
Quick Answer
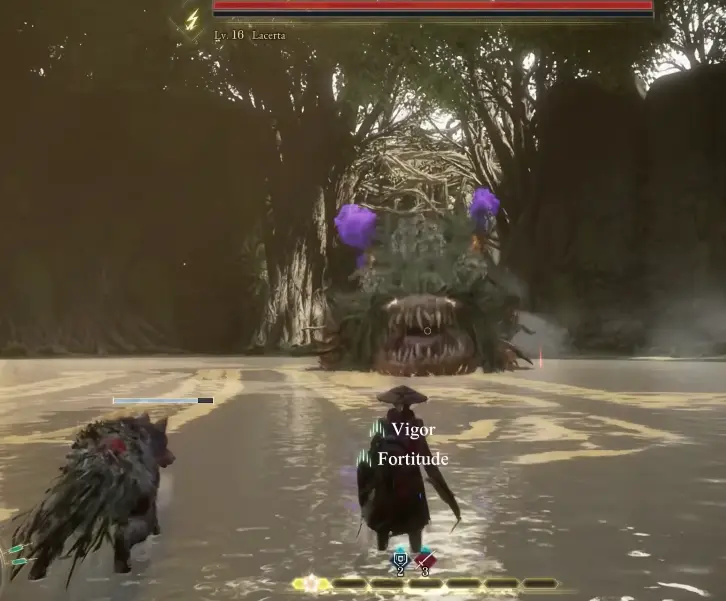
Rangifer is fought in two encounters. In the Reservoir, I only force it to retreat. I then open the surface gate and follow it to the lair for the real boss fight. Before going in, I activate the campsite, carry Fire Arrows if I collected the waterfall manual, and only use the nearby merchant when healing or ammunition is genuinely low. During the final fight, I use short melee punishes and Koo openings, then create distance when Rangifer evolves and adds its lightning-based attack pattern.
Rangifer is the first boss where I can lose time before I even lose the fight.
The main confusion is structural. The Nushi appears in the Reservoir, retreats, and later returns in a stronger form inside its lair. Trying to treat the first encounter as a full kill, or assuming the open-gate sequence is unrelated, makes the route feel broken.
The fight itself has the same kind of trap. I can reach the final arena with a new bow, a nearby merchant, and several upgrade options, then spend Amber on things that do not solve the real problem.
My reliable plan is simpler:
- learn the fire weakness before the lair;
- treat the Reservoir fight as a survival and observation check;
- open the surface gate;
- use the last campsite before committing;
- buy only for a resource shortage;
- slow down when Rangifer evolves.
The hidden Rangifer’s End achievement unlocks for defeating Rangifer. In the achievement snapshot I checked, it had a 23.4% completion rate, much higher than the later Nushi achievements. That makes this the first major progression wall for a large part of the player base.
I Learn the Weakness Before Entering the Final Lair
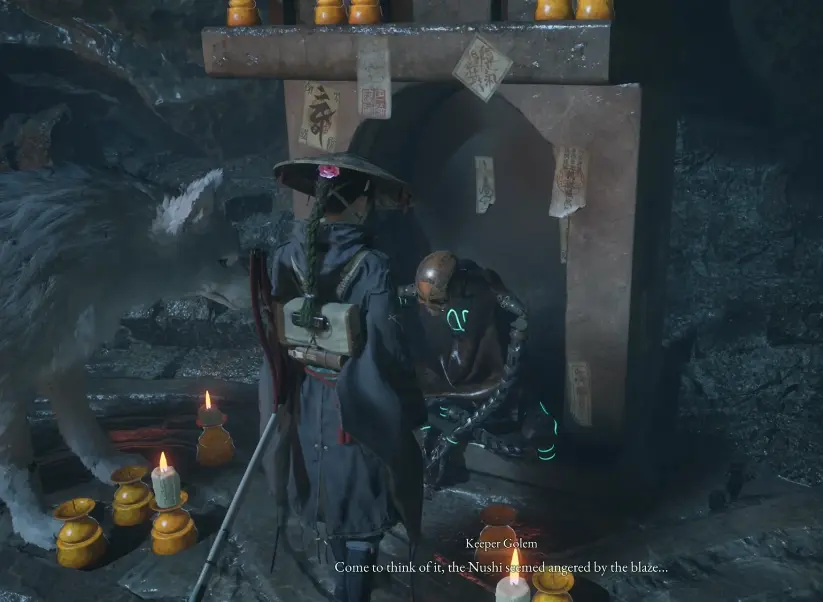
A Keeper Golem on the early Nushi route lets me ask one question.
I ask how to defeat the Nushi.
The answer is not a complete strategy, but it gives the one elemental clue that matters: Rangifer was angered by a blaze and may have an aversion to flame. The same Keeper points toward a waterfall where a manual teaches Fire Arrow crafting.
I make the waterfall detour when:
- I already have the Zangetsu Bow;
- I want a safe ranged option for the evolved phase;
- I have enough crafting material to use the manual immediately;
- close-range exchanges are costing too much healing.
I skip a long return trip when:
- I am already at the final campsite;
- my current melee setup is consistently reaching the second phase;
- I have no material to craft meaningful Fire Arrow ammunition;
- the detour would only give me a tool I do not intend to use.
Fire is an advantage, not a gate condition. The fight does not refuse to progress without it.
The Reservoir Encounter Is Not the Final Fight
After both underground generators are active, I enter the Reservoir and activate its campsite.
Rangifer blocks the control-panel route, so I must engage it before the gate objective can continue.
This first encounter is shorter than the final battle. I focus on learning how quickly Rangifer closes distance and how much recovery time I get after its larger movements.
When it dives beneath the swamp or water-covered floor, I do not swing at the empty space or chase the exact point where it disappeared. I move, watch for the reappearance, and preserve healing.
Once enough damage is dealt, Rangifer retreats through the area and heads toward its lair.
I do not return to the Walker here.
The correct route is:
- inspect the Reservoir control-panel route;
- confirm that it lacks power;
- follow Koo to a usable Lightning Stone;
- insert the stone at the panel;
- return above ground;
- pass through the newly opened gate.
The complete mechanism route is covered in How to Open the Gate.
I Use the Campsite After the Surface Gate Opens
After powering the control panel, the objective changes to heading toward the Nushi’s lair.
I return above ground and use the campsite on the route before moving through the opened passage.
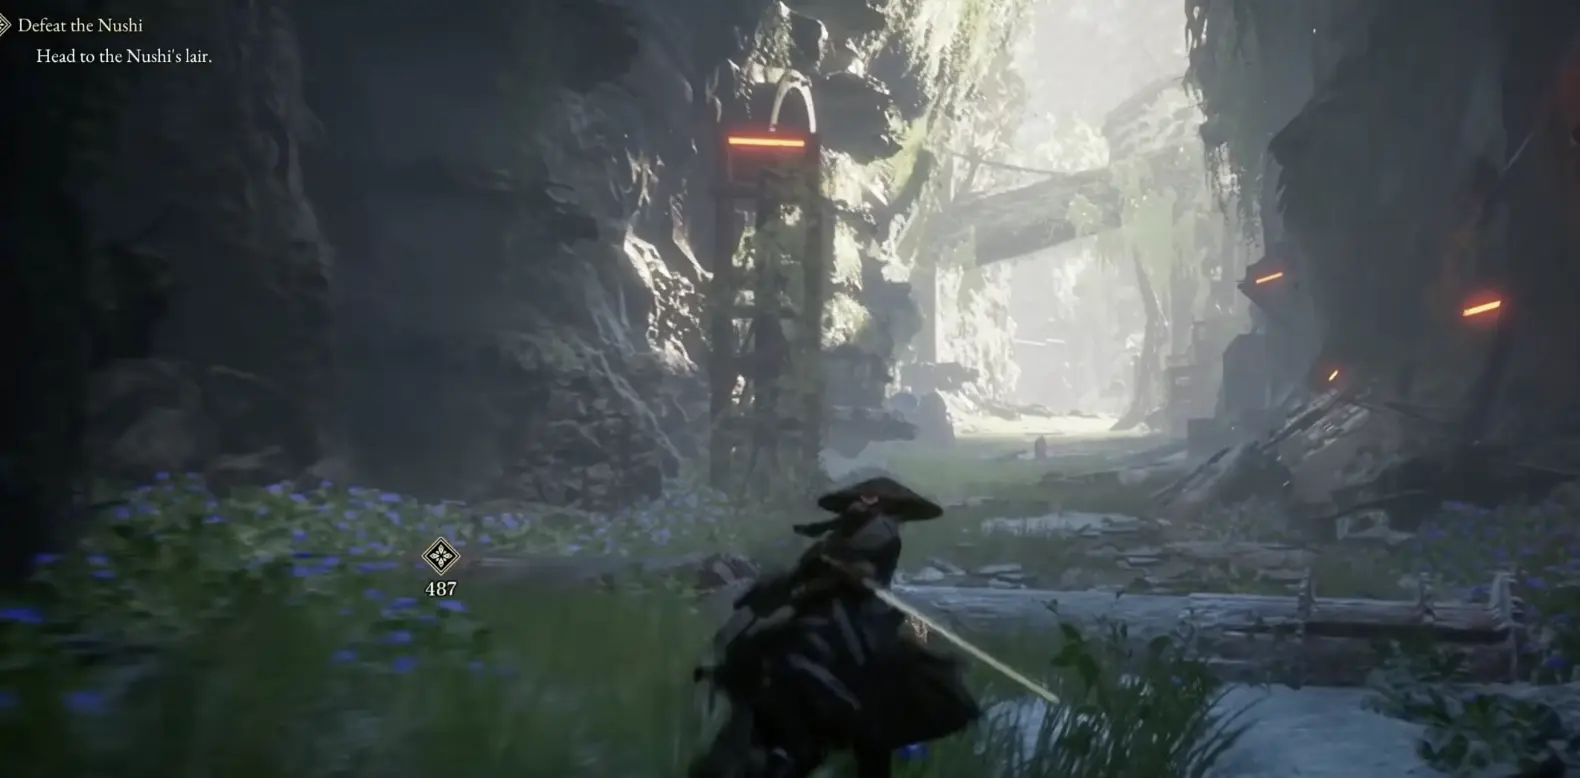
This is the point where I decide whether I am actually ready.
I rest when:
- the Reservoir fight consumed healing;
- the Lightning Stone route included several rough enemy encounters;
- I changed equipment and want a clean attempt;
- I have Fire Arrows but have not refilled the ammunition I plan to use.
I continue without another detour when:
- healing is full or close to full;
- I already know which blade, bow, and Koo setup I am using;
- I can defeat normal enemies without spending recovery;
- my only reason to delay is fear of seeing the boss again.
The route after the camp passes through a blight-infested settlement and includes a group of four enemies. I do not spend boss resources on them unless the group is actually trapping me.
My priority is reaching the lair with the setup intact.
When I Use the Merchant Before Rangifer
A merchant appears shortly before the final encounter and invites me to browse.
That placement makes it easy to assume I am expected to buy a specific anti-Rangifer item. I am not.
I use the merchant when:
- I cannot refill enough healing from my current inventory;
- I need material for the Fire Arrows I have already decided to use;
- my current weapon is clearly underperforming against ordinary enemies;
- repeated attempts show a real preparation problem rather than a timing problem.
I save my Amber when:
- I am reaching the evolved phase with resources left;
- I only want to replace the Zangetsu Bow because it is an early weapon;
- the Fire Arrow setup is already functional;
- the last failure came from attacking through Rangifer’s new pattern.
I do not buy after every failed attempt.
If I consistently reach the phase change, my build is already capable of winning. At that point, spending more Amber may hide the real issue: I am not respecting the evolved attack.
My First-Phase Plan
At the start of the lair fight, I avoid long melee strings.
Rangifer moves quickly enough that a full commitment can turn one opening into a trade. I use short punishes, then reset my position before it starts another sequence.
My basic rhythm is:
- let Rangifer commit to an attack;
- evade or parry only the timing I can read consistently;
- take a short melee punish;
- call Koo when Rangifer is already committed or recovering;
- use Fire Arrows when distance opens naturally;
- stop attacking before the next movement begins.
I do not try to prove that every attack can be parried.
Close-range timings that I have already learned are reasonable parry attempts. The dive, wide movement, and later lightning pattern are safer to dodge until I know their full reach.
Fire Arrows are most useful when Rangifer creates distance itself. I do not force a ranged shot while it is already closing the gap.
I Save Koo for Real Openings
Koo is more useful when I use him to extend a safe window than when I press the command as soon as it becomes available.
I call Koo:
- after Rangifer finishes a committed movement;
- when I need room to heal;
- before a Fire Arrow punish;
- when the boss is facing away or recovering.
I do not call Koo while Rangifer is still moving unpredictably across the arena. That can spend the opening before I am in position to use it.
The goal is not maximum command frequency. It is turning one readable boss recovery into a clean sequence.
The Real Wall Is the Evolved Lightning Phase
During the final fight, Rangifer evolves again and the game warns me to adapt to its new attack.
That is the phase transition.
My most common mistake is continuing the phase-one combo through the transition.
Instead, I do three things:
- stop attacking as soon as the evolution cue appears;
- move far enough away to see the new pattern;
- spend the first cycle learning its range rather than forcing damage.
I dodge the lightning-based pattern until I can read where its danger zone ends. I do not use the transition itself as a healing window unless Rangifer is clearly unable to act.
Once the new attack finishes, I return to the same controlled plan:
- one short punish;
- Koo only on a real recovery;
- Fire Arrows from established distance;
- no long combo when the next attack has already started.
The phase is more dangerous, but it does not require a new quest item or another shopping trip.
When I Heal
I heal after Rangifer has finished a long action or while Koo is creating room.
I do not heal:
- immediately after taking damage while Rangifer is still beside me;
- during the evolution cue without confirming the boss is inactive;
- after a dive until I know where it will reappear;
- simply because my health is not full.
I heal when the next confirmed hit would put the attempt at risk.
That keeps recovery tied to survival rather than panic.
When I Backtrack
I return to preparation when:
- I never reach the evolved phase;
- normal enemies before the arena consume most healing;
- I have the Fire Arrow Manual but arrive with no usable arrows;
- I skipped the campsite after opening the surface route;
- the current weapon setup cannot create meaningful damage during safe openings.
I do not backtrack when:
- Rangifer evolves and defeats me with the new attack once;
- I am consistently reaching the second phase;
- the merchant has nothing that directly fixes my mistake;
- I still have enough resources for another clean attempt.
One failed look at the evolved phase is information, not proof that the build is wrong.
What Happens After Rangifer Is Defeated
The final victory ends the first Nushi chapter and unlocks Rangifer’s End.
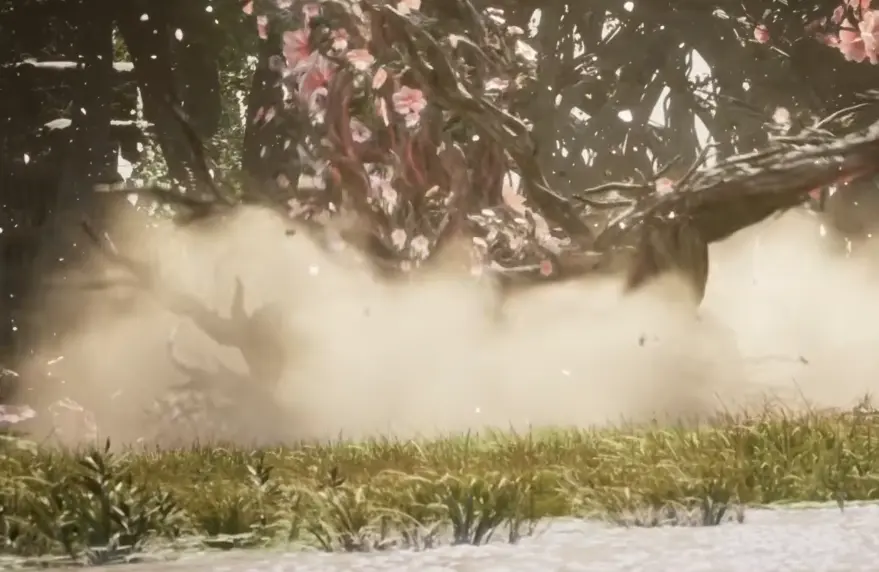
Emma absorbs the Nushi’s power, and the story returns to the Walker for the next transition.
I do not stay in the arena searching for a second kill condition. Once the post-fight sequence begins and the new power is acknowledged, the Rangifer objective is complete.
For the full route before and after this fight, use the Beast of Reincarnation walkthrough. For the gate and Lightning Stone sequence between the two Rangifer encounters, use How to Open the Gate. You can also return to the Beast of Reincarnation guide hub.
FAQ
Do I have to use fire arrows to beat Rangifer? +
No. Fire arrows are an optional advantage, not a mandatory damage check. The Keeper Golem specifically identifies an aversion to flame, so I collect the manual when I want a safer ranged punish during the final fight.
Why does Rangifer run away during the Reservoir fight? +
The retreat is scripted progression. The Reservoir encounter is the first contact, not the final kill. I stop chasing the hole, find the control panel, obtain the Lightning Stone, and open the surface gate to reach Rangifer's lair.