Where I Find the Red, Blue, and Yellow Keys
My exact three-key route from the Nushi gate to the lookout shack and Tailwater Village, including when I stop exploring and return to the Walker.
Updated:
Quick Answer
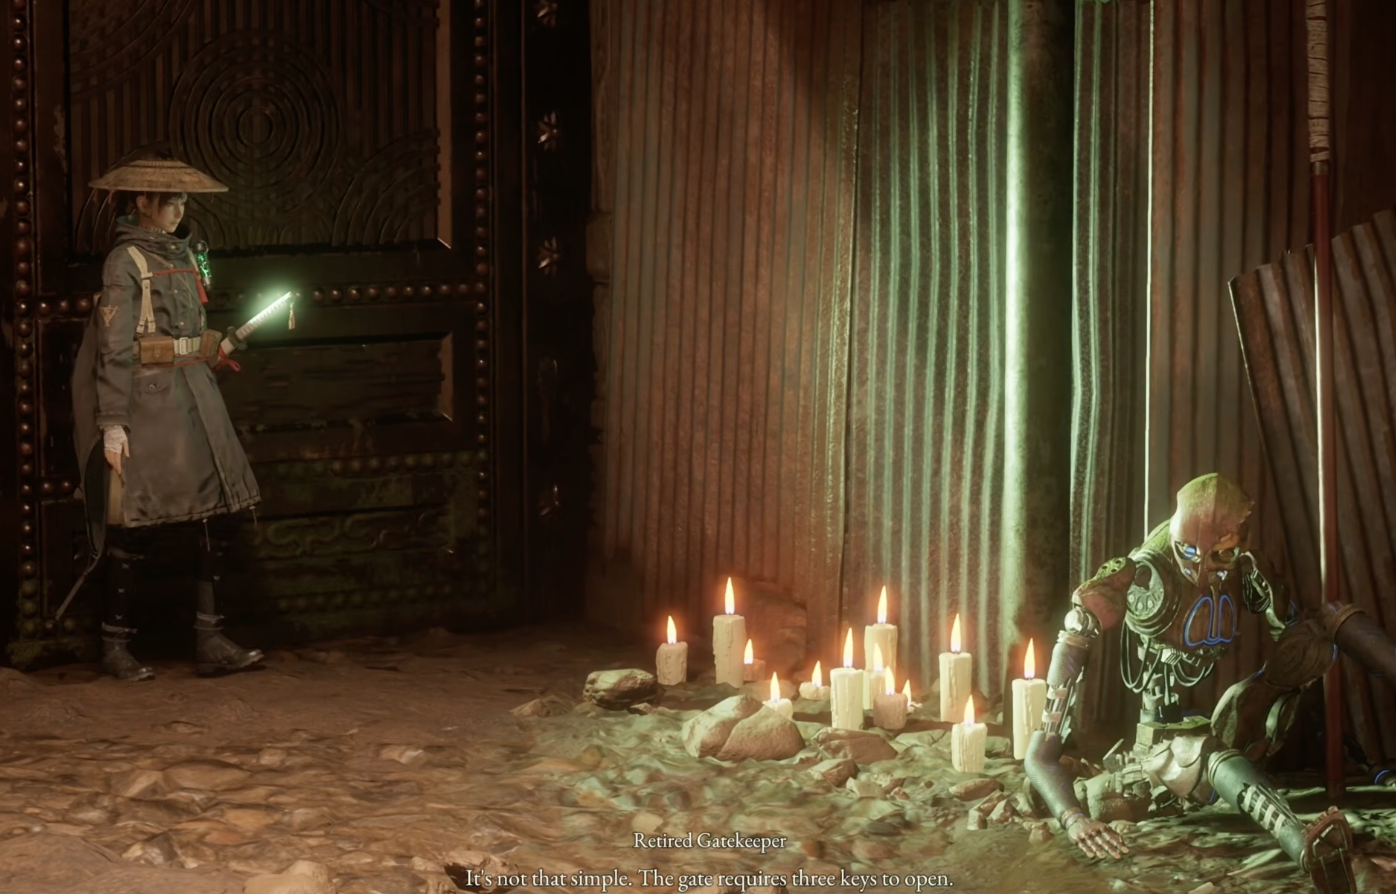
I receive the red key from the golem standing at the sealed Nushi gate. I then take the nearby route to the watchman’s lookout shack, where Koo finds the blue key. From there I keep moving forward into Tailwater Village, pass the campsite, and reach the dying golem holding the yellow key. Once the game confirms that I have all three, I return to the Walker instead of running straight back to the gate.
The three-key objective looks like a wide-area scavenger hunt, but the useful route is almost linear.
The red key is already at the gate. The blue key is close enough to collect first. The yellow key is the longer leg through Tailwater Village.
In my route, the gate explained the requirement at about 1:10:54, and the game confirmed all three keys at about 1:29:01. That made the complete collection run just over 18 minutes.
The uneven spacing is what can make the task feel confusing:
- I reached the blue key only 3 minutes 48 seconds after receiving the red key;
- the yellow key took another 13 minutes 51 seconds after the blue key;
- the campsite appeared between them, about 5 minutes 16 seconds after the blue key.
I use those landmarks to judge whether I am still on the right route.
I Collect the Keys in Red, Blue, Yellow Order
I use this order every time:
- speak with the golem at the sealed Nushi gate and receive the red key;
- finish the conversation and take the sword offered beside the gate;
- go to the nearby lookout shack and let Koo locate the blue key;
- continue forward instead of returning to the gate;
- enter Tailwater Village and activate the campsite on the route;
- keep pushing through the village until I reach the yellow-key holder;
- collect the yellow key and wait for the all-keys confirmation;
- return to the Walker when the objective changes.
The important decision is at step four.
After finding the blue key, I do not test the gate again. I still need the yellow key, and the route toward Tailwater Village continues from this side of the area. Returning early only repeats the same travel.
The Red Key Is Given to Me at the Gate
When I first inspect the sealed gate, the nearby golem explains that it requires three keys held by three different owners.
He already has the red key.
The red key is added during the conversation at about 1:11:16 in my route. I do not search the ruins around the gate, defeat a separate key holder, or buy it from a merchant.
I stay through the rest of the conversation because the same golem also offers a sword immediately afterward.
That changes my spending decision for this section. I do not make a special Amber purchase just to prepare for the key route. The quest gives me one weapon upgrade at the starting point, and none of the keys cost currency.
If normal enemies are already taking too much healing, I would improve my current setup before continuing. Otherwise, I save the Amber and use the provided sword rather than leaving the objective to shop for a solution the game is about to hand me.
I Go to the Lookout Shack Before Tailwater Village
The gatekeeper gives two location clues:
- the blue key is with a nearby watchman in his lookout shack;
- the yellow key is with a golem in Tailwater Village.
I follow the word nearby and take the blue route first.
This is the shorter branch. I leave the gate area, follow the accessible path toward the lookout structure, and clear the enemies immediately around it. I do not expect a long NPC conversation when I arrive.
At about 1:14:57, Koo notices something unusual. The blue key is confirmed at about 1:15:04.
The real checkpoint is Koo’s reaction.
If I reach the lookout area but do not receive the key, I do not immediately leave. I check the small combat space again, move around the shack, and stay close enough for Koo’s discovery prompt to trigger.
I also do not continue toward Tailwater Village until the blue-key confirmation has appeared. The two destinations are part of the same route, but passing the shack without collecting the item creates a much longer backtrack later.
I Continue Forward After the Blue Key
Once the blue key is secured, I stop thinking in terms of another nearby shack.
The yellow key is deeper in the region.
I continue along the available route into Tailwater Village, clear the enemies blocking forward movement, and use the campsite as my midpoint check.
In my run, I reached that campsite at about 1:20:20.
That was more than five minutes after the blue key and almost eight minutes before I met the yellow-key holder. The campsite does not mean I missed the key. It means I am entering the longer half of the route.
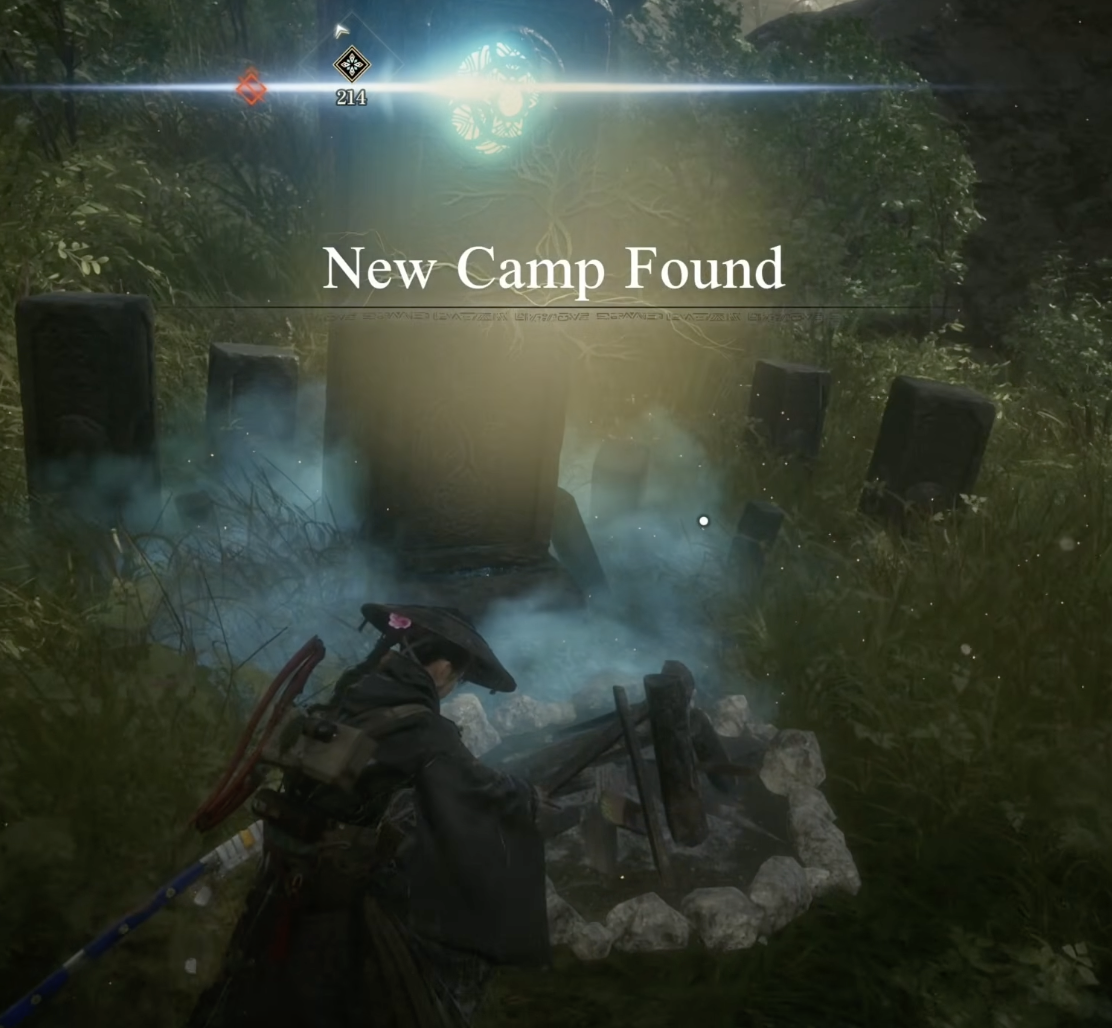
When I Rest at the Tailwater Village Campsite
I rest here when:
- the lookout-shack fight used more healing than expected;
- I have been trading hits instead of parrying consistently;
- my current resources are too low for several more village encounters;
- I want a clean checkpoint before the longest part of the key route.
I keep moving when:
- my healing supply is still comfortable;
- the blue-key fight was short;
- I have already activated the campsite and can return if necessary;
- normal enemies are not forcing me to spend resources repeatedly.
I do not turn back to the gate from this campsite. At this point I have crossed most of the distance needed to reach the yellow key, while returning to the sealed gate still cannot advance the objective.
I also do not buy anything specifically for the yellow key. It is not locked behind a payment, elemental weapon, or crafting recipe. The only requirement is reaching its owner.
The Yellow Key Is With the Golem at the End of the Village Route
I keep following the Tailwater Village route beyond the campsite and clear the remaining hostile encounters.
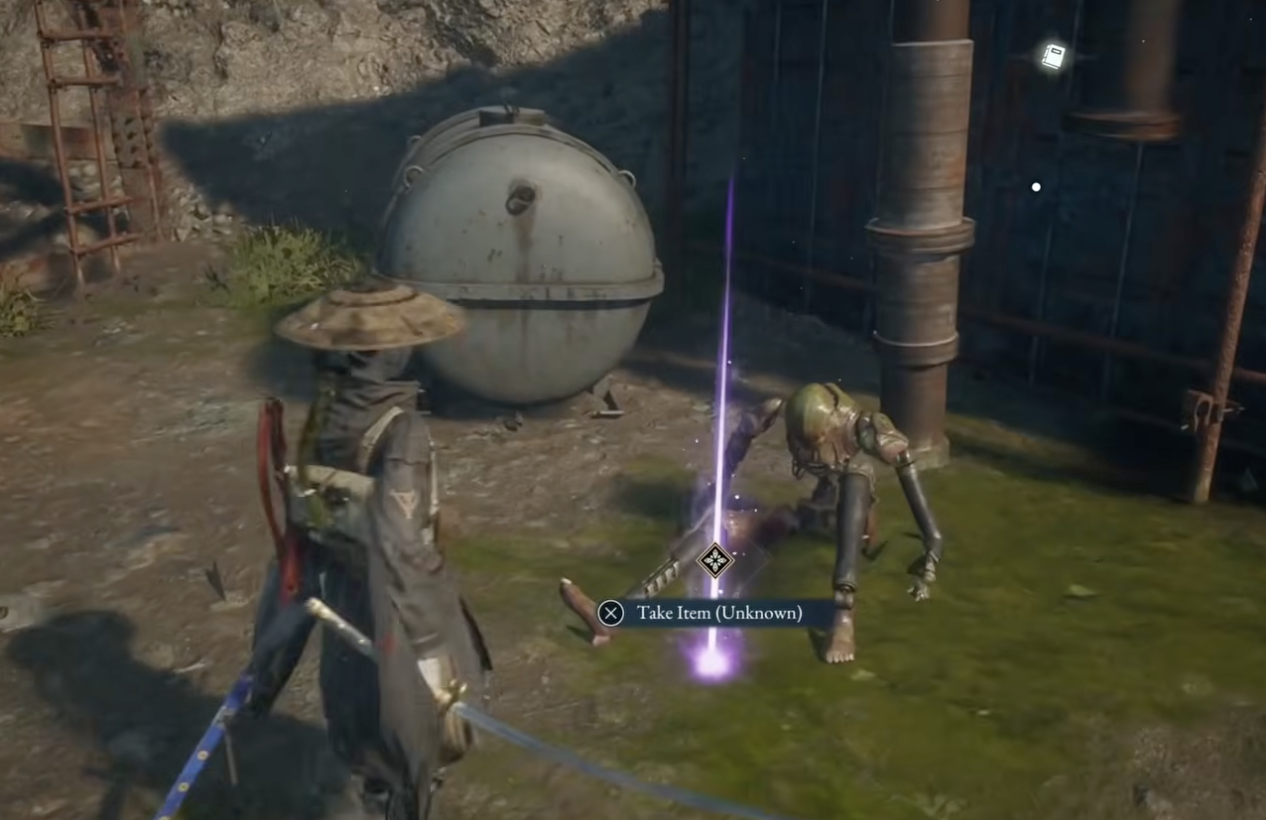
The yellow-key holder is not another active merchant. When I reach him at about 1:28:16, he immediately says that the yellow key is in his possession.
After the conversation, Emma notes that he is still gripping it. The pickup completes at about 1:28:55.
There is no negotiation and no purchase choice.
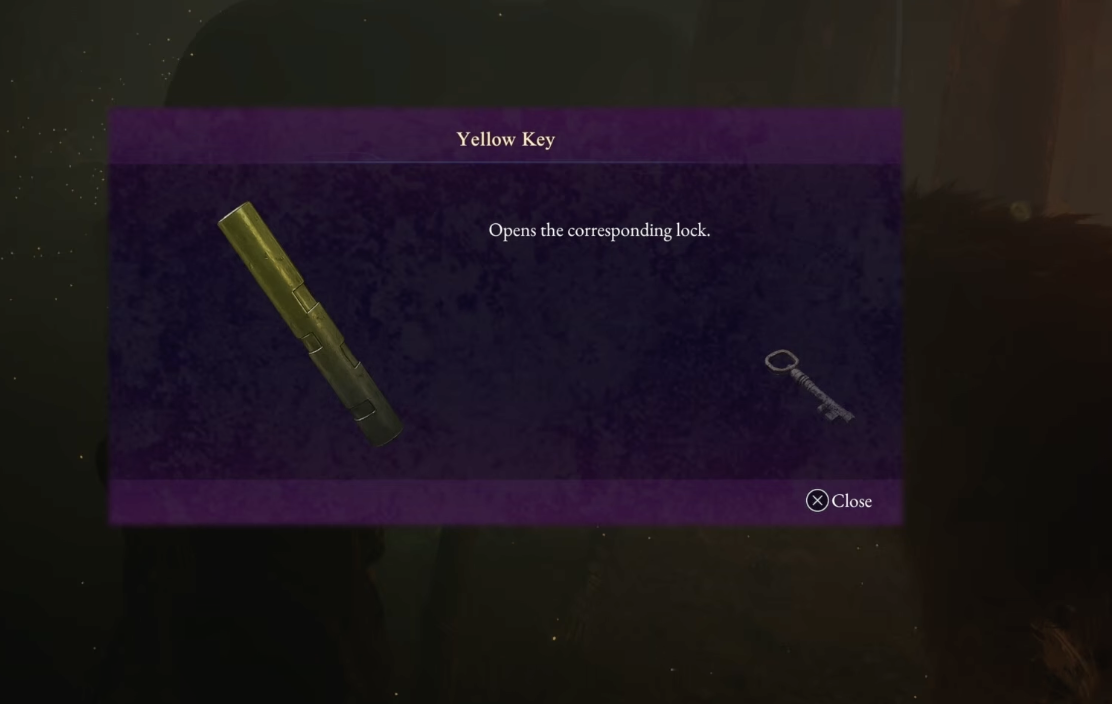
The only easy mistake is leaving too quickly after the dialogue begins. I wait until the game gives both confirmations:
- the yellow key has been collected;
- all three keys are now obtained.
In my route, those messages appeared only a few seconds apart.
I Return to the Walker, Not the Three-Key Gate
At about 1:29:01, the game confirmed that I had all the keys.
Seven seconds later, the objective changed to Return to the Walker because Kagura had awakened.
I follow that instruction.
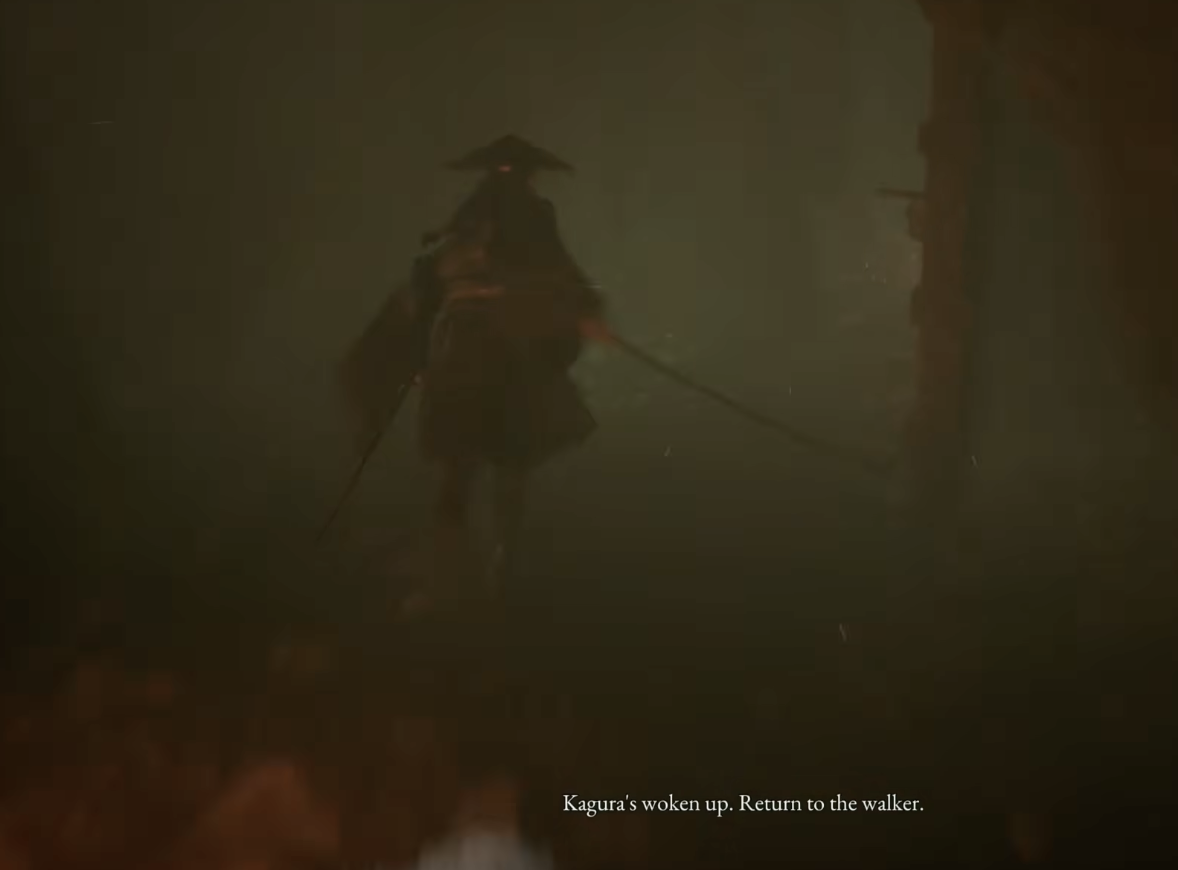
This is the second major place where I could waste a backtrack.
The gatekeeper originally said to return once I had the other two keys, but the story now inserts a longer Walker and colony sequence. I do not ignore the new objective just because the sealed gate is still in my memory.
The delay is substantial. In my route, all keys were confirmed at 1:29:01, but the instruction to return to the entrance of the Nushi lair did not appear until about 2:05:19.
That is more than 36 minutes later.
Most of that time is story progression rather than another missing-key search. If the gate objective seems to disappear after the yellow key, I do not assume the quest is broken. I finish the Walker conversation and the required colony events until the game directs me back to the lair.
When I Backtrack and When I Do Not
I backtrack during this objective only when:
- I reached Tailwater Village without seeing the blue-key confirmation;
- Koo reacted near the lookout shack, but I left without collecting the item;
- I spoke with the yellow-key holder but never saw the all-keys message;
- the current objective still names a missing key after I leave the area.
I do not backtrack when:
- I already have red and blue but have only reached the village campsite;
- the yellow-key route feels much longer than the blue-key route;
- the objective changes to Return to the Walker;
- the story spends a long time away from the sealed gate after all keys are collected.
The route is intentionally uneven. Blue is a nearby pickup. Yellow is the full village push. The Walker return is a story transition, not evidence that I chose the wrong path.
My Missing-Key Check
If the gate route is not progressing, I verify the keys by acquisition point:
- Red: received during the first conversation at the sealed Nushi gate.
- Blue: found by Koo around the nearby watchman’s lookout shack.
- Yellow: taken from the dying golem at the end of the Tailwater Village route.
If red is missing, I return to the gatekeeper and finish the full conversation.
If blue is missing, I search the lookout-shack area and wait for Koo’s discovery.
If yellow is missing, I continue beyond the Tailwater campsite instead of circling the earlier village entrance.
Once all three are confirmed, I stop searching for keys and follow the Walker objective.
For the earlier route into this region, use Search for the Foreman. For the full story order around both objectives, use the Beast of Reincarnation walkthrough. You can also return to the Beast of Reincarnation guide hub.
FAQ
Do I need to command Koo to find the blue key? +
No separate command is required. I clear the short route around the nearby lookout shack and stay close when Koo notices something unusual. Interacting with that discovery gives me the blue key.
Why does the objective send me to the Walker after I get all three keys? +
That return is part of the story route, not a wrong turn. I finish the Walker and colony sequence first. The game later sends me back to the entrance of the Nushi lair, where the three-key route continues.