How I Open the Surface Gate from the Underground Ruins
The route I use through both generators, the reservoir Nushi encounter, the depleted stone trap, and the usable Lightning Stone needed at the control panel.
Updated:
Quick Answer
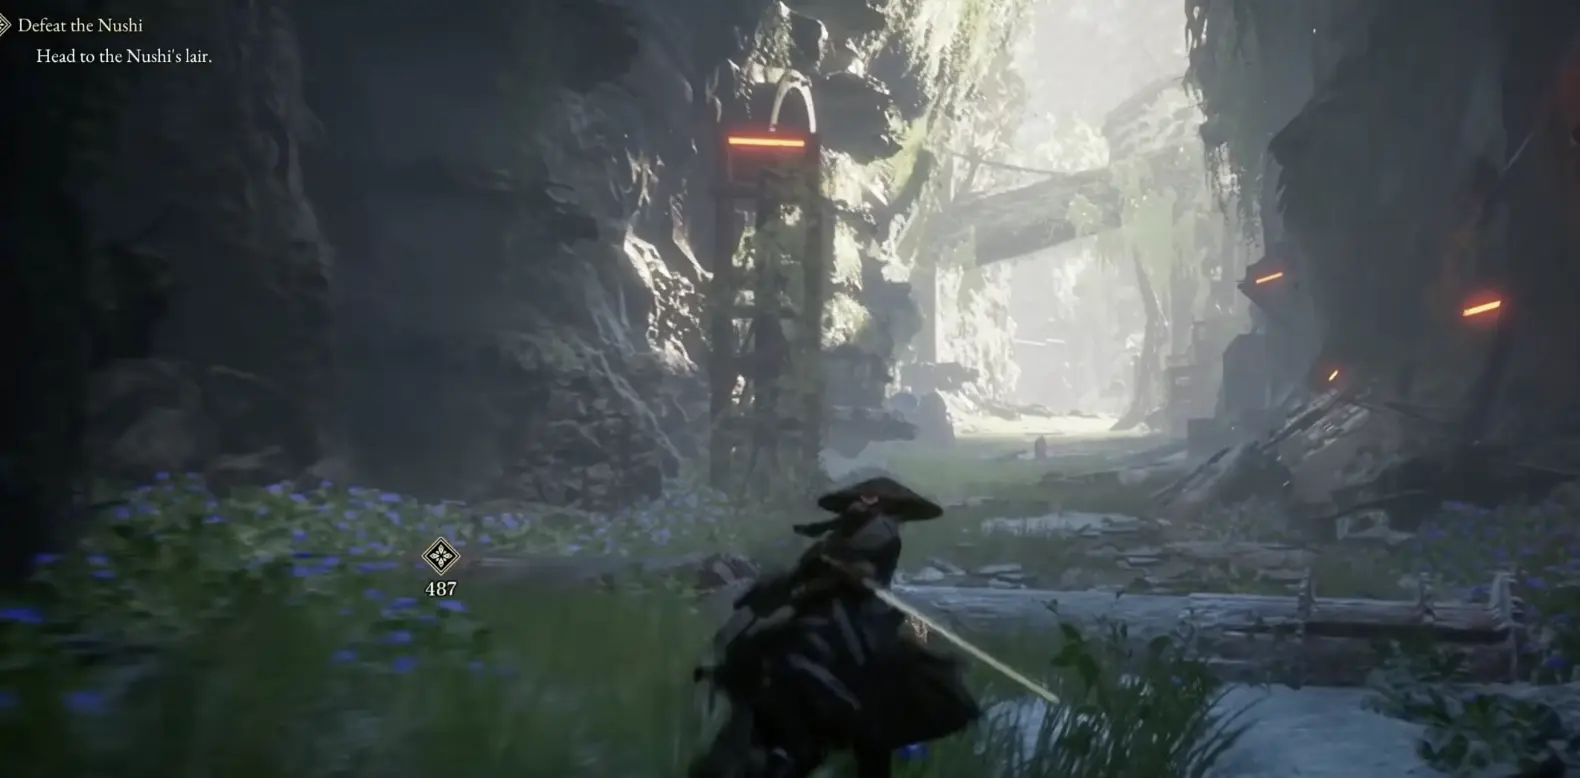
I cannot open the sealed gate from the surface. I descend into the underground ruins, speak with the golem merchant, activate two generators, and enter the reservoir. After forcing the Nushi to retreat, I inspect the gate control panel, ignore the depleted Lightning Stone, follow Koo to a usable one, and return to the panel. Once the stone powers the mechanism, I go back above ground and pass through the now-open gate.
The confusing part of Open the Gate is that the objective contains three different power checks.
They are not the same mechanism:
- two generators power the locked route into the reservoir;
- the reservoir Nushi blocks access to the gate-control sequence;
- one usable Lightning Stone powers the surface gate itself.
I originally treated the generators as the complete solution. They are only the first step. If the reservoir panel still says Insufficient power, I have not missed a third generator. I need the Lightning Stone.
I Stop Testing the Surface Gate
When I reach the sealed gate again, the game makes one point clear: it cannot be opened from this side.
I stop searching its frame for another key slot or interaction prompt. The three-key task has already done its job by bringing me back to the lair route. The actual opening mechanism is below ground.
I turn away from the gate and take the descent into the underground ruins.
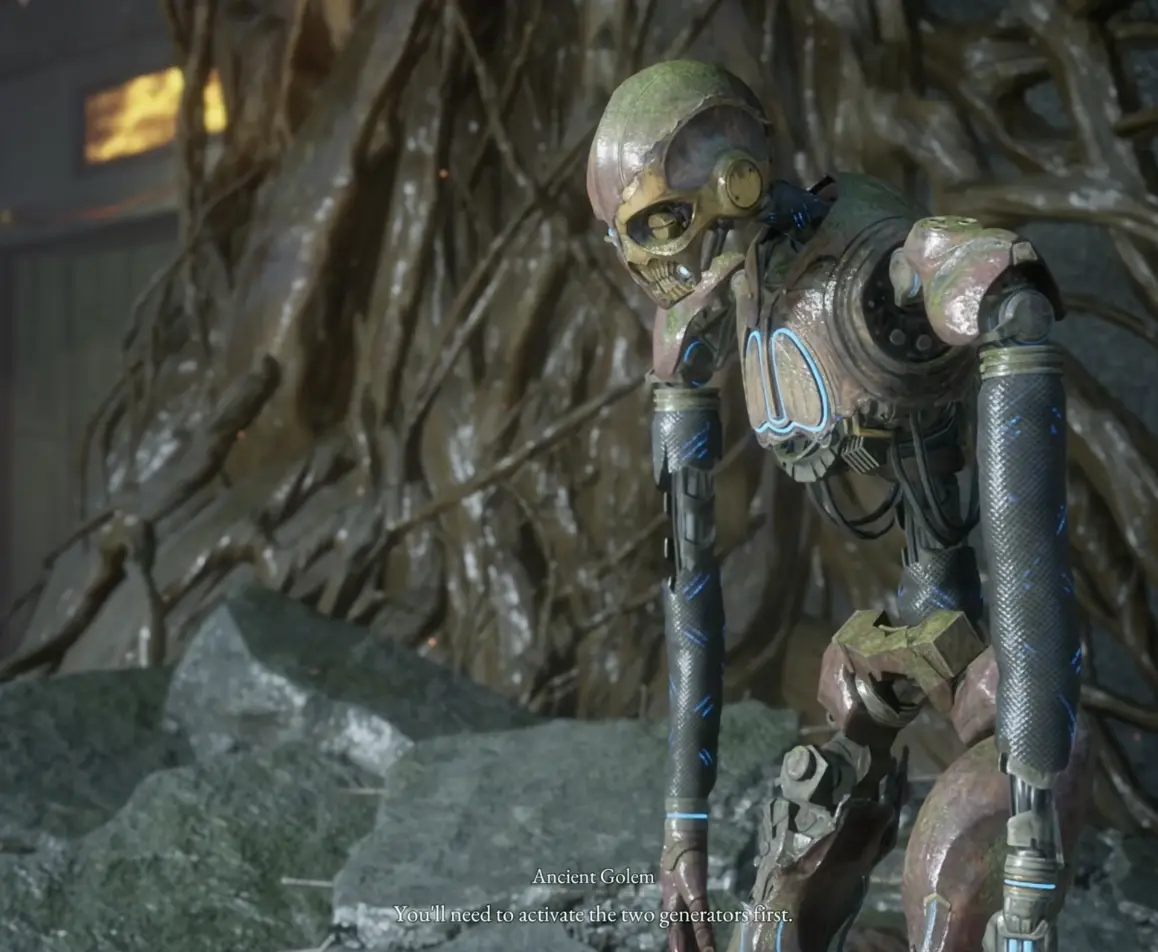
The ruins are intentionally difficult to read because there is no detailed map. My first useful landmark is the non-hostile golem merchant. I speak with him before choosing a branch because he gives the exact generator layout:
- one generator is down the path behind him;
- the second is on the floor below;
- I reach that lower floor by crossing the river ahead.
I Activate the Generator Behind the Merchant First
I take the short branch behind the merchant before committing to the lower ruins.
This order is easier to track because the first generator sits on the same general level as the conversation. Once it is active, I know the only remaining power branch is below the river route.
I clear the enemies directly blocking the path, activate the mechanism, and return toward the merchant junction.
I do not continue wandering past every side pickup before finding the second generator. Optional items can wait. The locked reservoir route will not respond until both power sources are active, so finishing the pair is my priority.
If I return to the junction and the mechanism still looks dead, I do not assume the first activation failed. One generator is not enough to produce the fully-powered confirmation.
I Cross the River for the Lower-Floor Generator
From the merchant junction, I take the route ahead toward the river.
The second generator is not another same-level room hidden behind the shop. I cross the river and work down to the lower floor.
That vertical change is the most useful route check. If I am still circling the merchant on the original level, I am searching the wrong side for generator two.
The underground path includes a campsite before the route is fully powered. I activate it even when my health is comfortable. The second branch is longer, contains several hostile encounters, and eventually leads into a forced Nushi section. Unlocking the camp gives me a safer recovery point without spending Amber just to solve the power puzzle.
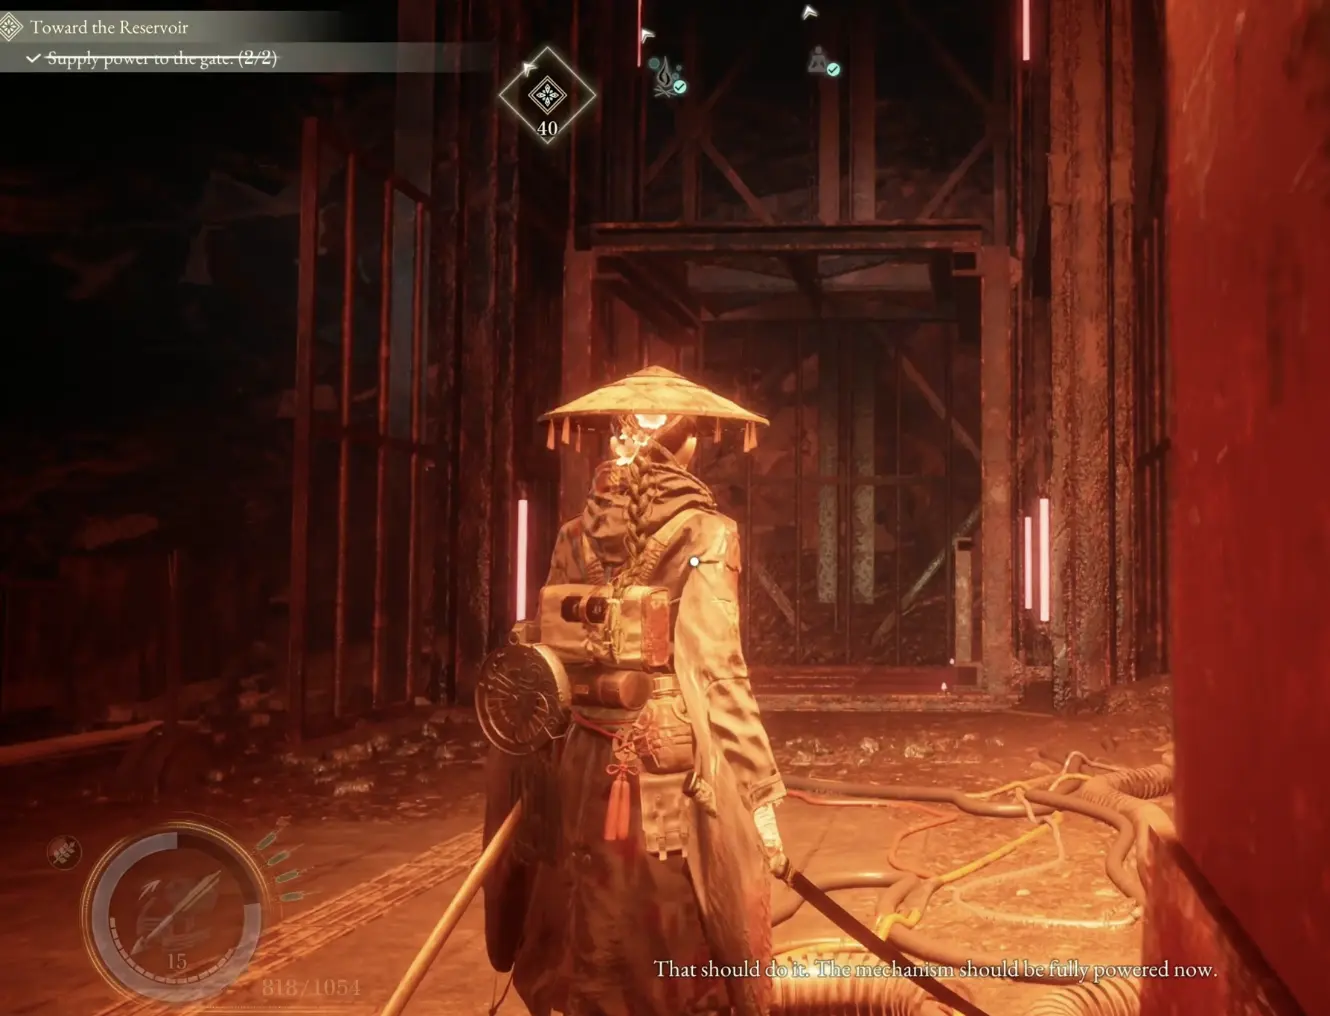
I continue until the game confirms that the mechanism is fully powered. Then I interact with the powered control rather than immediately returning to the surface.
I Enter the Reservoir and Activate the Second Camp
Once the powered route opens, I continue into the reservoir facility.
The game identifies the area as the reservoir and confirms that its control panel operates the gate above. That sounds like the final step, but the Nushi roar is the warning that I cannot use it cleanly yet.
There is another campsite inside the reservoir route.
I activate it before pushing into the Nushi territory because this is a more important preparation point than the underground merchant:
- the upcoming encounter is mandatory;
- I cannot finish the control-panel objective first;
- the Nushi only needs to be forced to retreat during this stage;
- I will return through the area after learning what powers the panel.
I rest when my healing has already been reduced by the two-generator route. I keep moving when the earlier enemies caused little damage, but I still unlock the camp.
I Fight the Nushi Before Searching for the Control Panel
The reservoir route eventually displays the Nushi-territory restriction.
At that point, I stop trying to run around the encounter looking for a panel interaction. The game explicitly requires me to deal with the Nushi first.
This is not yet the final chase beyond the surface gate. My immediate goal is to survive long enough to force the Nushi to retreat farther into its lair.
I use the following judgment:
- I stay near the reservoir camp if I entered with poor healing or an unfinished setup;
- I proceed when both camps are active and normal enemies are no longer draining resources;
- I do not return to the underground merchant solely because the panel is still inaccessible;
- I do not spend Amber looking for a puzzle item before this fight.
After enough damage, the Nushi escapes through a route leading toward the surface. The game then connects its lair with the sealed gate and sends me back to find the control panel.
The First Lightning Stone Is Depleted
On the control-panel route, I learn that a Lightning Stone powers the gate.
The first one I find is a trap for anyone reading the item name but ignoring the dialogue. A golem had held onto the stone, but it has no energy left.
I do not carry that depleted stone back and repeatedly test the panel. The game states that it is useless for the mechanism.
When I activate the control panel without a working stone, it reports Insufficient power.
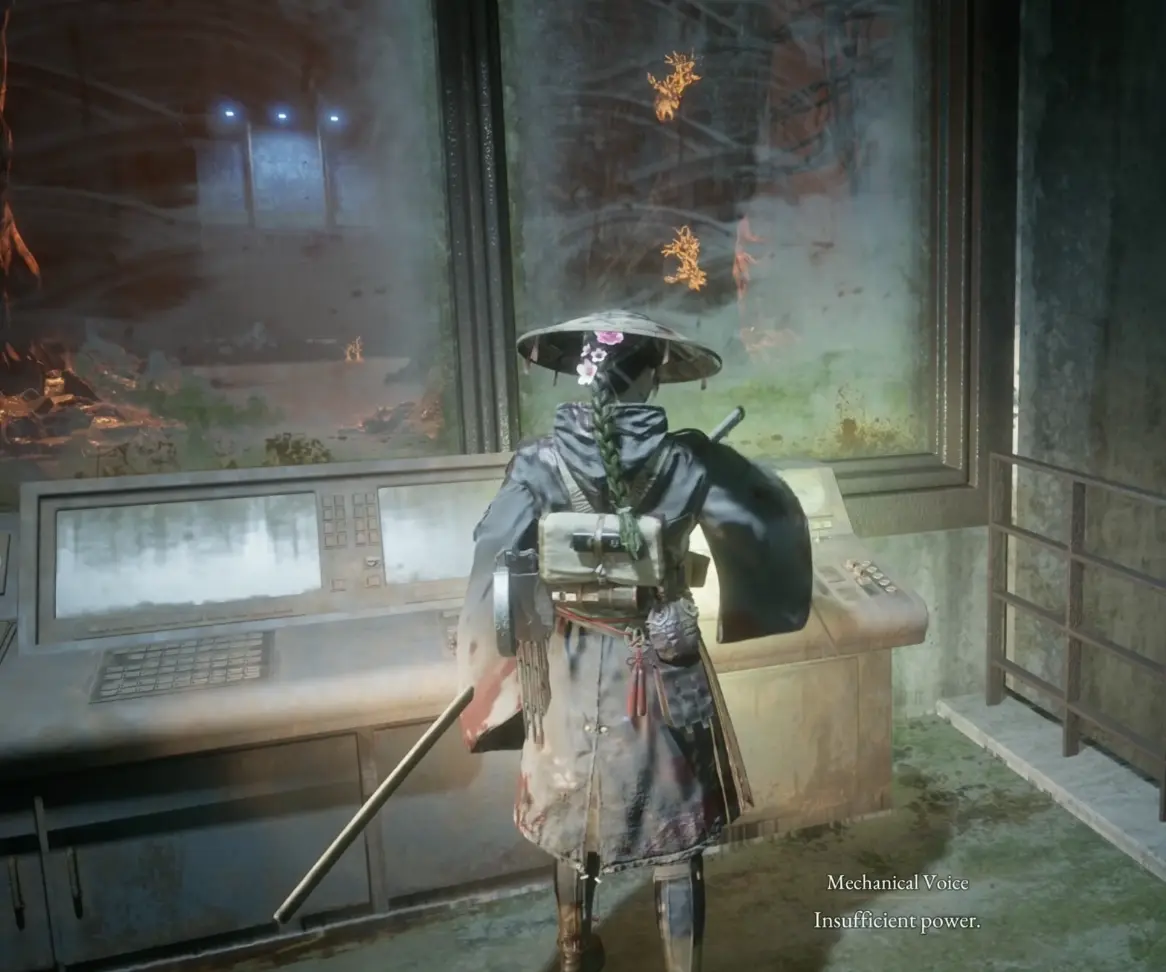
This is the real objective split:
- the generators powered the facility route;
- the Lightning Stone powers the gate panel.
I follow the new instruction to find a usable stone.
I Follow Koo Instead of Returning to the Merchant
Koo picks up the trail of another Lightning Stone.
I follow that route through the nearby hostile area. It leads into the encounter where I rescue Mikoto.
The usable stone is acquired during this branch, before the route sends me back to try the control panel again. I watch for the item-acquisition screen rather than assuming that finishing the Mikoto conversation alone created the stone.
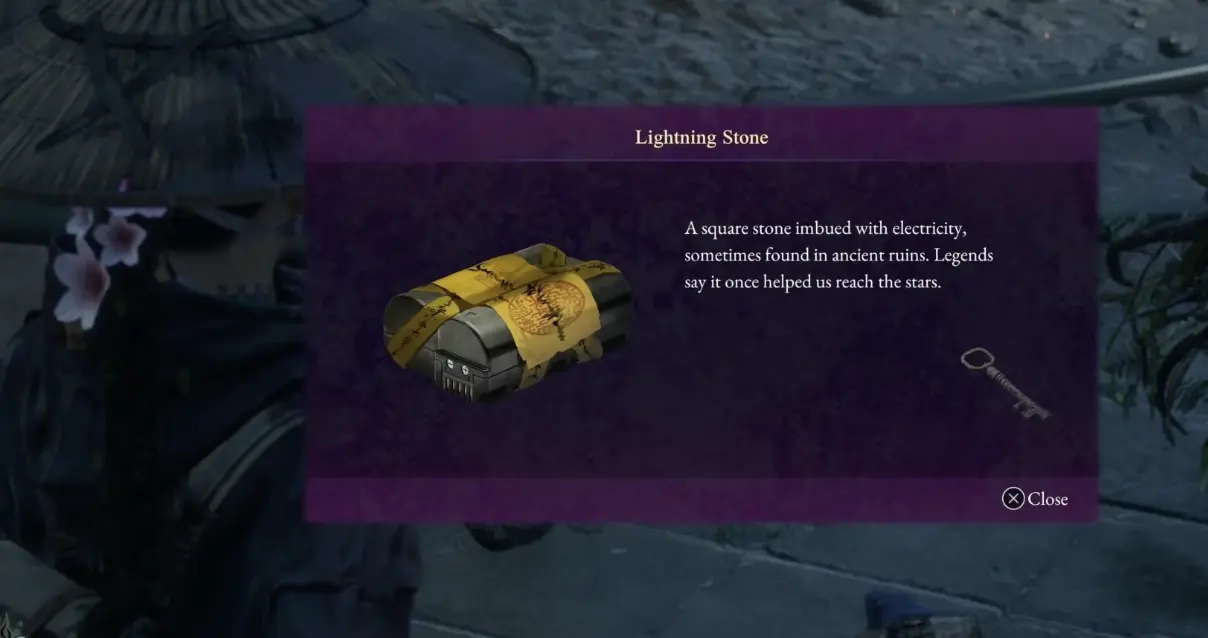
I let the Mikoto sequence finish because it also unlocks his signal code and a new enhancement connection. Once the dialogue ends, the game confirms that I have what the control panel needs.
I then turn back.
I do not continue deeper into unrelated side paths, and I do not take the stone to the surface gate. The stone belongs in the reservoir control panel.
When I Buy and When I Save My Amber
The underground merchant appears before the longest section and invites me to browse his wares, but nothing in his shop is required to solve the gate.
I save my Amber when:
- both generator routes are manageable;
- I have activated the first underground campsite;
- my healing is still stable;
- I only need the merchant because I assume he sells the Lightning Stone.
He does not replace the quest route. The usable Lightning Stone comes from following Koo after the panel fails.
I consider spending Amber when:
- the trip to the second generator has already consumed most of my recovery;
- ordinary enemies are forcing repeated healing;
- I have not yet reached either safe campsite;
- my current setup is likely to fail the mandatory reservoir Nushi encounter.
The distinction is simple: I buy for survival, not for the puzzle.
I Return to the Control Panel and Open the Gate
With the usable Lightning Stone collected, I retrace the route to the reservoir control panel.
I insert the stone and complete the activation. The objective then confirms that the gate above is open and directs me to pass through it to reach the Nushi’s lair.
I do not keep searching the underground ruins after that message. The mechanism is finished.
I use the nearest established route back to the surface, rest at an activated camp if the previous encounters left me low, and return to the sealed gate.
My Gate-Opening Check
If the route stops progressing, I identify which of the three checks is still incomplete.
The reservoir route is locked: I am missing one of the two generators. I check the path behind the merchant, then cross the river to the lower floor.
The reservoir says I must deal with the Nushi: I use the nearby campsite and complete the forced encounter until it retreats.
The panel says Insufficient power: the generators are not the problem. I need to inspect the depleted stone, follow Koo, obtain the usable Lightning Stone, and return to the panel.
The objective says the gate above is open: I stop exploring underground and return to the surface.
For the objective that brings me back to this region, use the red, blue, and yellow key locations. For the full route around the reservoir and the next Nushi encounter, use the Beast of Reincarnation walkthrough. You can also return to the Beast of Reincarnation guide hub.
FAQ
Do the two generators open the surface gate directly? +
No. They restore power to the locked route into the reservoir. I still have to reach the reservoir control panel, force the Nushi to retreat, and insert a usable Lightning Stone before the surface gate opens.
Can I open the reservoir control panel before fighting the Nushi? +
No. The reservoir becomes Nushi territory when I enter, and the control panel route does not progress until I survive the encounter and force it to retreat.