How I Choose Badges Before a Run
I use Badges as a pre-run adjustment: add survivability when a team is fragile, support a clear plan, and buy more Badge Slots only when I can use them.
Updated:
Quick Answer
I choose Badges before the run starts, after I already know the arena, mode, team and objective.
I use them as a final adjustment rather than the foundation of the build.
For a fragile or unfamiliar run, I prefer a Badge that makes the opening safer.
For a team that already clears comfortably, I have more freedom to use offensive or progression-focused effects.
I buy another Badge Slot when I already have multiple useful Badges competing for the slots I own.
Badges started making more sense once I stopped treating them like another skill tree.
They are not where I build the entire run.
They are where I make the last adjustment before the first zombie appears.
That distinction matters.
If the team already has strong damage but feels fragile, I can add durability.
If the team already survives comfortably, I do not need to keep piling defensive stats onto it.
And if the whole setup is badly underdeveloped, one Badge usually is not going to rescue it.
I Choose Badges at the End of Run Setup
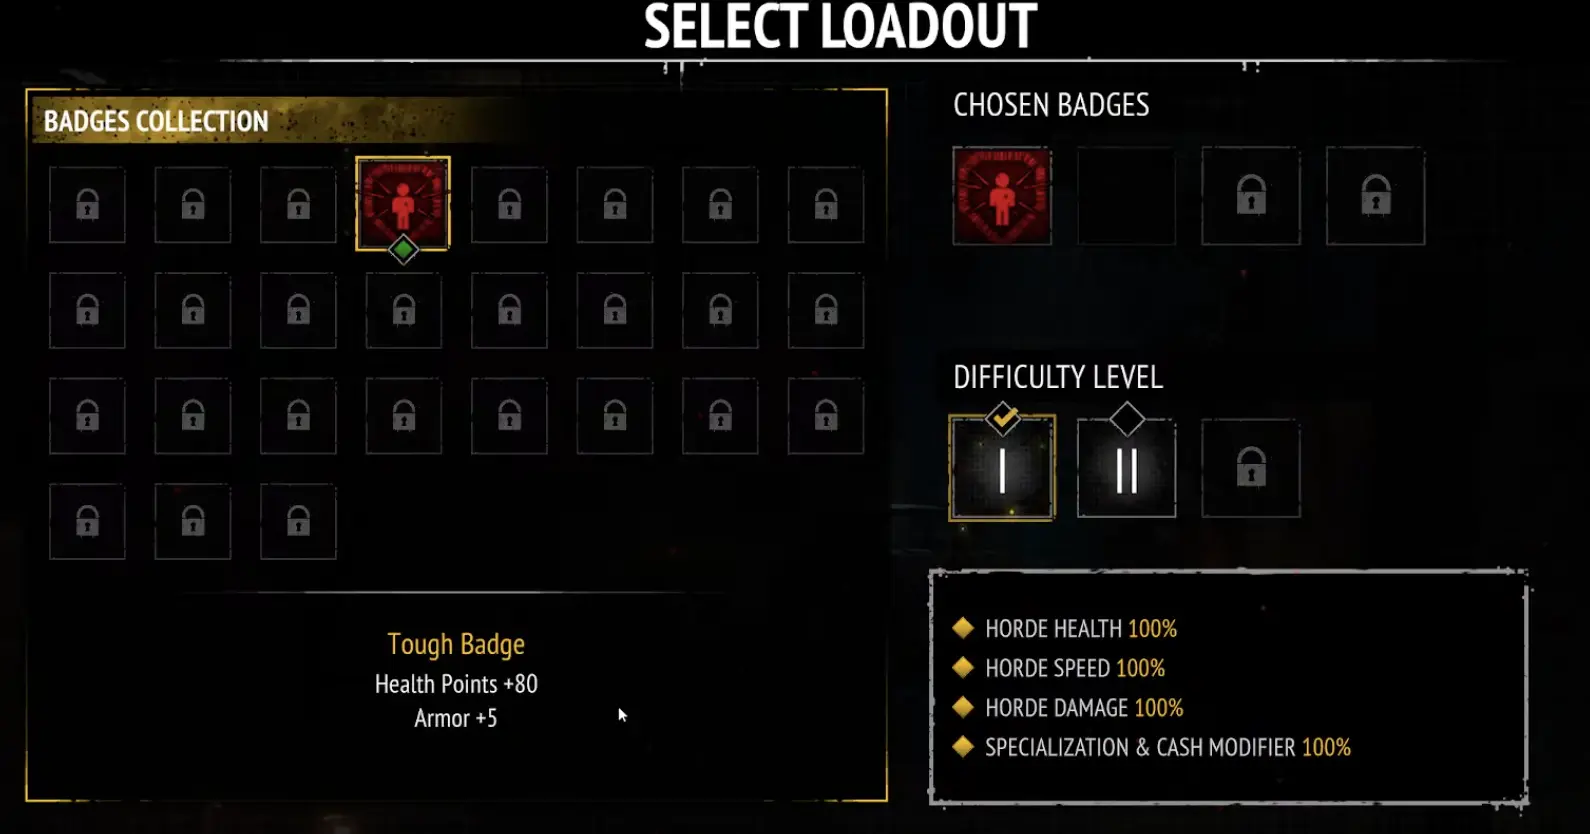
Badges appear in the Loadout before I start the run.
By that point, I already know what I am taking into the arena.
I normally already know:
- which Survivor is leading;
- which arena I am entering;
- which mode I selected;
- whether the run has a mission objective;
- whether I am testing harder content or farming something comfortable.
That context decides the Badge.
I do not choose a favorite Badge first and force every run around it.
Tough Badge Is My Straightforward Defensive Option
One of the easiest Badges to evaluate is Tough Badge.
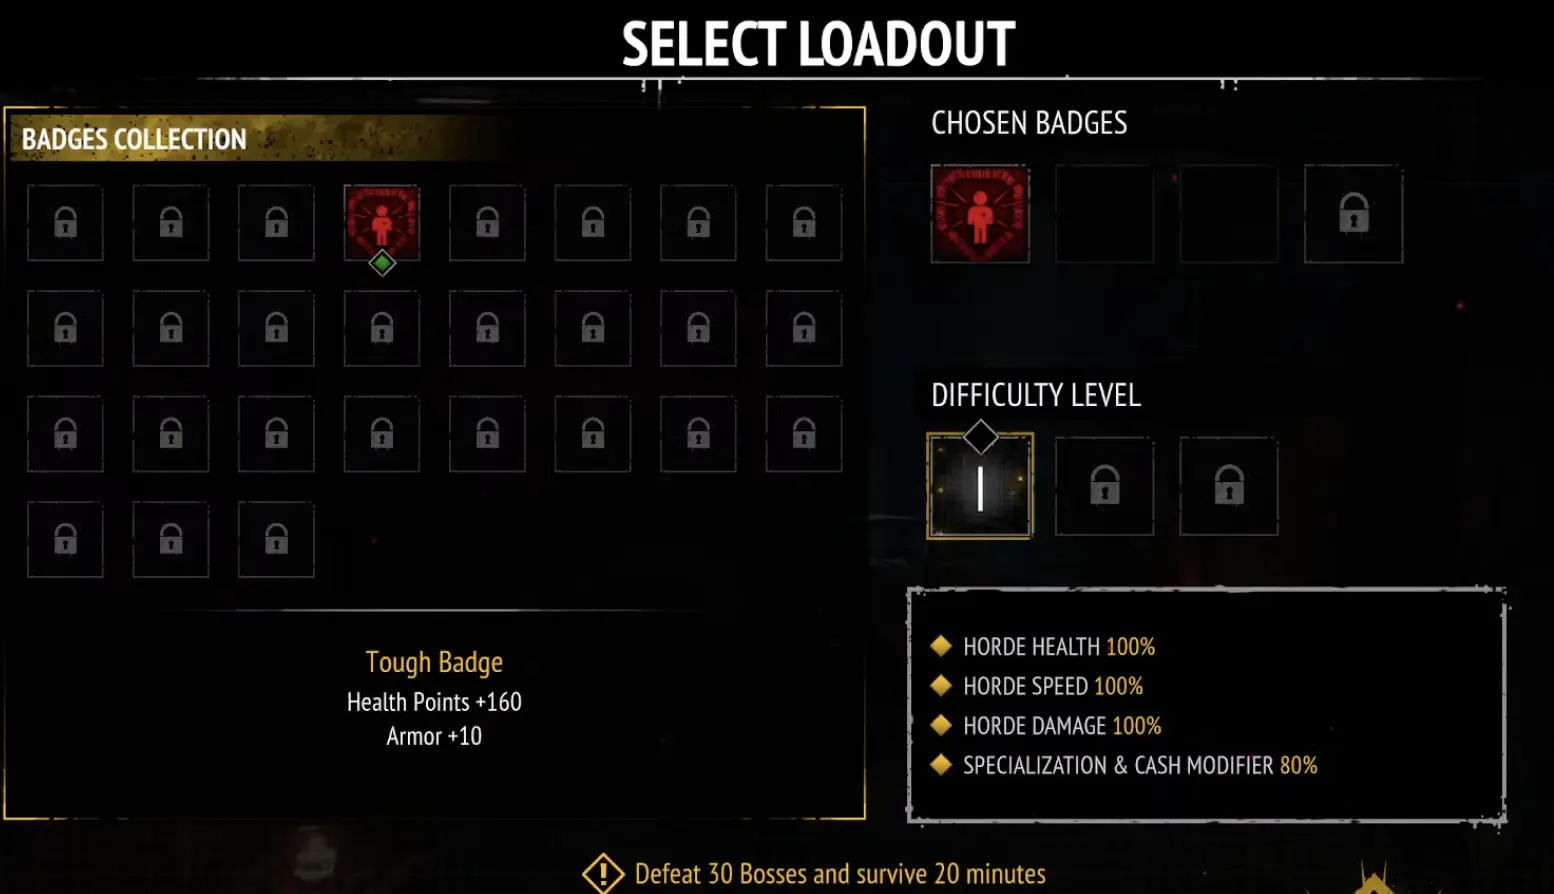
The version shown in my loadout gives:
Health Points +160
and:
Armor +10
There is no complicated synergy to solve here.
It gives me more room to make mistakes.
That becomes useful when the problem is not theoretical maximum damage.
It is surviving long enough for the real build to come online.
I Value Tough Badge More When the Opening Is the Problem
The opening phase is where a defensive Badge often feels best to me.
Later in a strong run I may have:
- evolved weapons;
- several Survivors;
- stronger abilities;
- useful items;
- Military Training bonuses.
At the beginning, I have almost none of that.
If the starting Survivor is underleveled or the first waves are already taking too long to clear, the run can become unstable before those systems ever appear.
Extra Health and Armor do not fix low damage.
What they do is give me more time to survive while I solve it.
That is enough to make Tough Badge useful on runs where one or two early mistakes would otherwise end the attempt.
I Do Not Use Defensive Badges to Hide a Bad Build
There is a point where more survivability stops being the answer.
If basic enemies are staying alive long enough to surround me, I have a damage problem.
If I cannot create an escape route, I may have a movement or clear-speed problem.
If my team is several progression steps behind the content I am attempting, I have a progression problem.
A defensive Badge can soften those weaknesses.
It cannot remove them.
That is why I do not look at +160 Health and +10 Armor and assume I can ignore the rest of the account.
If the build itself is the issue, I fix the build.
The weapon and team decisions stay in my builds and synergies guide.
Harder Content Changes What I Want From the Badge Slot
The first time I moved into harder content, the difference showed up very quickly.
Enemies that had been disappearing comfortably started taking much longer to kill.
That meant they stayed on screen longer.
More enemies survived long enough to overlap.
My movement lanes disappeared faster.
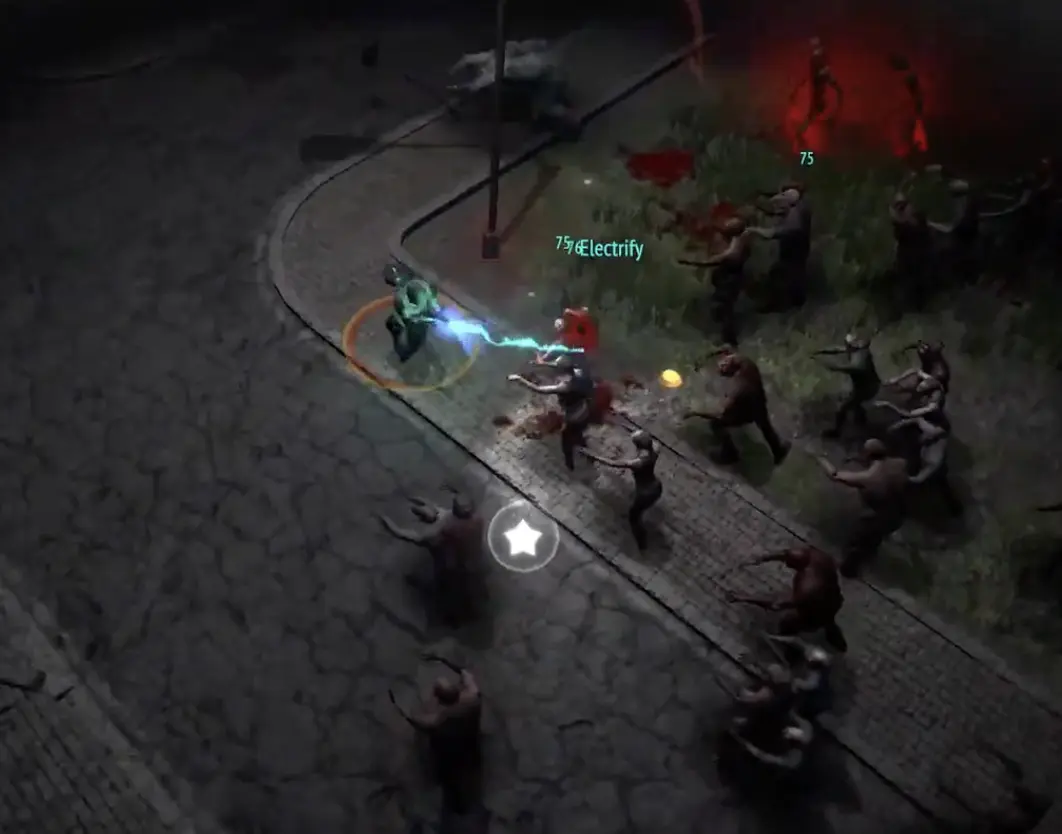
That is a situation where I am happy to become more defensive.
I am learning how much pressure the new setup creates.
I do not need to maximize reward on the very first attempt.
I need enough stability to see whether the team can actually handle the run.
A Comfortable Run Gives Me More Freedom
The opposite is also true.
If I finish a run with:
- plenty of health;
- normal enemies dying quickly;
- elites under control;
- safe room to collect objectives;
then another large defensive buffer may not solve a real problem.
That is when I start looking harder at other Badge effects.
The exact choice depends on what I have unlocked, but the principle stays the same:
I use the slot on something that changes the run.
A Badge that adds more durability to a team that is never in danger may be technically useful but practically wasted.
Mission Runs Make Me Care More About Consistency
A mission can change my Badge choice even when the arena itself is familiar.
The combat may not be the hard part.
The hard part may be:
- protecting a mission item;
- reaching a survival threshold;
- using a required Survivor;
- interacting with enough chests;
- completing a condition without accidentally invalidating it.
In those runs, I like removing unnecessary combat risk.
If I already have another objective demanding my attention, I would rather make survival predictable.
The mission requirements themselves stay in my missions guide.
For Badges, I only care about what makes that objective easier to complete.
Badge Slots Are Permanent Progression
The number of Badges I can bring is not fixed.
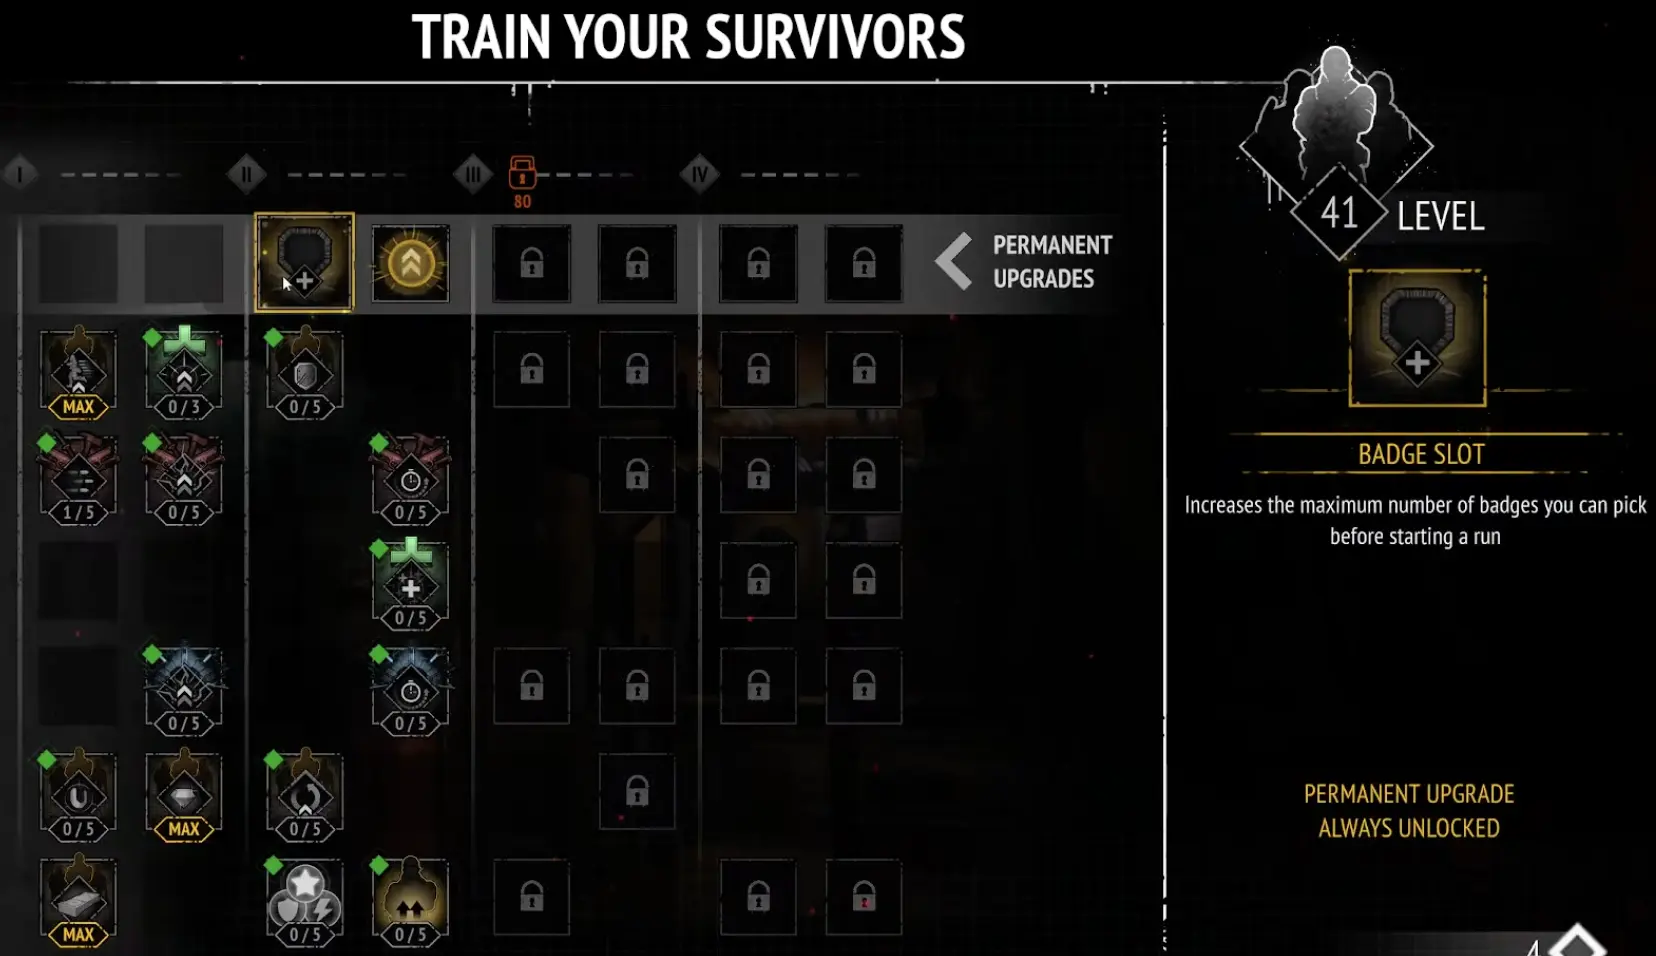
The Training Yard includes a permanent Badge Slot upgrade.
Its description says it:
increases the maximum number of Badges you can pick before starting a run.
This is a very different purchase from Weapon Damage or Movement Speed.
Those stats immediately improve something every run.
A Badge Slot only gives me value if I have another Badge worth equipping.
That is why I do not automatically buy every slot as soon as it appears.
I Buy a Badge Slot When I Have Something Useful to Put in It
The simplest way I judge Badge Slot value is by looking at what I am already leaving behind.
If I have one slot and only one Badge I genuinely want, another slot is not urgent.
If I have one slot and I keep wishing I could bring two useful effects together, the upgrade starts solving a real problem.
For example, I may want:
one defensive effect
plus:
one effect supporting the actual goal of the run.
At that point another Badge Slot gives me real flexibility.
Before that, it can be less valuable than a permanent upgrade that directly fixes weak damage, movement or survivability.
I Do Not Buy Loadout Capacity Before Basic Power
This is where I am most careful with permanent resources.
If my Survivors are struggling in the opening waves, I would rather fix the opening.
If the main weapon feels weak, I would rather improve the relevant progression.
If movement is repeatedly killing me, I would rather solve that.
An empty Badge Slot does not kill zombies.
It only gives me another place to equip something I already own.
So I treat Badge Slot upgrades as a multiplier on an account that already functions.
They make a good setup more flexible.
They do not create a good setup by themselves.
I Match the Badge to the Leader
I do not copy one Badge loadout across every Survivor.
Different leaders start a run with different weaknesses.
A durable leader may not need Tough Badge as badly.
A weaker Survivor I am still leveling may get much more value from the extra Health and Armor.
That changes the way I look at the same item.
I am not asking:
Is Tough Badge good?
I am asking:
Does this leader need Tough Badge for this run?
That gives me a much better answer.
I Look at the First Few Minutes of the Previous Run
The best Badge information often comes from the previous attempt.
I think about what happened before the build became fully developed.
Did I lose too much health before the second Survivor arrived?
Did basic enemies stay alive long enough to close the screen?
Was I already comfortable before the major upgrades appeared?
That opening tells me more about my next Badge choice than the final damage screen.
If I was struggling immediately, I want help immediately.
If I was already safe before the build matured, I have room to use the slot differently.
I Do Not Judge a Badge by End-of-Run Damage
Badges are pre-run effects, so I care most about what they change before the run has accumulated all of its power.
A finished build can make almost any opening choice look unnecessary.
By the end I may have enough damage and survivability that Tough Badge no longer feels important.
That does not mean it did nothing.
If the extra buffer kept the run alive during the weakest part of the build, it already did its job.
That is how I evaluate defensive Badges.
Not by asking whether I still needed them at the end.
By asking whether they helped me reach the end.
I Step Back When the Whole Account Is the Problem
Sometimes the right answer is not another Badge.
I have deliberately returned to easier content when the Survivors I wanted to train were not ready for the harder attempt.
That gave me a better chance to:
- finish the run;
- gain character progression;
- earn Cash;
- complete mission objectives;
- strengthen the account.
I would rather do one productive lower-risk run than use every Badge slot trying to force an underdeveloped team through content it cannot yet control.
A Badge should improve a reasonable attempt.
It does not need to turn every bad matchup into a win.
My Badge Rule Before I Press Start
I choose the run first.
Then I choose the Badge.
If the opening is fragile, I want protection.
If the team already feels safe, I use the slot for something that adds more value.
If I have several useful Badges competing for limited space, I consider buying another Badge Slot.
If the entire account is too weak for the run, I stop expecting the Badge system to solve a progression problem.
That is what made Badges useful for me.
They are not another build I need to memorize.
They are the last adjustment I make before I find out whether the build I already chose is ready.