MECCHA CHAMELEON Maps & Hiding Spots Guide
A practical MECCHA CHAMELEON maps and hiding spots guide covering Mansion, Indoor Country, Sewer, Backrooms, Penguin Hotel, object disguises, look-up spots, legal spots, seeker counters, and reusable hiding patterns.
Updated:
Quick Answer
The best MECCHA CHAMELEON hiding spots are not just dark corners. Strong spots make your body look like something the map already expects: a cushion, shelf object, hay shape, sign detail, wall patch, themed prop, roof shape, pole detail, or ceiling object. Use the map first, then paint. If the room does not explain why your shape belongs there, seekers will find you even with decent color.
What This Maps Guide Covers
This guide is not a static wiki list of every possible hiding location.
Maps change, lobbies learn, and exact spots get weaker after other players see them. The useful skill is understanding why a spot works: what the seeker sees first, what object shape belongs in that room, what surface you can copy, whether the spot is legal, and how easy it is to counter.
This guide covers:
- the main map identities players search for;
- beginner, intermediate, and advanced hiding spot types;
- object disguise logic;
- look-up and vertical hiding spots;
- under-object and clutter spots;
- legal spots versus out-of-bounds spots;
- seeker counters for each pattern;
- patch-aware lighting, collision, and spot reliability.
Quick Map Identity Table
| Map | Best hider identity | Best seeker counter |
|---|---|---|
| Hide-and-Seek Mansion | Furniture, curtains, shelves, upstairs rooms, kitchen props, ceiling angles | Check low furniture, curtain edges, upper routes, and shelf clutter |
| Indoor Country | Hay, barn walls, animal props, ceiling seams, bright wall challenges | Check animal shapes, hay gaps, barn edges, bright walls, and floor blends |
| Sewer | Brick patterns, shelves, pipes, red barrels, graffiti, dark clutter | Look for smooth body curves inside noisy textures |
| Backrooms | Flat wall patches, signs, corners, ceiling lines, repeated patterns | Check thickness, shadows, sign edges, and wall marks |
| Penguin Hotel | Themed props, statues, bathroom objects, ceiling plays, plain-sight jokes | Check object clusters, ceiling shapes, bathroom props, and statue groups |
Spot Difficulty Ratings
Use these ratings to choose spots that match your current skill.
| Difficulty | What it means | Best for |
|---|---|---|
| Beginner | Easy to reach, easy to paint, low chance of warning or flashing | First few rounds, public lobbies, learning maps |
| Intermediate | Needs better pose, paint timing, or angle control | Players who understand hide time and basic Paint Mode |
| Advanced | Risky, high-value, angle-sensitive, or easy to ruin with movement | Players who understand seeker paths and lobby behavior |
The Three Hiding Patterns That Work On Most Maps
Before memorizing map-specific spots, learn the patterns that transfer between maps.
Most good hides are built from one of these ideas:
- Object disguise — your body becomes something that belongs in the room.
- Look-up spot — seekers check eye level and forget high or vertical angles.
- Pattern blend — your paint follows the wall, shelf, hay, brick, sign, or clutter rhythm.
| Hiding pattern | Why it works | Where to try it | Seeker counter |
|---|---|---|---|
| Plain-sight object disguise | The shape looks intentional instead of hidden | Posters, props, cushions, signs, themed objects | Compare it to nearby real objects |
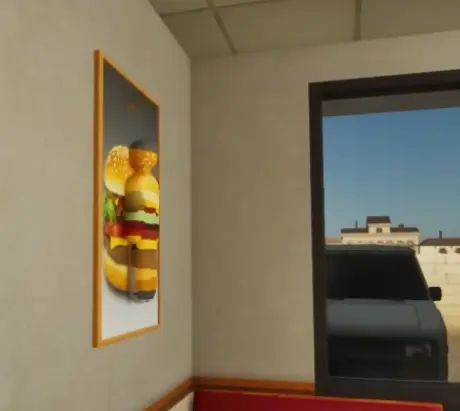
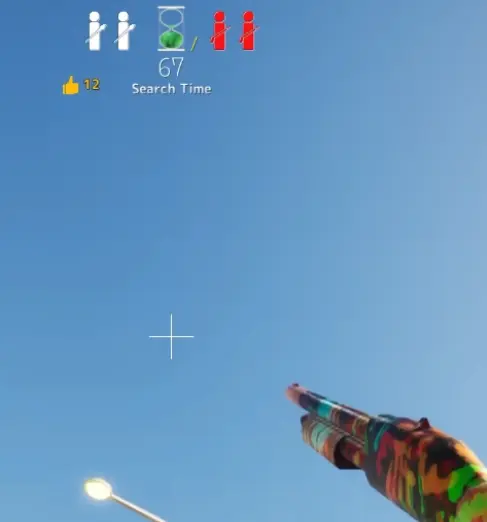
| Look-up / vertical hide | Many seekers sweep at eye level first | Poles, walls, shelves, upper ledges, ceiling shapes | Look up before leaving every room |
| Under-object hide | Seekers often check tops and corners first | Tables, trucks, shelves, beds, cabinets | Sweep low and under large objects |
| Dark clutter spot | Noise hides rough paint and body edges | Sewer corners, shelves, trash, pipe areas | Look for smooth curves in hard clutter |
| Wall patch | A clean body can read as surface detail | Backrooms walls, signs, brick, tile, wallpaper | Check thickness, shadow, and pattern direction |
| Doorway-side spot | Seekers enter looking forward | Door sides, entry corners, curtains, side shelves | Turn around after entering |
Hide-and-Seek Mansion Spots
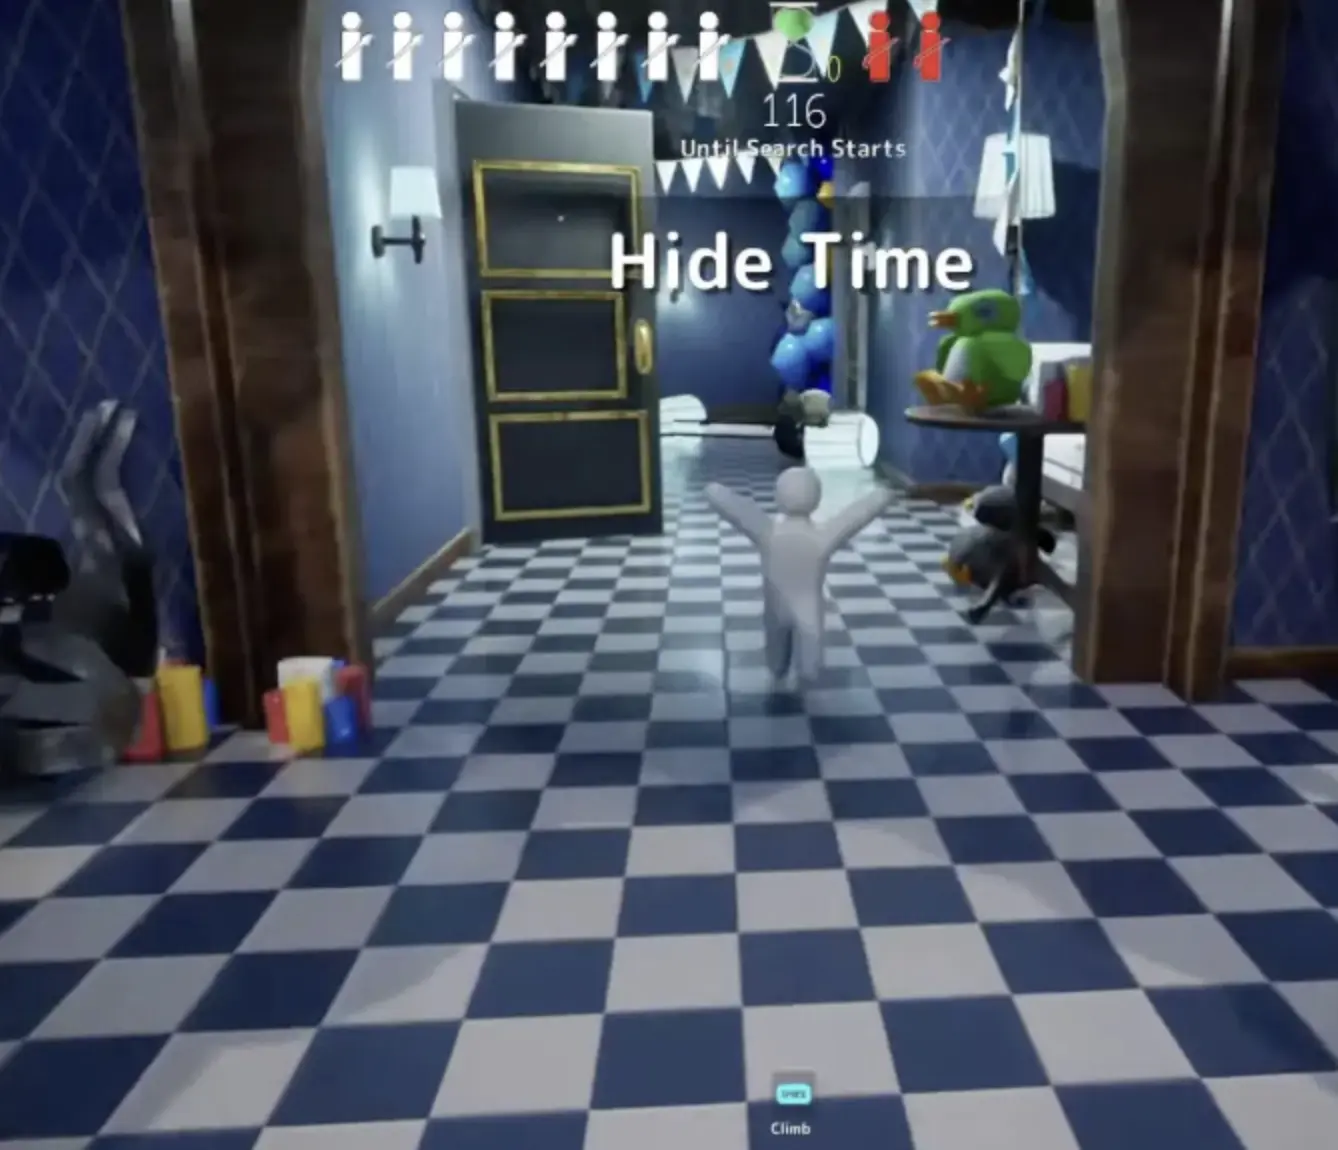
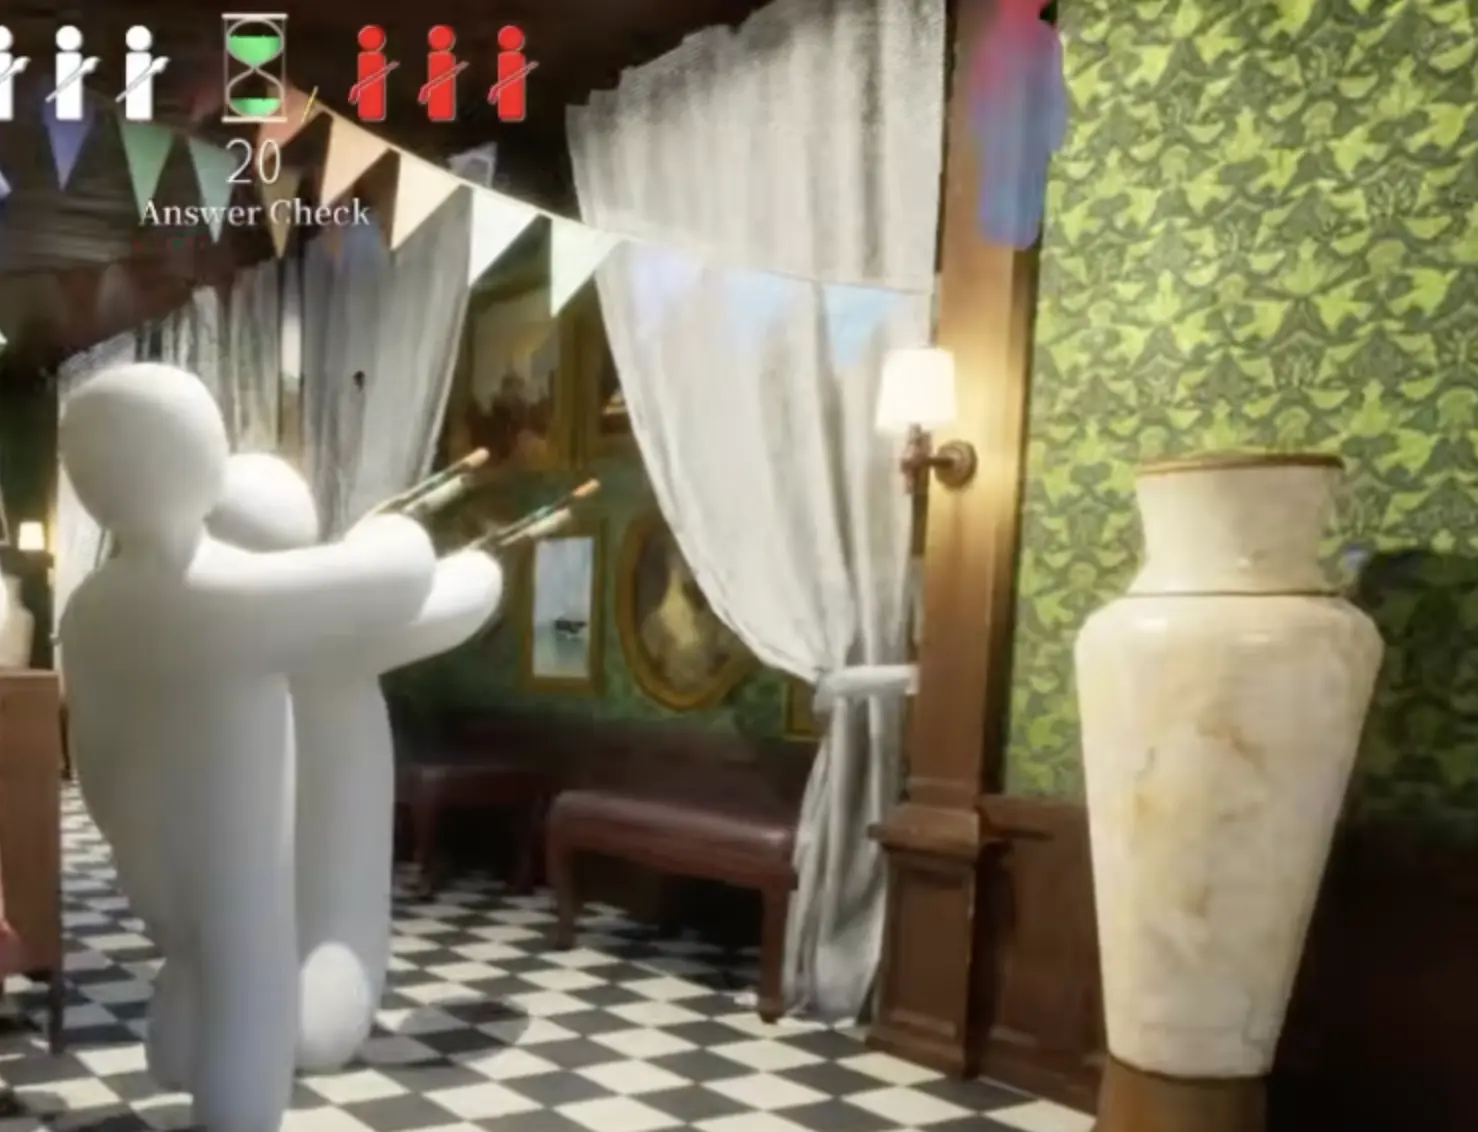
Hide-and-Seek Mansion is the best map for learning core hiding logic because it has almost every useful object type: chairs, shelves, curtains, upstairs rooms, kitchen props, bookshelves, pillars, and ceiling angles.

| Spot | Difficulty | Why it works | Seeker counter |
|---|---|---|---|
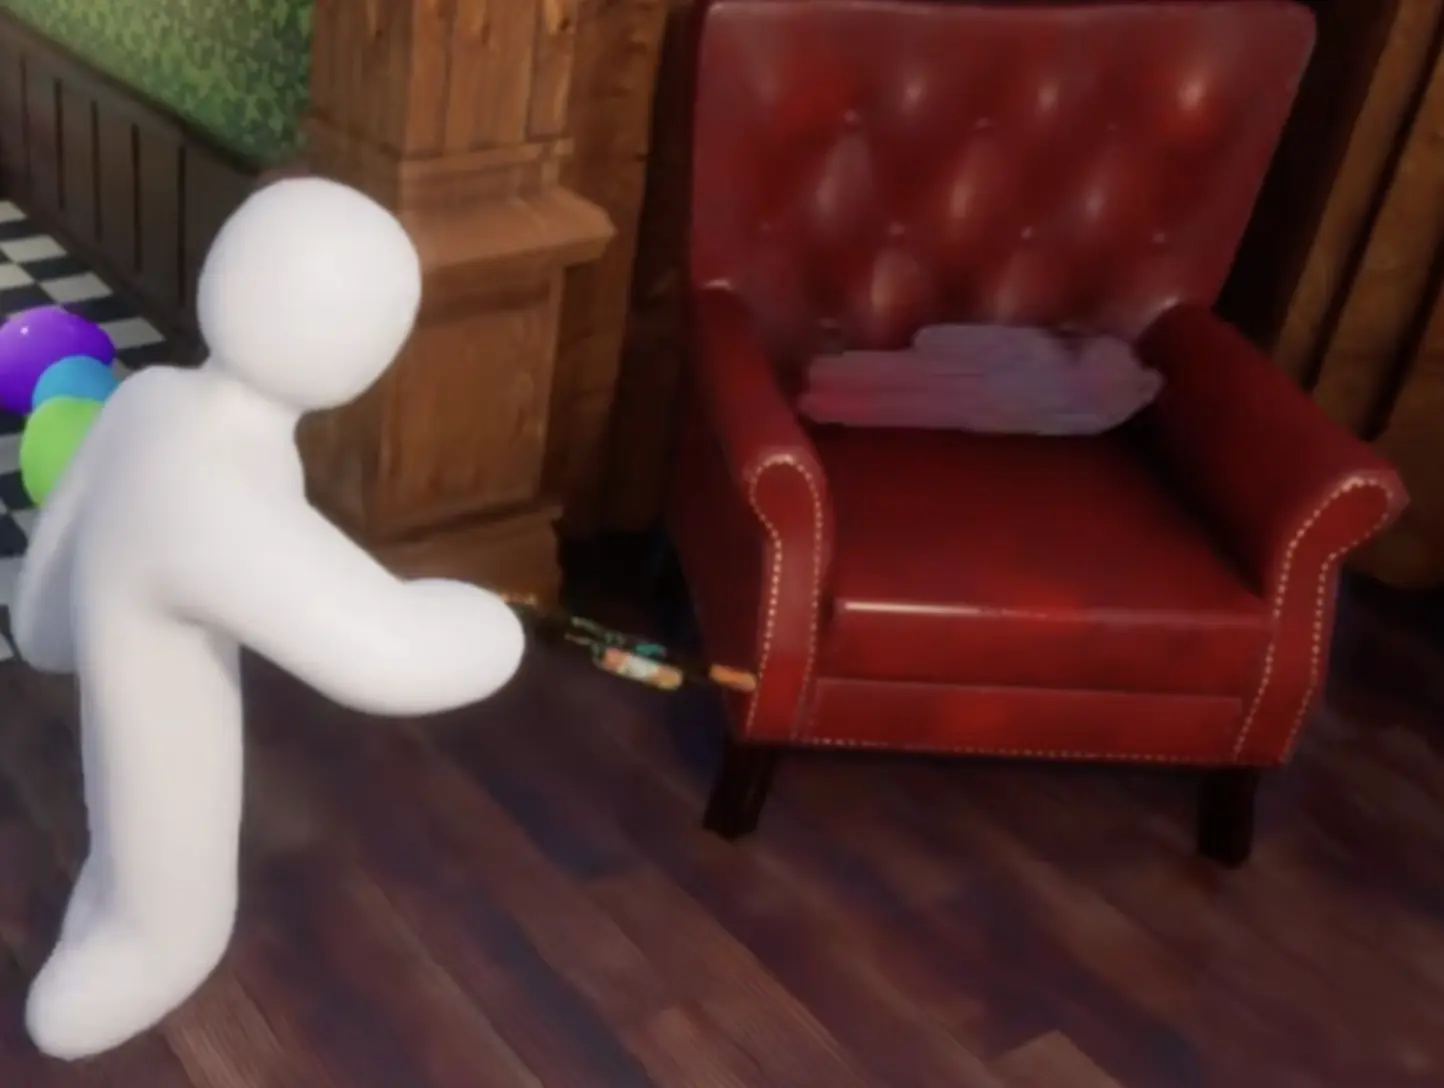
| Red chair cushion / pillow | Beginner | The chair already expects a soft object, so a flat body can read as a cushion | Check cushions that are too smooth, too centered, or not shaped like the chair |
| Curtain edge | Intermediate | Cloth folds and shadows hide body edges | Check both curtain edges, the bottom fold, and nearby furniture |
| Library bookshelf crouch | Intermediate | Shelves create visual clutter and many normal object shapes | Look for smooth curves among books and hard shelf lines |
| Kitchen shelf | Beginner | Empty shelf areas and kitchen clutter can hide a crouched body | Sweep low and inspect open shelves from a side angle |
| Ceiling pillar / upper ledge | Advanced | Many seekers search eye level first and forget the ceiling | Look up before leaving tall rooms or stair areas |
| Doorway side spot | Intermediate | Seekers rush into the room and miss the entrance edge | Turn around after entering and check the doorway from inside |
Indoor Country Spots
Indoor Country plays differently from Mansion.
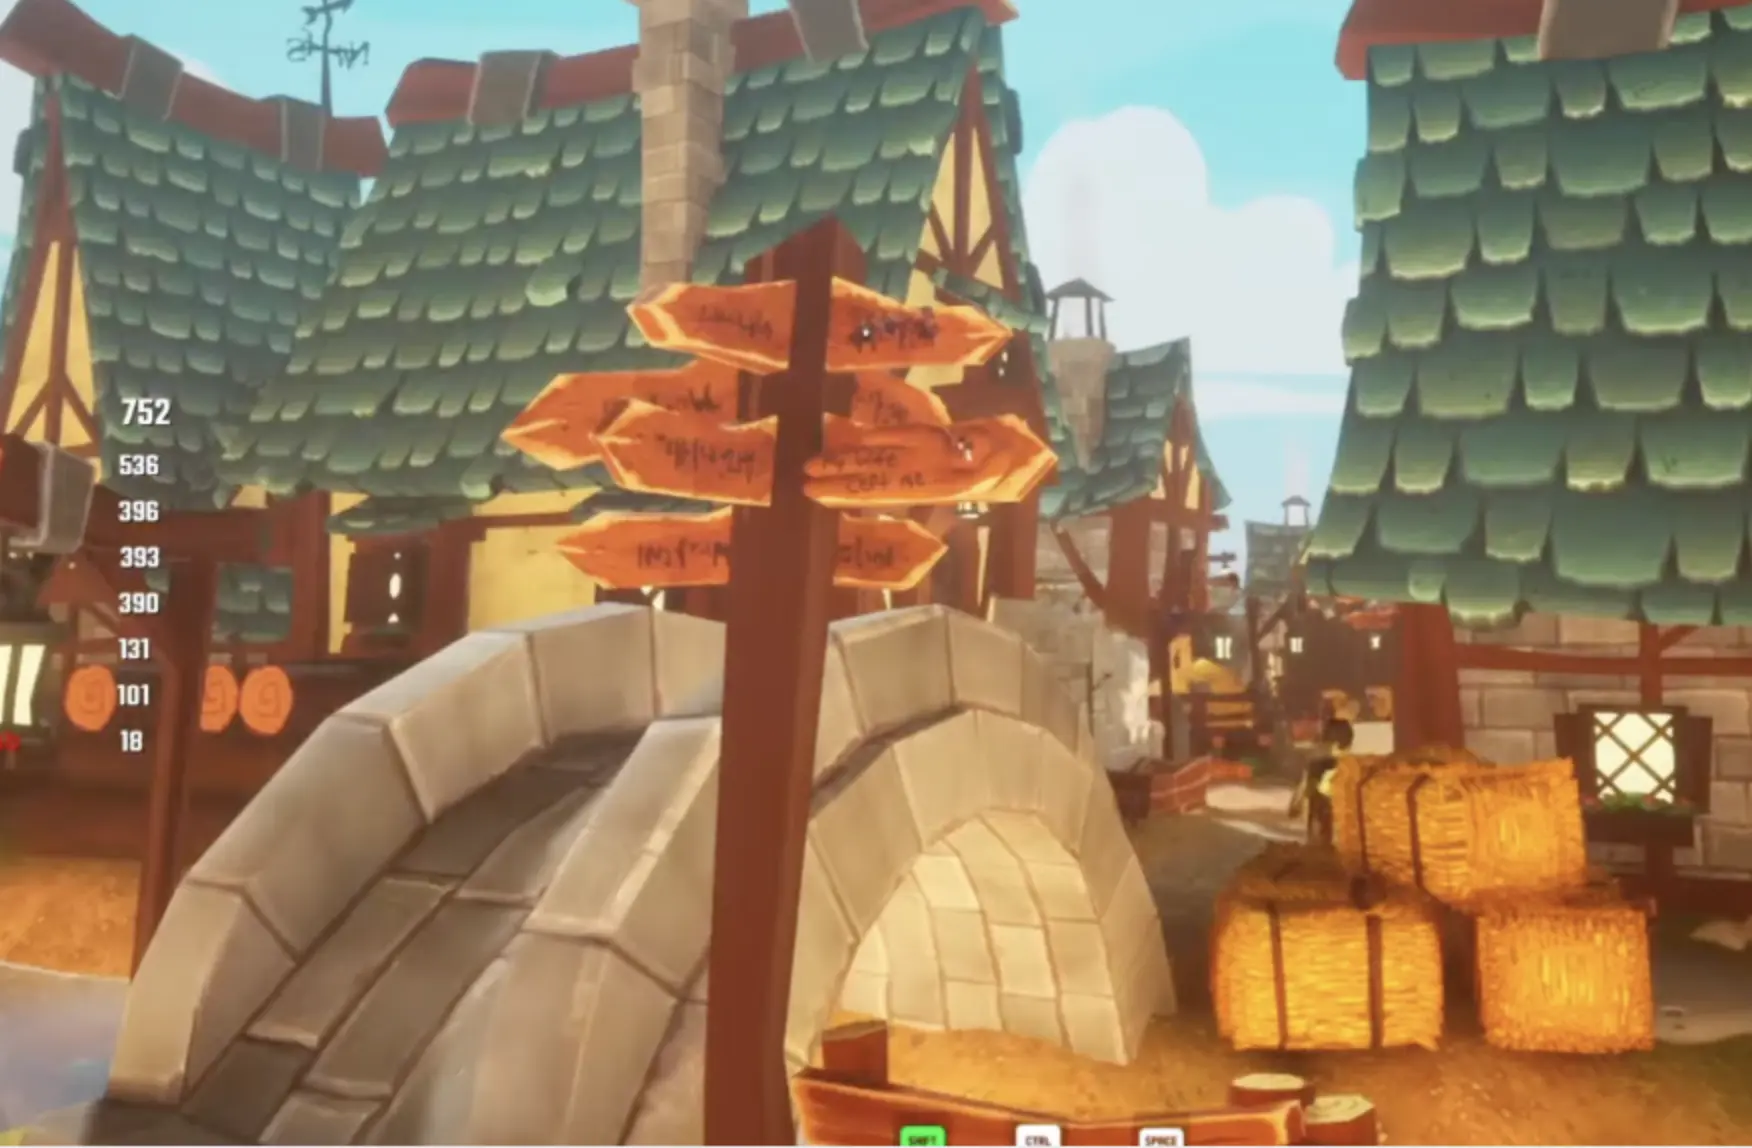
It has more open sightlines, bright surfaces, farm props, barn-style walls, hay, animal-themed objects, and strong plain-sight disguise potential. Bad color stands out more here, but good object logic can carry a spot.
| Spot | Difficulty | Why it works | Seeker counter |
|---|---|---|---|
| Cow statue / animal prop disguise | Intermediate | A hider can use the animal theme to become part of the prop cluster | Compare shapes against nearby animal props and check odd limbs |
| Hay bale gap | Beginner | Hay creates messy edges and hides small body parts | Check the sides and back of hay stacks, not only the front |
| Barn wall + hay edge | Intermediate | Wood and hay create a layered background for partial body blending | Move sideways to reveal body thickness and shadow mismatch |
| Ceiling and wall seam | Advanced | Seekers often scan the ground and props before checking upper seams | Look up along beams, ceiling edges, and barn wall cuts |
| Fallen statue / floor blend | Advanced | A flat pose can look like part of the floor or fallen decoration | Check floor objects that are too smooth or too player-sized |
| Bright painted wall | Intermediate | Strong wall color can work if the hider matches both color and lighting | Check for round head shapes and color patches that ignore shadows |
Penguin Hotel Spots
Penguin Hotel plays like a themed object playground.
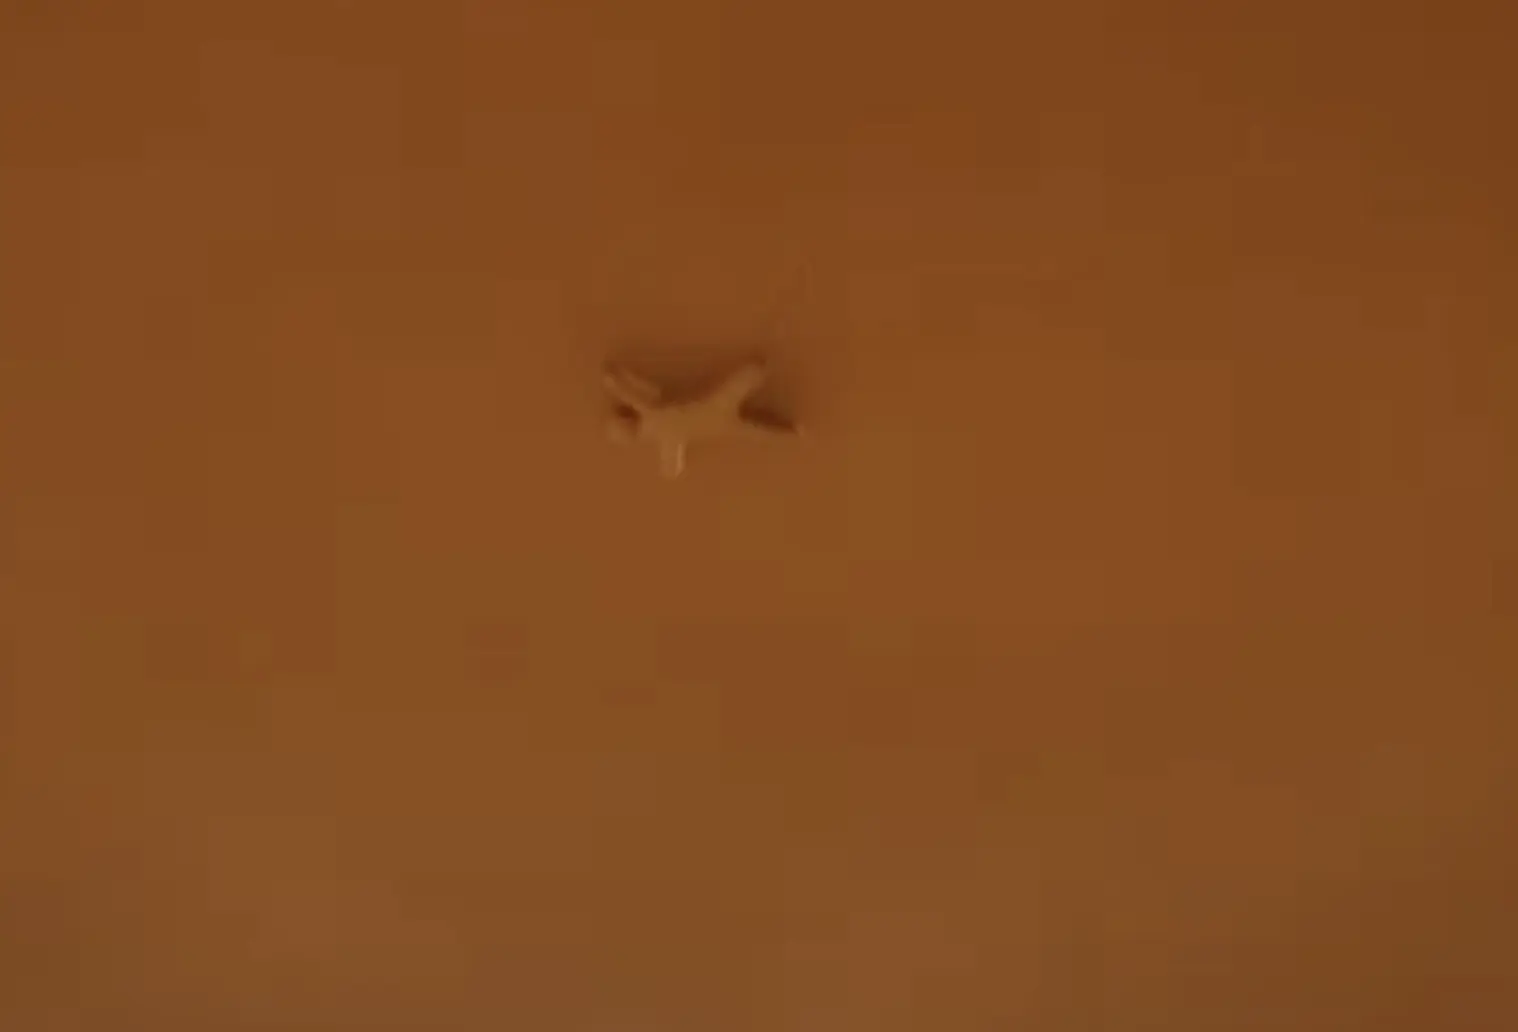
The best spots are often funny before they are optimal: ceiling fan ideas, penguin statue clusters, bathroom object disguises, bathtub or duck concepts, and chair or prop clutter. The danger is getting greedy and pushing too far into objects.
| Spot | Difficulty | Why it works | Seeker counter |
|---|---|---|---|
| Ceiling fan | Advanced | Seekers often do not expect a body in the fan shape | Look up and check for extra lumps or wrong-colored fan parts |
| Penguin statue cluster | Intermediate | Themed objects make strange shapes feel normal | Compare one object against nearby statues and decorations |
| Bathroom / toilet object | Intermediate | Bathroom props create funny but believable object logic | Check tiles, corners, toilet edges, and anything too smooth |
| Bathtub / duck idea | Intermediate | A hider can become a small bath object if the color blocks read correctly | Inspect the tub from multiple angles, not only the doorway |
| Doorway side clutter | Beginner | Seekers rush through and miss side objects | Turn around after entering the room |
| Plain-sight themed prop | Advanced | The map already looks silly, so weird objects can pass | Shoot objects that look slightly too player-shaped |
Sewer Spots
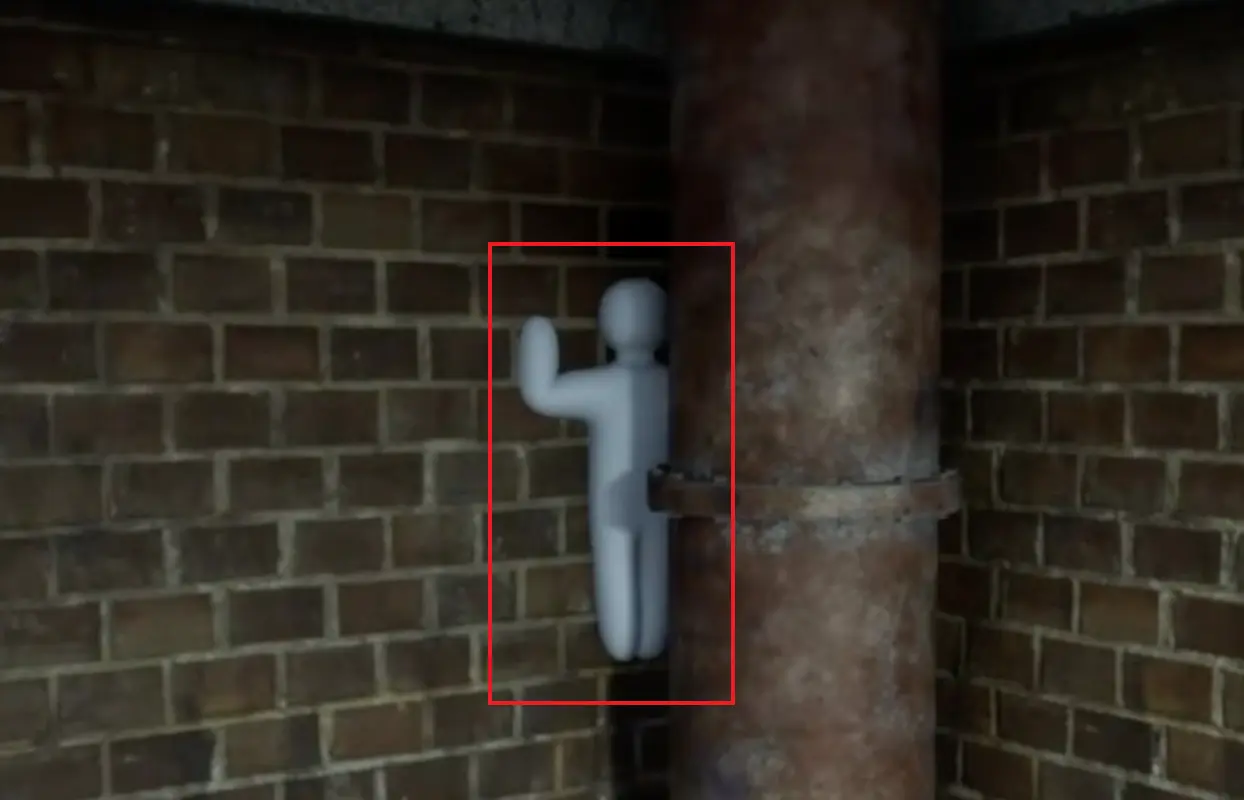
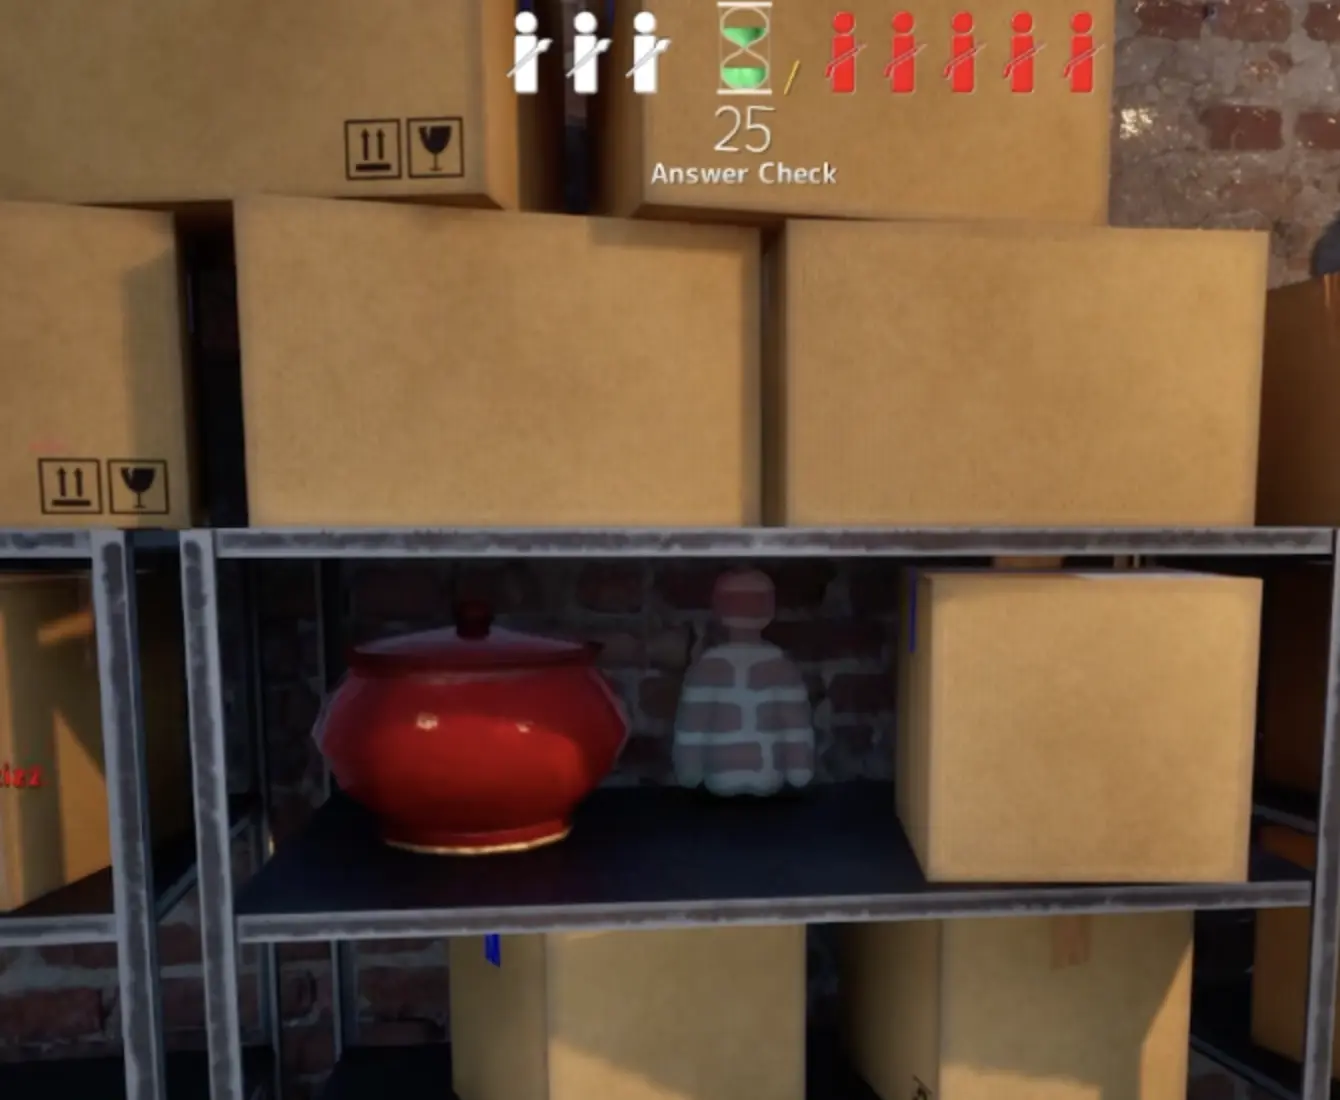
Sewer is a texture-heavy map. It rewards brick walls, pipe edges, shelves, red barrels, low corners, graffiti, and dark clutter.
The biggest mistake on Sewer is trying to look clean. You usually want to become part of the noise.
| Spot | Difficulty | Why it works | Seeker counter |
|---|---|---|---|
| Shelf + brick wall | Beginner | Boxes, jars, shelves, and brick patterns hide rough paint | Look for smooth body curves among hard shelf props |
| Graffiti wall | Intermediate | Paint and wall art can cover imperfect body markings | Check pattern direction and player-sized blobs |
| Red barrel area | Beginner | Barrels create strong shapes and shadows | Check behind, beside, and on top of barrels |
| Pipe underside | Advanced | Pipes and shadows hide bodies above or below normal scan height | Look along both sides of pipes and under suspended shapes |
| Low corner | Intermediate | Dark corners and dirty surfaces hide small bodies well | Sweep low before leaving the room |
| Under cable / hanging clutter | Advanced | Hiders can use busy overhead shapes to distract seekers | Look up and sideways, not only at the floor |
Backrooms Spots
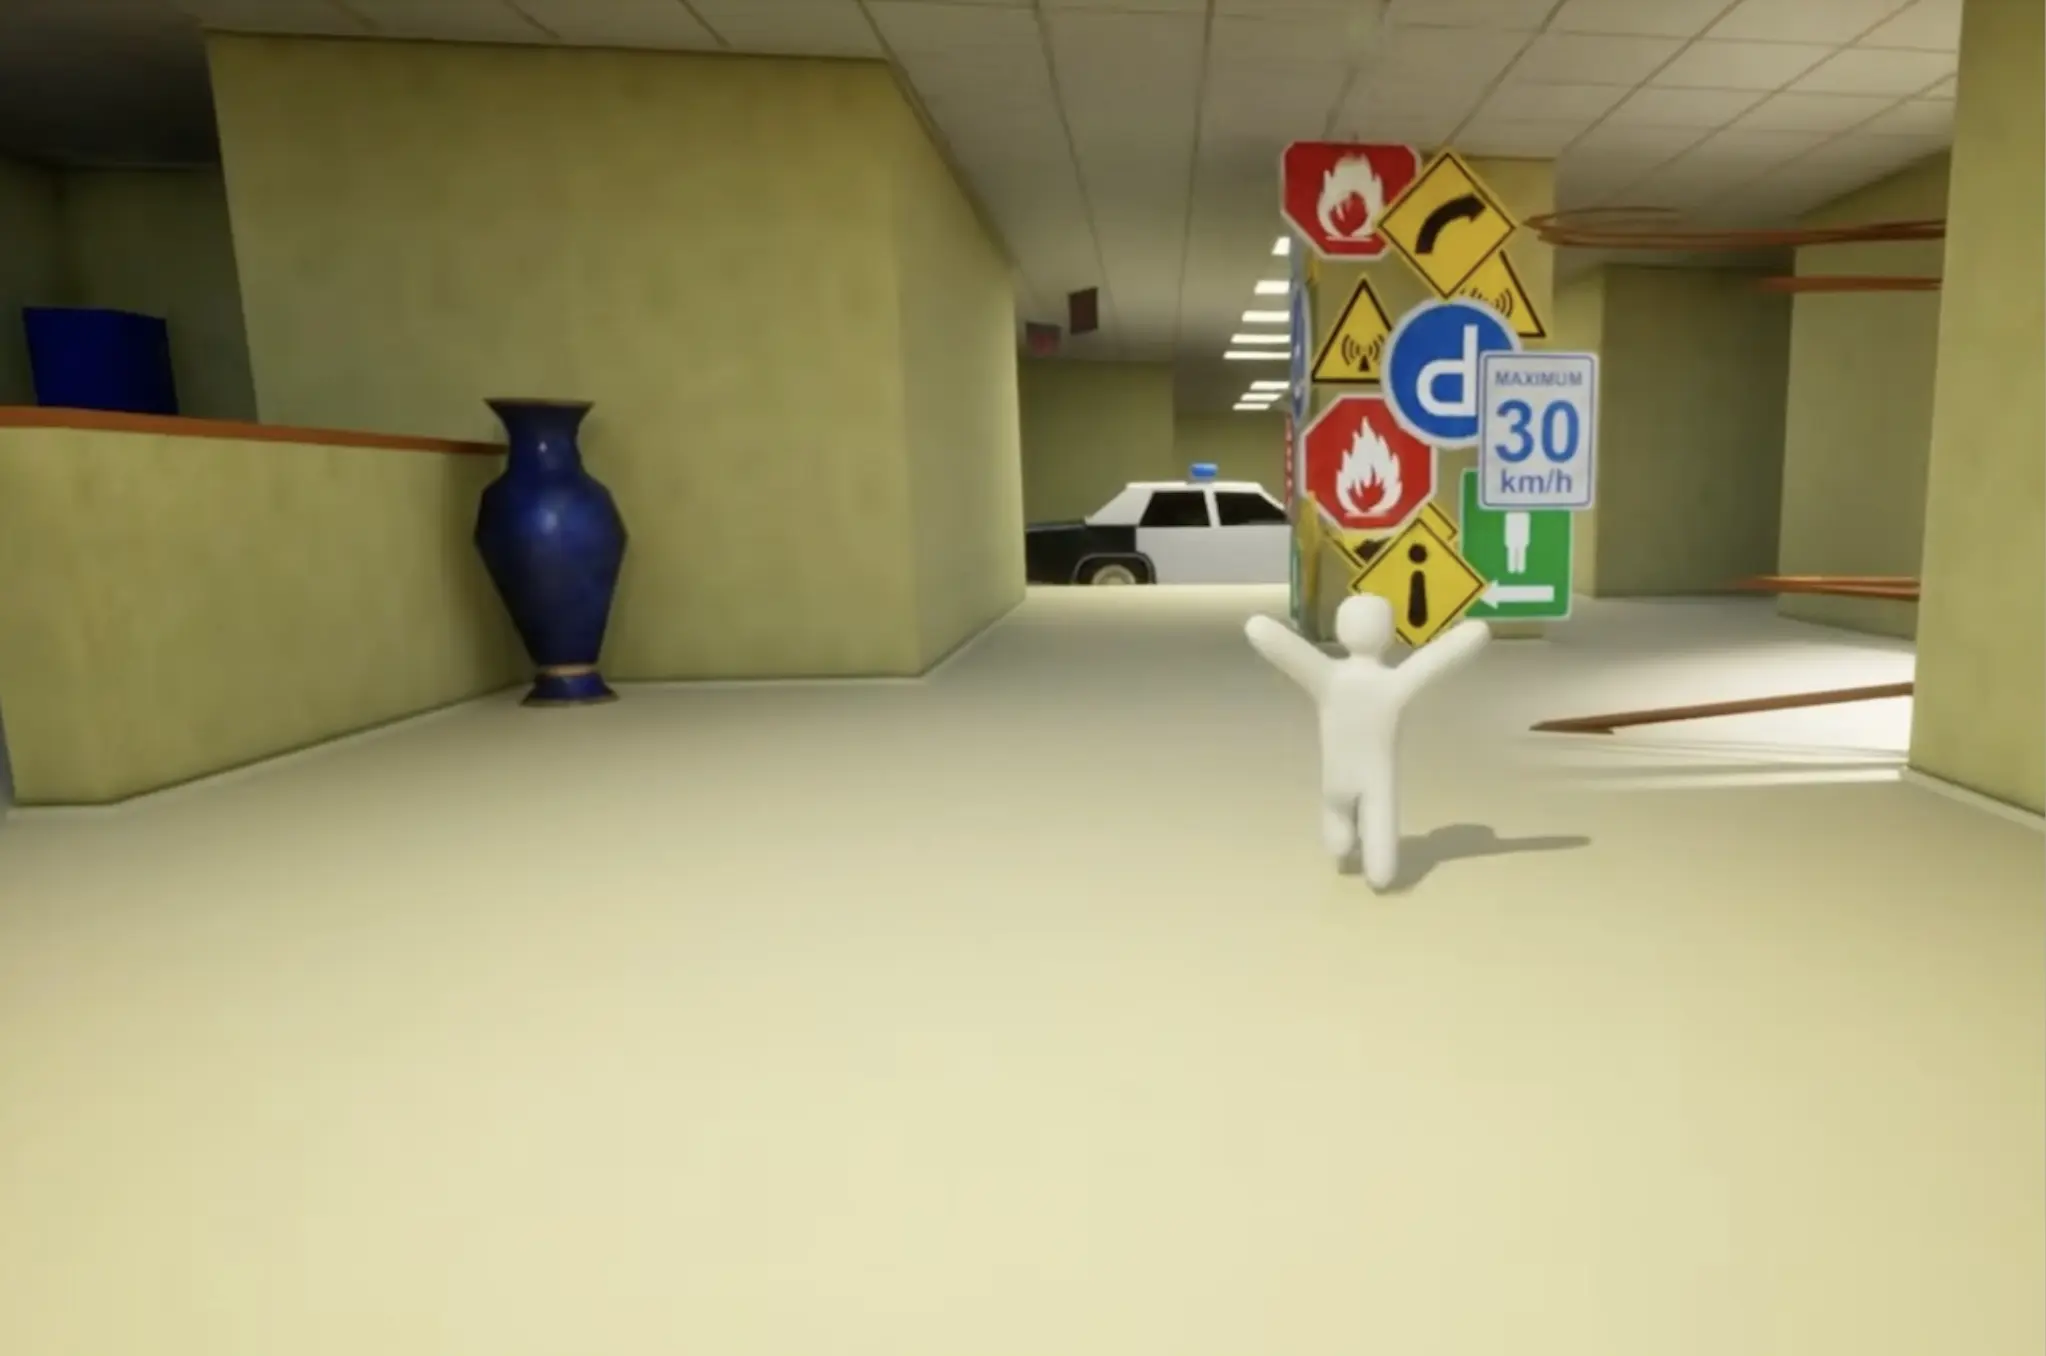
Backrooms is harder because flat surfaces expose weak disguises.
There is less furniture to save you. Long walls, signs, corners, flat colors, and open space make body shape and pattern alignment more important.
| Spot | Difficulty | Why it works | Seeker counter |
|---|---|---|---|
| Sign cluster | Intermediate | Signs create strong color blocks and visual noise | Check if a sign has one extra rounded or soft piece |
| Flat wall patch | Advanced | A clean paint job can pass as wall noise | Check thickness, shadows, and round head shapes |
| Corner line | Intermediate | Two wall planes can break the body outline | Inspect corners from both sides |
| Ceiling line | Advanced | Seekers may forget to check above long corridors | Look up along repeated ceiling edges |
| Low object or car area | Beginner | Rare objects give the hider an anchor point | Inspect every isolated prop because there are fewer distractions |
| Doorway-side wall | Intermediate | Seekers often look forward and skip side walls | Turn around after entering and check the entrance area |
Legal Spots vs Noclip Spots
A good hiding spot fools people inside the rules of the map.
A bad exploit spot removes the game. If you leave the playable area, hide fully inside geometry, watch the round from outside the map, or use a wall position seekers cannot reasonably check, other players may treat it as cheating.
| Spot type | Use it? | Why |
|---|---|---|
| Behind a prop with part of your body visible | Yes | Seekers can still check and shoot you |
| Inside a curtain or object but not flashing | Usually yes | It is risky but still interactable |
| Too-buried warning spot | Fix it or leave | The game is telling you the position may reveal you |
| Fully inside a wall | No | Seekers cannot play the normal search game |
| Outside the map | No | It breaks the round and feels like cheating |
| Camera-only or out-of-bounds view spot | No | It gives unfair information or access |
Patch-Aware Hiding: Lighting, Reflection, and Collision
Some spots become weaker after updates.
A bathroom, shiny tile wall, reflective surface, or bright colored room can change how your paint looks. A collision fix can also make an old wall, ceiling, or Backrooms position less reliable.
When a patch changes lighting, reflection, collision, or map loading, retest your old hiding spots instead of assuming they still work.
| Patch-sensitive spot | What can change | What to do |
|---|---|---|
| Bathroom tile | Reflection and lighting can make colors look wrong | Repaint by eye instead of trusting one sample |
| Bright wall | The same sampled color may stand out under light | Add light and shadow separation |
| Backrooms wall | Collision fixes can stop deep wall positions | Use visible wall patches, not forced clipping |
| Ceiling fan / upper spot | Collision and camera angles can change | Recheck whether the spot flashes or traps you |
| Object interior | Too-buried detection can be stricter | Move outward and keep the spot playable |
Small Maps vs Large Maps
Map size changes the strategy for both sides.
Small maps can feel impossible for hiders because there are fewer rooms, but one precise spot can still win if seekers check the wrong height or angle. Large maps give hiders more room, but seekers can use sound, score changes, and route discipline to narrow the search.
| Map size or layout | Hider strategy | Seeker strategy |
|---|---|---|
| Small map | Use one precise, stable, hard-to-read spot | Re-check known strong areas after score changes |
| Large map | Hide in rooms seekers reach late or skip | Sweep efficiently and do not over-search one room |
| Open map | Use signs, corners, walls, and clean paint | Look for broken flat surfaces and odd shadows |
| Cluttered map | Become one more object, box, cushion, hay, or wall patch | Search for soft body curves among hard props |
| Vertical map | Use walls, ceilings, shelves, poles, and upper routes | Look up and down before leaving |
| Tight map | Stay stable and avoid too-buried warnings | Check clipping, corners, and under-object hides |
Object Disguises by Map
Object disguises work best when the object belongs in the room.
A pillow belongs on a chair. A hay-colored body belongs near hay. A brick pattern belongs on a wall. A sign detail belongs beside a sign. A themed object belongs in a themed room.
| Disguise idea | Best map situation | Seeker counter |
|---|---|---|
| Throw pillow / cushion | Mansion chairs, couches, furniture rooms | Check if the cushion is too smooth or oddly placed |
| Cow or animal prop | Indoor Country themed areas | Compare the body against nearby animal shapes |
| Hay bale / barn clutter | Indoor Country barns and open farm areas | Search behind hay and along barn wall edges |
| Box or shelf object | Sewer shelves, Mansion storage, cluttered rooms | Look for curved body shapes among square objects |
| Sign detail | Backrooms, flat-wall maps, office-like areas | Check whether one sign piece is too rounded |
| Statue piece | Penguin Hotel or decorative spaces | Compare object size and posture against nearby props |
| Wall patch | Brick, tile, wallpaper, flat wall maps | Look for broken pattern direction and odd shadows |
| Poster or wall decoration | Themed rooms, flat walls, restaurant-style rooms | Check whether the decoration has player thickness |
Spot Reuse and Lobby Learning
A spot gets weaker every time the lobby sees it.
If a ceiling spot wins one round, seekers start looking up. If a chair cushion works once, they may shoot every cushion next time. If a hay spot wins, hay stacks become part of the next sweep.
Keep the pattern. Change the exact execution.
| If this worked once… | Next round adjustment |
|---|---|
| Ceiling or pole spot | Use a different high object, room, or angle |
| Chair cushion disguise | Move to another soft object or change pose |
| Hay bale hide | Move from hay gap to barn wall or animal prop idea |
| Shelf wall blend | Change shelf height or nearby pattern |
| Under-object hide | Switch to a different low object or room |
| Plain-sight object | Change the first seeker angle |
| Whistle bait | Stay quiet next time or whistle from a stronger spot |
Best Hiding Spot Checklist
Use this checklist before search starts.
| Check | Good answer |
|---|---|
| Map identity understood? | I know whether this map is furniture-heavy, open, cluttered, flat, themed, or vertical |
| Specific spot chosen? | I know the object, wall, shelf, hay, ceiling, sign, or prop I am using |
| Difficulty matches my skill? | I am not forcing an advanced spot while still learning controls |
| Body shape fixed? | My pose fits the object or surface |
| Pattern or light handled? | Bricks, signs, hay, tile, shadows, or highlights make sense |
| Too-buried warning clear? | No warning, no flashing |
| Seeker counter considered? | I know how they would find me and why they might miss |
| Reuse avoided? | I am not copying the exact same winning spot from last round |
Map-Specific Mistakes
| Mistake | Why it hurts | Better move |
|---|---|---|
| Using Mansion furniture without checking the first doorway angle | The chair or shelf may look perfect from your view but obvious from the entrance | Judge the seeker’s first angle before search starts |
| Hiding in Indoor Country like it is Mansion | Open areas and bright walls expose lazy paint | Use hay, barn edges, animal props, or ceiling seams |
| Forcing yourself too deep into Sewer barrels or Mansion chairs | You may trigger warning, flashing, or obvious clipping | Stay playable and paint the exposed part |
| Using a flat Backrooms wall with a clear body shape | Flat walls give seekers fewer distractions | Align with signs, corners, or wall breaks |
| Ignoring ceiling and pole options | Some maps give easy high-value spots | Look for fans, shelves, upper walls, poles, and ceiling seams |
| Copying one viral spot every round | The lobby learns exact locations quickly | Copy the idea, then change the room or object |
| Using out-of-bounds spots | It breaks the search game and looks like cheating | Use legal deception instead |
| Whistling from a weak room | Sound gives seekers the search area | Whistle only when the spot can survive a check |
After Your Next Few Map Rounds
If a map keeps beating you as a hider, spend one round watching where the last surviving hider was instead of rushing into the next match. That single observation usually teaches more than re-reading a guide.
Look for the pattern behind the survival. Did the hider win because the room was cluttered, because seekers never looked up, because the object belonged there, because the first doorway angle was misleading, or because the lobby was already chasing a louder clue?
Once you can name the reason a spot worked, you can move that idea to another room. That is the real map skill: not copying one location, but learning how each map wants to hide you.
For role-specific technique, use the MECCHA CHAMELEON Hider Guide. To counter these spots as seeker, use the MECCHA CHAMELEON Seeker Guide. For controls, use the MECCHA CHAMELEON Controls Guide.
FAQ
What are the best hiding spots in MECCHA CHAMELEON? +
The best hiding spots are the ones that make your body belong in the room. Good spots use object disguise, wall alignment, shadows, shelves, ceilings, under-object space, or map clutter instead of only relying on perfect paint.
What is the best beginner map in MECCHA CHAMELEON? +
Hide-and-Seek Mansion is the easiest map to learn because it has clear furniture, curtains, shelves, upstairs routes, kitchen shelves, and ceiling spots. Indoor Country is also useful, but bright colors and open space punish bad paint faster.
Should I memorize exact hiding spots? +
Memorize spot types first, not only exact locations. Exact spots get weaker after a lobby sees them once, but the same pattern can still work if you change the room, height, object, pose, or first seeker angle.
Why do I keep getting found in MECCHA CHAMELEON? +
Most players get found because the body shape still looks human, the paint only matches from one angle, the spot is too buried, or the hiding place does not make sense in the room.
Are look-up spots good in MECCHA CHAMELEON? +
Yes. Wall, pole, roof, shelf, ceiling, and upper-object spots are strong because many seekers sweep at normal eye level first. The risk is that a single good seeker who looks up can clear them quickly.
Are object disguises good in MECCHA CHAMELEON? +
Yes. Plain-sight object disguises are often stronger than dark corners when the object belongs in the room. A cushion on a chair, sign detail on a wall, hay shape near hay, or themed prop in a themed room can fool seekers faster than a random corner.
Why is Backrooms harder to hide in? +
Backrooms-style rooms have flatter surfaces, fewer forgiving props, and longer sightlines. Hiders need cleaner paint, better alignment, and stronger pattern matching because bad outlines stand out quickly.
Should I use noclip or out-of-bounds hiding spots? +
No. Avoid spots that require leaving the playable area, hiding fully inside walls, or abusing camera and out-of-bounds space. Strong spots should fool seekers without breaking the round.
Should I use the same hiding spot every round? +
No. The same exact spot becomes weaker after the lobby sees it once. Keep the same hiding logic if it works, but change the room, height, pose, object, or surface.