Where I Find Early Resources in Honeycomb
I use the map to turn early resource runs into short, repeatable routes for Titanium, Bauxite, Graphite, Magnetite, Copper and Silver.
Updated:
Quick Answer
When a craft is missing one material, I open the map, hide unrelated markers and pin that resource before leaving.
For the early game, Graphite and Magnetite are worth combining into one rocky-area run, while Copper and Silver are easier to handle as separate targeted trips. Titanium and Bauxite are common enough in my opening routes that I collect them whenever they are close to where I am already going.
The Map Is More Useful as a Filter Than as a Checklist
My early map became cluttered very quickly.
Plants, animals, minerals and other discoveries all competed for attention, which made a simple question such as “where was that Silver again?” harder than it should have been.
The useful change was learning to remove information rather than add more of it.
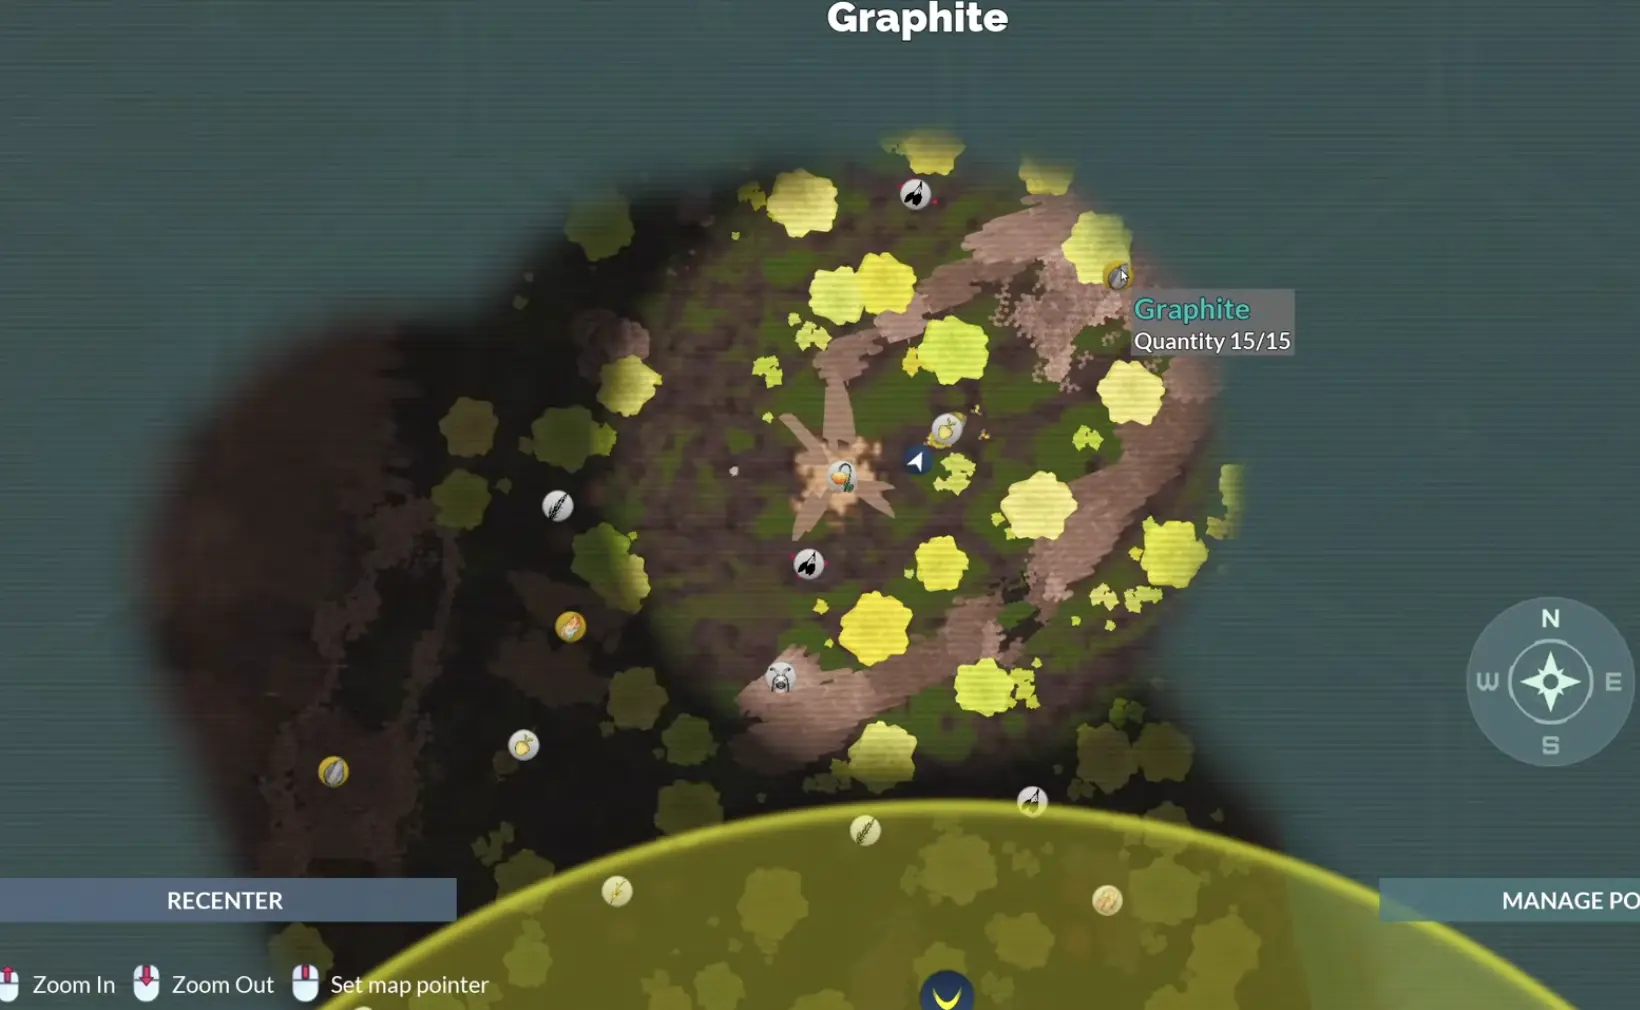
After I have identified a resource, I use its map entry to isolate that material and place a pointer. If I am looking for Copper, Copper stays visible. If Silver is the problem, I hide the other resource markers until the route is obvious.
The map can also show how much of a discovered resource is currently available at a location. One Graphite marker in my early area showed Quantity 15/15, which is much more useful than knowing only that Graphite exists somewhere nearby.
That lets me make a better decision before walking across the map: if a known source is available and close, I use it; if the local node is exhausted or the material is farther away, I plan the longer run instead.
Titanium Starts as a Quest Material and Quickly Becomes a General Supply
Titanium is one of the first resources I deliberately search for because the opening tool progression asks for it almost immediately.
The first large deposit I scanned was identified as Ancient Titanium, and that early objective gave me enough reason to stop wandering and learn how mineral tracking worked.
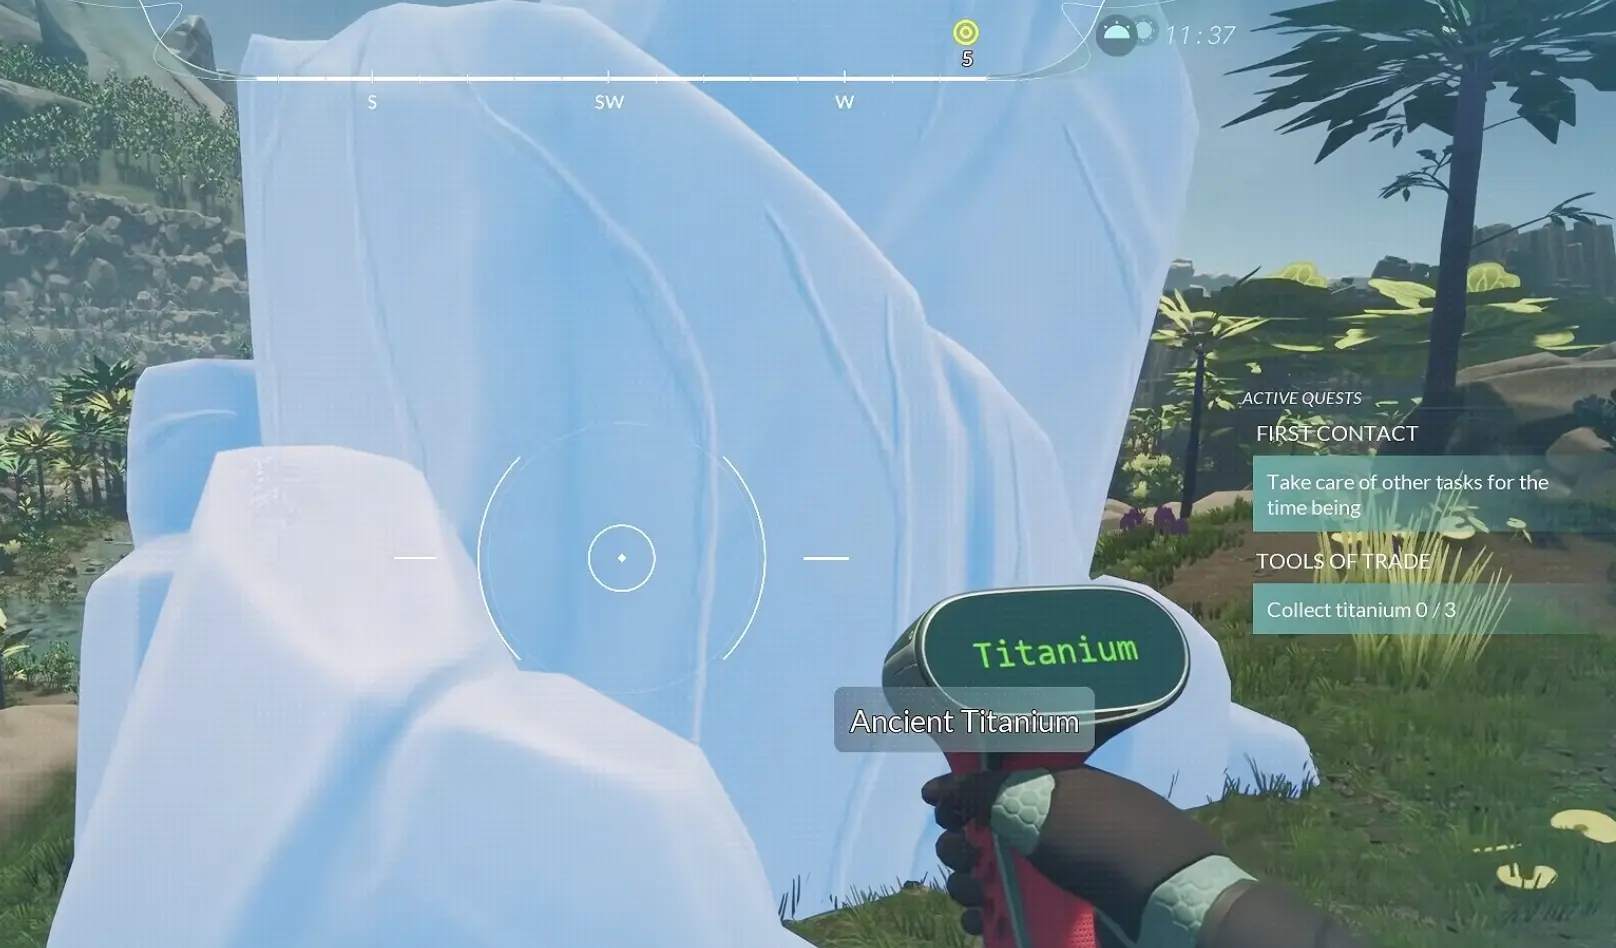
I initially gathered only enough to keep the starter-tool progression moving. Later, after the first base was established, Titanium continued appearing in machine and building requirements, so I stopped treating it as a resource I would only need once.
From the suggested first-base area in my run, I had a known Titanium source north of the base. That makes later shortages much easier to solve: when a craft needs only Titanium, I use the nearby deposit instead of turning the job into another cave expedition.
If I am already heading somewhere farther away and Titanium sits directly on the route, I take it. Otherwise, the nearby source is usually the cleaner answer.
Bauxite Is Easy to Ignore Until the First Room Needs More of It
Bauxite did not feel important the first time I picked it up.
That changed during base construction.
Once the Multi-Room and its surrounding modules started consuming Bauxite, a material I had been gathering casually became the reason building stopped.
I found Bauxite on the way toward the early resource area, and I also had another useful source close enough to the first base that a shortage could be fixed with a relatively short trip.
That makes Bauxite different from Silver or the deeper cave materials. I do not plan my biggest early expedition around it; I simply avoid draining the entire home supply while expanding the base.
When construction stops because Bauxite is missing, I make the local run, bring enough back to finish the current structure and continue building. The base-building guide covers what those materials are supporting once I get home.
Graphite and Magnetite Fit Naturally Into the Same Rocky Route
The most efficient early mining trip I found begins in the broken rocky terrain away from the first base.
I follow the resource marker into the formation and keep moving through the opening rather than stopping at the first exposed node. The route becomes much more valuable once I am inside, because Graphite and Magnetite both appear along the same general run.
Graphite comes first in the route I used.
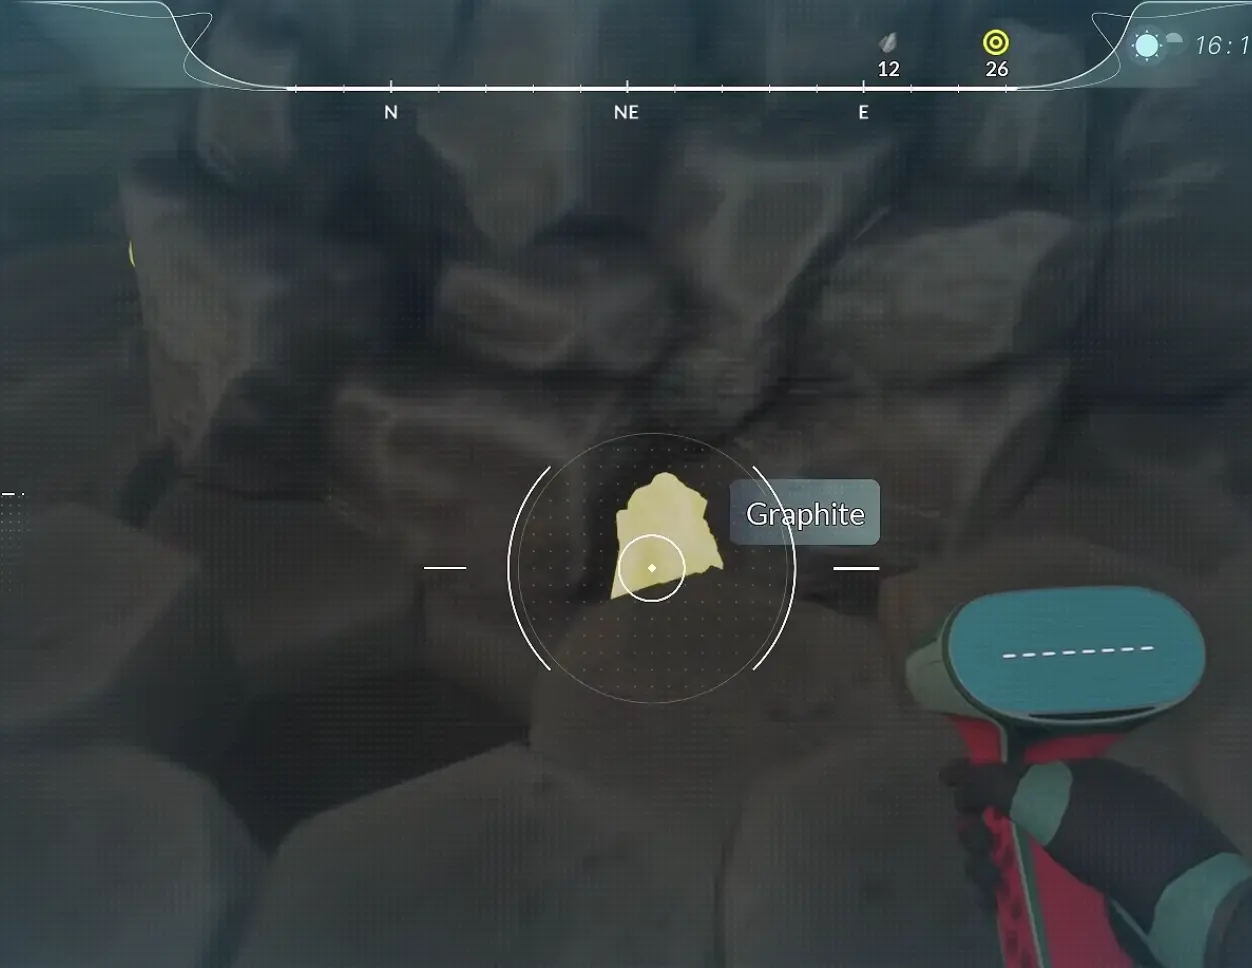
From there, continuing deeper through the rocky passages brought me to Magnetite.
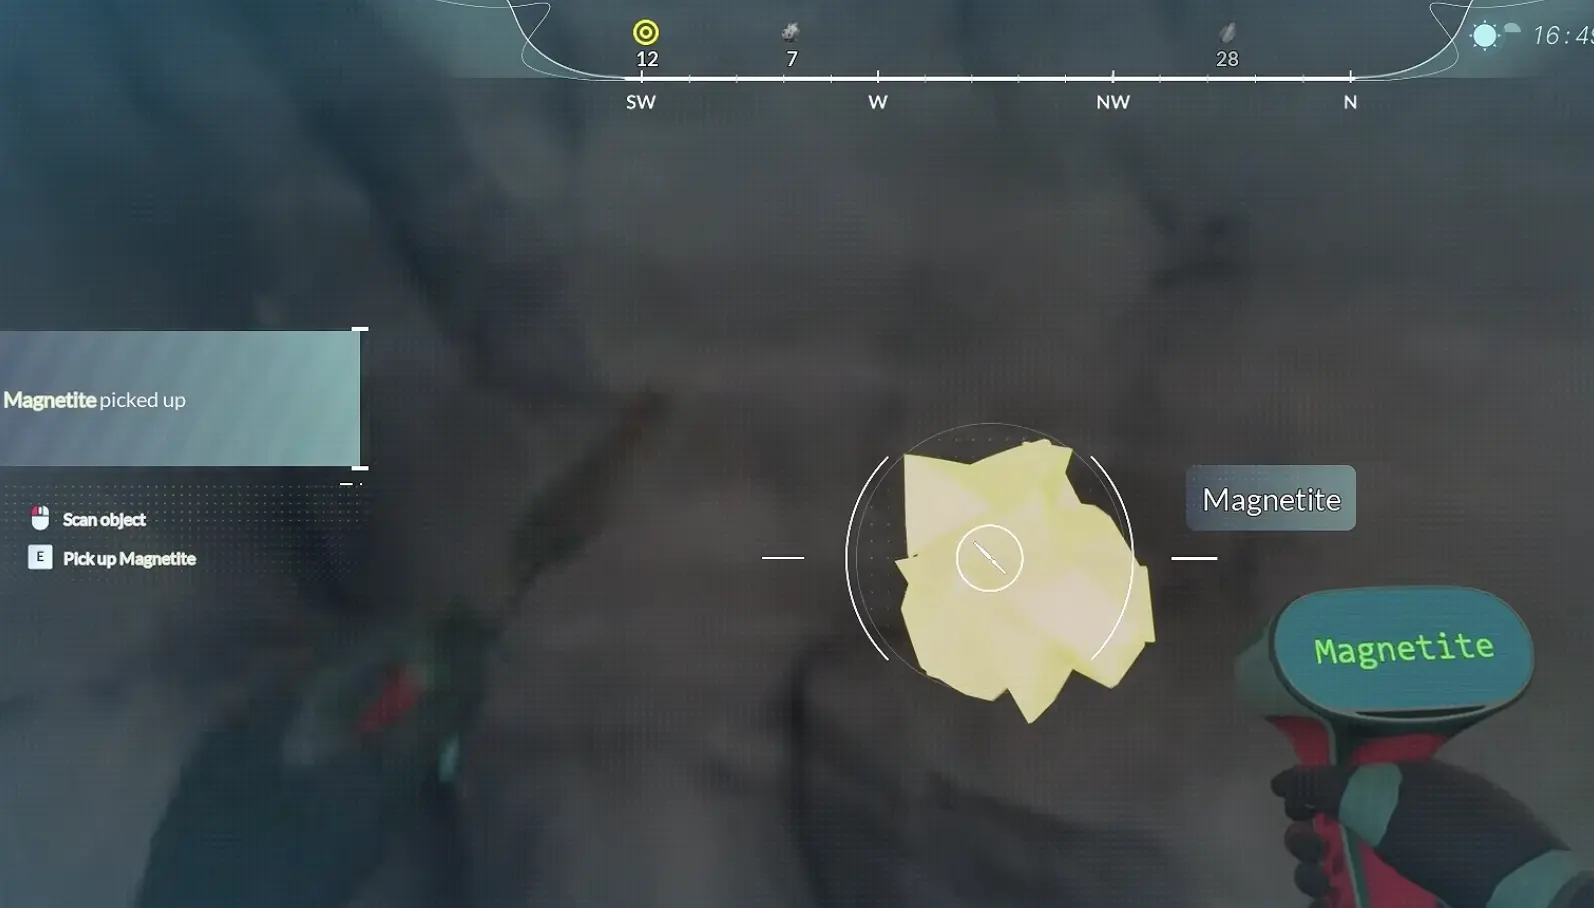
That pairing is one of the few early resource combinations I deliberately plan in advance. If I already need Graphite and know Magnetite will matter soon, there is little value in leaving the area after the first material and repeating the approach later.
The reverse is also true: I do not cross the map specifically for extra Magnetite when I have no immediate use for it and a known supply is already sitting in storage.
Graphite Gets Easier Once the First Base Is Running
The cave is useful for the first substantial Graphite run, but it is not the only source I rely on.
After establishing the first base, I had another known Graphite location down along the water from home. That changed how I handled small shortages.
If a machine is waiting on a modest amount of Graphite, the nearby water route is faster than returning to the deeper rocky area. If I am already making the larger cave trip for another material, then I collect Graphite there instead.
This is where the map quantity becomes especially helpful. A known Graphite source showing 15/15 tells me there is enough available to justify the short trip without guessing whether I am walking toward an exhausted node.
The important distinction is between a supply run and an exploration run. I use the nearest known Graphite for the former and the larger rocky route when I have several reasons to be there.
Copper Is Easier Once I Stop Searching the Rocks by Eye
Copper was the material that finally convinced me to trust the map pointer.
After leaving the Graphite and Magnetite area, I still needed Copper for the next component chain. Walking around the surrounding formations did not get me there efficiently, so I opened the map, selected Copper and followed the pointer instead.
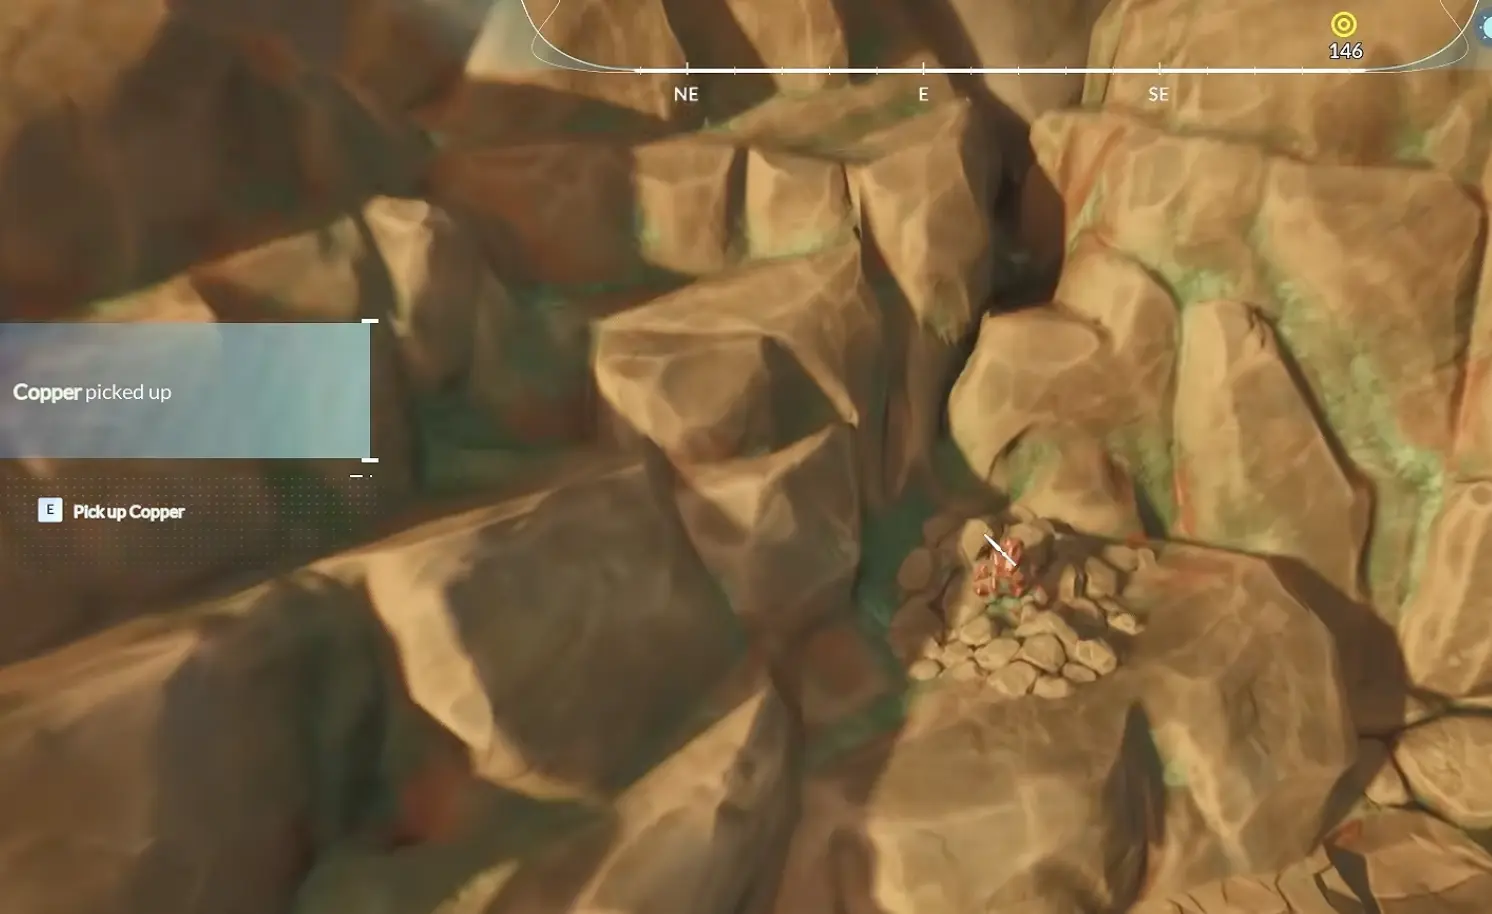
The Copper location gave me something else that mattered just as much as the ore: a back route through the terrain.
I followed that alternate way out before returning home, and from then on I had a shorter mental route through an area that initially felt much more enclosed.
That is the kind of detour I consider worth taking even when the inventory goal is already complete. A permanent shortcut improves every future trip; another random node only improves the current one.
Once I have collected the Copper and learned the exit, I clear the pointer so the next resource search starts with a clean map.
Silver Is Easy to Miss Even When the Marker Says You Are Close
Silver produced the most misleading early search for me because the map marker got me close without making the final entrance obvious.
With several mineral types already discovered, I first had to filter the map until Silver was the only resource I was actively following. The marker then led me toward a rocky section where the last few meters looked as if they should end at an exposed deposit.
They did not.
The actual approach goes through a low opening that requires crouching.
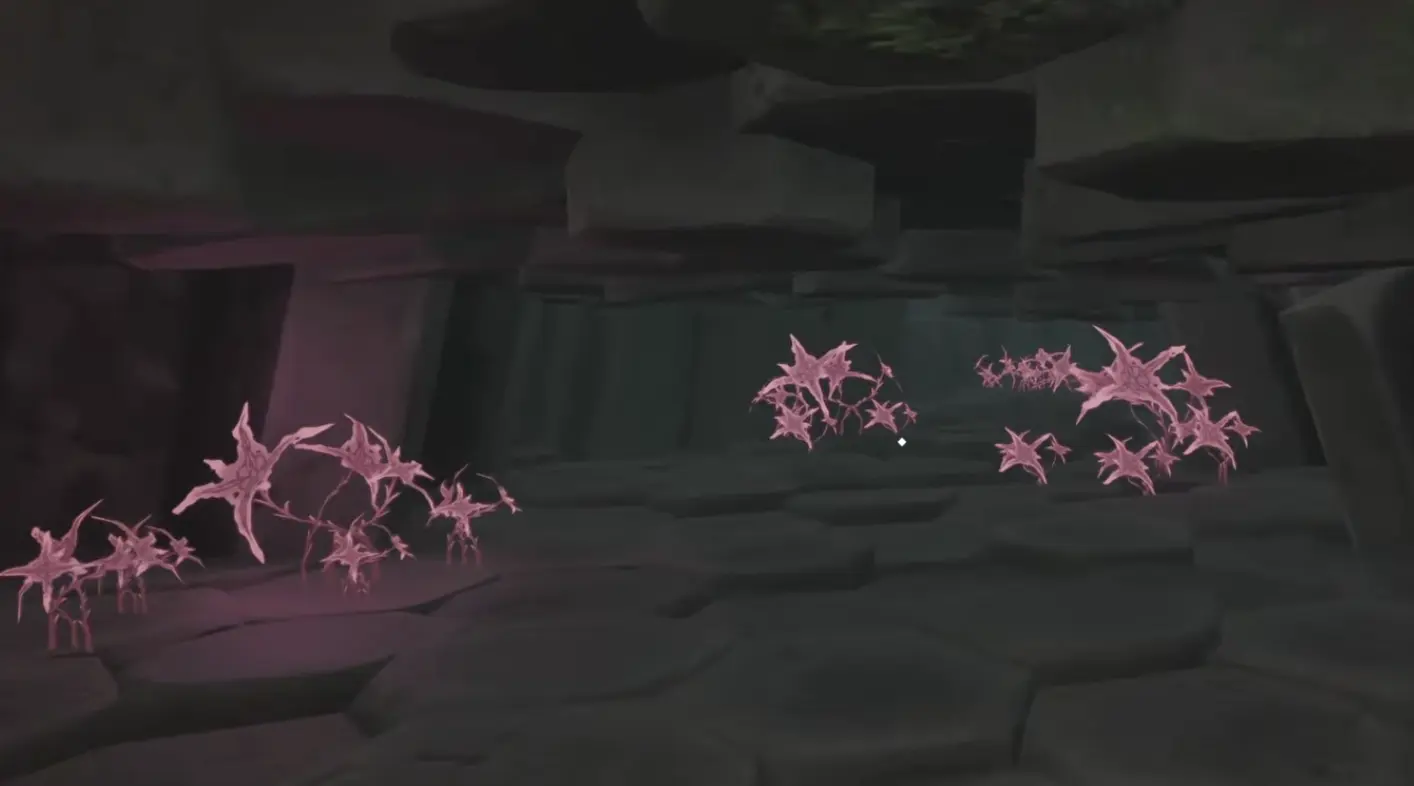
This is the point where the map can be technically correct and still feel wrong. The horizontal distance is almost solved, but the resource is tucked behind terrain that is easy to overlook from standing height.
Once I crouch through the gap, the Silver deposit is inside.
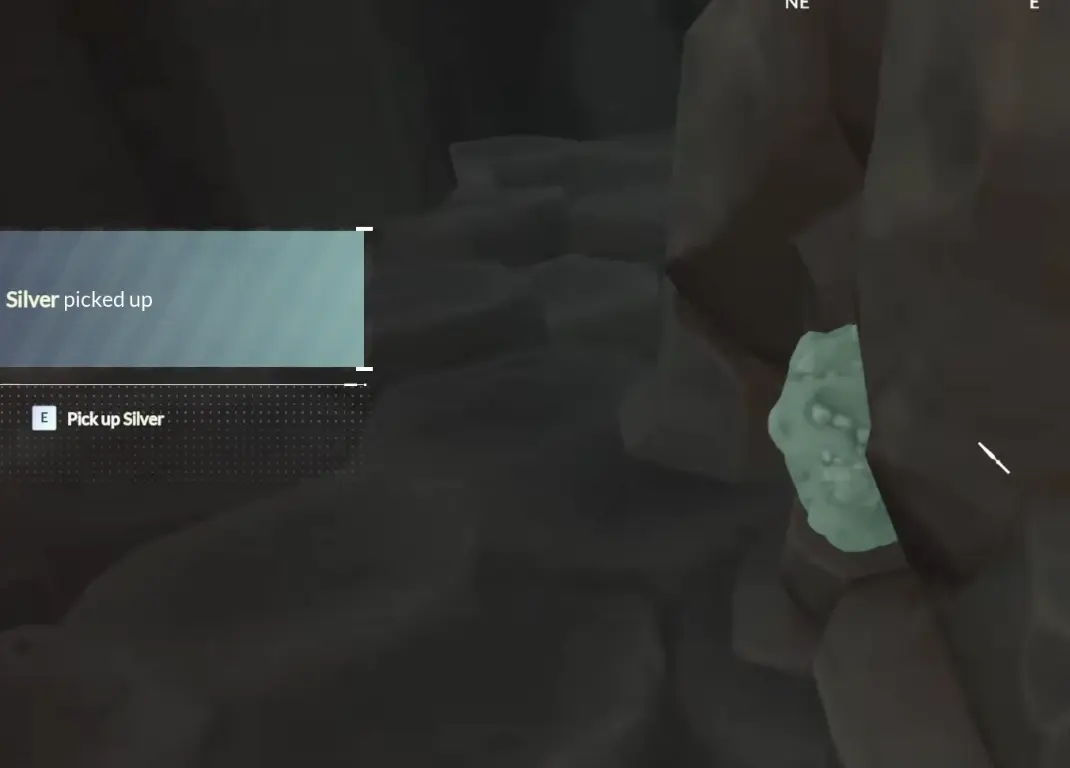
I remember this route because Silver appears in several useful early crafting chains, including base equipment and the first immunity setup. The map marker gets me to the right area; the crouch passage is the landmark that actually finishes the search.
Some Resource Problems Are Really Route Problems
The early materials do not all demand the same kind of trip.
Titanium and Bauxite become easier once I know the nearby sources around the first base. Graphite and Magnetite reward a shared rocky-area run. Copper is much cleaner once pinned directly, while Silver depends on recognizing the hidden lower entrance.
That changes how I read a missing ingredient.
A shortage does not automatically mean “go mining.” It can mean:
- use the nearby source I already know;
- return to the rocky cave because two needed materials overlap there;
- pin a single resource and ignore the rest of the map;
- look for a terrain entrance instead of another marker.
Once I started thinking in those terms, the resource map stopped feeling like a collection of icons and started functioning more like a set of repeatable routes.
What I Keep Around After the First Few Runs
By the time the first base is operational, I try not to let Titanium, Bauxite or Graphite drop to zero because all three keep resurfacing in normal progression.
Magnetite is worth keeping when I know another technology is approaching that uses it. Copper and Silver are materials I am more willing to target when a recipe actually asks for them, because their early routes are specific enough that I would rather make one deliberate trip than carry large amounts everywhere.
That balance leaves storage useful without turning every expedition into hoarding.
The best early resource run is not the one where I return with the heaviest inventory. It is the one where I know exactly which route I can repeat the next time that material becomes the problem.