The Hoverboard saves a lot of walking once I know where I am going. Here is how I craft it, get it to deploy, choose better terrain and avoid wasting the last of its charge.
A practical Honeycomb base building guide covering the first working setup: Water Pump, Wind Turbine, Multi-Room, Fabricator and the resource decisions that prevent early rebuilds.
Immunity becomes a real travel limit once the opening protection disappears. I use the IM Pump I, IMX plants and sealed shelter to stay outside without wasting perishable ingredients.
Honeycomb gets easier once the opening has a rhythm. I scan first, unlock the right tools, stabilize food and water, then push straight toward the Drone Builder and a real base.
After that, the problem usually tells me where to go next: a missing material sends me to resources, a base that will not function sends me to base building, limited outdoor time points to immunity, and repeated long journeys are when the Hoverboard starts earning its cost.
Sota 7 is very good at making everything look important.
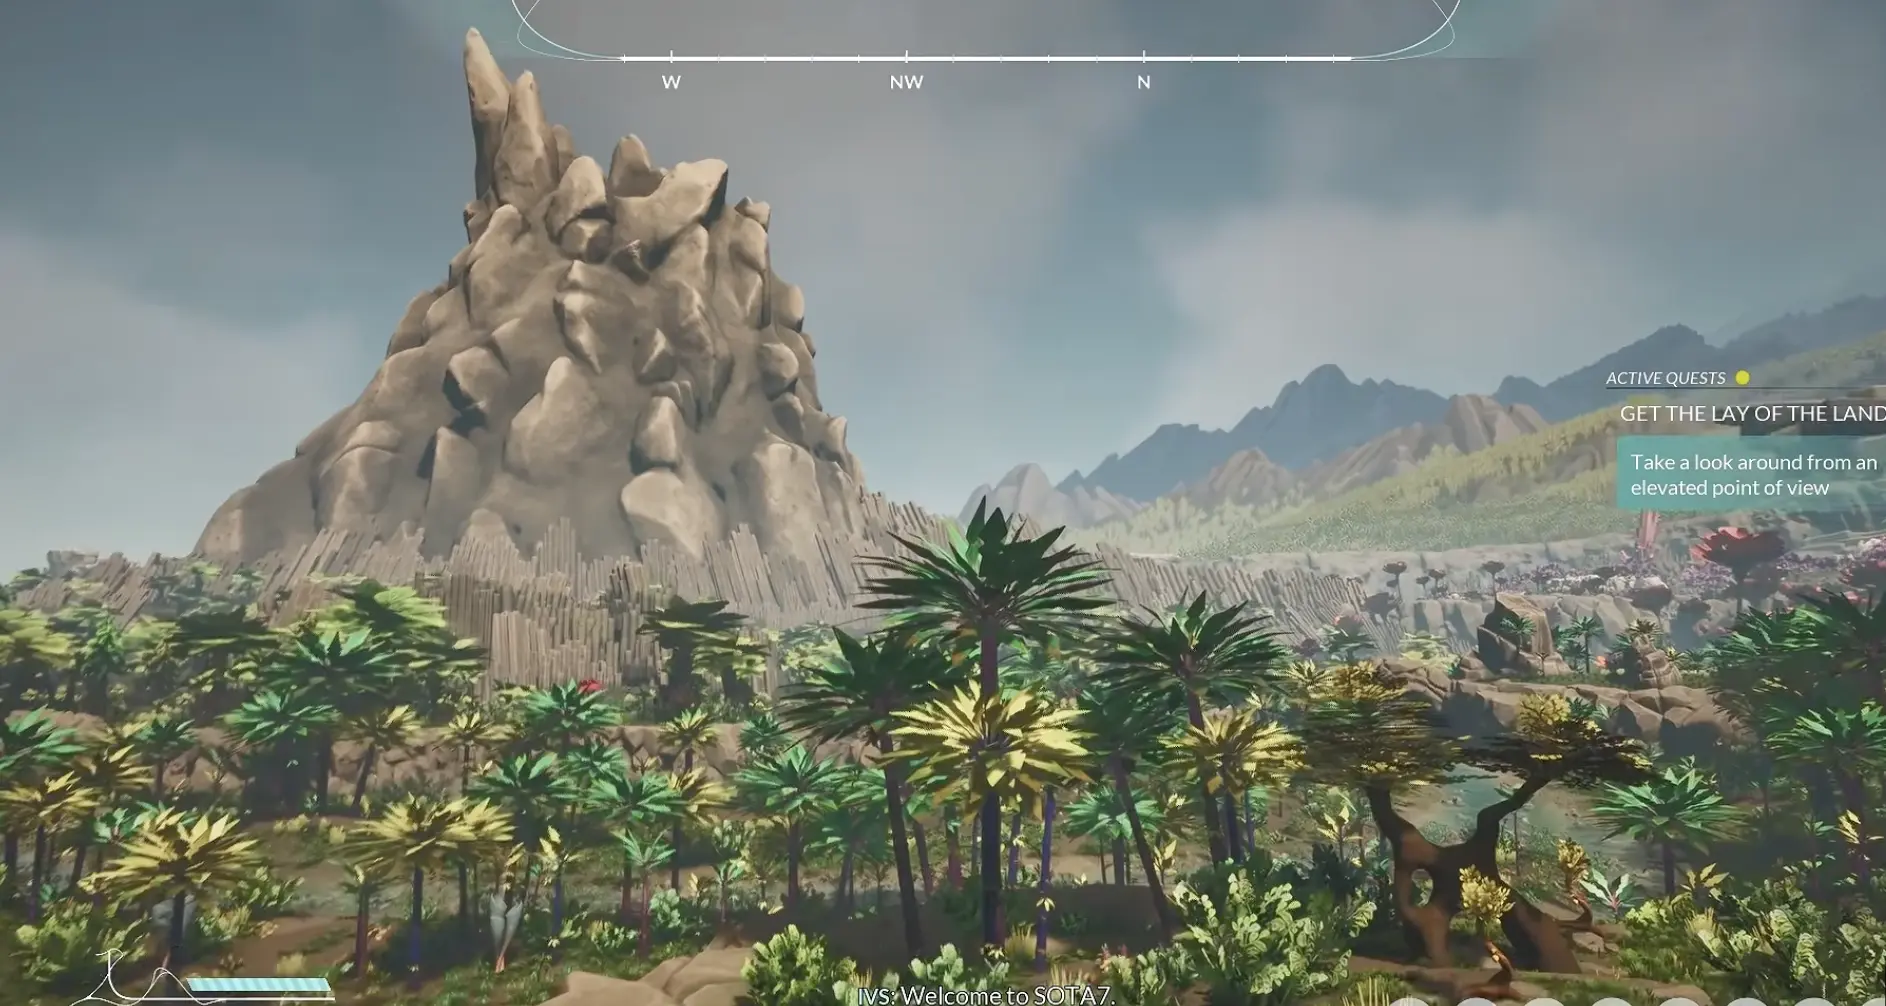
A new plant appears in AR mode while I am heading toward an ore marker. An animal starts reacting to me halfway through the trip. Another blueprint unlocks before I have finished the machine already sitting in the queue.
Trying to follow every new lead made my first hours much slower than the game itself needed to be.
The question that keeps me moving is:
What is preventing the next useful thing from happening?
Sota 7 keeps offering new directions. I make better progress when I solve the current blockage before turning the next discovery into another job.
My Early-Game Roadmap After the Landing Pod
For the first stretch, I follow the progression path rather than trying to build my own priorities from scratch.
The beginner’s guide covers that opening from the Analyzer through the first gathering tools, food and water, the Drone Builder and the move into a real base.
That transition matters more to me than any individual quest name.
Before the Drone Builder, I am still operating out of the Landing Pod.
After it, I have somewhere to put water, power, machines, storage and the systems that make longer trips practical.
Once that first home exists, Honeycomb becomes much less linear. From there, I stop asking “what does the tutorial want?” and start asking which system is actually blocking me.
If the Craft Is Red Because Something Is Missing, I Check the Map
A missing resource is its own problem.
I do not redesign the base because a Filter wants Silver, and I do not keep opening crafting menus when a component is waiting on Copper.
I use the resource guide for Titanium, Bauxite, Graphite, Magnetite, Copper and Silver, then come back when the missing material is solved.
The important distinction is simple: when the recipe is blocked by geography, the next useful action happens outside.
That keeps resource hunting from bleeding into every other guide.
If the Structure Exists but Does Nothing, I Stay Home
A Water Pump, machine or room that refuses to behave usually needs diagnosis before another gathering run.
The first base is built around working water and power coverage, not around how large or symmetrical I can make the room. Once that core is functioning, I add only enough interior equipment to support the next stage of progression.
If the problem is supply range, placement or a missing connection, more ore in storage will not repair it.
Immunity Changes the Meaning of “One More Detour”
The opening gives me enough freedom that curiosity mostly costs time.
Later, that changes.
When the initial environmental protection ends, staying outside becomes a resource of its own. That is the point where I use the immunity guide for the IM Pump, IMX, sealed recovery and the perishable ingredients that can turn a successful gathering run into a failed craft.
The biggest change is not mechanical.
It is how I value distance.
A marker on the other side of the valley is much less attractive when reaching it also spends the margin I need to get back safely.
I Make the Hoverboard After Walking Starts Feeling Like Repetition
The Hoverboard is much more valuable on the fifth trip through a known area than on the first.
I still like discovering new terrain on foot because I can scan, notice routes and learn where the ground becomes awkward. Once I already know the path, repeating that same walk adds very little.
It is most useful as a way to compress familiar distance, not as a reason to rush through places I have not understood yet.
Scientist Is the Difficulty I Use as My Baseline
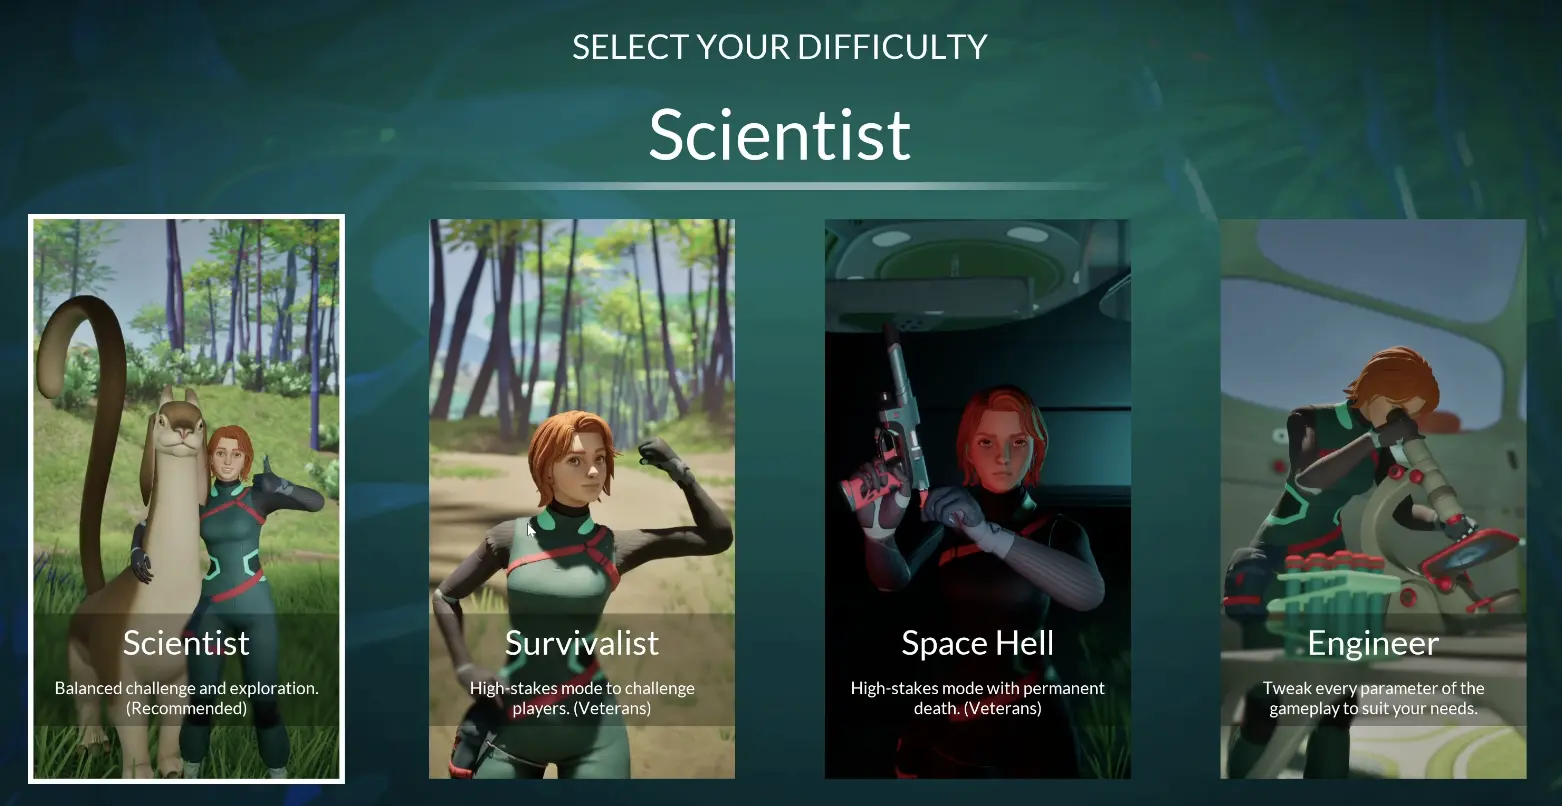
Honeycomb gives me four starting choices:
Scientist
Balanced challenge and exploration, and the recommended preset.
Survivalist
A harsher survival experience intended for players who already want more pressure.
Space Hell
The most severe preset, including permanent-death stakes.
Engineer
A customizable mode for changing the rules directly.
Scientist is the baseline I use for a first run. Engineer makes more sense once I already know which survival rules I want to change.
Scientist is the easiest mode for me to use as a reference because it shows how the systems are meant to interact without immediately turning every mistake into a survival crisis.
Engineer serves a different purpose.
Instead of simply moving difficulty up or down, it exposes individual settings such as survival drains, crafting behavior, death consequences and creature aggression. That makes it useful once I already know which parts of Honeycomb I enjoy managing and which ones I would rather soften.
I would start with Scientist if I want to learn the intended rhythm.
I would start with Engineer if the settings themselves are part of the experience I want to shape.
Animal Trust Starts Before I Am Ready to Bring Anything Home
The early wildlife is one of the easiest distractions to justify because interacting with it is genuinely useful.
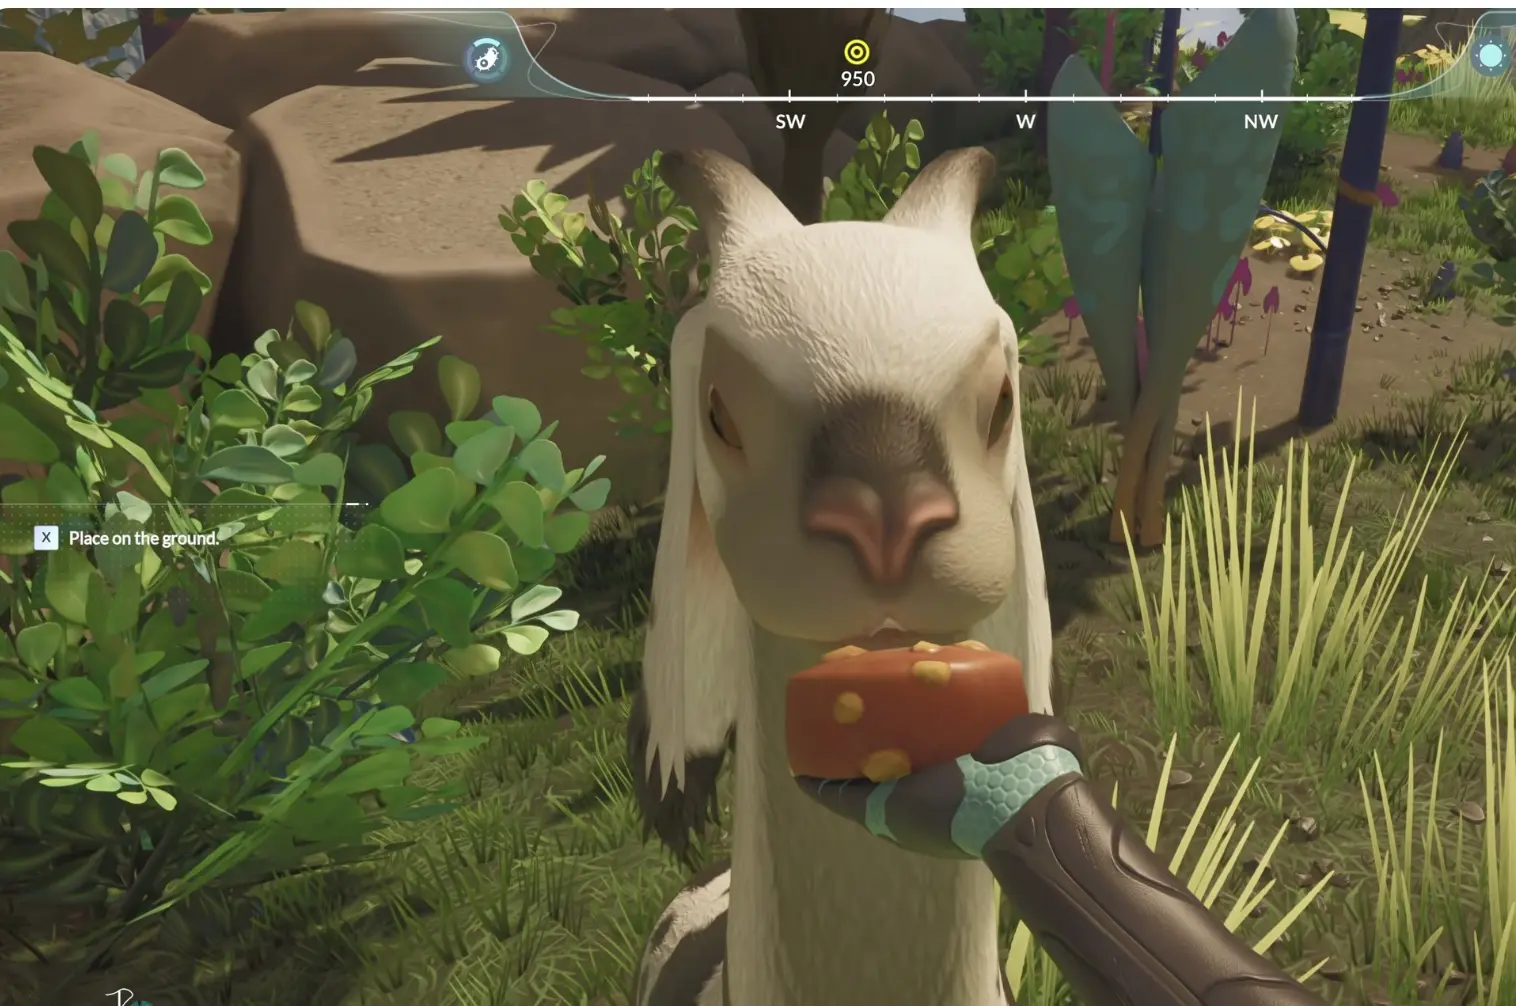
Animals can react to player behavior, some can mimic actions, and repeated positive interactions can build trust. Scanning them also records useful information before I have committed to anything deeper.
Feeding and interacting can move an animal relationship forward, but I save longer taming sessions for trips where the animal is the actual objective.
The first distinction I found useful is between meeting an animal and working on the relationship.
Meeting one during another trip is cheap. I can scan it, test a simple interaction and keep moving.
Building trust takes longer. Feeding, repeating preferred behavior and following the relationship far enough to reach a friendly state deserves its own time.
Once successfully tamed, an animal can become friendly and respond to commands, which makes the system much more than cosmetic. I simply do not force that entire process into the middle of a Titanium run.
Cross-Pollination Runs on a Slower Clock Than Exploration
Cultivation starts becoming interesting once the base has enough infrastructure to support actual experiments.
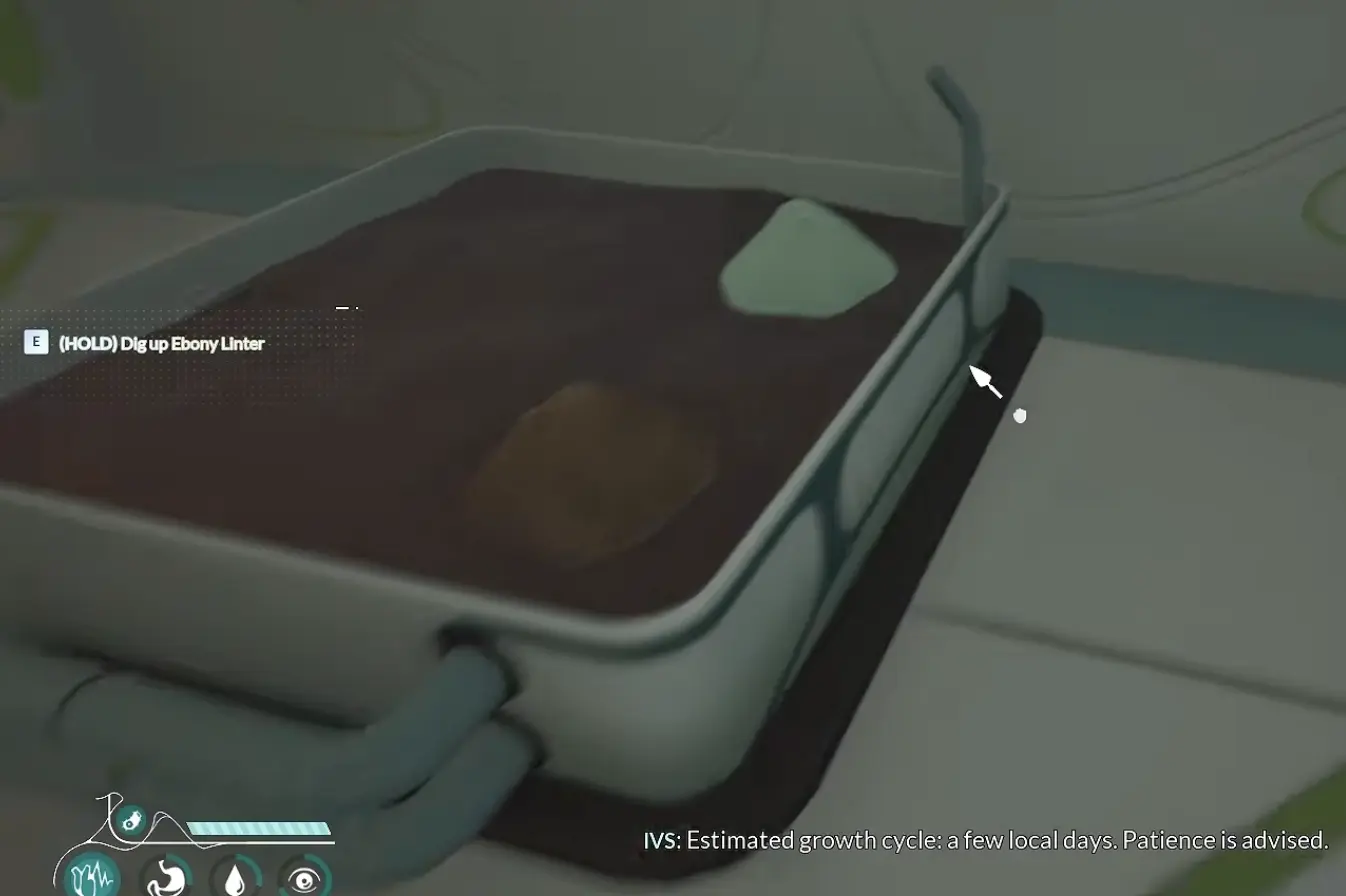
The first cross-pollination setup introduced me to Ebony Llinter, Ivory Llinter and the Grow Bed.
The important detail is space.
A hybrid needs a free place to appear, so filling every available Grow Bed position can sabotage the experiment before growth even becomes the issue.
After planting the parent species, I leave room for the hybrid. The first growth cycle is measured in a few local days, so there is no reason to stand beside the bed waiting.
The first experiment also made the timescale clear:
estimated growth cycle: a few local days.
That immediately changes how I schedule cultivation.
I plant what the experiment needs, verify that the hybrid has somewhere to grow, then leave the base and work on something else.
Resource trips, exploration and construction all fit naturally into that waiting period.
Cross-pollination therefore works better for me as a background process than as something I repeatedly check every few minutes.
The Point of the Map Is to Reduce Decisions, Not Create More of Them
Honeycomb keeps expanding the number of things I could do.
The useful part is learning which of those things deserves attention now.
When the next useful step is obvious, I follow it.
When it is not, I work backward from the blockage:
no material → find the resource;
no functioning room or machine → fix the base;
not enough outdoor margin → solve immunity;
too much repeat walking → use the Hoverboard;
no idea what comes next → return to the opening progression path.
The smaller systems fit around that structure.
Difficulty changes the rules before the run begins. Animal trust rewards time spent with wildlife. Cross-pollination rewards planting something now and letting the result develop while I am elsewhere.
That is how Sota 7 stays open without feeling directionless.
I do not need to pursue every discovery when it appears.
I only need to know which one makes the next part of the game possible.