Ghost of Yotei Ashoro Foothills Walkthrough: Full Route
Follow Ashoro Foothills from the wolf rescue through Ashoro Springs, Snake's Estate, Mount Akan, A Buried Promise, and Dream's End.
Updated:
Quick Answer
After entering Ashoro Foothills with Nagato the Handsome, rescue the wounded wolf and clear Ashoro Springs. From there, use the bounty board to begin Another Man’s Treasure.
The main route continues through Umakichi the Bear Slayer → Bunzaemon the Butcher → Snake’s Estate → Ichizo the Toad → A Past and Present Battle → A Buried Promise → Dream’s End.
After Nagato’s bounty brings Atsu through the marshlands, Ashoro opens with a fairly direct sequence: follow the wounded wolf, rescue it from the Vipers, then head for Ashoro Springs.
The larger story begins once the town is secure. Atsu and Nagato start tracing the food and money the Snake handled for Saito, which eventually leads from the local bounty board to the Snake’s Estate, Mount Akan, and the final attempt to stop Saito’s gold from leaving the foothills.
If Nagato the Handsome has not appeared yet, check how to start Echoes of Sekigahara before trying to enter Ashoro.
Rescue the Wolf and Reach Ashoro Springs
Follow the wounded wolf after entering the foothills. The trail leads through Viper territory and eventually into the hunting camp where Nagato rejoins Atsu.
Clear the Vipers around the captured wolf. A heavily armored enemy appears during this section, and Nagato points out the heavy weapon nearby. Pick it up when prompted rather than trying to force ordinary attacks through the armor.
Free the wolf once the camp is secure, then leave with Nagato. He points Atsu toward Ashoro Springs, the settlement at the center of the region.
Approach the settlement carefully because the Vipers have filled the area with enemies and traps. Clear the occupation and speak with Kihei after the fighting ends.
Kihei explains that the Snake had a home somewhere in the foothills. The Vipers were moving food throughout the region, so following those shipments may reveal where that home was.
When Atsu asks where to find Vipers trying to replace the Snake, Kihei points her toward the town’s bounty board.
Start Another Man’s Treasure at the Bounty Board
Go to the Ashoro Springs bounty board.
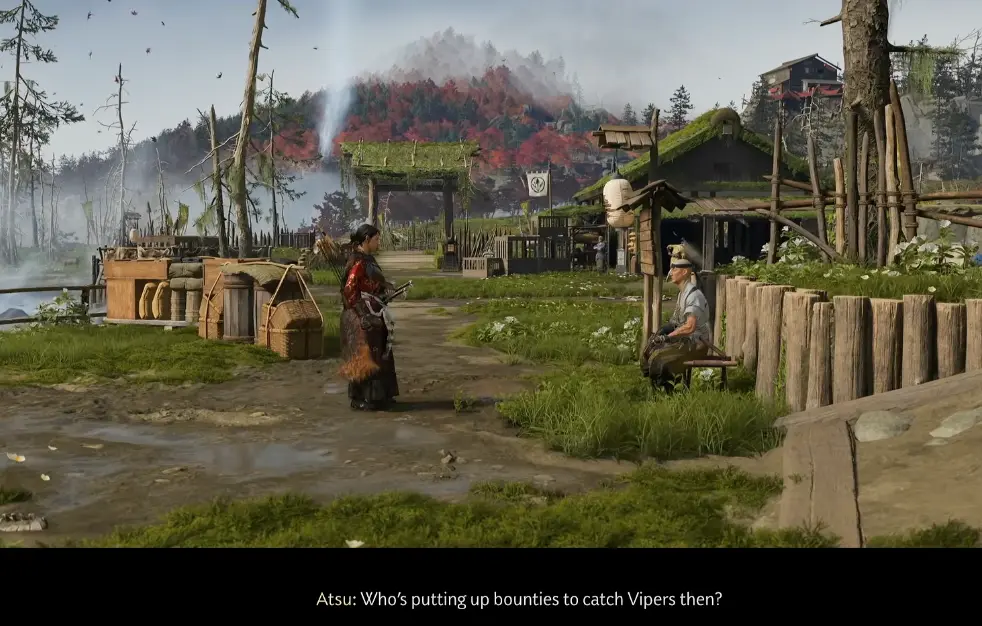
The bounties here are part of the search for Saito’s war funds. The first useful targets are Umakichi the Bear Slayer and Bunzaemon the Butcher.
Umakichi the Bear Slayer
Follow Umakichi’s marker until you reach the captured bear.
Release the bear before finishing the fight, then defeat Umakichi the Bear Slayer. Question him afterward about Saito’s war funds.
Umakichi does not know where the money is hidden, but he gives Atsu the next useful name: Ichizo the Toad, the Snake’s former right-hand man.
Return toward Ashoro Springs once the objective updates.
Bunzaemon the Butcher
The next major target is Bunzaemon the Butcher at Nishimura Slaughterhouse in the Blooming Trails area.
Bunzaemon has been supplying Saito’s forces with food taken from the region. Finish the fight and the confrontation that follows rather than leaving as soon as his health is gone.
The villagers want Bunzaemon alive so he can help repair the damage he caused. After that sequence resolves, take the recovered food and return to Ashoro Springs.
Speak with the Hot Spring Attendant in front of the inn when prompted. This leads into another memory from the Battle of Sekigahara before Atsu resumes the search for the Snake’s home.
When Nagato returns, follow him toward the route used by the Snake’s food carts.
Enter the Snake’s Estate Through the Rotten Wood
Stay with the cart tracks as Atsu and Nagato move through the swamp.
Viper traps along the route confirm that someone is trying to keep people away. Eventually the tracks reach an old gate near the Snake’s Estate, but the obvious entrance does not provide a clean way inside.
Look beside the blocked approach for a section of rotted wood.
Break through it and enter the estate.
Once inside, search for clues instead of treating the area like another ordinary Viper camp. A torn drawing depicts Mount Akan, and a note indicates that Ichizo the Toad was told to secure the Snake’s house.
Ichizo is still somewhere in the estate.
Defeat Ichizo the Toad and Take the Key
Continue through the estate until you locate Ichizo the Toad.
Defeat him and take the key to the Snake’s home. Return to the locked house Atsu and Nagato found earlier and use the key to continue the investigation.
Inside, the paintings and other evidence narrow the search toward Mount Akan. Atsu also finds clues connected to foreign ships and Portuguese gold, reinforcing that the Snake’s hidden operation was larger than a local Viper cache.
When the investigation is complete, the story moves into A Past and Present Battle.
A Past and Present Battle: Follow the Cart Tracks at Mount Akan
Head toward Mount Akan and pick up the cart trail again.
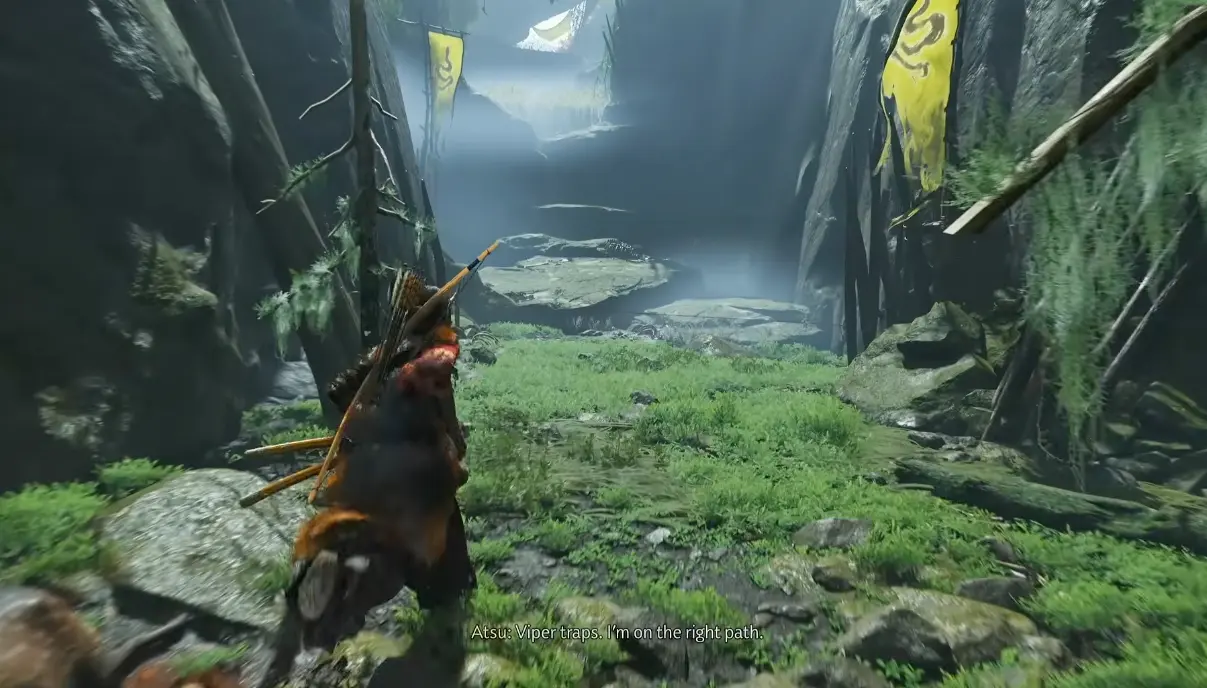
The approach is much more linear than the earlier Ashoro exploration. When the direct route becomes blocked and the objective tells Atsu to find another way around, stay inside the mission area and continue along the alternate path instead of returning to the open map.
Farther in, Atsu discovers that the Black Guard has captured Nagato. Push toward their position and free him.
The fight afterward provides the next lead. One of the Black Guard reveals that Kinsor the Ugly and his brothers have already secured Saito’s fortune.
Search the bodies before leaving. Atsu finds a note bearing Saito’s seal, which confirms that the Vipers moved the gold to a camp at the mouth of the foothills under Black Guard control.
Nagato asks Atsu to meet him near Hunter’s Rest Shrine before they make their next move.
A Buried Promise: Feed the Black Buck and Follow Nagato
Travel toward Hunter’s Rest Shrine.
Near the route, Nagato becomes distracted by a Black Buck. The animal will not approach while smoke from his kiseru is nearby, so Atsu needs to find food in the grove.
Collect the food marked around the area, then return and feed the Black Buck.
After the interaction, follow Nagato toward the shrine. The original path is no longer usable, so take the alternate climb around it and continue with him through the next Sekigahara sequence.
During this part of the route, Atsu can also encounter a Golden Bird in trouble. Free it if you are completing Free Bird; the remaining condition is covered in the Echoes of Sekigahara trophy guide.
Once A Buried Promise is complete, Atsu and Nagato return to the immediate problem: Saito’s gold is being held at the camp near the mouth of the foothills.
That begins Dream’s End.
Dream’s End: Reach the Ridge Above the Viper Camp
Meet Nagato and follow him toward the final camp.
He sends Atsu up the path to a ridge overlooking the Vipers and leaves a bow there for her. Pick it up before beginning the attack.
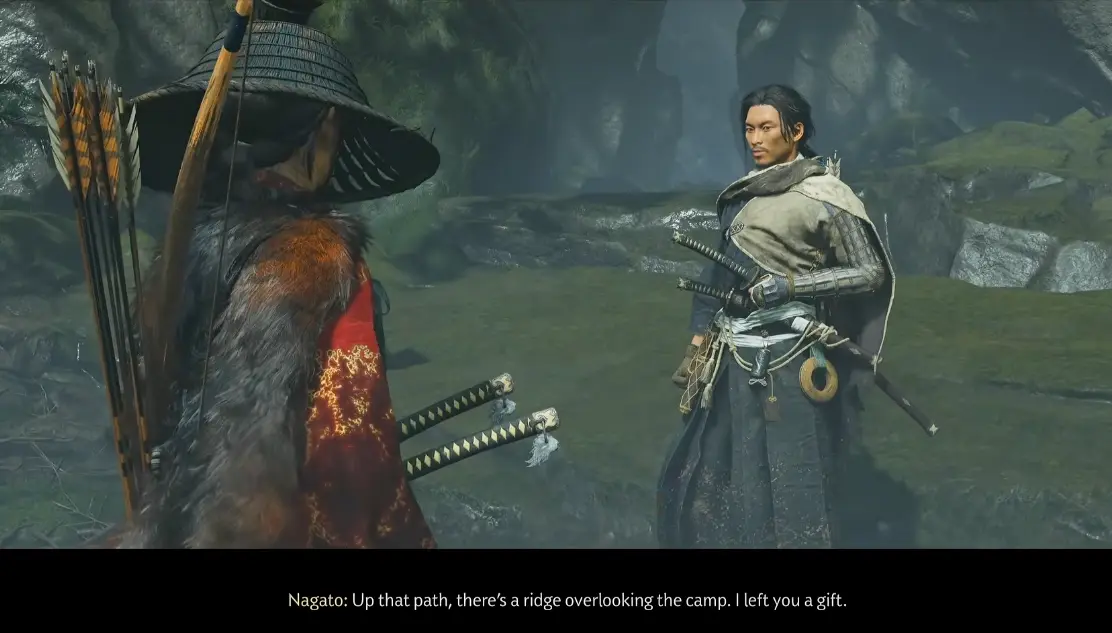
Nagato moves below to draw the Vipers out while Atsu fires from the ridge. Clear the camp and search the area afterward.
The expected gold is gone.
Interrogate the surviving Viper and inspect the evidence around the carts. Saito ordered the Black Guard to move the fortune out of the foothills as part of a deal involving foreign ships, soldiers, and weapons.
Atsu and Nagato immediately follow the caravan.
Stop the Gold Caravan at the Retaining Wall
Follow the cart tracks until Atsu and Nagato catch the caravan.
Jiske the Clean and Chu the Rotten are traveling with it, while Kinsor is somewhere else. A direct attack on the entire caravan is not the plan.
Nagato identifies a retaining wall above the road that can be collapsed onto the route.
Climb toward the high ground and stay ahead of the caravan. Vipers and Black Guard soldiers defend the route, and flare alarms can warn the convoy if you trigger them while moving through the area.
When you reach the retaining wall, kill the Vipers reinforcing it.
Pull the supporting logs loose with Nagato before the caravan gets past the position.
The wall collapses in a landslide, burying the road and stopping most of Saito’s gold and food from continuing.
Protect the Remaining Gold and Escape
Not everything is buried.
Some of the surviving gold is still loaded onto nearby pack horses. Calm the horses, defend them when more enemies arrive, then mount up when the route opens.
Ride through the remaining Viper attack and keep moving with Nagato.
The escape eventually ends when Nagato is struck down and Kinsor the Ugly appears.
Defeat Kinsor the Ugly
Kinsor is the last of the Viper leaders still trying to take the Snake’s place.
Defeat him to finish the final Viper confrontation in Dream’s End. After the fight, complete the remaining scene with Nagato.
There is no additional Ashoro story mission after this sequence.
Return to Ashoro Springs
The surviving gold eventually reaches Ashoro Springs as Nagato’s parting gift to the town.
Kihei explains that it is enough to help the settlement rebuild after everything the Vipers took from the people living there.
Dream’s End closes the main Ashoro story, but the region remains available afterward. Storehouses, recipes, dye trade routes, Zeni Hajiki, combat conditions, and other unfinished activities can all be cleaned up later.
For those remaining requirements, use the Echoes of Sekigahara trophy guide.