Dune Awakening Trials of Aql: All 8 Locations & Solutions
Find all 8 Trials of Aql in Dune Awakening, from Mihna Cavern and The Red Maw to every Footsteps of the Fremen puzzle and final fight.
Updated:
Quick Answer
There are 8 Trials of Aql.
Complete them in order from Mihna Cavern to Footsteps of the Fremen. The most common blockers are the climb to the Fourth Trial, getting enough elevation to survey Hagga Rift for the Fifth, descending to The Red Maw for the Seventh, and finding Sietch Ta’lab at ground level for the Eighth.
The Third and Sixth Trials have destroyed altars, so reaching the altar and completing the interaction is the intended progression. There is no missing spice challenge in either cave.
Bring a Cutteray, ammunition, healing and blood before entering the Eighth Trial.
Checked for Update 1.5.3.4 — September 24, 2026.
The Trials of Aql move across most of Hagga Basin and change format several times. Some are traversal tests, the Fourth becomes a combat trial, the Fifth teaches the Thumper, the Seventh uses Stilltents against a storm, and the final visit to Sietch Ta’lab combines Fremen history, ecology, the Deathstill mechanism and combat.
| Trial | Location | Main Challenge | Unlock / Result |
|---|---|---|---|
| First Trial of Aql | Mihna Cavern, Hagga Basin South | Eye and shadow stealth | Scavenger Stillsuit |
| Second Trial of Aql | The Deep Struggle, Eastern Vermillius Gap | Static Compactor hazards | Static Compactor |
| Third Trial of Aql | Cave of the Lost Pilgrim, Western Vermillius Gap | Reach the destroyed altar | Story progression |
| Fourth Trial of Aql | The Hollow Hammer, Eastern Vermillius Gap | Long climb and combat | Unfixed Crysknife, Prescience progression |
| Fifth Trial of Aql | The Hidden Test, Hagga Rift | Survey height, quicksand and Thumper | Thumper |
| Sixth Trial of Aql | Devil’s Eye Cavern, Jabal Eifrit Al-Sharq | Reach the destroyed altar | Story progression |
| Seventh Trial of Aql | The Red Maw, Hagga Rift | Stilltent sandstorm run | Stilltent |
| Eighth Trial of Aql | Sietch Ta’lab, Eastern Shield Wall | Lore, ecology and Deathstill puzzles | Fremen Deathstill and final Trial rewards |
For the wider material and vehicle route between these Trials, use the Dune Awakening progression guide.
First Trial of Aql — Mihna Cavern
The First Trial is in Mihna Cavern in Hagga Basin South.
Near the destination, look for the constructed archway and Fremen markings beneath the rock rather than trying to climb directly toward the map marker. Follow the cave downward until the large staircase reaches the spice altar, then inhale the spice to begin.
The Trial is built around a rotating eye that watches exposed sections of the path.
Wait behind a wall or pillar until the eye closes or turns away, cross to the next piece of cover, then stop before it looks back.
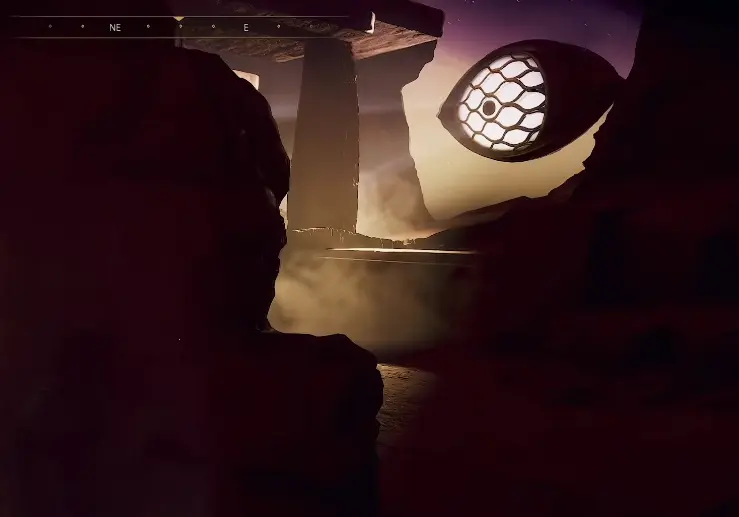
Trying to clear several sections in one sprint makes the timing harder. Treat each safe shadow as a separate crossing.
Completing the First Trial gives you the knowledge needed for the Scavenger Stillsuit, which then becomes part of the early survival Journey.
Second Trial of Aql — The Deep Struggle
The Second Trial is inside The Deep Struggle in Eastern Vermillius Gap.
Approach the rock formation southeast of the large hammer landmark and look for the broken constructed arch around the entrance. A shielded section must be cut on the way in, followed by a descent with several large drops, so fall protection makes the approach much safer.
Inside the spice sequence, the Static Compactor is used against fire, poison and unstable sand.
The sand sections are the easiest part to fail by moving too slowly. Compact the section immediately ahead, cross it, then form the next platform. Temporary surfaces can disappear if several are created before you start moving.
If one collapses, restart that section instead of trying to recover from the unstable sand.
Completing the Trial unlocks the Static Compactor.
Third Trial of Aql — Cave of the Lost Pilgrim
The Third Trial is in Western Vermillius Gap, inside the Cave of the Lost Pilgrim.
Use the large table-shaped rock formation as the main landmark. The cave is near its northern side, with lighting and constructed details around the entrance.
There are enemies and booby traps inside. Follow the route downward until you reach the altar chamber.
The altar is destroyed.
There is no spice basin, puzzle or hidden second chamber that must be found to complete the Third Trial. Listen to the recording at the damaged altar and allow the Journey to update.
This stop advances the Fremen history rather than giving you another survival schematic.
Fourth Trial of Aql — The Hollow Hammer
The Fourth Trial is in The Hollow Hammer in Eastern Vermillius Gap.
The cave sits high inside the hammer formation, and the difficult part is reaching its height.
Trying to climb the largest rock faces directly turns the approach into a stamina problem. Circle the formation and look for constructed stairs, bridges and platforms. Those structures form the intended path upward.
A Shigawire Claw and Suspensor make the longer vertical sections easier.
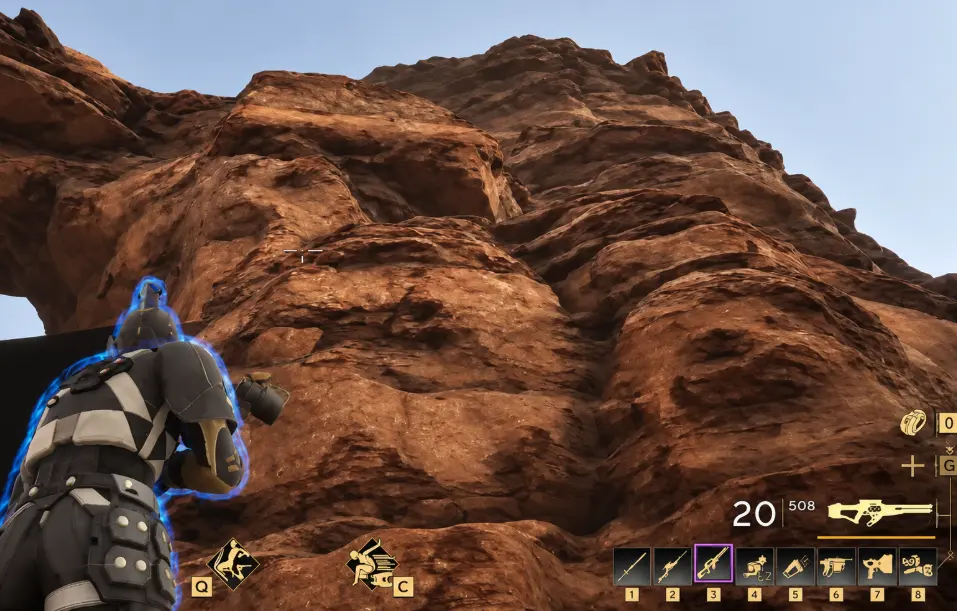
The Trial itself is combat-focused.
Fight through the first waves normally with blocks, parries, dodges and your current weapons. The later pressure leads into the spice-powered sequence; once Prescience becomes available, use the temporary abilities to finish the remaining enemies.
Completing the Fourth Trial unlocks the Unfixed Crysknife and advances the spice-powered combat abilities associated with this stage, including access to the third ability slot.
Fifth Trial of Aql — The Hidden Test
The Fifth Trial begins with a survey of Hagga Rift.
Standing in the right region is not enough. The survey requires additional elevation before it will resolve.
During my run, the remaining height requirement fell from 35 meters → 23 meters → 11 meters as I climbed, then disappeared once the survey point was high enough.
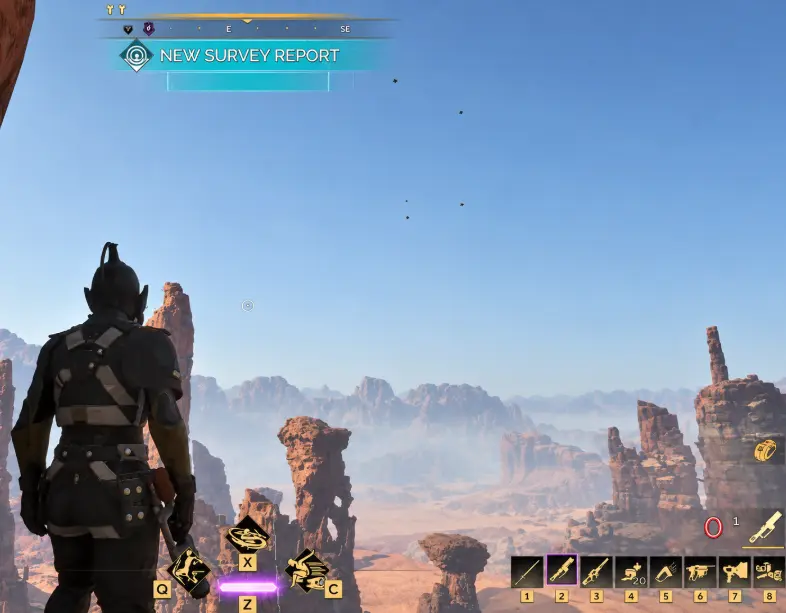
Once the survey completes, travel toward the revealed location on the eastern side of Hagga Rift. The entrance to The Hidden Test drops into the terrain near the stone-bridge route, so a Suspensor is useful before descending.
Stay on the rocks above the quicksand
After activating the altar, the Trial becomes a platforming route over dangerous sand.
Use each solid rock or ruin as the next landing point. Avoid dropping onto the low moving sand and climb toward the higher structures as the route continues.
The final section introduces the Thumper.

Place the Thumper when instructed and move through the final Shai-Hulud sequence.
Completing the Fifth Trial unlocks the Thumper.
Sixth Trial of Aql — Devil’s Eye Cavern
The Sixth Trial moves northeast into Jabal Eifrit Al-Sharq.
Look for Devil’s Eye Cavern near the northeastern side of the explorable Hagga Basin area. The square Fremen structures and shielded entrance are more reliable landmarks than following the icon in a straight line through the surrounding rock.
Expect enemies, traps and loot on the way to the objective.
At the end of the cave, however, the altar is destroyed.
Complete the recording interaction and continue. There is no playable spice sequence and no additional Trial chamber hidden behind the ruined altar.
Seventh Trial of Aql — The Red Maw
The Seventh Trial is in The Red Maw, deep inside Hagga Rift.
The map marker is misleading if you are still standing on the upper level. The cave entrance is near the bottom of the Rift, not on top of the surrounding cliffs.
From the surface, Abernath’s Descent provides a recognizable route into the lower levels. Continue dropping through Hagga Rift until you reach the lowest section.
Near the entrance, look for reddish light, tall tooth-like rock formations and the hostile camp around the cave.
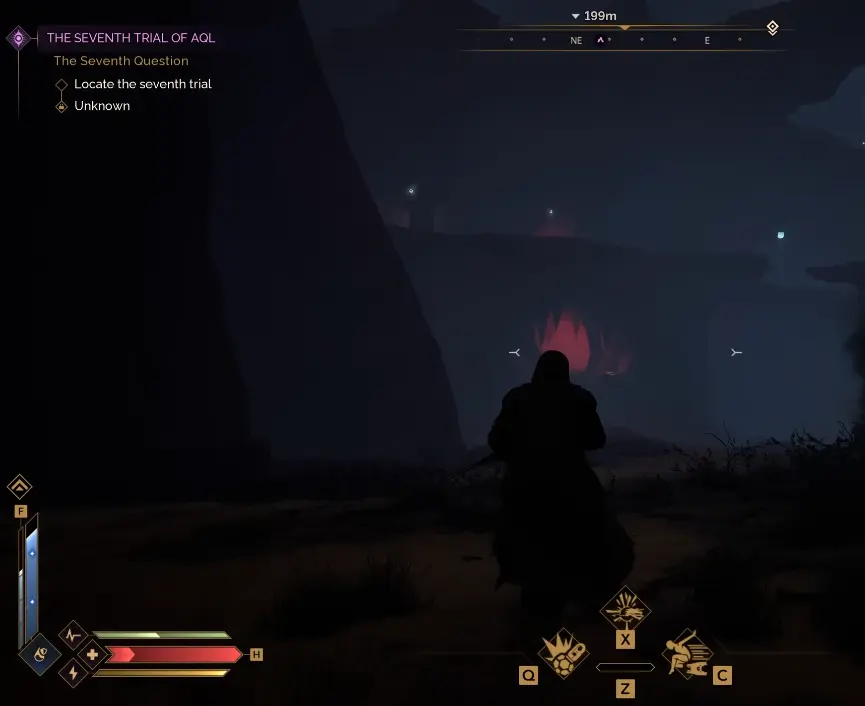
A shield blocks the way into the Trial area, so bring the tool needed to cut through it. A good Suspensor also makes the descent much safer.
An Ornithopter shortens the approach if you already have one, but it is not required.
Use each Stilltent as the next safe point
After activating the altar, a sandstorm repeatedly sweeps through the Trial.
The Stilltents are shelters.
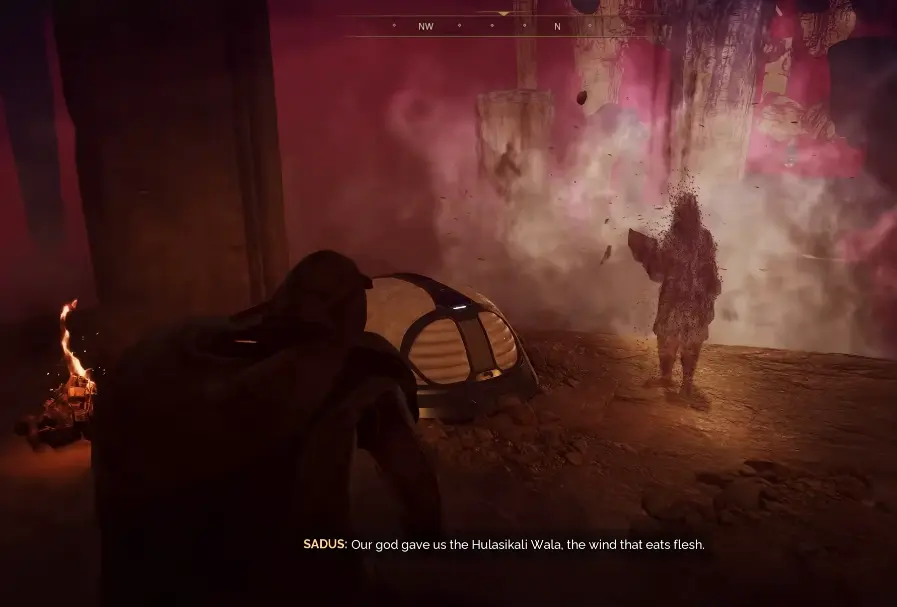
When the storm clears, leave the tent immediately, run and climb toward the next shelter, then wait there for the next exposed section.
There is little value in conserving stamina while the character is outside. The failure condition is remaining exposed for too long, so speed between shelters matters more.
The route continues upward until the final interaction ends the Trial.
Completing the Seventh Trial unlocks the Stilltent.
Eighth Trial of Aql — Footsteps of the Fremen
The Eighth and final Trial is Footsteps of the Fremen in Sietch Ta’lab.
The entrance is at the base of the Eastern Shield Wall, near the border with Mysa Tarill and Jabal Eifrit Al-Gharb.
Do not climb toward the top of the Shield Wall because the map icon appears elevated. Drop to desert level and follow the bottom of the rock formation until you find the narrow, tall passage leading inside.
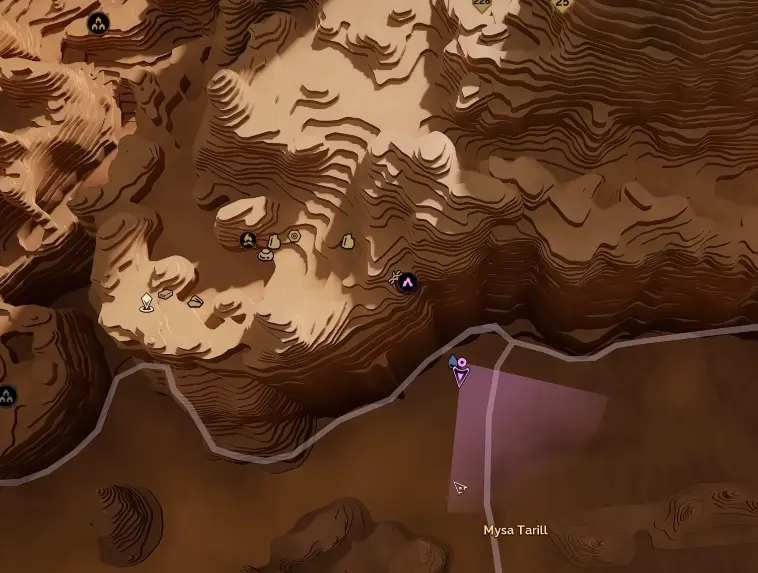
This Trial is considerably longer than the first seven.
Before going deeper, bring:
- a working Cutteray;
- repaired weapons;
- ammunition;
- healing and water;
- free inventory space;
- blood for the Deathstill sequence.
The Cutteray is required for several blocked rock sections inside the sietch.
Eighth Trial Puzzle 1 — Ornate Door Answers
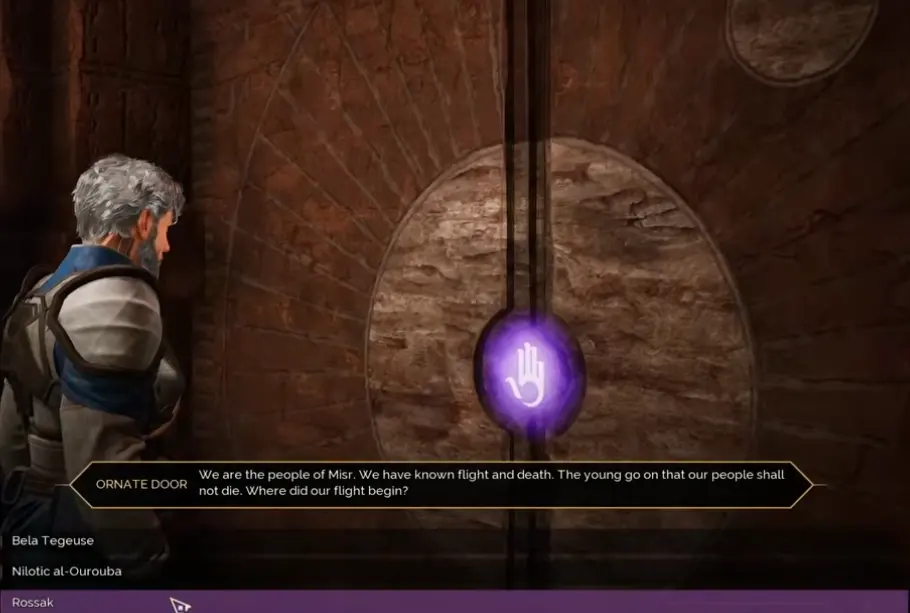
The first major barrier is the Ornate Door.
It asks about the migration history taught through the previous Trials. Choose the answers in this order:
- Nilotic al-Ourouba
- Poritrin
- Salusa Secundus
- Bela Tegeuse
- Rossak
- Thurgrod
- Harmonthep
A wrong response does not permanently fail the Trial. Interact with the door again and restart the sequence.
Once all seven answers are accepted, the interior route opens.
Cut Through the Sietch With the Cutteray
Beyond the Ornate Door, several sections are blocked by rock.
Use the Cutteray and continue through the main interior route. Side rooms contain loot and Fremen materials, but they are not all required for progression.
Watch for booby traps around bodies and narrow passages while exploring.
The path eventually climbs toward the room containing the ecology lesson.
Eighth Trial Puzzle 2 — Ecology Lesson
The projection in the ecology room explains three stages of transforming the desert.
Match the glyphs to:
Lesson 1 — Bind → Dune → Grass
Lesson 2 — Planting → Shelter → Downwind
Lesson 3 — Animal → Aerate → Soil
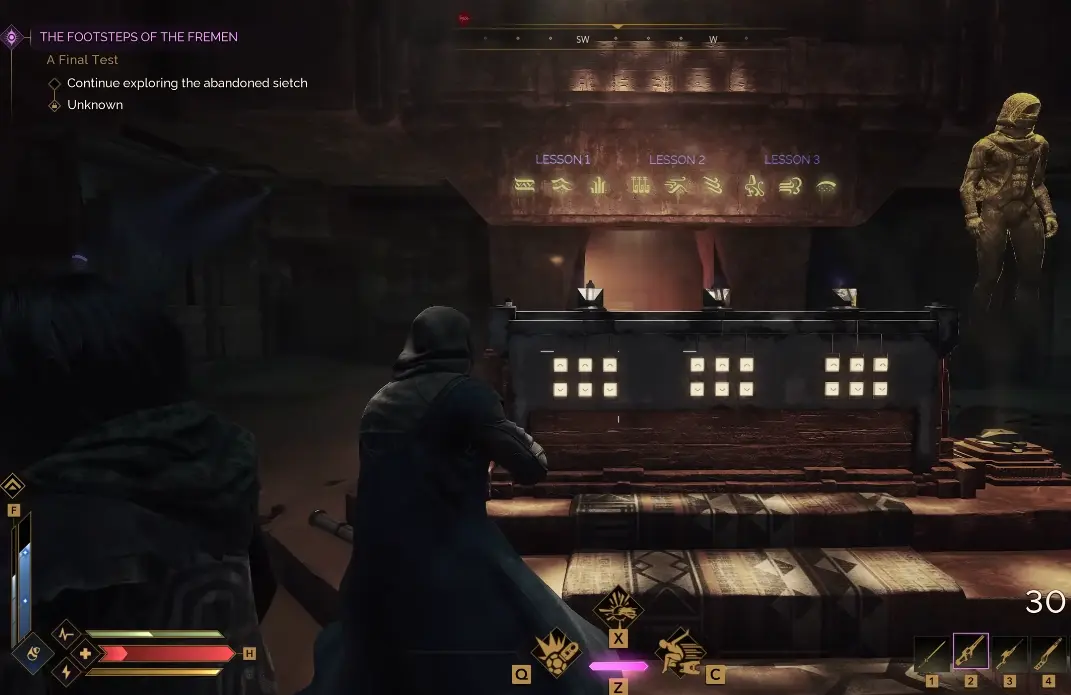
Use the controls to rotate each group until its three symbols match the spoken lesson. Work through one lesson at a time instead of changing several groups together.
When all three are correct, the next route opens.
Eighth Trial Puzzle 3 — Deathstill Ring Solution
The final major puzzle uses an ancient Deathstill.
The three rings must form one continuous channel from the Deathstill to the outer route.
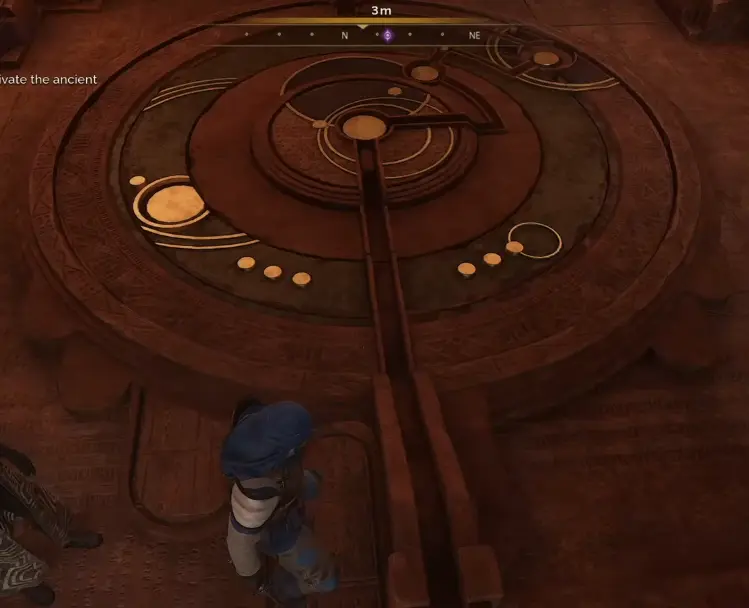
The useful visual references are:
- inner ring — the L-shaped channel points roughly 90 degrees to the right from the Deathstill;
- middle ring — its L-shaped channel continues toward the right side;
- outer ring — the straight channel connects through the marked points.
Check the complete path after each adjustment because the mechanism can move more than one visible section while you are working.
Once the channels connect, interact with the Deathstill and provide blood.
The blood travels through the aligned mechanism and opens the secret chamber.
Open the Safe and Prepare for the Final Assault
After the cinematic in the secret chamber, search the room before trying to leave.
The safe is to the left of the central area and uses another blood interaction. Open it and collect the quest item inside.
Reload and heal before moving into the final section.
A large enemy group attacks during the escape. If the room becomes crowded, the lower level provides useful cover and enough separation to heal before climbing back into the fight.
Once the assault is cleared, follow the open route out of Sietch Ta’lab.
Completing Footsteps of the Fremen finishes the eight-Trial sequence and rewards the Fremen Deathstill, along with the final quest rewards from this Journey.
If the next question is where your character should go after the Fremen chain is complete, continue with the Dune Awakening progression guide.