Dune Awakening Great Convention Walkthrough: Acts 3–5
Complete The Great Convention Parts I–III, from Act 3's Bloodline puzzle and Act 4's arena to Act 5 on Zanovar and the Orbital Monitor.
Updated:
Quick Answer
The Great Convention spans Acts 3–5.
Part I / Act 3 is the Arrakeen murder investigation and Bloodline sequence.
Part II / Act 4 is the Neo Carthag arena, Maksim Dubrov’s jobs and Fallen Light.
Part III / Act 5 starts with Staban Tuek, sends you to Zanovar, and ends aboard the Orbital Monitor with the Sleeper.
Before Part II, carry a Hand Scanner, Cutteray and Radiation Suit. Before leaving Arrakis in Part III, repair your gear and refill ammunition and healing because Zanovar leads directly into a long off-world sequence.
Checked for Update 1.5.3.4 — September 24, 2026.
The Great Convention does not play like one long quest with the same type of objective.
Act 3 spends most of its time on investigation, scanning and the Bene Gesserit Archives. Act 4 repeatedly alternates between Neo Carthag arena fights and field assignments. Act 5 leaves Arrakis completely, sends you through Zanovar and then turns the final stretch into stealth, story revelations and forced combat aboard the Orbital Monitor.
If The Great Convention has not appeared in the Journey yet, continue the main story. The progression guide covers the earlier route into these later quests.
Part I / Act 3 — The Call
The Great Convention begins with The Call.
Track the Journey and travel through a Hagga Basin settlement or Tradepost. Noctua appears first, after which Elara Tuek sends you to Harko Village.
Meet Elara at Hannivar’s and continue Called To A Count until Count Fenring recruits you to investigate a series of suspicious deaths in Arrakeen.
From this point, keep a Hand Scanner with you. Several objectives advance only after the correct physical clue has been examined.
Proces-Verbal — Prove Osten Laithe Was Murdered
Travel to Arrakeen, meet Sub-Prefect Tors at the Imperial Consulate and continue to the Upper Salusan Bull.
Osten Laithe is already dead when you enter the private room. Examine the body and recorder, then question the people outside.
The investigation will stop until you obtain a Poison Snooper.
It costs 100 Solari from the appropriate Arrakeen vendors. Return to Osten’s room with it and inspect the evidence, including his book and hand.
Talking to the witnesses repeatedly will not bypass this step. If the objective has stopped after the first interviews, check the Poison Snooper interaction first.
Once the poisoning is established, report the evidence and follow the lead to Osten’s workshop.
Touch of Evil — Get the Security Band Before Entering the Workshop
Osten’s hidden workshop is in the Eastern Shield Wall.
The workshop itself is on the lower level of the hostile site, but its access item is higher up. Search the upper section for the security band before going back to the locked workshop entrance.
Inside, listen to the recording and collect the documents connected to Old Carthag and Phaedra Vye.
After the evidence is collected, return to Tors in Arrakeen.
From the Ashes — Scan Phaedra Vye’s Apartment
Phaedra Vye’s upstairs apartment contains several obvious clues, but the important hidden clue is around the picture frame.
Use the Hand Scanner rather than stopping after the visible evidence has been collected.
The investigation then moves into the Deep Desert. When you reach the cave objective, check the approach before entering: the valet’s body is outside and can easily be missed if you run directly toward the cave marker.
Collect the evidence inside, return to Arrakeen and revisit Phaedra’s apartment.
Scan the painting to reveal the concealed mechanism behind it, open the hidden area and finish the investigation there.
The Janusian Faithful — Banquet Victim Answers
At the banquet, inspect the bodies and speak to the dying noble before identifying anyone. Several answer options only become available after their physical clues have been examined.
The three identifications that commonly stop progress are:
- Ansel Virro — dark blue mask on the right side, between the empty chair and the purple mask
- Agade Yimari — purple mask on the right side of the table, next to the empty chair
- Roella Ramsby — terracotta mask on the floor
For Roella, inspect both her body and the handprint with a missing finger.
After the identities are accepted, follow Tors. There is no additional clue you need to finish collecting at the banquet before the assassination sequence continues.
The Bloodline Puzzle — 4 → 7 → 2 → 3
The Bloodline takes you beneath the Arrakeen Palace and removes your normal equipment for a stealth route through the Archives.
Collect all four etchings before heading into the lower puzzle area. Their important pairs are:
- First — Jar
- Second — Mother
- Third — Dirt
- Fourth — Water
The hidden notes associate each word with a numbered platform.
Step on the platforms in this order:
4 → 7 → 2 → 3
The next Bene Gesserit projection asks four questions. Choose:
- Any bad human can be reformed
- Evil men never prosper
- Only females understand the ancient mysteries
- Everything happens for a reason
Continue through the scene after the test. The genetic search reveals that your bloodline is tied to restricted information surrounding the Zanovar incident, but the investigation is interrupted before you can learn the full answer.
Finish the remaining conversations and wait for Noctua’s Return. When the Journey tells you to look for Noctua in Hagga Basin, travel through a Tradepost to trigger the final Act 3 sequence.
Part II / Act 4 — Neo Carthag Arena
Act 4 begins when Elara contacts you again.
Meet her in Harko Village, speak with her contact and enter the illegal arena near Neo Carthag. Once Maksim Dubrov accepts you as a fighter, the act settles into a repeating rhythm: survive an arena tier, complete Maksim’s field assignment, then return for the next set of opponents.
Carry these three items before committing to the sequence:
- Hand Scanner
- Cutteray
- Radiation Suit
They are used on different excursions between arena tiers.
Arena Tier 1 — Brute the Scrapper
The opening matches begin with ordinary scavengers before Brute the Scrapper enters the arena.
Heal before starting the match because your current health carries directly into the fight.
Brute adds extra enemies as his health drops. Break his shield early, clear enough room that the adds cannot surround you, then use the exposed window for damage. Ranged attacks are particularly useful when the arena starts becoming crowded.
Defeating Brute opens Maksim’s first outside assignment.
Secrets of the Exile — Recover the Radiation Core
Travel to the Sheol and locate the wreck connected to Maksim’s missing courier.
The Radiation Core is inside, but reaching it is not enough. Use the nearby control equipment to close its container before trying to collect it.
Wear the Radiation Suit through the hazardous section, recover the core and return to Neo Carthag.
The next fights lead to Aren the Exile. Deal with the additional enemies as they appear rather than letting them occupy the arena while you focus entirely on the boss.
Breaking the Chains — Find 3 Elacca Shipment Crates
Maksim’s next assignment sends you into the northeastern Deep Desert.
Find the wreck, scan the nearby area and follow the tracks into Testing Station 217.
Inside are 3 Elacca shipment crates.
Taking a crate can bring additional enemies into the encounter. Clear enough of the room before interacting with each shipment so that the pickup does not leave you boxed in.
Return all three crates to Maksim.
The third arena tier eventually ends with the Master of Chains. His additional fighters become more dangerous when several waves remain alive together, so remove the immediate threats before returning your attention to him.
Extinguishing the Flames — Wreck of Hephaestus
The fourth assignment sends you to the Wreck of Hephaestus.
This is where the Cutteray and Radiation Suit both matter.
Work through the cargo areas until the route reaches the locked access panel. Cut it open, use the console to activate the floodlight and collect the key band revealed inside.
The key can be awkward to interact with, so check the area beside the console carefully before leaving.
Return to Neo Carthag afterward and continue through the fourth arena tier until Thrax the Flamer.
Thrax is easier to manage when you give his attacks room instead of following him through every movement. Deal with dangerous adds as they appear and force him to cross the arena back toward you.
A Deadly Poison — Recover the Dormant Ghola Abomination
The fifth assignment leads to Old Carthag.
Take the upper route, use the Cutteray on the required panels and continue toward the incubator section. When the objective reaches the pod rooms, operate the controls and recover the Dormant Ghola Abomination.
The route out can be misleading near the upper section: when the marker looks as though it wants you to climb farther, check the breakable wall instead.
Bring the Abomination back to Maksim and continue through the final arena tier.
Sinnu the Poisoner and the Dancer of Veils
Sinnu the Poisoner uses speed, melee pressure and poison attacks while additional Abominations join the arena.
Keep moving and preserve enough space to avoid taking both the boss’s attacks and the adds at the same time. Higher ground and ranged damage make the encounter much easier to control.
Completing this stage rewards:
- Adept Dual Blades
- Feyd’s Spare Blades
The arena story does not end with Sinnu.
The remaining confrontation exposes the truth behind the Dancer of Veils and the Facedancer operating inside the arena plot. Continue through that fight and the following dialogue rather than leaving Neo Carthag as soon as the Dual Blades appear.
The information recovered there sends Elara toward the Smugglers.
Outside the Law — Go to Fallen Light, Not the Weekly Deep Desert
Return to Harko Village and speak with Elara.
The next objective is Fallen Light, a crashed Heighliner used by the Smugglers. Select Fallen Light itself from the travel map; entering the ordinary Deep Desert and searching for it there will not take you into the correct instance.
Inside, fight through the ship and reconnect with Feyd-Rautha as the route advances. Several combat rooms are separated by climbing and traversal sections before the mission reaches the Minotaur.
The Minotaur summons additional enemies at regular intervals. Either finish it quickly enough to prevent the arena from filling or clear each new group before resuming damage on the boss.
Continue deeper into Fallen Light until Esmar Tuek is safe and the situation with the Smugglers is resolved.
Return to Elara afterward.
When Call of the Night tells you to wait in Hagga Basin, enter a Tradepost. Noctua’s next message closes Act 4 and points toward the final part of the story.
Part III / Act 5 — Follow the Zanovar Lead
Act 5 begins with new information from Esmar Tuek.
Return to Fallen Light and speak with him. A recording connected to Zanovar has passed through the Smuggler network, and the last confirmed person carrying it is Esmar’s son, Staban Tuek.
The Sardaukar are already closing in.
Reach Staban’s base and fight through the assault.
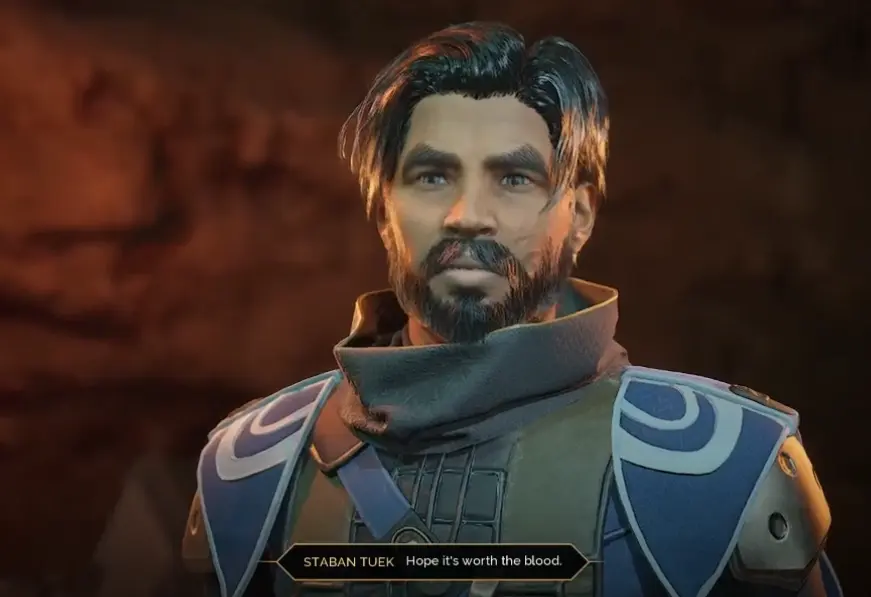
Staban gives you the recording before preparing to destroy the compromised base.
The two names that matter from this point are:
Cammar Pilru and Zanovar.
Once the recording is secured, leave. There is no second quest item hidden elsewhere in the compound.
Cross My Palm With Spice — Pay for the Trip Off-World
Play the recording and continue the conversations that follow.
Getting through the Spacing Guild and Imperial blockade requires a Spice bribe, which starts Cross My Palm With Spice.
Collect the required Spice Melange and turn the contract in through a contract board.
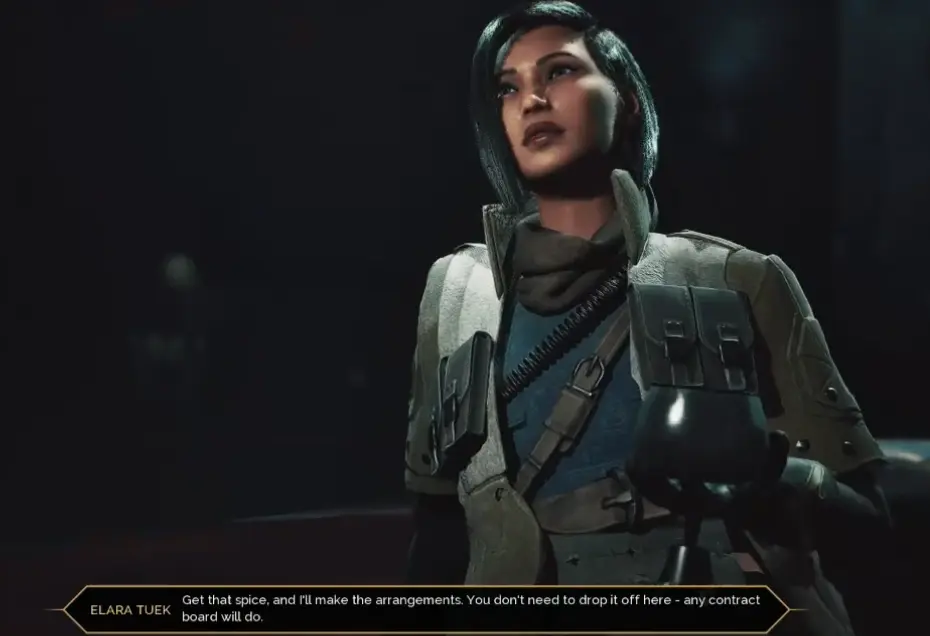
After the contract is complete, travel to Arrakeen Spaceport and meet Elara.
When everything is ready, talk to Elara and leave Arrakis.
The Tragedy of Zanovar — Evade the Patrol Ships
Zanovar is a much more linear environment than Hagga Basin, but the objective marker can still tempt you across exposed areas at the wrong moment.
Move through the ruined buildings and plazas until the patrol ships begin sweeping the route.
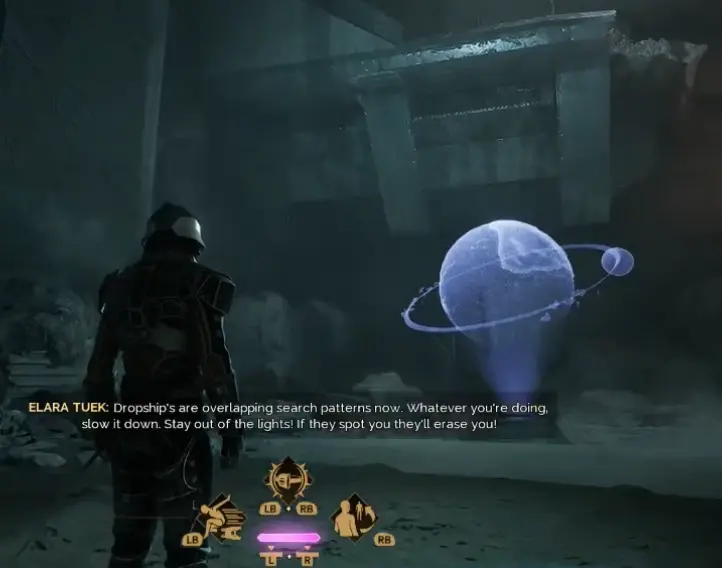
Stay behind the ruined structures while a search light passes, then cross to the next piece of cover. The route eventually leads through the abandoned amusement park and toward the memorial tied to the Zanovar incident.
The Zanovar Memorial — Find Cammar Pilru
Continue through the amusement park until you reach the memorial.
Investigate the memorial and continue the scene.
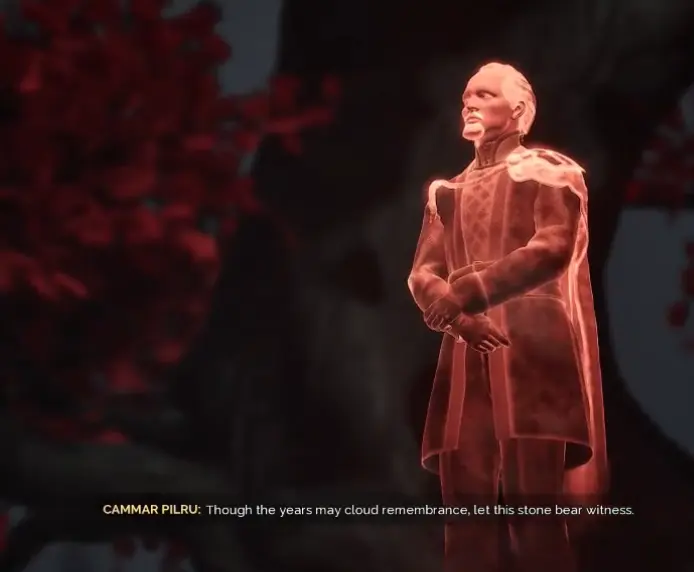
The objective does not require another hidden item around the monument. The investigation reveals Cammar Pilru’s fate and finally connects the restricted Zanovar records to Tyros Reffa.
Count Fenring arrives before you can leave.
You are captured and taken aboard the Sardaukar Orbital Monitor.
Forty Fears — Remain Undetected Through the Prison
You wake in a cell aboard the Orbital Monitor.
Scytale releases you, but the first objective specifically requires you to remain undetected.
Move through the cell block, prison hangar and training area without turning every Sardaukar room into a fight. Follow the maintenance route until the Journey begins directing you toward the infirmary.
The objective changes later, so stealth is important here rather than a rule for the entire mission.
Find the Sleeper in the Infirmary
Once the maintenance route opens, your destination is the ship’s medical section.
The useful sequence is:
cell block → prison hangar → training area → maintenance corridor → infirmary → sarcophagi
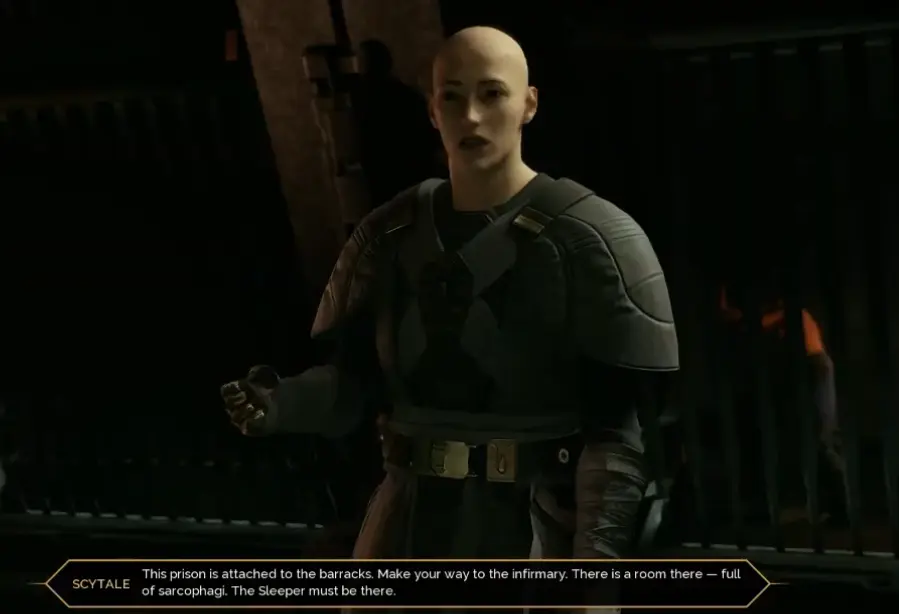
Inside the infirmary are dozens of glass sarcophagi containing ghola bodies.
Finding them starts the sequence that finally explains the connection between your character, the Sleeper and Tyros Reffa.
Memories of a Distant Self
Reaching the Sleeper does not immediately let you wake him.
The Journey moves into a series of memory sequences. Follow each section, confront the entity when prompted and continue deeper until the character accepts the recovered memories.
The revelation is that your character is a ghola of Tyros Reffa.
The Sleeper is another Tyros Reffa ghola from an earlier generation, and Scytale’s plan depends on awakening and controlling him.
Continue until control returns aboard the Orbital Monitor and the Journey changes to Awakening.
Wake the Sleeper With the Water of Life
Use the Water of Life as instructed at the Sleeper’s sarcophagus.
There is no additional medicine to craft and no antidote hidden elsewhere aboard the ship.
Complete the awakening interaction and let the cinematic continue.
Once the Sleeper wakes, the mission stops being a stealth route.
Defeat Sardaukar Commander Aramsham
Fight toward the escape pods and use the healing, ammunition and abilities you have been saving.
The final forced combat includes Sardaukar Commander Aramsham. There is no reason to preserve supplies for another dungeon after this encounter; clear the commander and continue toward the escape sequence.
The story then resolves the confrontation that has been building through all three parts of The Great Convention.
Great Convention Ending — What Happens to Fenring, Scytale and the Sleeper?
After awakening, the Sleeper takes control of the situation aboard the Orbital Monitor.
He defeats Count Fenring and the forces standing in the way, then kills Scytale rather than allowing the Bene Tleilax to control him.
The Sleeper does not take the escape pod with you.
His prescience has shown him a future in which a messiah leads to the destruction of the Fremen. Rather than become that figure, he chooses to remain aboard the doomed ship and tells you to escape.
You leave the Orbital Monitor alone in an escape pod and fall back toward Arrakis.
With the Sleeper gone, your character remains the surviving Tyros Reffa ghola at the center of the story, and the return to Arrakis closes Act 5 and Book One.