The Third Sin Walkthrough
A practical Blasphemous 2 The Third Sin walkthrough for Castle of the Mist, Embrujo, Eliseo objectives, Darbon, mist, lift, Broken Ring, Crescencia, and cleanup.
Updated:
Quick Answer
After the lake chariot brings you to Castle of the Mist, follow the open route through the early castle rooms, cross the short purple cloud section without stopping, climb into the vertical ladder route, then enter Geometry of Knowledge from the first left path near the top. Your early goals are to meet Eliseo, follow the three map objectives, get Embrujo, clear the Darbon route fight, then solve the gas, lift, and Broken Ring progression chain shown in the route table below.
Main Route Overview
Use this table as the full route skeleton. Do not start 100% cleanup until the major blockers are solved.
| Stage | Main goal | What unlocks next |
|---|---|---|
| 1. Castle entrance | Arrive from the lake chariot and follow the open castle route | Access to the first purple cloud / ladder path |
| 2. Early purple cloud | Keep moving through the short cloud section | Ladder route toward Geometry of Knowledge |
| 3. Geometry of Knowledge | Use ladders, room exits, and movable ladder checks to push deeper | Eliseo / objective route |
| 4. Eliseo objectives | Check the three objective markers added to your map | Clear direction for the next castle route |
| 5. Embrujo weapon room | Get Embrujo from the weapon statue | Bell, blue mirror-ring, and whip-style routes |
| 6. Darbon route fight | Clear the Usurped Halls fountain-side fight | Deeper Castle route access |
| 7. Gas-control route | Reach the NPC / control room that turns off the mist | Purple mist cleared |
| 8. Central lift | Return to the lift shaft and ride down | Lower route toward Broken Ring |
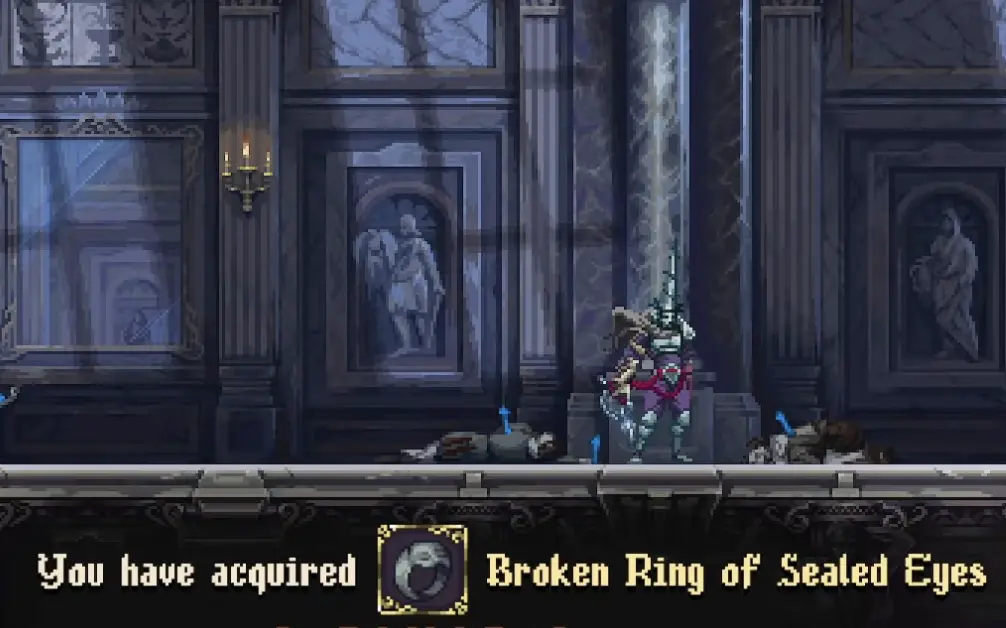
| 9. Broken Ring | Get Broken Ring of Sealed Eyes | Half-face / lady-face doors |
| 10. Crescencia route | Complete the final route and boss fight | Post-boss cleanup |
| 11. 100% cleanup | Marks, offerings, prayers, servants, altarpieces, skins | Full DLC completion |
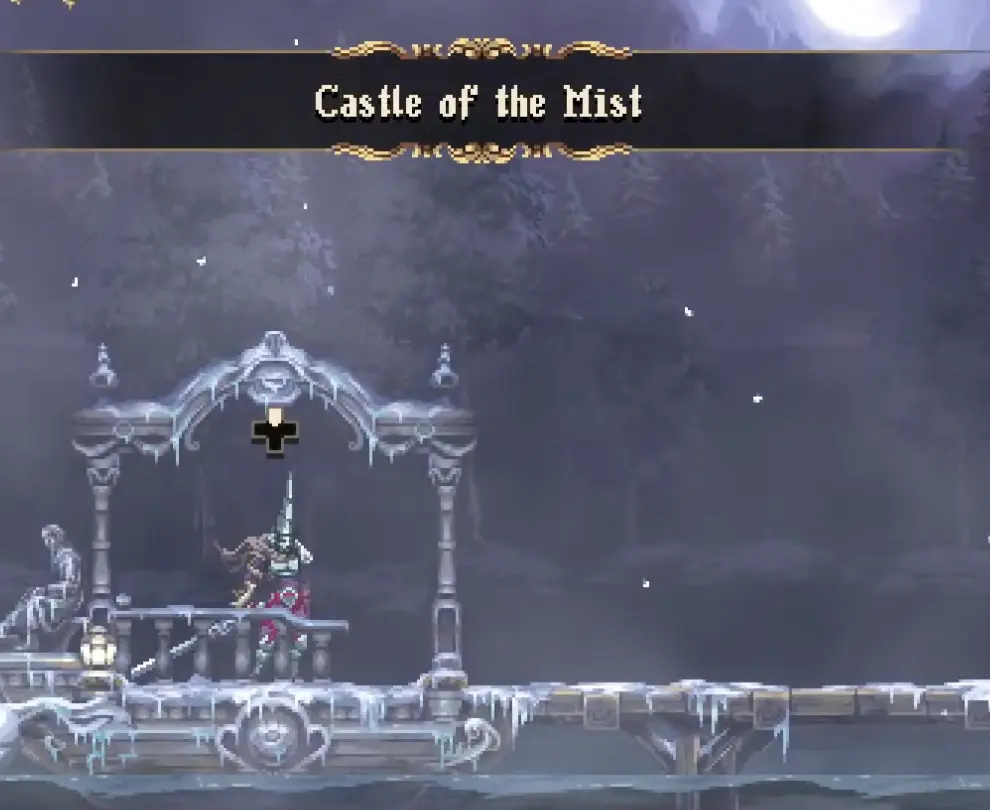
Step 1: Enter Castle of the Mist From the Lake
After starting the DLC and using the lake chariot, you arrive at Castle of the Mist. Activate any nearby save point or shortcut, then begin moving through the open castle path.
The first section is mostly about route reading. You will see blocked paths before you have the tool to solve them. That is normal. Keep following the path that is currently open rather than trying to clear every side room.
| If you see… | What it usually means |
|---|---|
| Whip-style targets | You need Embrujo later |
| Half-face or lady-face doors | You need Broken Ring of Sealed Eyes later |
| Purple cloud / mist | Some sections can be crossed briefly; larger blockers need a gas-control route |
| A central lift that does not help yet | You need to clear the mist / gas route first |
| Blue mirror rings | You will return with Embrujo movement |
Step 2: Pass the Early Purple Cloud
One of the first confusing moments is the early purple cloud. This is not the same as the later major gas blocker. In the early route, you can move through the cloud if you keep going and do not stop inside it.

Use this rule:
| Purple blocker type | What to do |
|---|---|
| Short early purple cloud | Move through quickly and do not stop |
| Large route-blocking purple mist / gas | Find the gas-control route later |
| Mist room that keeps stopping progress | Do not brute-force it; return after Embrujo and the control route |
| Old mist room after gas-control route | Revisit it because the route may now be open |
Step 3: Climb Into Geometry of Knowledge
After the early castle route, you reach a vertical ladder room that leads toward Geometry of Knowledge. The route cue is simple, but the height matters: go through the early castle path, climb up inside the vertical room, then take the first left exit near the top into Geometry of Knowledge.
Inside Geometry of Knowledge, do not assume every ladder is fixed. Some ladders can be moved by hitting them with your weapon. If a ladder looks close but not aligned with the exit, strike it and check whether it shifts position.
| Room feature | What to do |
|---|---|
| Movable ladder | Hit it with a weapon to change its position |
| Vertical library room | Check both upper and lower exits before leaving |
| First left path after ladder climb | This points you into Geometry of Knowledge |
| Bookcase / library platforms | Look for side exits and upper ledges |
| Blocked whip-style route | Ignore it until you get Embrujo |
Step 4: Meet Eliseo and Check the Three Objectives
As you push deeper, you meet Eliseo. This is an important route moment because your map updates with three objective markers.
Do not treat those markers as optional collectibles. They are your next progression structure. Clear them as route targets before doing full cleanup.
| Eliseo objective marker | How to treat it |
|---|---|
| Nearest open marker | Follow this first if the route is already accessible |
| Marker behind Embrujo-style route objects | Return after getting Embrujo |
| Marker behind mist / lift / sealed-door progress | Save it until the matching blocker is solved |
Eliseo’s update is your signal that the DLC is moving from “find the entrance” into “solve the castle.” From this point on, use map markers and shortcuts aggressively.
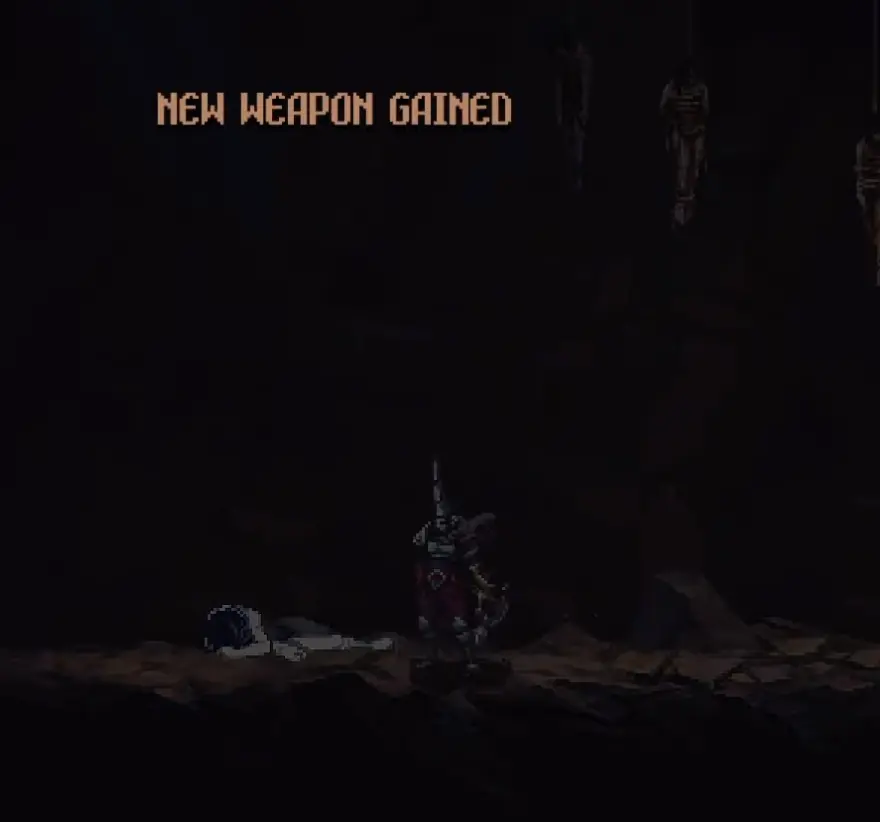
Step 5: Get Embrujo
Your first major power spike is Embrujo, the new whip-style weapon. Follow the open route from Geometry of Knowledge and the connected hall rooms until you reach the weapon statue room.
After you get Embrujo, your route options change immediately:
| Embrujo tool | What it opens |
|---|---|
| Long-range whip attacks | Targets across gaps and enemies outside melee range |
| Blue mirror rings / lit emblems | Air chains through vertical rooms and exterior paths |
| Chiming bells | Temporary platforms and timed route changes |
| Directional attacks | Objects above, below, or across from you |
| Marks of the Embrujo | Weapon upgrades once you collect them |
For combat, upgrades, Wail of the Flame, and movement details, use the Embrujo Weapon Guide.
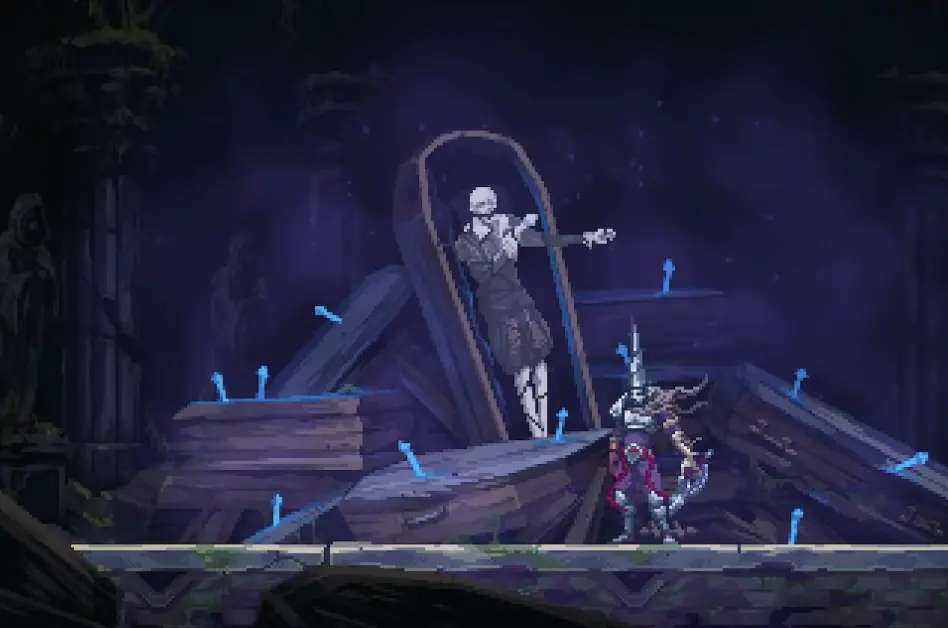
Step 6: Clear the Darbon Route Fight
After the early Geometry of Knowledge route and before the later gas / lift chain, you should expect the Darbon route fight around the Usurped Halls fountain-side path. This is a mid-route progression fight, not the final boss.
Darbon can feel abrupt because you may still be learning Embrujo. If Embrujo gives you safe reach, use it for short ranged hits. If close pressure is the problem, switch to your safest main weapon and focus on dodging cleanly.
| Darbon situation | Safe response |
|---|---|
| Darbon finishes a committed attack | Take one or two hits, then reset spacing |
| Darbon pressures close range | Use your safest defensive weapon instead of forcing Embrujo |
| You have Wail of the Flame ready | Spend it only during a clear recovery window |
| The room feels crowded or awkward | Prioritize survival and spacing over long combos |
| You win the fight | Continue the main Castle route instead of starting cleanup immediately |
Step 7: Clear the Purple Mist / Gas Route
After Embrujo and the Darbon route fight, you eventually reach the larger purple mist / gas blocker. This one is different from the early short purple cloud. You do not solve it by dashing through.
Your target is the gas-control NPC route. Look for connected rooms with Embrujo targets, bells, blue rings, or side exits that let you route around the gas.
Signs you are on the right track:
| Sign | What it means |
|---|---|
| You are moving around the gas, not into it | Correct approach |
| You see Embrujo targets or bells near the blocker | You are near the intended bypass route |
| The route loops back toward the mist room | Keep going; this is likely the control route |
| You reach a quiet NPC / control room | Complete the interaction |
| The old mist room becomes passable | The route is solved |
For a focused stuck guide, use Lift, Mist & Half-Face Doors.
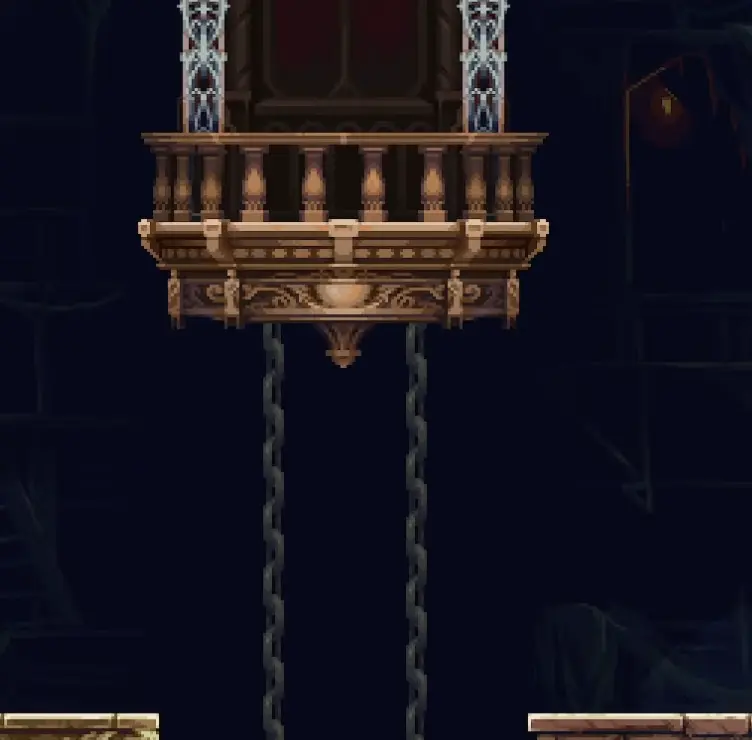
Step 8: Return to the Central Lift
Once the gas route is solved, return to the central lift shaft. Before this point, the lift may look useless or blocked. After the gas-control route, it becomes the next progression path.
Ride the lift down and stay on the new lower progression route. Do not return to old mist rooms or random side paths until you get the next key item.
Step 9: Get Broken Ring of Sealed Eyes
After riding the lift down, stay on the new lower progression route. Your target is Broken Ring of Sealed Eyes. This item comes before half-face doors become passable.
Use this simple check:
| If this happens… | What it means |
|---|---|
| You see half-face doors but cannot open them | You are there too early |
| You rode the lift down and are on a new lower path | Keep following this route |
| You returned to old Castle rooms immediately | You probably left the progression path too soon |
| You picked up Broken Ring | Now revisit the half-face / lady-face doors |
Step 10: Open Half-Face and Lady-Face Doors
With Broken Ring of Sealed Eyes, return to sealed doors with half-face or lady-face wording. These are not solved by Embrujo or by clearing the mist; the ring is the required key item.
After these doors open, the Castle route starts connecting into the final progression chain.
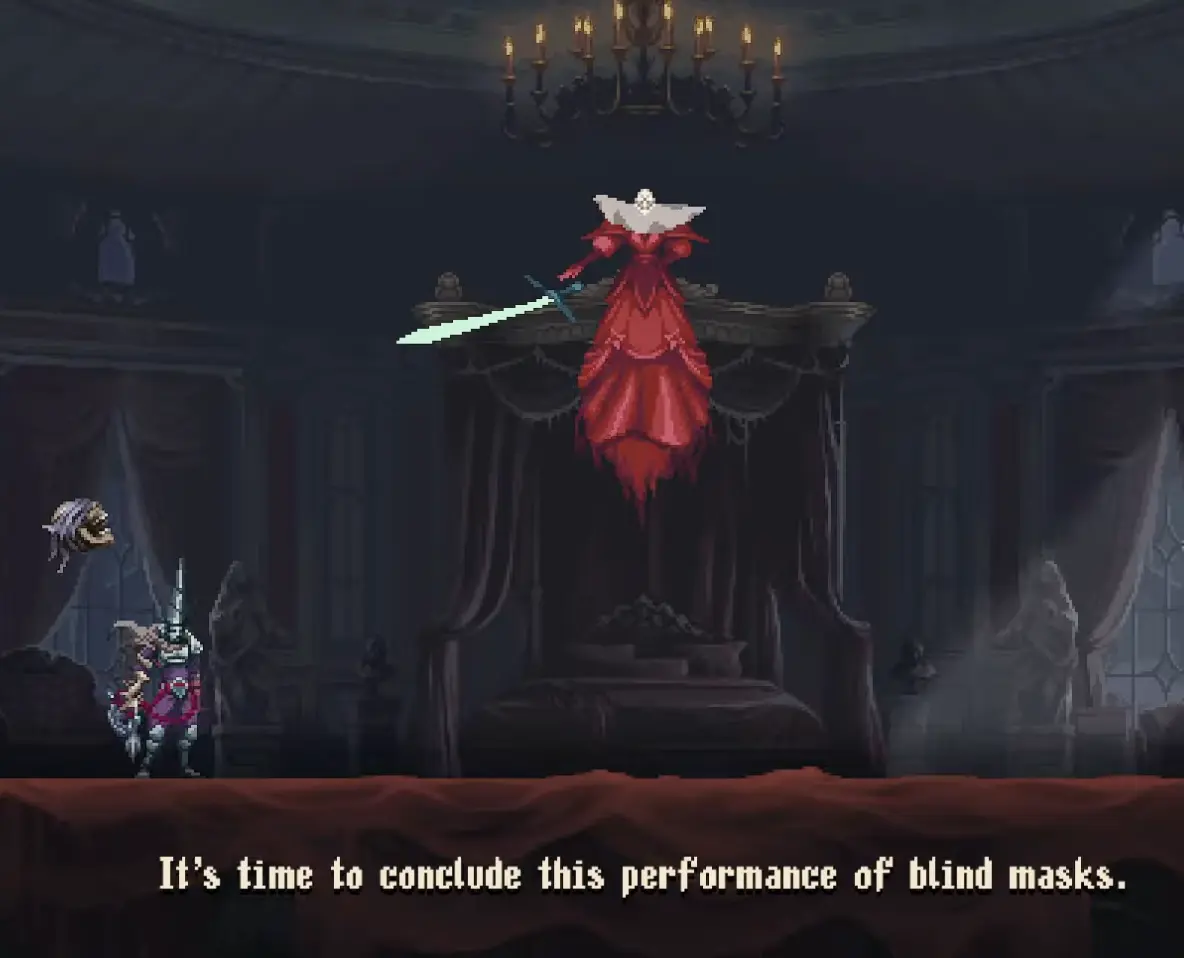
Step 11: Finish the Crescencia Route
The final major fight of the route is Crescencia. Before entering, spend your Marks of the Embrujo, equip your safest servant, and use the weapon setup that lets you survive consistently.
Crescencia Boss Windows
| Boss situation | What to do |
|---|---|
| After a long swing or dash ends | Punish with one or two safe hits, then reset |
| During movement-heavy patterns | Stop attacking and prioritize positioning |
| At mid-range | Embrujo can poke safely if the boss is not already moving |
| When Wail of the Flame is ready | Spend it only during a clear recovery window |
| If close pressure is killing you | Switch to your safer main weapon instead of forcing Embrujo |
| Low-health panic phase | Do not chase; wait for finished actions before attacking |
Embrujo is useful here, but it is not mandatory for every punish. Use it when it gives safe reach. Swap if your main weapon gives you better control.
Step 12: Post-Boss Cleanup Order
After Crescencia, the main route is no longer your only priority. Now start cleanup by category.
| Cleanup category | Count / goal | Best time |
|---|---|---|
| Marks of the Embrujo | 19 total | Finish after all major routes are open |
| Offering materials | 4 Cracked Ceramic, 4 Rusted Silver, 4 Old Gold | After mist, lift, and face doors |
| Servants | Silver Tears, Moonchild, Breastplate of Mourning | After offering route progress |
| Prayers | 4 Third Sin prayers | During late side-room cleanup |
| Altarpieces of Favours | 9 DLC altarpieces | Late collectible sweep |
| Virtue Fragments | 3 fragments for Penance of Virtue | Skin cleanup route |
| Skin checklist | 8 skins listed for trophy progress | After boss / final sweep |
| Map completion | 100% DLC map | Last pass |
For full cleanup, use All Collectibles & 100% Cleanup. For every Embrujo upgrade pickup, use All Mark of the Embrujo Locations.
If You Are Stuck
| Stuck point | What to check |
|---|---|
| Cannot find Embrujo | From the early castle route, push through Geometry of Knowledge and the connected hall route toward the weapon statue |
| Lost in Geometry of Knowledge | Try hitting movable ladders and check the first-left / upper-library exits |
| Not sure where Darbon appears | Look for the Usurped Halls fountain-side progression route after early Geometry progress |
| Purple cloud is blocking you early | Keep moving through the short early cloud; do not stop inside it |
| Large mist room blocks progress | Find the gas-control NPC route instead of forcing the mist |
| Lift does nothing | Clear the gas-control route, then return to the central lift |
| Half-face doors stay closed | Get Broken Ring of Sealed Eyes from the lower route after the lift |
| Boss feels unsafe with Embrujo | Use Embrujo for safe reach only; switch weapons for close defense |
| Missing one Mark | Use the All Mark of the Embrujo Locations guide instead of guessing by room number |
FAQ
Where do you go first in The Third Sin? +
After the lake chariot takes you to Castle of the Mist, follow the open route through the early castle rooms. Push through the short purple cloud section, climb into the vertical ladder room, go upward, then take the first left into Geometry of Knowledge.
Can you pass through the purple cloud at the start? +
Yes, the early purple cloud section can be crossed if you keep moving. Do not stop inside it. Later purple mist / gas blockers are different and require the gas-control route.
How do you get Embrujo in The Third Sin? +
Follow the early Castle of the Mist route through Geometry of Knowledge and the connected hall routes until you reach the Embrujo weapon statue room. After getting Embrujo, backtrack through bells, blue mirror rings, and whip-style routes.
Where do you fight Darbon? +
Darbon appears on the route around the Usurped Halls fountain section after the early Castle and Geometry of Knowledge progression. Treat it as a mid-route fight before the later mist, lift, and ring chain.
What does Eliseo do in The Third Sin? +
Eliseo updates your map with three objective markers. Treat those markers as your next progression targets instead of starting random collectible cleanup.
How do you clear the purple mist and restore the lift? +
After getting Embrujo, follow the bell and blue-ring route around the purple mist until you reach the gas-control NPC room. Complete that route, return to the mist room, then go back to the central lift shaft.
When should you start 100% cleanup? +
Do not start full cleanup immediately. Wait until you have Embrujo, the mist / gas route cleared, the lift restored, Broken Ring of Sealed Eyes, and access through half-face doors.