WARDOGS Armor & Ammo Guide: Best Armor, FMJ, AP & HP
Choose WARDOGS armor and ammo for the fight: compare Levels 1–4, movement penalties, FMJ, AP and HP, exposed hit zones and vehicle damage.
Updated:
Quick Answer
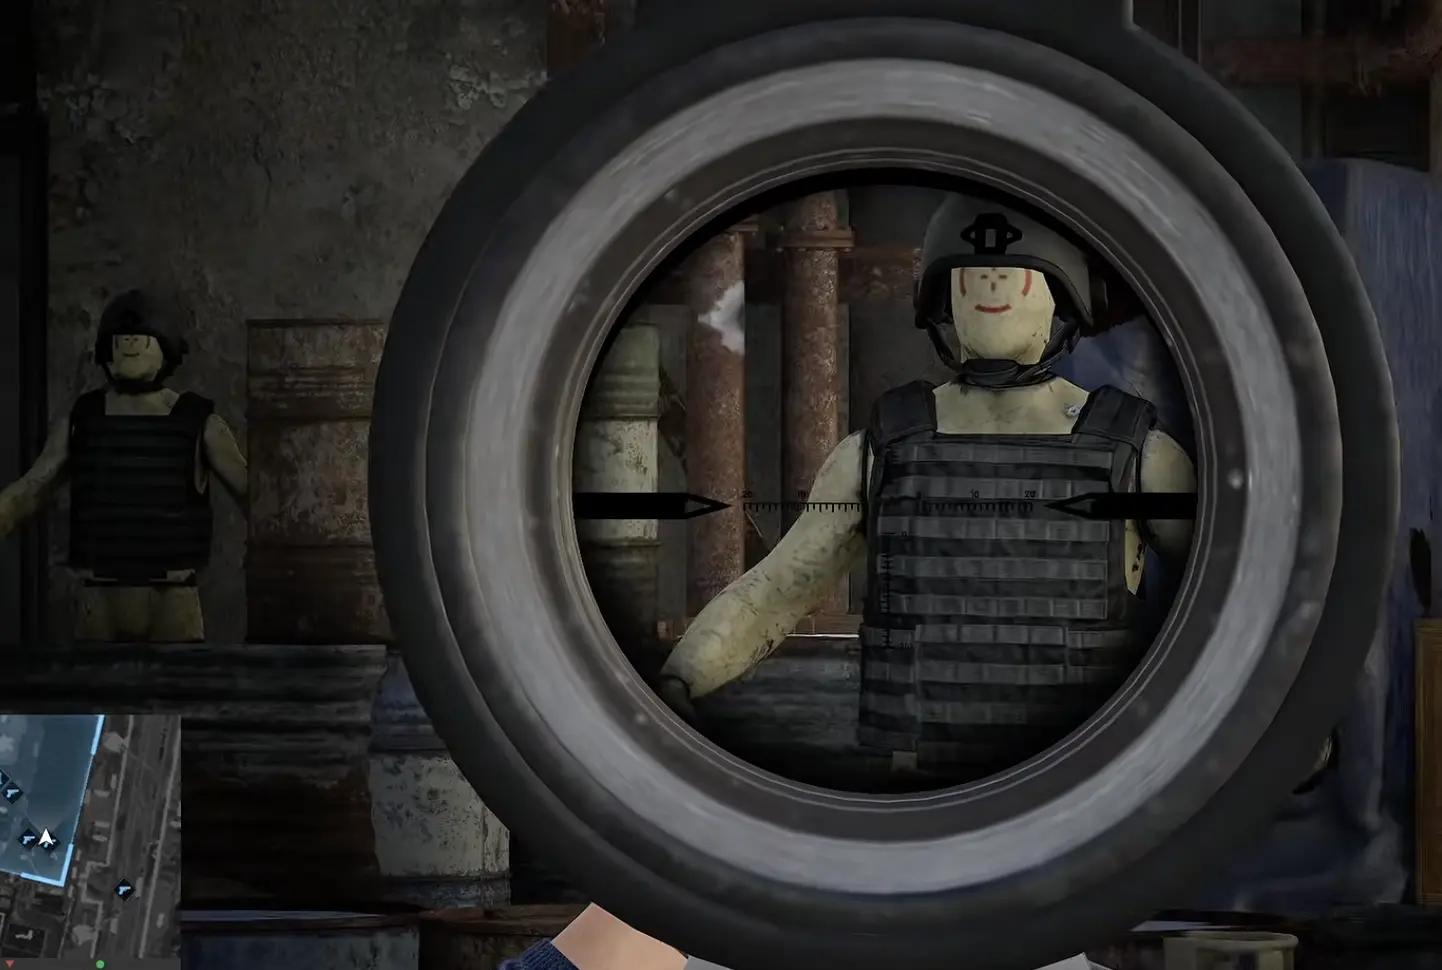
For a normal infantry life where I do not know what armor I will meet, FMJ is still my safest ammunition choice. AP becomes more attractive when Level 3–4 armor, protected head-and-chest angles or vehicles are the problem. HP goes the other way: it is terrible into heavy armor but can nearly double FMJ’s damage when I can deliberately hit exposed arms, legs or other flesh.
For my own protection, Level 4 absorbs the most damage, but I do not buy it without checking the completed loadout. The Level 3 body armor I compared weighed 10.5 kg while Level 4 weighed 18 kg, and entering the Heavy weight state brought a 19% max-speed penalty, 14% slower ADS and no Tactical Sprint.
The biggest mistake I made with armor was treating the highest number as an automatic upgrade. Level 4 really does stop more damage, but the extra kilograms change how quickly I can cross open ground, recover a bad position and keep up with a moving Hot Zone. Ammunition creates the opposite problem on the target: the strongest-looking round can be the wrong choice simply because my bullets are landing on a different body zone than I expected.
That leaves three questions that matter more than the label on the equipment: where my shots are landing, what armor is covering that area, and how much movement my own finished kit gives up to stay protected.
Which Armor and Ammo Should I Use?
The loadout I want changes with the fight rather than with one universal ranking.
| Situation | What I lean toward | Why |
|---|---|---|
| Mixed infantry fights with unknown armor | FMJ | It avoids the worst matchup against both exposed and armored targets |
| Level 3–4 enemies holding windows or ridges | AP | Head and torso armor are the only realistic targets |
| Close fights with full bodies exposed | HP aimed low | Legs and other uncovered flesh can take extremely high damage |
| Deliberate vehicle hunting | AP | It outperformed FMJ against vehicles and HP was ineffective |
| Static FOB or compact defense | Level 4 is easier to justify | Protection matters constantly while long rotations matter less |
| Moving Hot Zone or repeated open rotations | Protect mobility first | Heavy weight penalties can cost more than the extra armor saves |
| Fight keeps changing every few minutes | FMJ + a manageable weight class | Flexible equipment loses fewer fights to a bad matchup |
That table is where I start, but the reasons become clearer once the armor and ammunition numbers are separated.
Armor Levels 1–4: How Much Damage Gets Through?
I kept the FAL, .308 FMJ and chest hit the same and changed only the protection on the target. The health damage that got through dropped sharply at every step.
| Armor tier | .308 FMJ chest damage | Reduction vs no armor |
|---|---|---|
| No armor | 66.01 | — |
| Level 1 | 46.21 | ~30% |
| Level 2 | 39.61 | ~40% |
| Level 3 | 29.72 | ~55% |
| Level 4 | 23.11 | ~65% |
This is not a system where armor simply acts as a second health bar and all health damage waits until the item breaks. The protected hit is already taking health away; the armor is reducing how much reaches the player.
That difference matters when a fight feels inconsistent. A player can die while the vest or helmet still has durability, and two players wearing the same armor can survive different amounts of fire because the shots are landing on different protected and exposed body zones.
Level 4 also covers more of the body
Level 4 did more than reduce the center-chest number. In the setup I used, the protection extended into the upper arms and pelvis, removing some of the easy flesh targets available against lighter armor.
That wider coverage is especially important against HP. A burst that drifts from the chest into the upper arm may still be hitting protection instead of suddenly finding flesh, and the pelvis becomes less reliable once the highest-tier equipment is involved.
The lower legs remain much easier to exploit. That is why two Level 4 enemies can feel completely different to fight: the player crossing an open road gives me a realistic flesh target, while someone shooting through a window may expose nothing except armor.
WARDOGS Ammo Chart: FMJ vs HP vs AP
The cleanest 5.56 comparison shows how extreme the matchups become.
| 5.56 hit | FMJ | HP | AP |
|---|---|---|---|
| No-armor chest damage | 30.82 | 61.61 | 24.66 |
| No-armor chest STK | 4 | 2 | 5 |
| Level 4 chest damage | 10.80 | 0.43 | 15.05 |
| Level 4 chest STK | 10 | 41 | 7 |
| Exposed lower-limb damage | 12.62 | 25.21 | 10.10 |
| Exposed lower-limb STK | 8 | 4 | 10 |
There is no straight FMJ → AP → HP upgrade path here. Each round is solving a different target.
FMJ gives up the extreme result at both ends, but it keeps functioning when I do not know whether the next player will be lightly equipped, fully armored or only partly visible. That consistency is why it remains the ammunition I am most comfortable loading by default.
AP sacrifices some performance against exposed flesh and starts making more sense as protection rises. HP does the reverse: it can be absurdly efficient against flesh, then almost stop working when the burst moves into high-tier armor.
Why FMJ Is Still My Default Round
FMJ stayed ahead of AP against no armor, Level 1 and Level 2 in the rifle comparisons I ran. AP began to gain ground at Level 3 and became much more useful once Level 4 protection was involved.
That matters because a WARDOGS fight rarely gives me one target type for an entire life. One faction may arrive lightly equipped across open ground while the other is sitting behind Level 3 or Level 4 protection inside a prepared position. Loading a specialist round for one group can leave me worse off against the other.
FMJ is therefore not the strongest round in every individual comparison. Its strength is that the matchup almost never collapses.
HP Ammo Is a Limb Strategy, Not a Normal Upgrade
HP looks incredible against an unarmored chest: in the 5.56 comparison it dealt 61.61 damage, nearly double the 30.82 from FMJ. The problem appears immediately when that same burst meets Level 4 chest protection, where HP dropped to about 0.43 damage per hit.
Moving the aim below the armor changes everything.
Against the exposed lower limb in the same data:
- FMJ: 12.62 damage, 8 hits
- HP: 25.21 damage, 4 hits
- AP: 10.10 damage, 10 hits
Another firing-range run produced the same relationship on multiple flesh zones: lower-arm HP damage was roughly double FMJ, and the upper leg showed the same pattern. The important part is not one exact limb number; it is that HP becomes dangerous when I can reliably avoid the armor.
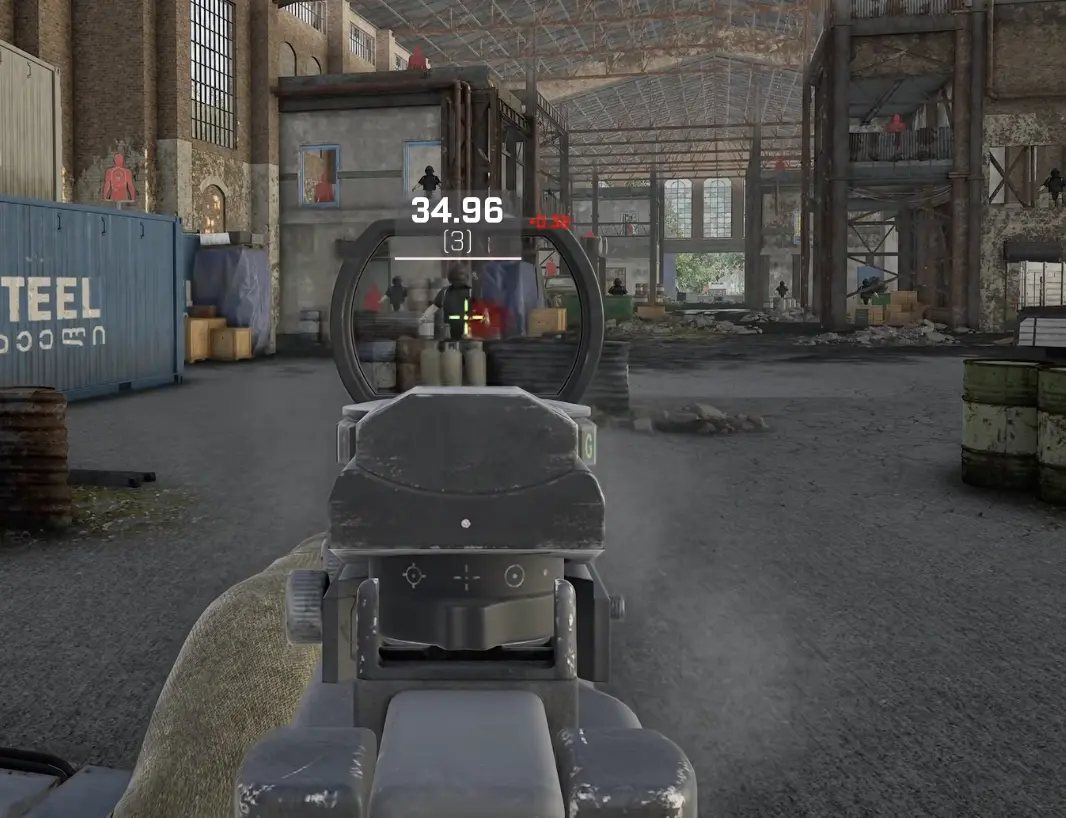
That is easy enough in a doorway, a short street fight or a close flank where the whole character is visible. It becomes much harder against someone crouched behind a wall, shooting from a window or showing only the upper body over a ridge. Longer range also makes holding the burst on a leg less realistic.
Level 4 makes the problem worse by covering the pelvis and upper arms. I therefore treat lower legs as the most reliable HP target against heavy protection, rather than assuming every limb is exposed.
The neck is not something I build the strategy around either. It is small, difficult to hold under pressure, and higher-tier protection changes how useful that hit becomes. Legs give me a much larger target when HP is actually the plan.
When AP Becomes Worth Using
AP starts to make sense when I cannot simply shoot around the armor.
The 5.56 Level 4 chest comparison went from:
- FMJ — 10.80 damage, 10 hits
- AP — 15.05 damage, 7 hits
The .308 FAL showed an even larger practical change:
- FMJ vs Level 4 chest — 23.11 damage, 5 hits
- AP vs Level 4 chest — 35.65 damage, 3 hits
Against a Level 4 helmet, that FAL setup also reached a 2-shot head kill with AP.
Those are meaningful differences when a player is holding a narrow angle and the helmet or chest is all I can see. The same AP purchase is much less convincing against lightly equipped players crossing open terrain, where FMJ does more flesh damage and HP has an exposed target to exploit.
So I do not switch to AP simply because the enemy team contains Level 4 armor. I switch when high-tier armor and the geometry of the fight are repeatedly forcing my shots into protected areas.
AP Also Has the Clearest Vehicle Advantage
Vehicles are the other situation where AP stops being a marginal choice.
With an M249 and a 200-round magazine, HP barely damaged a Kodiak even after a full magazine. FMJ could destroy it, while AP finished the same job with ammunition still left.
The Little Bird produced a cleaner comparison:
| Little Bird test | Rounds to destroy |
|---|---|
| FMJ | ~85 |
| AP | ~67 |
FMJ can still damage and destroy vehicles, so I keep it during a normal infantry life rather than rebuilding the loadout every time a vehicle appears. AP becomes worth the specialization when I leave spawn specifically expecting to hunt aircraft or ground vehicles.
HP stays out of that loadout because the reason I carry it—high exposed-flesh damage—does not help against vehicle armor.
Level 3 vs Level 4 Armor: The Protection Is Real, but So Is 7.5 kg
The body armor comparison gave me one of the most useful loadout decisions on this page:
Level 3 body armor — 10.5 kg
Level 4 body armor — 18 kg
That is a 7.5 kg increase before the rifle, magazines, helmet, vest, backpack, medical gear, grenades and utility equipment are counted.
Level 4 absolutely earns part of that weight through protection. With the FAL/.308 FMJ chest hit, Level 3 allowed 29.72 damage through while Level 4 reduced it to 23.11. The higher tier also protects more of the body.
The question is whether my entire kit can still move the way the role requires.
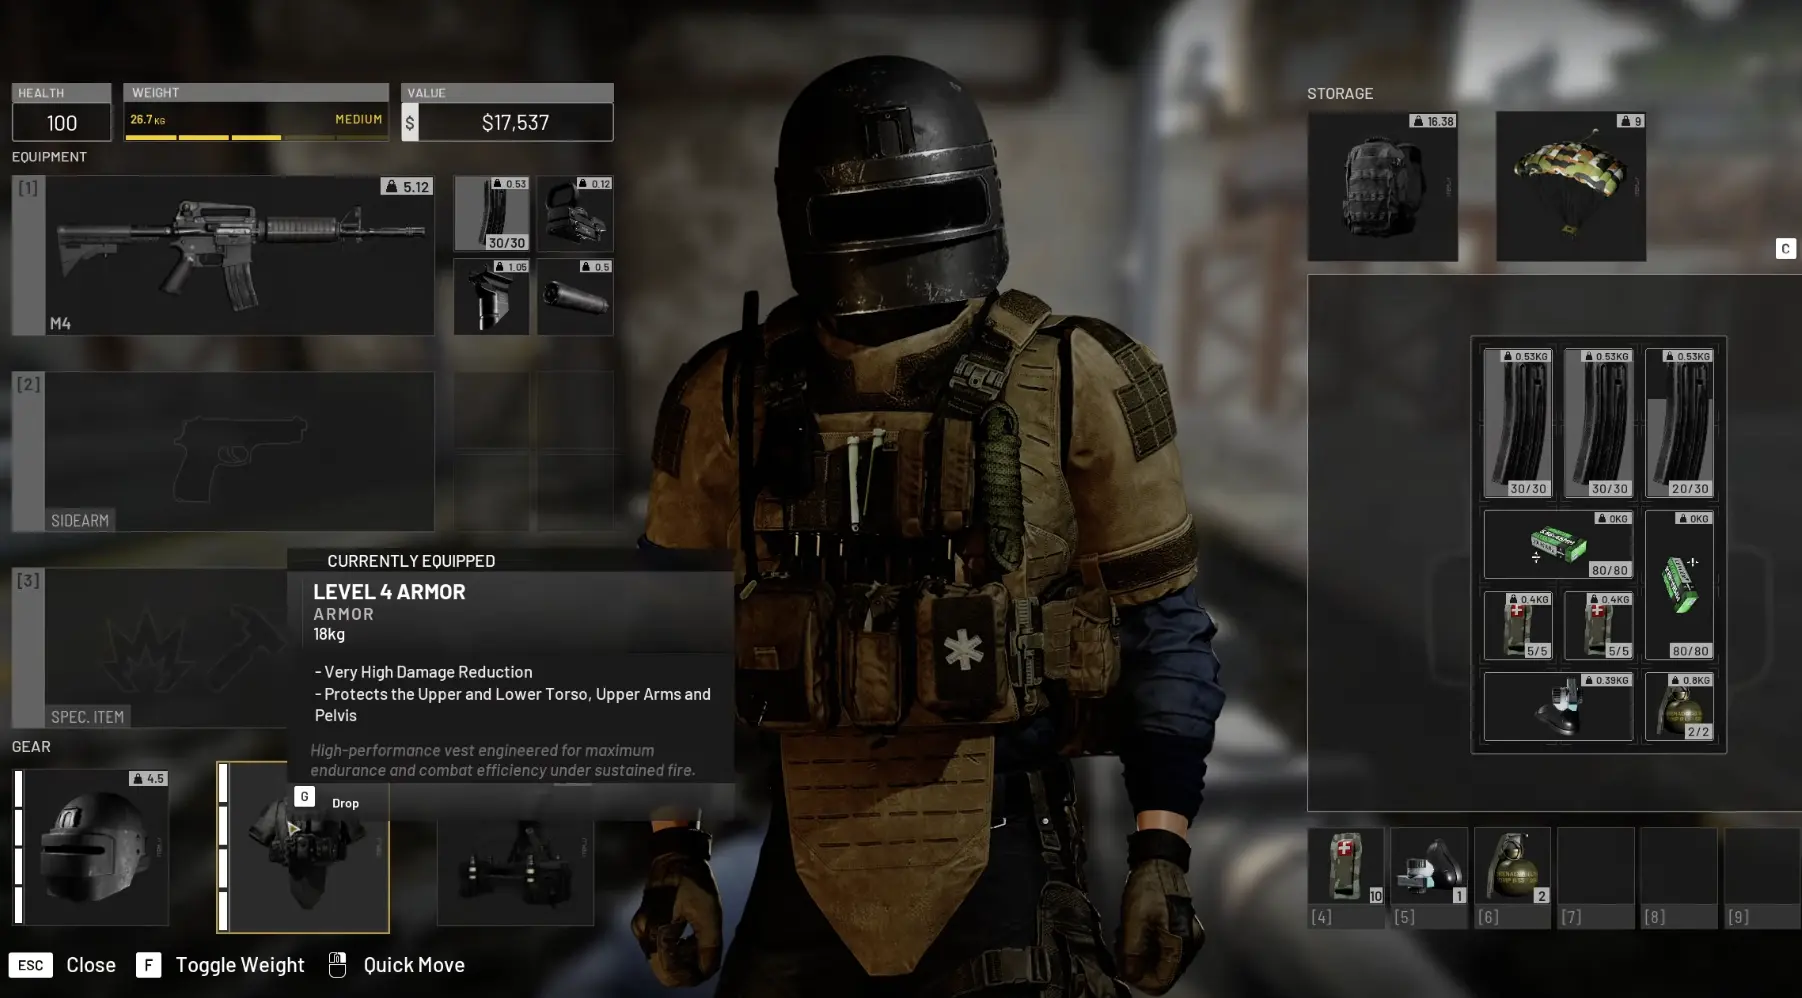
For a player sitting near a fortified FOB, defending a short lane or holding one building, I find the extra protection much easier to justify. Most of that life happens within a small area, so losing movement hurts less while nearly every incoming shot benefits from the armor.
A moving Hot Zone is different. Long rotations, road crossings, failed pushes and emergency disengagements make mobility part of the defense. In those lives, stepping down to Level 3 can be a deliberate trade rather than simply wearing worse gear.
Watch the Weight Class, Not Just the Armor Tier
Armor tier and weight class are related, but they are not the same thing. The vest, backpack, magazines, weapon and utility items can push a loadout into a harsher movement state even when none of those pieces looks excessive by itself.
The Medium and Heavy states I compared had very different movement penalties:
| Movement penalty | Medium | Heavy |
|---|---|---|
| Max speed | -12% | -19% |
| Jump | -10% | -14% |
| Aim sway amount | +8% | +17% |
| Aim sway speed | +8% | +20% |
| ADS time | +5% | +14% |
| Lean time | — | +50% |
| Tactical Sprint | Available | Disabled |
The Heavy state still allows regular sprinting. What disappears is Tactical Sprint, which is a much more important distinction than simply saying that heavy armor removes sprint altogether.
That loss is noticeable during exposed movement because the character no longer has the same burst of speed for crossing a road or breaking away from a bad angle. The +14% ADS time and +50% lean time also matter once the fight starts, especially on a build already carrying attachments that slow handling.
Medium is not free mobility either. Along with its speed, jump, sway and ADS penalties, the comparison showed -35% stamina regeneration. I still keep Tactical Sprint, which is the main reason Medium feels much less restrictive during long rotations than Heavy.
The vest can push a good armor choice into a bad loadout
The Level 4 armor is not the only heavy item in the kit. The large tactical vest weighed 3.6 kg, while the medium vest weighed 1.65 kg—a 1.95 kg difference before I even account for the backpack, medical gear or other utility.
The basic parachute adds another 2.5 kg, so equipment that looks minor on its own can be enough to push an otherwise workable setup into a heavier movement state.
That is why I build mobile kits from the required equipment outward. First I choose the protection I actually need, then the weapon and magazines, then medical and utility. Convenience items come last.
A Level 4 vest-and-helmet setup that remains manageable can still be excellent. A nearly identical setup with extra magazines, oversized storage and utility I never use may cross into Heavy and lose Tactical Sprint for very little practical benefit.
Armor Break and Shots to Kill Are Different Numbers
Armor durability can create a misleading impression of survivability.
In one Level 4 helmet durability run, it took roughly 18 hits from 5.56 FMJ before the helmet itself broke. That does not mean a player wearing it needs eighteen successful headshots to die.
Health damage is already passing through while the armor remains intact. I therefore separate three measurements:
| Measurement | What I use it for |
|---|---|
| Damage per hit | How much health is removed by each successful shot |
| Shots to kill (STK) | How many hits are needed to finish that target condition |
| Armor break | How long the protective item survives before its durability fails |
STK matters most when I am deciding whether an ammunition change improves the immediate gunfight. Armor-break data becomes more useful after earlier damage, across repeated exchanges or when I am deciding whether damaged protection is still worth carrying.
Why the Same Ammo Can Feel Great in One Fight and Terrible in the Next
WARDOGS changes the available shot constantly.
A Level 4 player crossing open ground gives me exposed lower legs, so HP has a practical route around the strongest protection. Put the same target behind a window and those legs disappear; helmet, upper arms and chest may be all I can realistically hit, which shifts the advantage toward AP.
The useful round can therefore change without the weapon changing at all. An SMG loaded with HP feels awful when every burst lands on a Level 4 vest, then becomes dangerous again as soon as the fight opens a reliable leg angle.
Before replacing the gun, I check whether the previous engagement simply forced the ammunition into the wrong part of the target.
For the exact damage, STK and TTK of a specific weapon, ammunition and armor combination, I use the WARDOGS TTK Calculator. For recoil, attachments and which guns are worth carrying for different fights, I use the WARDOGS Best Weapons & Tier List.
What I Actually Buy for Common Fights
For an ordinary infantry spawn, I start with FMJ and build the armor around the amount of movement the route requires. If I am going to spend most of the life rotating with the Hot Zone, crossing roads and changing positions, I pay close attention to whether the finished kit crosses into Heavy.
A fortified fight changes the ammunition first. When enemies repeatedly expose only helmet and torso behind windows, ridges or prepared cover, I bring AP because shooting around the armor is no longer realistic. Vehicle hunting gives me another clear reason to make the same switch.
HP only comes out when I expect close enough fights to hold the burst on exposed lower limbs. If the route starts producing mostly upper-body angles, I change ammunition on the next life instead of continuing to force HP into armor.
For my own protection, the final weight screen makes the decision. If Level 4 still leaves the kit mobile enough for the job, I keep the extra protection. If the additional 7.5 kg pushes the build into Heavy and the role depends on repeated movement, Level 3 becomes the loadout I would rather carry.
Unlock requirements are covered in the WARDOGS Progression Guide. The damage and TTK consequences of the final weapon, ammo and armor combination can be checked in the WARDOGS TTK Calculator.