How to Reach the Mound and Unlock Passage Into the Depths
Reach the Mound, enter Passage Into the Depths, return Inés' journal, and unlock the five-cylinder route toward K'n-yan.
Updated:
Quick Answer
To reach the Mound, keep returning story Logbooks until landing points close to it appear, then choose a nearby destination and follow recognizable landmarks toward the blue-lit entrance. Enter Passage Into the Depths, inspect the blocked chamber, recover the journal found near the entrance, and successfully finish the expedition. Back on the Tempestad, Inés’ note opens the next progression stage and sends you after five Tulu cylinders before the route into K’n-yan can continue.
What This Walkthrough Covers
This walkthrough covers the first major story gate at the Mound:
- Unlocking a destination close to the Mound.
- Choosing a practical landing point.
- Preparing for the approach and return.
- Navigating through reusable landmarks.
- Entering Passage Into the Depths.
- Inspecting the blocked chamber.
- Recovering the journal found near the Mound.
- Successfully finishing the expedition.
- Unlocking the five-cylinder contract chain.
It does not cover all five cylinder locations or the complete underground route through K’n-yan.
Unlock a Destination Close to the Mound
You cannot select the final approach at the beginning of the game.
Successfully returned story Logbooks expand the destination map and move the expedition deeper into the continent. Continue completing Logbook contracts until landing points close to the Mound begin appearing.
One confirmed approach was:
- Wreck of The Lazarillo – East;
- 2 leagues from the Mound;
- arrival at midday;
- a high chance of clear skies.
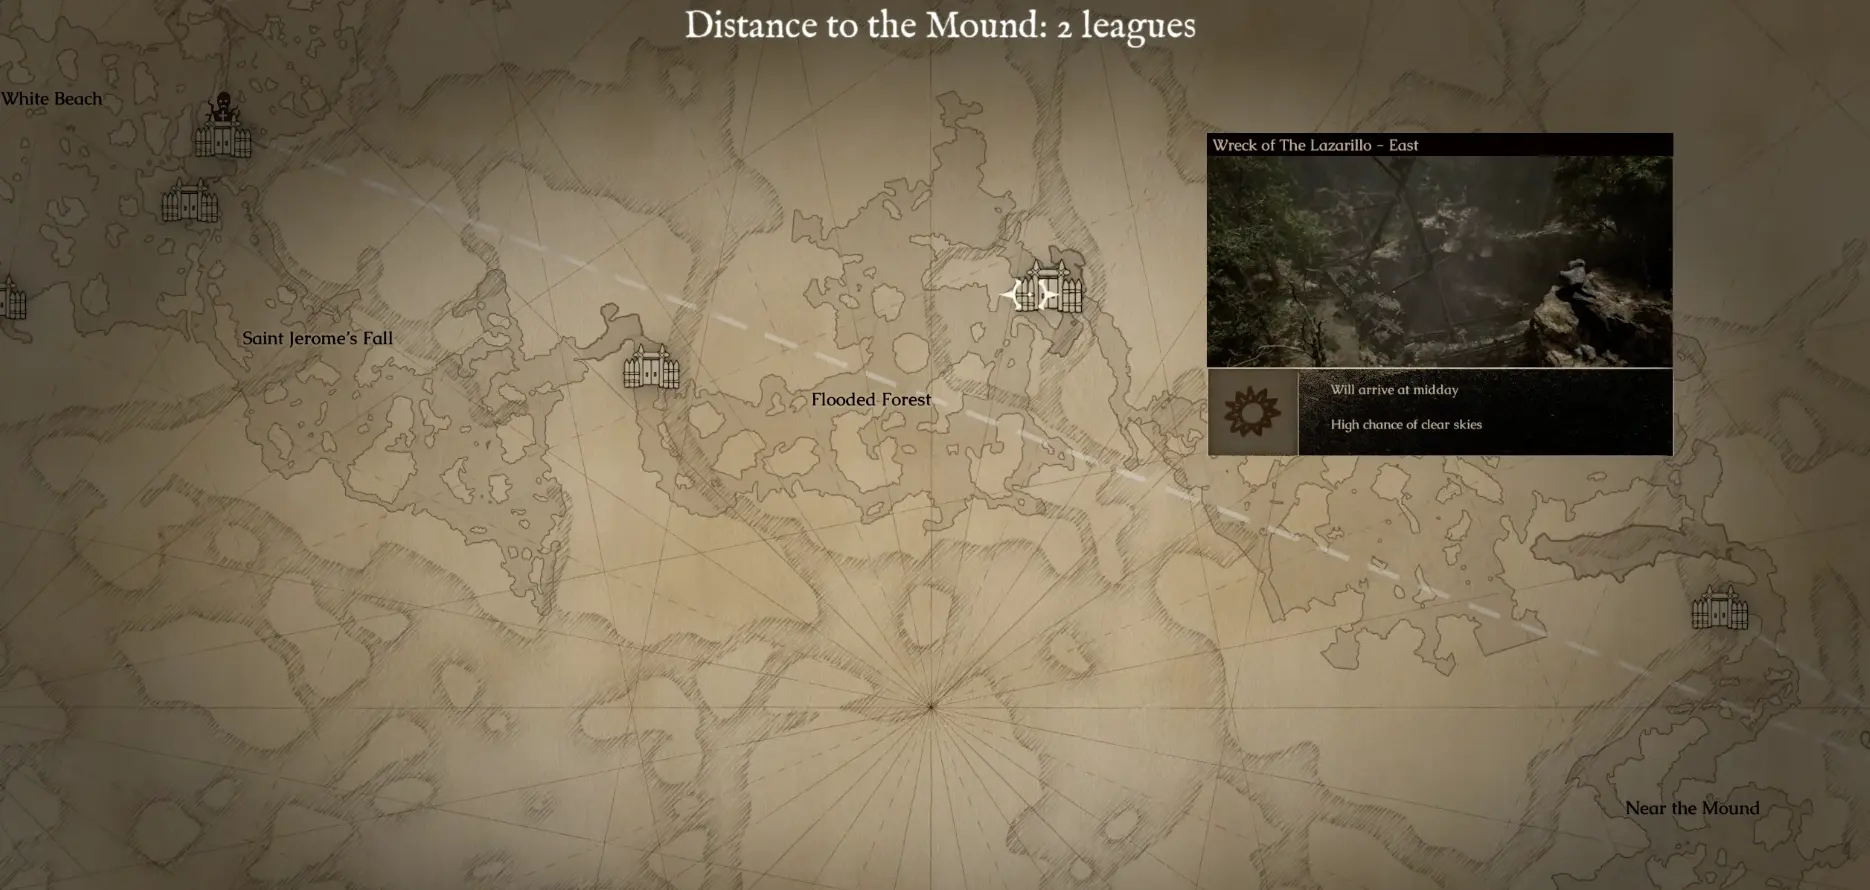
Another unlocked destination may place you near the Mound from a different direction.
The important details are:
- distance from the Mound;
- arrival time;
- weather;
- region familiarity;
- any additional opportunity such as a Lost Survivor.
Is Rank 7 Required?
I reached this stage around Rank 7, but I would not treat Rank 7 as a fixed requirement.
Before the nearby destination appeared, I had also:
- completed earlier contracts;
- returned several Logbooks;
- unlocked deeper regions;
- advanced the story on the Tempestad.
The destination map is the more reliable progress indicator.
If no landing point appears near the Mound, continue returning story Logbooks instead of grinding Rank without advancing the route.
Prepare for the Return Before You Leave
Reaching the entrance is only half of the expedition.
The harder part is returning with the journal after the approach has consumed time, health, ammunition, and equipment.
I prepare with:
| Preparation | Why I bring it |
|---|---|
| Area Map | Helps reconstruct the route through bridges, caves, ruins, and branching paths |
| Reliable melee weapon | The approach can contain durable enemies and close-range pressure |
| Bow or Crossbow | Gives the team a quieter ranged option than a firearm |
| Bandage | Bleeding during the final approach can ruin the return |
| Ammonia Salts | A downed ally near the entrance turns the route into a rescue |
| Armor | The route is long enough for repeated combat and equipment loss |
| Open inventory space | The journal and any remaining quota value still need to be carried |
The complete six-slot inventory and party-equipment setup belongs in the Beginner Guide.
For this route, I prioritize navigation and recovery over carrying several redundant weapons.
Route at a Glance
The safest way to navigate is to use landmarks rather than rigid left and right turns.
| Route stage | Confirmation landmark |
|---|---|
| Landing region | Destination card places the expedition close to the Mound |
| Bridge route | Confirms movement deeper into the map rather than circling the landing point |
| Central ritual area | Reconnects the approach with a recognizable interior route |
| Whispering Cave | Provides a deeper passage through the central terrain |
| Prologue landscape | Confirms that you have returned to the opening story area |
| Blue-lit structure | The Mound is directly ahead |
| Interior notification | Passage Into the Depths confirms the correct entrance |
The practical route is:
Nearby landing point → bridge → central route → Whispering Cave → prologue terrain → blue-lit Mound → Passage Into the Depths
The exact paths can change, so I use these as confirmation points rather than mandatory consecutive checkpoints.
Recognize the Prologue Approach
Near the end of the route, the landscape begins to resemble the opening sequence.
The strongest signs are:
- familiar ruins and dead trees;
- the same general terrain used during the prologue;
- a blue glow ahead;
- the visible structure of the Mound.
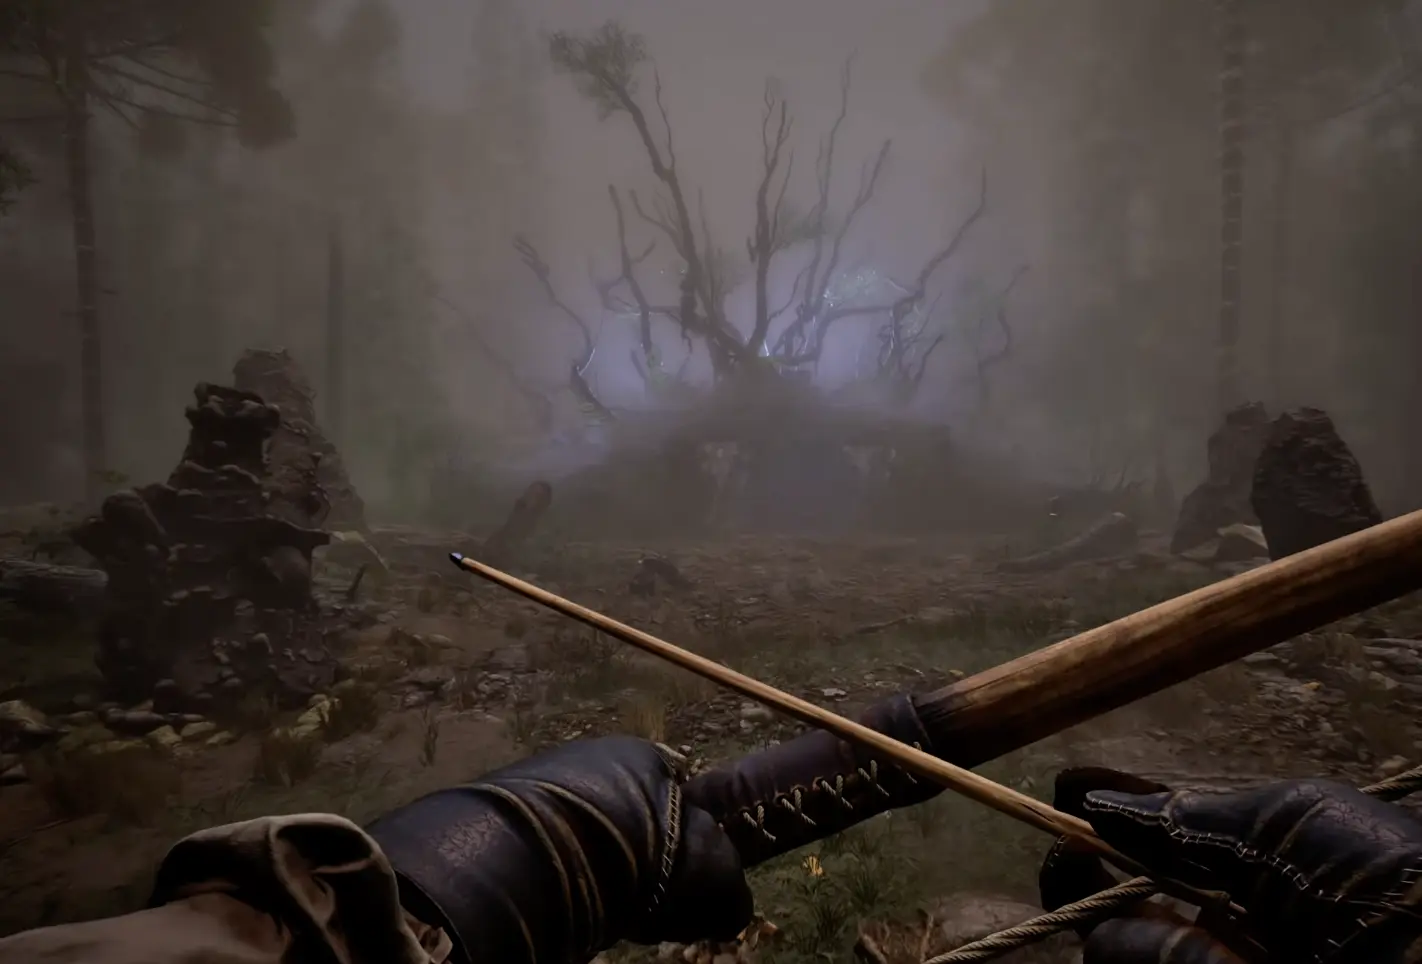
Once I can see the blue-lit Mound, I stop following unrelated treasure sounds.
My priorities become:
- Keep the team together.
- Preserve the return route.
- Avoid unnecessary gunfire.
- Reach the entrance.
- Secure the journal.
- Leave.
Enter Passage Into the Depths
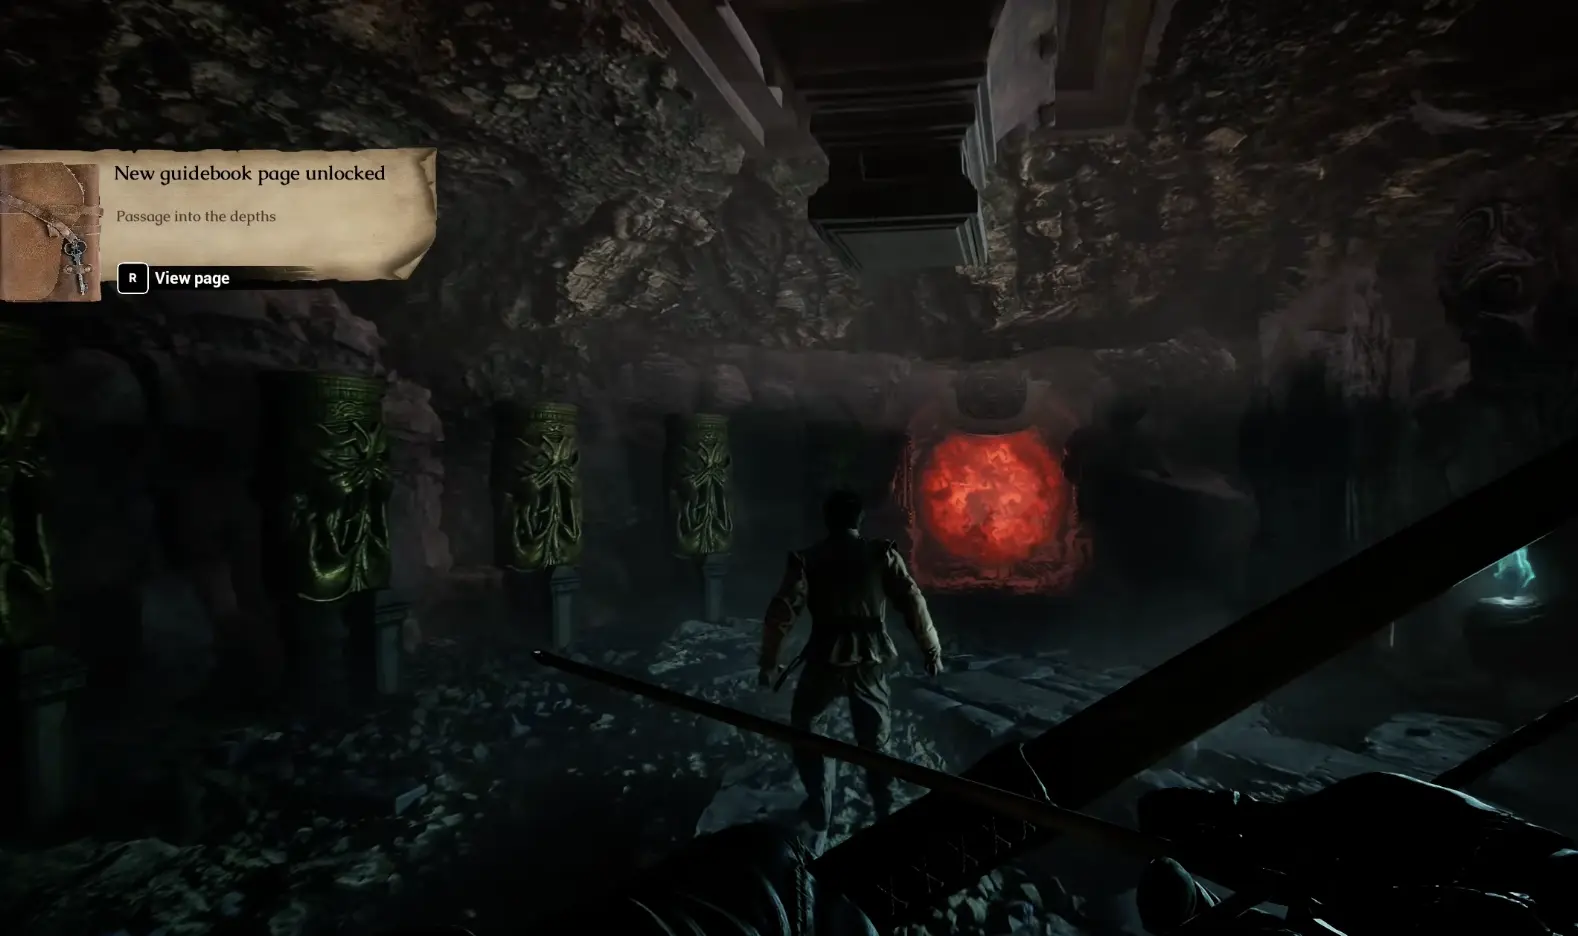
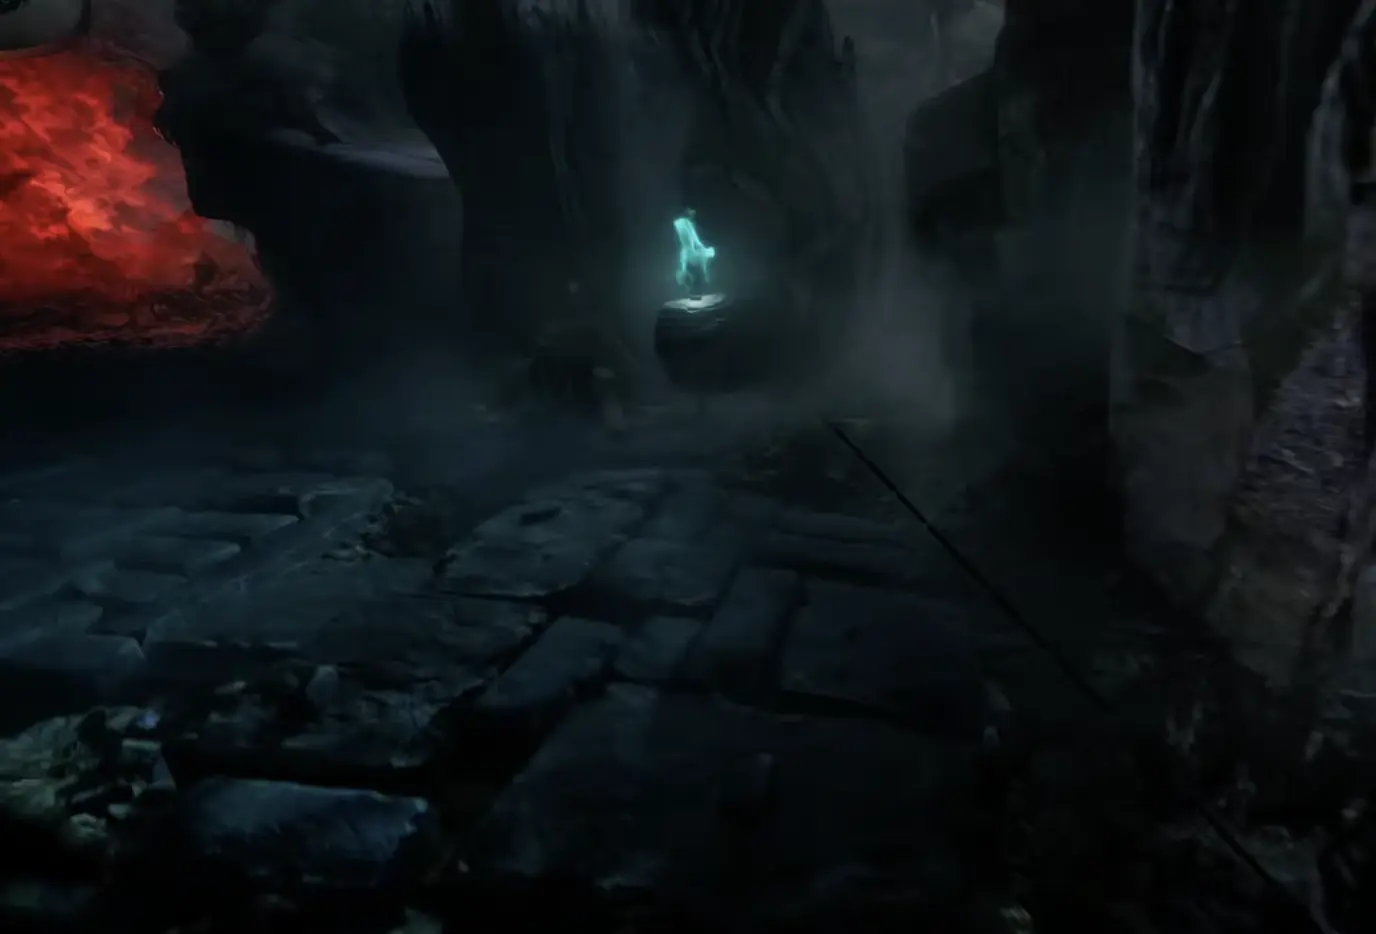
Approach the blue-lit structure and move into the entrance beneath it.
The correct location unlocks the Guidebook page:
Passage into the depths
Inside the chamber, I found:
- a red arcane barrier;
- five pillars connected to the blocked descent;
- designs resembling cylindrical artifacts;
- no immediate route farther underground.
This is the intended limit of the first visit.
Read the Passage Into the Depths Guidebook Page
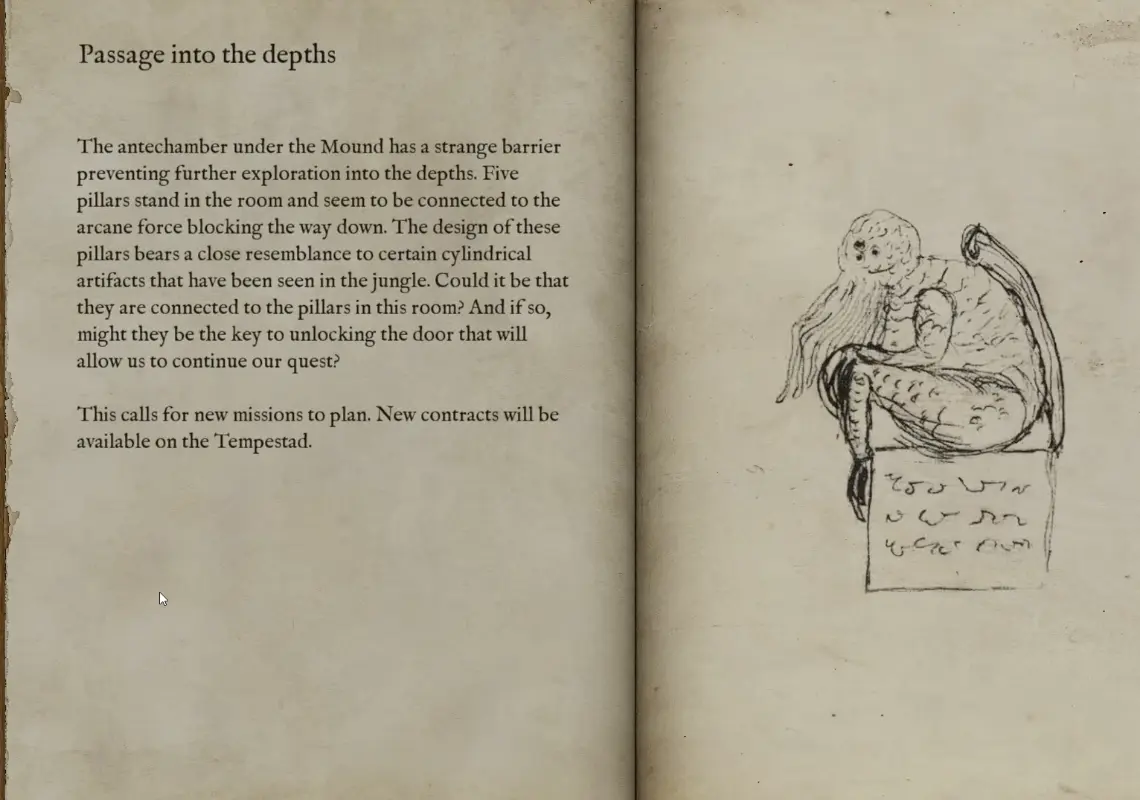
The new Guidebook entry explains what is blocking the route.
It states that:
- the antechamber lies beneath the Mound;
- a strange barrier prevents further exploration;
- five pillars stand in the room;
- those pillars appear connected to the arcane force;
- their design resembles cylindrical artifacts seen in the jungle;
- new contracts will become available on the Tempestad.
There is no reason to spend the rest of the expedition pressing every pillar or searching the chamber for a hidden switch.
Once the Guidebook page unlocks, secure the nearby journal and prepare to return.
Recover the Journal Found at the Mound
The story journal is found near the entrance area.
Once I picked it up, I stopped treating the route as general exploration.
If Father Escalona is nearby, put the journal in the ox-wagon.
If the wagon is too far away, give it to the player with:
- the safest health and armor;
- the clearest route back;
- the lowest chance of leading the next fight;
- reliable proximity communication.
Do not leave it on the scout while that player opens another side route.
The selected expedition may still require treasure value. Check Mission Information and collect only nearby, reliable value before leaving.
Finish the Expedition to Preserve the Unlock
On my first visit, I reached the chamber, unlocked the Guidebook page, and found the journal.
The expedition then failed during the return.
Back on the Tempestad, the progression had not been preserved, so I had to repeat the approach.
On the successful attempt, I:
- Returned directly to the Mound.
- Recovered the journal.
- Collected one nearby idol to make the quota safe.
- Followed the established route back.
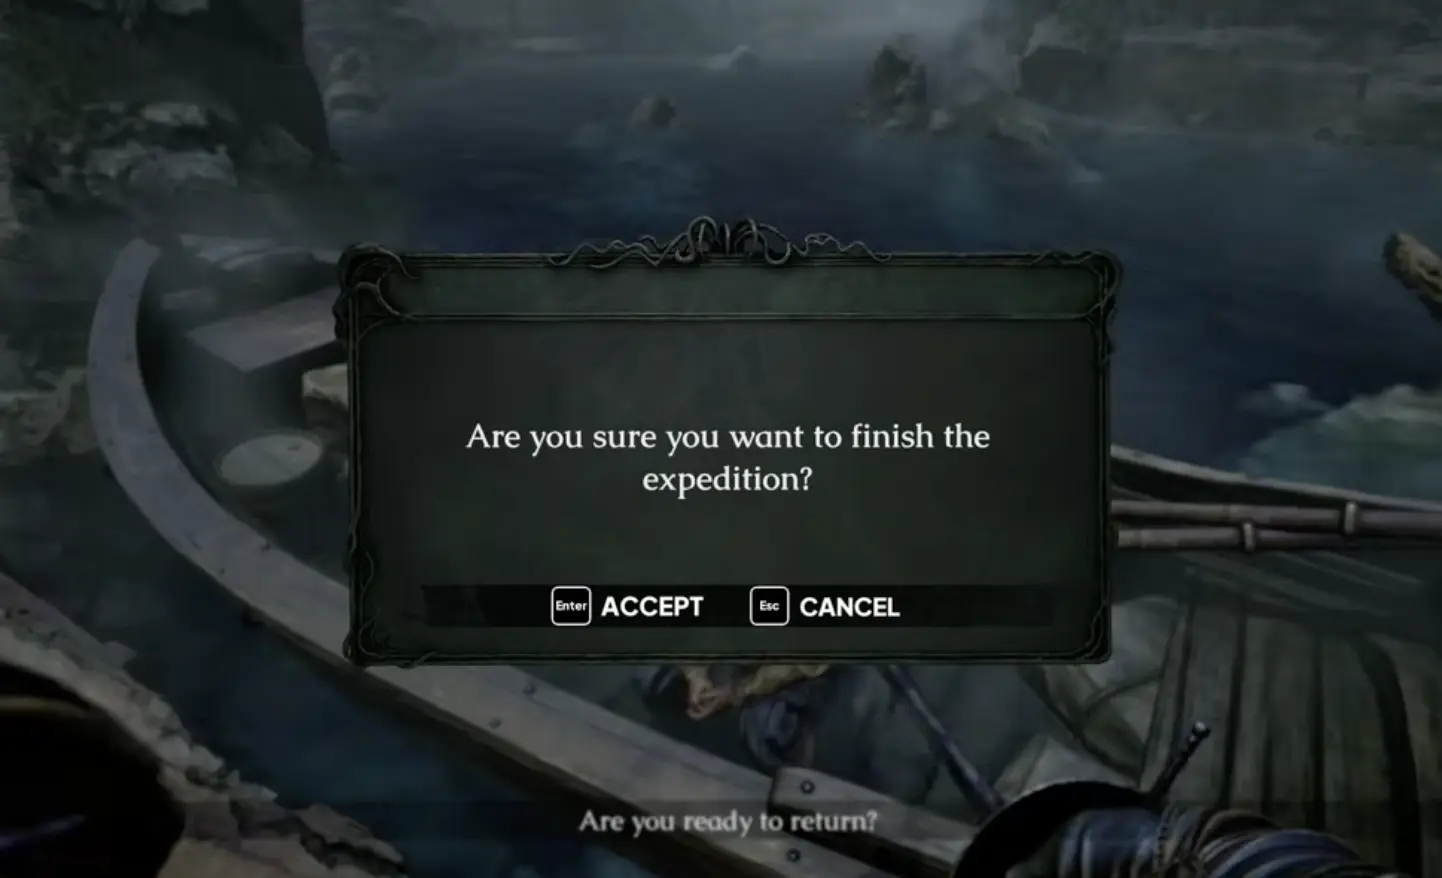
- Reached the boat.
- Selected Finish Expedition.
Read the Journal Found at the Mound
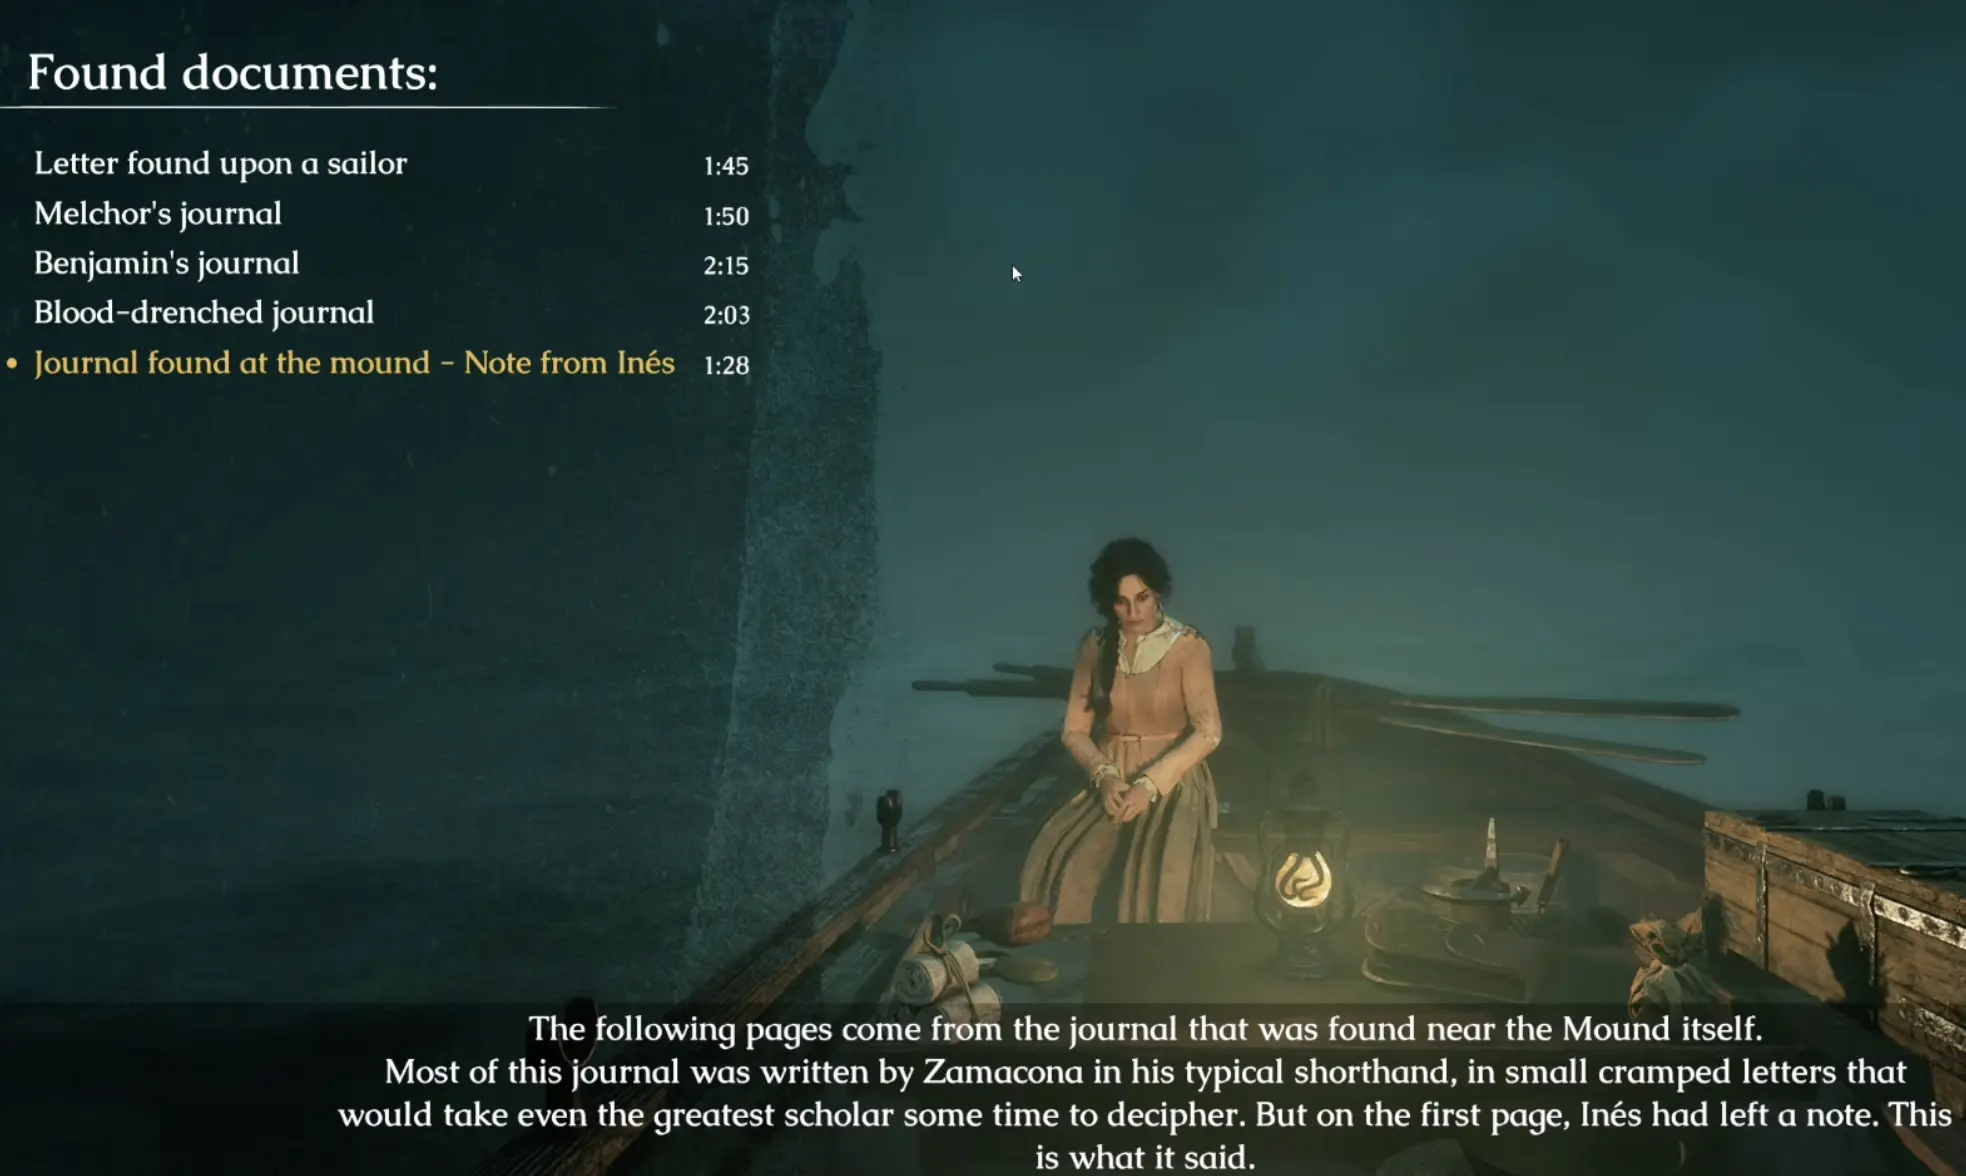
After the successful return, the document list adds:
Journal found at the mound – Note from Inés
The introduction explains that:
- most of the journal was written by Zamacona;
- his notes use cramped shorthand;
- the first page contains a separate note left by Inés.
Inés escaped from the depths but was mortally wounded.
Her warning changes the expedition’s purpose from ordinary treasure hunting to opening the route below and continuing the search for Zamacona.
What Is K’n-yan?
K’n-yan is the underground realm beyond the blocked passage beneath the Mound.
It is not simply another name for the surface structure.
The journal connects K’n-yan to:
- the depths below the Mound;
- the creatures encountered underground;
- the barrier blocking the descent;
- Zamacona’s disappearance;
- the next major story phase.
At this point, the route changes from:
Find the Mound.
to:
Open the way into K’n-yan and continue the search for Zamacona.
This page does not need a complete lore history. For progression purposes, K’n-yan is the destination behind the barrier.
Find the Five Tulu Cylinders
Inés’ note gives the next objective:
There are five cylinders of the metal they call Tulu.
The cylinders are located at altars across the jungle, and lights in the sky point toward those altar locations.
The next progression loop is:
- Return to the Tempestad.
- Check the newly available contracts.
- Select the available cylinder objective.
- Follow the light in the sky.
- Find the altar.
- Recover the Tulu cylinder.
- Finish the expedition successfully.
- Continue until all five cylinders are secured.
Do not return immediately to Passage Into the Depths expecting the barrier to be open.
The new cylinder contracts must be completed first.
This guide ends when that contract chain becomes available. The individual altar routes and cylinder locations belong in a separate locations walkthrough after the full sequence has been completed.
Progression Summary
| Progress stage | Required action |
|---|---|
| Unlock a nearby destination | Return earlier story Logbooks |
| Approach the Mound | Use the Area Map and recognizable route landmarks |
| Enter the chamber | Unlock Passage Into the Depths |
| Inspect the barrier | Read the new Guidebook page |
| Recover the journal | Pick up the document near the entrance |
| Finish Expedition | Preserve the journal and story progress |
| Return to the Tempestad | Check the newly available contract chain |
| Find five Tulu cylinders | Follow the lights in the sky to the jungle altars |
| Continue toward K’n-yan | Return after completing the required cylinder objectives |
Common Problems
| Player problem | Likely cause | Practical fix |
|---|---|---|
| No destination near the Mound is available | Earlier story progression is incomplete | Return more Fort Logbooks successfully |
| Is Wreck of The Lazarillo – East mandatory? | One confirmed route is being mistaken for the only route | Use any unlocked landing point close enough to the Mound |
| Is Rank 7 required? | Rank and story progress are being treated as the same system | Follow the destination unlocks rather than Rank alone |
| I keep getting lost before the entrance | The route is being memorized as fixed turns | Use an Area Map and confirm bridge, cave, prologue terrain, and blue light |
| I reached the Mound but cannot descend | The arcane barrier is the intended first-visit lock | Read the Guidebook, recover the journal, and return |
| The new contracts did not remain after I died | The expedition failed before Finish Expedition | Repeat the route and complete the return |
| The journal is secured but the expedition is still short | The selected contract also requires treasure value | Take only nearby reliable value and check Mission Information |
| I returned but cannot find the cylinder objectives | The journal or entrance progression may not have been preserved | Confirm the Mound journal appears in Found Documents and check the Tempestad contracts |
| I found a light in the sky but no Mound entrance | The light belongs to the cylinder altar stage | Follow it during the appropriate cylinder contract |
| How many cylinders are required? | The entrance pillars are being confused with the next objective | Inés’ note directs you to recover five Tulu cylinders |
| I cannot survive the return in Solo | Too much time and equipment were spent reaching the entrance | Bring an Area Map, shorten side looting, and leave immediately after securing the journal |
What to Read Next
Use the Beginner Guide for the first expedition, six-slot inventory, shared equipment, Rank, Tokens, and Solo Bot behavior.
Use the Contracts and Extraction Guide if the journal is secure but the expedition still fails its quota or return condition.
Use the Sanity and Survival Guide if hallucinations, false calls, bleeding, equipment loss, revives, or forest awakening keep breaking the route.
Return to the The Mound Guide Hub for the full guide map.
FAQ
How do I unlock a destination near the Mound? +
Keep completing and successfully returning story Logbooks until landing points close to the Mound appear on the destination map. Wreck of The Lazarillo - East is one confirmed approach, but it is not the only possible landing point.
Is Rank 7 required to reach the Mound? +
I reached the route around Rank 7, but returned Logbooks and deeper destination unlocks were the more reliable progression signs. Do not treat Rank 7 as a confirmed hard requirement.
Do I need an Area Map to reach the Mound? +
The Area Map is not mandatory, but I strongly recommend it. The route can pass through bridges, caves, ruins, and familiar prologue terrain, while the return becomes harder after the forest grows active.
Where is the journal found at the Mound? +
The journal is found near the Mound entrance and Passage Into the Depths. Pick it up before leaving, then protect it during the return rather than continuing into unrelated treasure routes.
Why did reaching Passage Into the Depths not save my progress? +
My first expedition failed during the return, so I had to reach the entrance and recover the journal again. The progression remained available only after I used Finish Expedition successfully.
Who wrote the journal found at the Mound? +
Most of the journal was written by Zamacona in cramped shorthand. The first page contains a separate note from Inés that explains the next objective.
How many cylinders do I need to find? +
Inés' note identifies five cylinders made from the metal called Tulu. Follow the newly unlocked contracts and the lights in the sky to find their jungle altars.
Does this guide include all five cylinder locations? +
No. This guide ends when the cylinder contract chain becomes available. The individual altar routes belong in a separate locations walkthrough after the full sequence has been completed.