The Mound Contracts and Extraction Guide
Learn The Mound contracts, quota, Logbooks, Lost Survivors, treasure values, Saints, artifacts, Rank progression, storage, and extraction.
Updated:
Quick Answer
Treat every The Mound: Omen of Cthulhu contract as three connected decisions: complete the main objective, return enough treasure quota, and choose a destination and loadout that let the team survive extraction. Read the supplied equipment and Boss field before boarding, use Mission Information during the run, store Logbooks and high-tier idols in Father Escalona’s ox-wagon, and leave once the objective and quota are secure.
Full-Release Value Note
The values in this guide are specific full-release examples, not one universal range for every contract.
The tested opening route included:
- a tutorial expedition requiring at least 540 value;
- an early Treasure Hunt requiring 920 value;
- a story Finding the Logbook card requiring 1,050 treasure, with 16 Tokens and 500 XP listed as its reward.
Older Demo routes showed different targets such as 1,296, 1,620, and 1,750. That does not mean one version is automatically wrong. Contract value changes with the mission card, progression stage, variant, and difficulty.
Read the Contract as Four Separate Fields
A contract is more than its title.
It tells you:
- what the expedition must accomplish;
- what resources or treasure must return;
- what shared equipment the party receives;
- whether the route forces a named Boss.
| Contract field | What I check | Why it changes the route |
|---|---|---|
| Objective | Recover treasure, retrieve a Logbook, rescue someone, recover a cylinder, or cleanse corruption | The named objective cannot be replaced by random loot |
| Quota | Required treasure or resources | The objective may be complete while the haul is still short |
| Equipment pool | Weapons, ammunition, healing, armor, light, and Ammonia Salts | The contract decides what the team can divide before boarding |
| Boss | None, a forced creature, or a unique encounter | A forced Boss changes healing, ammunition, and extraction timing |
| Reward | Tokens and XP | Determines short-term preparation and long-term Rank progress |
The contract title can be misleading if you stop reading too early.
A treasure contract can contain a Lost Survivor opportunity on its destination card. A story Logbook contract can still require substantial treasure. A contract with a dramatic name does not necessarily force a Boss unless the card says so.
Current Contract Examples
The exact pool can change between contract variants, but current full-release cards show how different the preparation can be.
| Contract example | Tier / objective | Current requirement or Boss | Example supplied equipment | What the pool tells me |
|---|---|---|---|---|
| Bring back riches from the jungle | Basic treasure recovery | Value requirement varies by card | 2 Bandages, 2 Healthpacks, aged Machete, aged Francesca Axe, aged Pole Hammer, aged Spear, 2 Ammonia Salts, 2 Breastplates, 2 Helmets | A melee-heavy pool supports short controlled fights but gives no reason to chase a distant gunfight |
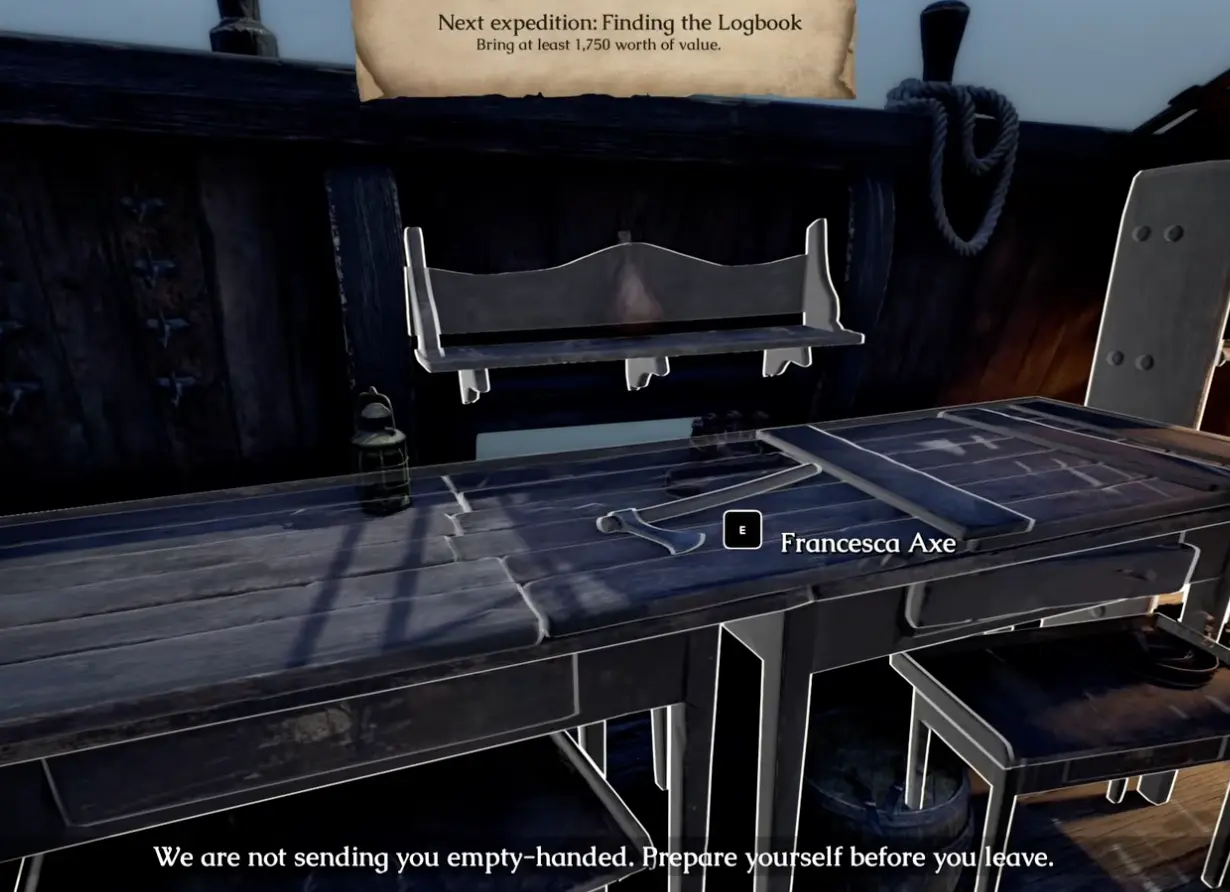
| Finding the Logbook | Story objective | 1,050 treasure; 16 Tokens; 500 XP | 2 small bullet packs, Healthpack, 2 aged Flintlock Muskets, aged Francesca Axe, small sword, Oil Lamp, Helmet | The firearms help at range, but the team still needs to preserve inventory space for the Logbook and quota |
| One Hundred Legs | Mid hunt | Forced Parasite encounter | Arrow pack, small and large bullet packs, Bandage, Healthpack, aged Arquebus, Longbow, aged Machete, aged Matchlock Pistol, aged Francesca Axe, Oil Lamp, Ammonia Salts | The mixed ranged pool and forced Boss make this a combat contract, not a normal treasure sweep |
These examples are useful because the equipment pool reveals the intended pressure.
If a contract supplies four sets of armor and several recovery items, I expect sustained danger. If it gives mostly ranged weapons and ammunition, I assign those weapons before anyone fills their inventory with duplicates. If the pool is weak, I shorten the destination instead of assuming the contract will become easier after landing.
The Destination Can Add a Second Opportunity
After choosing the contract, inspect the destination separately.
A destination card can show:
- region name;
- distance or proximity to the Mound;
- arrival time;
- expected weather;
- a fort or known landmark;
- a reported Lost Survivor;
- whether the region has already been explored.
One tested Treasure Hunt destination near the Mound also reported a Lost Survivor. The selected contract was still about treasure, but the destination added a progression opportunity.
That changed my priorities:
- leave enough inventory and recovery capacity for the rescue;
- do not spend the whole route collecting low-tier objects first;
- secure the survivor before extending beyond the safe return window;
- remember that the treasure quota still remains.
Use Mission Information Instead of Rebuilding the Quota in Your Head
Mission Information is the authoritative run-state check.
Use it after:
- securing the main objective;
- storing a high-tier Metal Idol;
- clearing a major treasure room;
- rescuing a survivor;
- consuming or dropping supplies;
- considering another distant path;
- preparing to call the wagon back.
Some pickups have uncertain value during the expedition. That is why I do not calculate the entire quota from a memorized loot table. The exact value tiers help with prioritization, but Mission Information decides whether the current run is actually ready.
Use one extraction framework throughout the page:
| Main objective | Quota | Team condition | Correct decision |
|---|---|---|---|
| Missing | Clearly short | Healthy and organized | Follow the primary route rather than random treasure sounds |
| Complete | Clearly short | Healthy, wagon nearby | Bank the objective and collect nearby reliable value |
| Missing | Met | Healthy | Stop general looting and finish the named objective |
| Complete | Nearly met | Healthy | Take one close, reliable pickup rather than opening a long new route |
| Complete | Met | Healthy | Begin extraction |
| Complete | Met | Injured, split, or low on equipment | Extract immediately |
| Complete | Exceeded | Any condition | Leave; surplus is not permission to gamble the contract |
| Missing | Met | Forest already hostile | Decide whether the objective is still realistically reachable; stop opening side paths |
This replaces several smaller versions of the same 2×2 table. Every contract decision should return to this one framework.
Current Metal Idol and Treasure Values
Metal Idols are not all worth the same amount.
Current full-release data places them into clear color and tier bands:
| Treasure tier | Common color | Current listed value | How I treat it |
|---|---|---|---|
| Tier 1 | White | 100 | Useful early, but replaceable when wagon space is under pressure |
| Tier 2 | Green | 180 | Worth banking on a short route |
| Tier 3 | Blue | 300 | Strong enough to change an early quota decision |
| Tier 4 | Purple | 450 | Return to the wagon before taking another dangerous path |
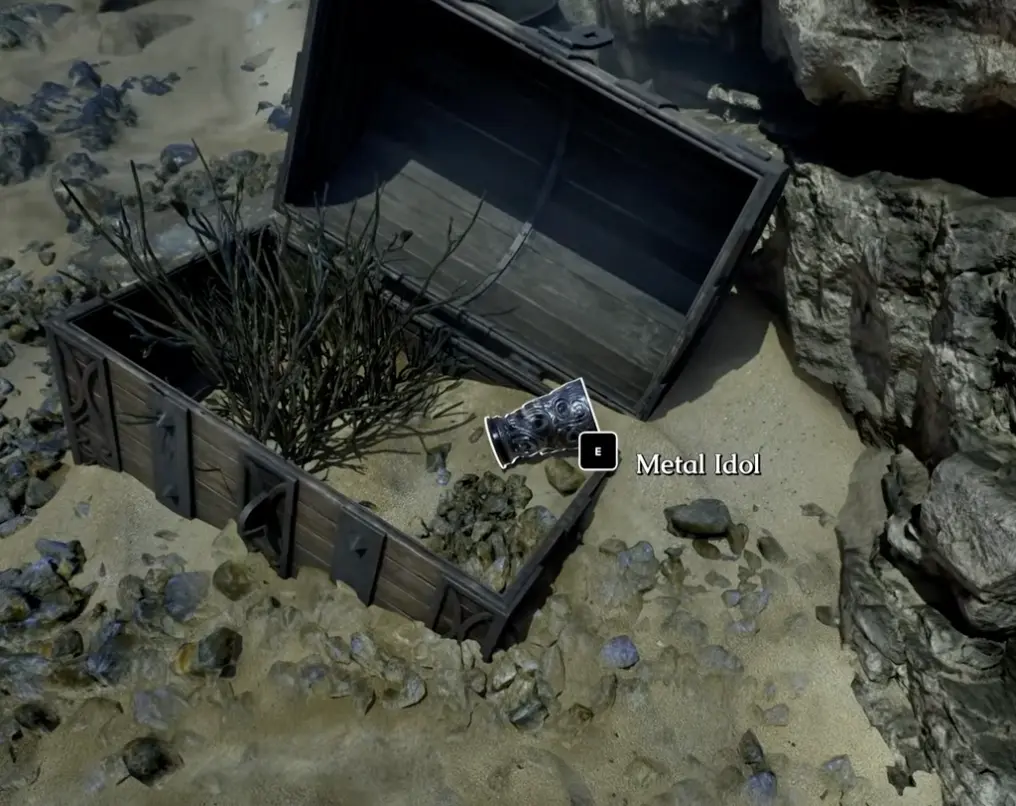
| Tier 5 | Orange | 700 | High-priority storage; do not leave it on an exposed scout |
| Tier 6 | Yig idol | 1,000 | Top-priority treasure that can satisfy a major part of many quotas |
Other useful numeric anchors include:
- Bottle of Wine: 300;
- Huemul Meat: 100;
- Music Tablet: 75;
- Patron Saint figure: 75;
- Firewood: 10;
- ordinary mushrooms: generally 3–4.
This shows why “pick up everything” is a poor storage policy.
One purple idol at 450 is worth as much as 150 ordinary 3-value mushrooms. When wagon or personal inventory space becomes tight, prioritize by value and contract importance rather than by how many objects are nearby.
What Goes Into the Ox-Wagon First
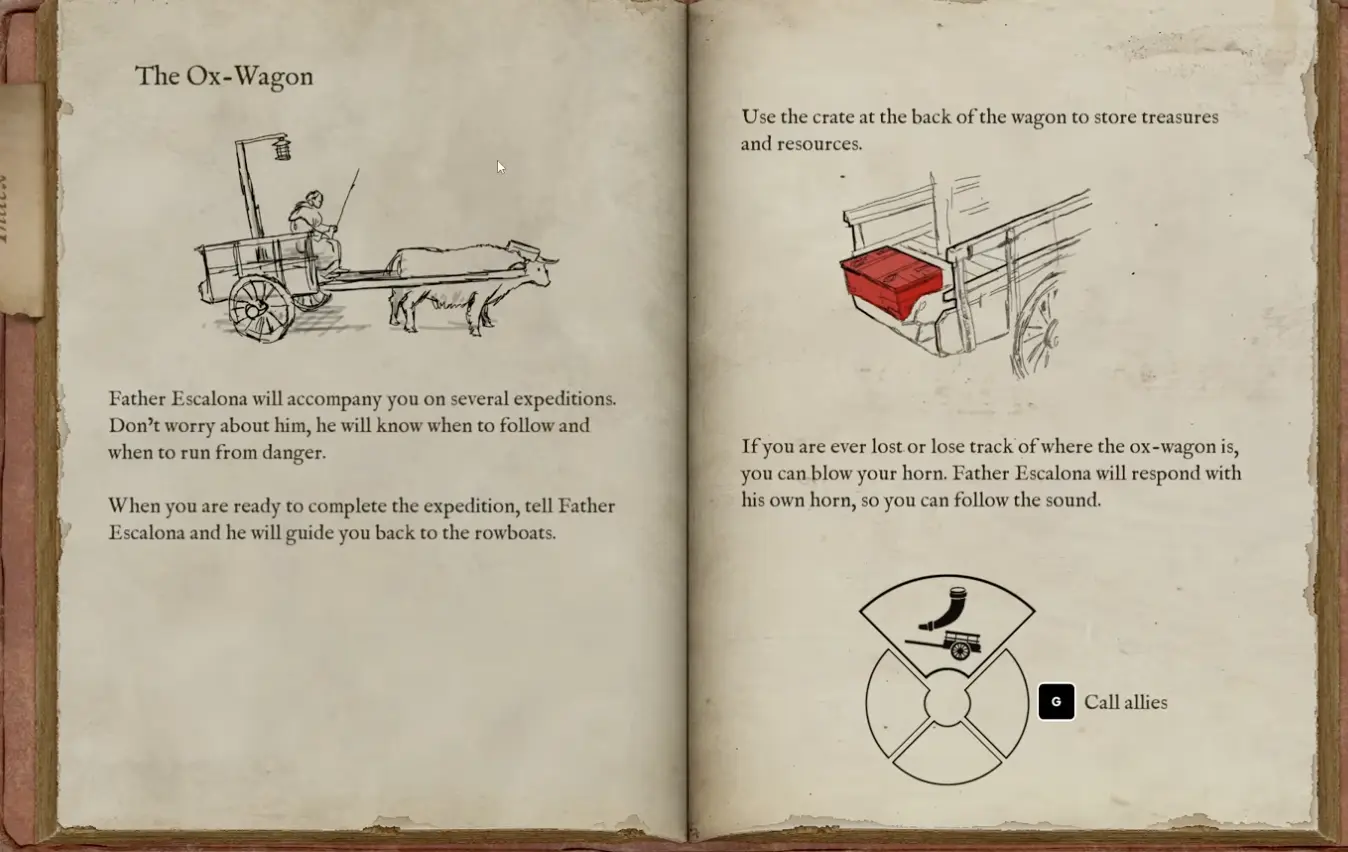
The ox-wagon is the team’s contract bank.
I use one storage order:
- Main objective, including the Fort Logbook or cylinder.
- Lost Survivor or transported body.
- Highest-tier treasure.
- Recovery and contract tools that the team may need on the return.
- Food and supplies worth bringing back.
- Spare weapons, ammunition, and armor.
- Low-value objects only when space and time allow.
This order does not need a second table elsewhere in the page.
The important distinction is between progression value and sell value. A Fort Logbook is listed at zero sell value, but losing it can stop the story and region unlock. A 700-value orange idol has enormous quota value but does not unlock a new destination.
The wagon needs both.
Treasure Contracts
A basic treasure contract is the cleanest place to learn quota control.
My route is:
- inspect the supplied equipment;
- choose a destination with manageable conditions;
- keep room for high-tier idols;
- store the first meaningful treasure haul;
- check Mission Information;
- stop opening distant branches when the quota is safe.
Treasure contracts are not map-clearing contracts.
The presence of a 1,000-value Tier 6 idol or 700-value orange idol makes this even clearer. A single strong pickup can turn a long loot route into a short extraction route.
The correct response to a major find is not:
“Now we can afford to take more risks.”
It is:
“How much of the quota does this remove, and can we leave sooner?”
Finding the Logbook
A Fort Logbook has progression value rather than normal sell value.
It can:
- complete the named objective;
- record the region;
- unlock another destination;
- open later contracts;
- move the expedition toward the Mound.
The Logbook route is therefore:
- identify the correct fort or landmark;
- use an Area Map on an unfamiliar destination;
- find and store the Logbook;
- check Mission Information;
- collect only the remaining nearby quota;
- return before the completed progression item is lost.
Do not carry the Logbook on the player exploring the next branch. Put it in the wagon immediately.
The Beginner Guide contains the full first-hour route and the detailed Solo failure example. This page only needs the contract conclusion:
A Logbook and completed quota are still not banked until the expedition reaches Finish Expedition.
Lost Survivors
A Lost Survivor may be the contract objective or an additional destination opportunity.
Returning one can expand the Tempestad crew and add another playable explorer. That gives the survivor value beyond the current reward screen.
When I see the opportunity:
- I preserve recovery capacity before landing;
- I avoid filling the wagon with low-tier clutter first;
- I shorten the remaining treasure route after securing the survivor;
- I do not assume meeting quota removes the need to return the rescue safely.
The rescue changes the contract because it adds a fragile progression objective. Treating it like optional side loot is how a strong run becomes an escort failure.
Hunt and Forced-Boss Contracts
Check the Boss field rather than relying on the title.
One Hundred Legs is a Mid contract that explicitly forces the Parasite encounter. Its supplied pool includes melee weapons, firearms, a Longbow, ammunition, healing, light, and Ammonia Salts.
That is a different route from a Basic treasure contract.
For a forced Boss:
- divide ranged ammunition before boarding;
- keep Ammonia Salts with a player who is not leading the first attack;
- store unrelated treasure before starting the encounter;
- check weapon and armor condition afterward;
- extract instead of turning the completed hunt into another loot circuit.
Not every Mid contract forces a Boss. Mysterious Artifact, for example, focuses on returning a dark metal cylinder and can appear with several different equipment variants.
Difficulty tier and Boss status are connected fields, not synonyms.
Rank and XP: The Long-Term Map
Successful expeditions award XP, and the points carry between runs.
Current data contains 30 explorer Rank entries, ending at Legendary Explorer. Higher Rank opens access to stronger weapons, later contracts, and permanent perks such as inventory capacity, revival strength, isolation resistance, and weapon handling.
This page does not need all 30 rows, but it should show the size of the progression.
| Current Rank milestone | Cumulative points | What it tells you |
|---|---|---|
| Beginner | 500 | The opening progression has started |
| Trainee Scout | 3,750 | You are moving beyond the first Novice ranks |
| Forest Wanderer | 7,250 | Repeated successful expeditions are opening the middle game |
| Seasoned Scout | 12,990 | Mid-tier contract preparation matters more |
| Senior Pathfinder | 20,570 | Longer and more dangerous routes become the norm |
| Veteran Explorer | 29,590 | Late progression requires consistent extraction |
| Chief Expeditioner | 40,050 | Near-endgame Rank band |
| Legendary Explorer | 51,950 | Final listed explorer Rank |
Rank should affect contract selection, but it should not encourage reckless grinding.
A clean Basic or Mid success gives XP. A failed Advanced expedition gives no useful progression simply because the card looked more impressive.
Patron Saints Are Part of Contract Preparation
Patron Saints are recovered in the jungle and carved by the ship’s carpenter. Before an expedition, choose a Saint at the ox-wagon and pay its Token cost to carry the blessing.
This is not a separate Wiki page requirement for this cluster. The contract-level decision is enough:
| Contract problem | Useful Patron Saint | Blessing |
|---|---|---|
| Sword or blade-heavy equipment pool | Archangel Saint Michael | Strengthens swords and blades |
| Spear, Halberd, or Pole Hammer route | Saint George | Strengthens spears and polearms |
| Bow-heavy destination | Saint Sebastian | Strengthens bows |
| Firearm-heavy contract | Saint Barbara | Strengthens firearms |
| Long attrition route | Archangel Saint Raphael | Grants steady regeneration |
| Sanity and altered-state pressure | Saint Dymphna | Dispels altered states when touching the statue |
| Rain threatens firearms | Saint Eulalia | Holds back rain |
| High-risk Boss contract | Saint Benedict | Lets the explorer survive one deadly blow |
| Healing supplies are limited | Saint Paschal Baylón | Makes food restore more health |
Choose the Saint after reading the contract pool.
Saint George is wasted on a Bow-heavy card. Saint Barbara is less useful when the route supplies no firearm. Dymphna or Raphael may provide more value than extra damage when the destination is long and unfamiliar.
Artifacts and Tools Worth Planning Around
Artifacts are not generic “special equipment.” Each one solves a particular contract problem.
| Item | Current cost | Practical contract use | Main risk or limitation |
|---|---|---|---|
| Area Map | 30 Tokens | Helps navigate unfamiliar forts and long Logbook routes | Has no sell value and does not help quota |
| Ammonia Salts | 20 Tokens | Restores a fallen ally | Must be carried by someone who can reach the body |
| Crucifix | 10 Tokens | Delays hostility from turned explorers and makes the break in restraint easier to detect | Does not replace identity checks or communication |
| Jar of Black Ichor | 10 Tokens | Attracts supernatural creatures toward the thrown location | A bad throw can pull danger toward the wagon or rescue |
| Medallion | 15 Tokens | Points toward nearby Tulu-metal treasure | Repeated use can disturb the forest and attract the Crawling Canopy |
| Divining Rod of Yig | 40 Tokens | Leads toward buried treasure through its glowing crystals | Expensive for a route that does not need buried treasure |
| Mask of Nyarlathotep | 60 Tokens | Temporarily disguises the wearer from hostile creatures | Allies also see the wearer as hostile and may attack |
| Slave Finder | 30 Tokens | Reveals nearby human or human-like presences | More useful on survivor or identity-focused routes than pure quota runs |
This is where Tokens become a contract decision.
Do not buy the Mask because it is the most expensive item. Buy it only when temporary concealment solves the route and the team understands the friendly-fire risk. Do not buy the Medallion on a contract whose main problem is finding a fort rather than finding treasure.
Solo Contract Planning
The full Solo Bot behavior belongs in the Beginner Guide.
For contract selection, only three conclusions matter:
- the Bot can fight, pick up some objects, and attempt revives;
- it does not reliably manage the objective or full wagon;
- it cannot rescue a route that has already stayed too long.
My Solo progression remains:
- manageable Basic treasure contract;
- familiar-region Logbook;
- Lost Survivor opportunity on a controlled destination;
- Mid contract after navigation and extraction are consistent;
- forced Boss or Advanced contract after testing its equipment pool.
Solo difficulty should change the route length, not only the number of enemies you expect to fight.
Extraction Is the Final Contract Requirement
Quota met does not mean the expedition is complete.
The objective and wagon still need to reach the return point, and the team must use Finish Expedition.
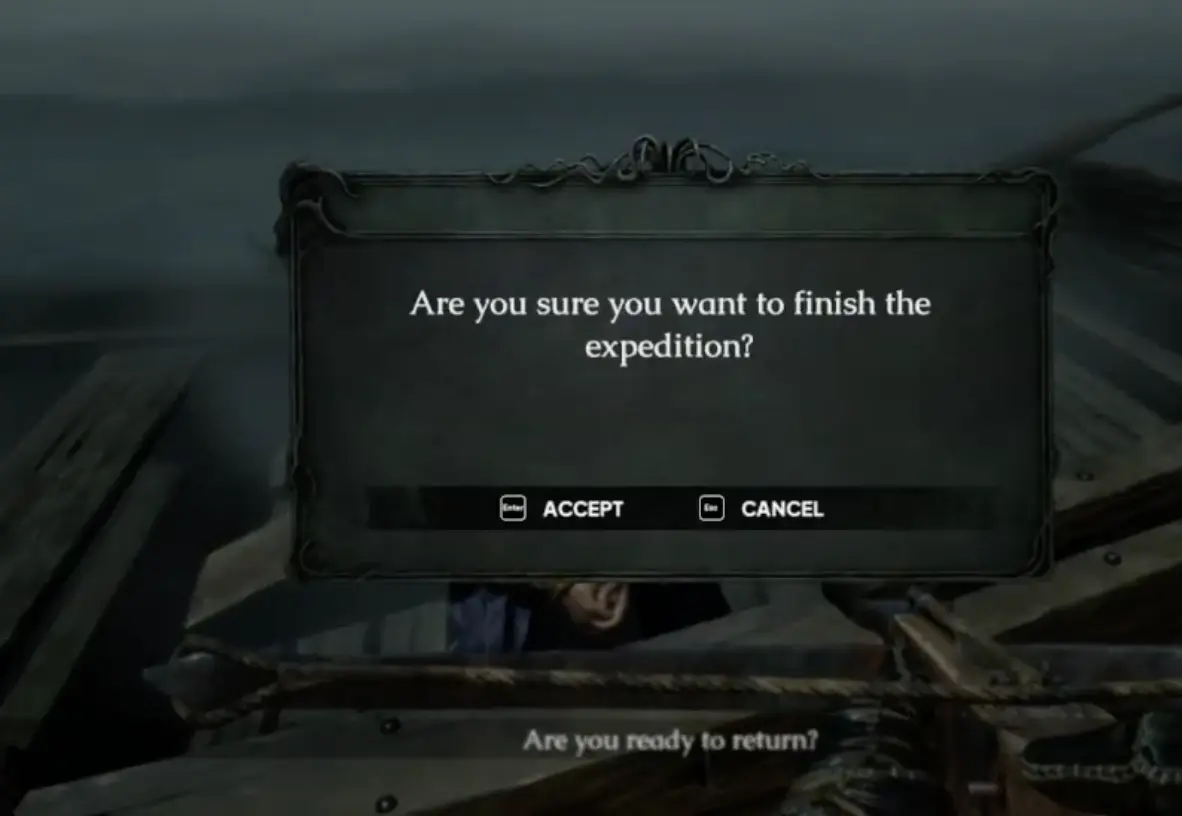
Most extraction failures come from one of these decisions:
- the Logbook stayed on a separated player;
- quota was met, so the team opened another long path;
- the survivor was found after supplies were already exhausted;
- a forced Boss was defeated, then the group resumed normal looting;
- high-tier treasure was carried instead of stored;
- navigation was ignored until the forest became hostile;
- the contract equipment pool was divided without preserving recovery.
Do not create a separate table repeating the objective-versus-quota framework. Return to the Extraction Decision Table above.
Contract Troubleshooting
| Player search or problem | Likely cause | Practical fix |
|---|---|---|
| Why did my contract fail after meeting quota? | The team died or never reached Finish Expedition | Treat quota as permission to return, not proof that the run is banked |
| Why did the Logbook not finish the contract? | The card also required treasure | Store the Logbook, then check Mission Information |
| Why is the Fort Logbook worth zero? | It is a progression objective rather than normal treasure | Protect it for the region unlock instead of judging it by sell value |
| Why can I not find enough value? | The team is carrying low-tier clutter or missing colored idols | Replace low-value pickups with blue, purple, orange, or Tier 6 treasure |
| Why does the Treasure Hunt have a survivor? | The destination added a secondary opportunity | Change inventory and extraction planning without forgetting the original quota |
| Why did One Hundred Legs become a Boss fight? | The card forces the Parasite encounter | Read the Boss field and divide ranged weapons, healing, and Salts before boarding |
| Why did the Medallion make the route worse? | It was struck repeatedly and disturbed the wilderness | Use it only when the treasure direction is worth additional forest pressure |
| Why did my teammate attack me while using the Mask? | The Mask makes allies see the wearer as turned | Announce its use before activating it |
| Why did my map not add value? | Purchased tools have no quota value | Use the Map for navigation, not as part of the haul |
| Why are higher contracts still locked? | More Rank and XP progression is required | Complete controlled expeditions instead of repeatedly failing the hardest card |
| Which Saint should I take? | The blessing does not match the equipment pool | Match Michael to blades, George to polearms, Sebastian to bows, and Barbara to firearms |
| Why are the numbers different from the Demo guide? | Full-release contracts and variants use different targets | Treat 540, 920, and 1,750 as specific card examples |
What to Read Next
Use the Beginner Guide for the first expedition, six-slot inventory, shared gear, Tokens, weapon upgrades, Rank basics, and full Solo Bot behavior.
Use the Sanity and Survival Guide for hallucinations, corrupted teammates, false Bots, Centipedes, bleeding, revives, rain, durability, traps, and forest awakening.
Return to the The Mound Guide Hub for the complete progression map.
FAQ
Does the Fort Logbook add treasure value? +
The current full-release item data lists the Fort Logbook with a sell value of 0. Its value is progression: it completes the objective, records the region, and unlocks later destinations, so do not expect it to replace the contract's treasure quota.
Does an Area Map count toward the contract quota? +
No. The Area Map costs 30 Tokens and has no sell value. It is an expedition tool, not treasure, so buying or returning with one does not solve a low-value haul.
What is the highest-value Metal Idol in The Mound? +
The current top listed idol is the Tier 6 Yig Metal Idol at 1,000 value. Orange idols are listed at 700 and purple idols at 450, making color and tier useful visual shortcuts when wagon space is tight.
Can Patron Saint figures be sold? +
Recovered Patron Saint figures are listed with a 75-value return, but bringing one back can also unlock a blessing through the ship's carpenter. Early in progression, the permanent preparation option may be more useful than treating the figure as ordinary quota.
Do all Mid contracts force a boss? +
No. One Hundred Legs explicitly forces the Parasite encounter, while other Mid contracts such as Mysterious Artifact focus on recovering a cylinder without listing the same forced boss. Read the Boss field instead of assuming every named contract is a hunt.
Can the Medallion make the forest more dangerous? +
Yes. The Medallion points toward nearby treasure, but repeatedly striking it can disturb the wilderness and increase the chance of the Crawling Canopy appearing.
Are the 540 and 920 value targets the normal range for every contract? +
No. They are specific early full-release examples from the tested route. Contract requirements vary by mission, story stage, destination, and difficulty, with later cards reaching much higher values.
Can false treasure satisfy the quota? +
No. The forest can show a player false treasure as a hallucination. Confirm that the object can actually be picked up and stored before counting it as part of the return.