The Mound: Omen of Cthulhu Beginner Guide
Start The Mound with a full-release route covering contracts, six inventory slots, shared gear, the ox-wagon, sanity, Tokens, Rank, and Solo Bots.
Updated:
Quick Answer
Start The Mound: Omen of Cthulhu by reading the contract on the Tempestad, taking only the shared gear your role needs, and keeping two of your six starting inventory slots open. Store Metal Idols and objectives in Father Escalona’s ox-wagon, check Mission Information instead of guessing the haul, and return once the objective and value requirement are secure. Stay close enough to verify hallucinated teammates, then use successful contracts to earn Rank, Tokens, new regions, and rescued crew members.
What Kind of Game Is The Mound?
The Mound: Omen of Cthulhu is a four-player co-op expedition game set around a doomed Spanish voyage into a Cthulhu-corrupted continent.
Each run begins on the Tempestad. The team accepts a contract, divides a limited shared equipment pool, chooses a destination, and enters the jungle with Father Escalona’s ox-wagon. The goal is not simply to kill everything. You must recover a named objective or enough value and then bring it safely back to the boat.
The unusual part is the sanity system. Different players can see and hear different versions of the same event. A real teammate may look like a creature to one player while appearing completely normal to everyone else. Proximity voice, short callouts, and physical verification therefore matter as much as weapons.
That is why I play the first hour as a logistics and communication tutorial rather than a combat tutorial.
First-Hour Route
| Stage | What I do |
|---|---|
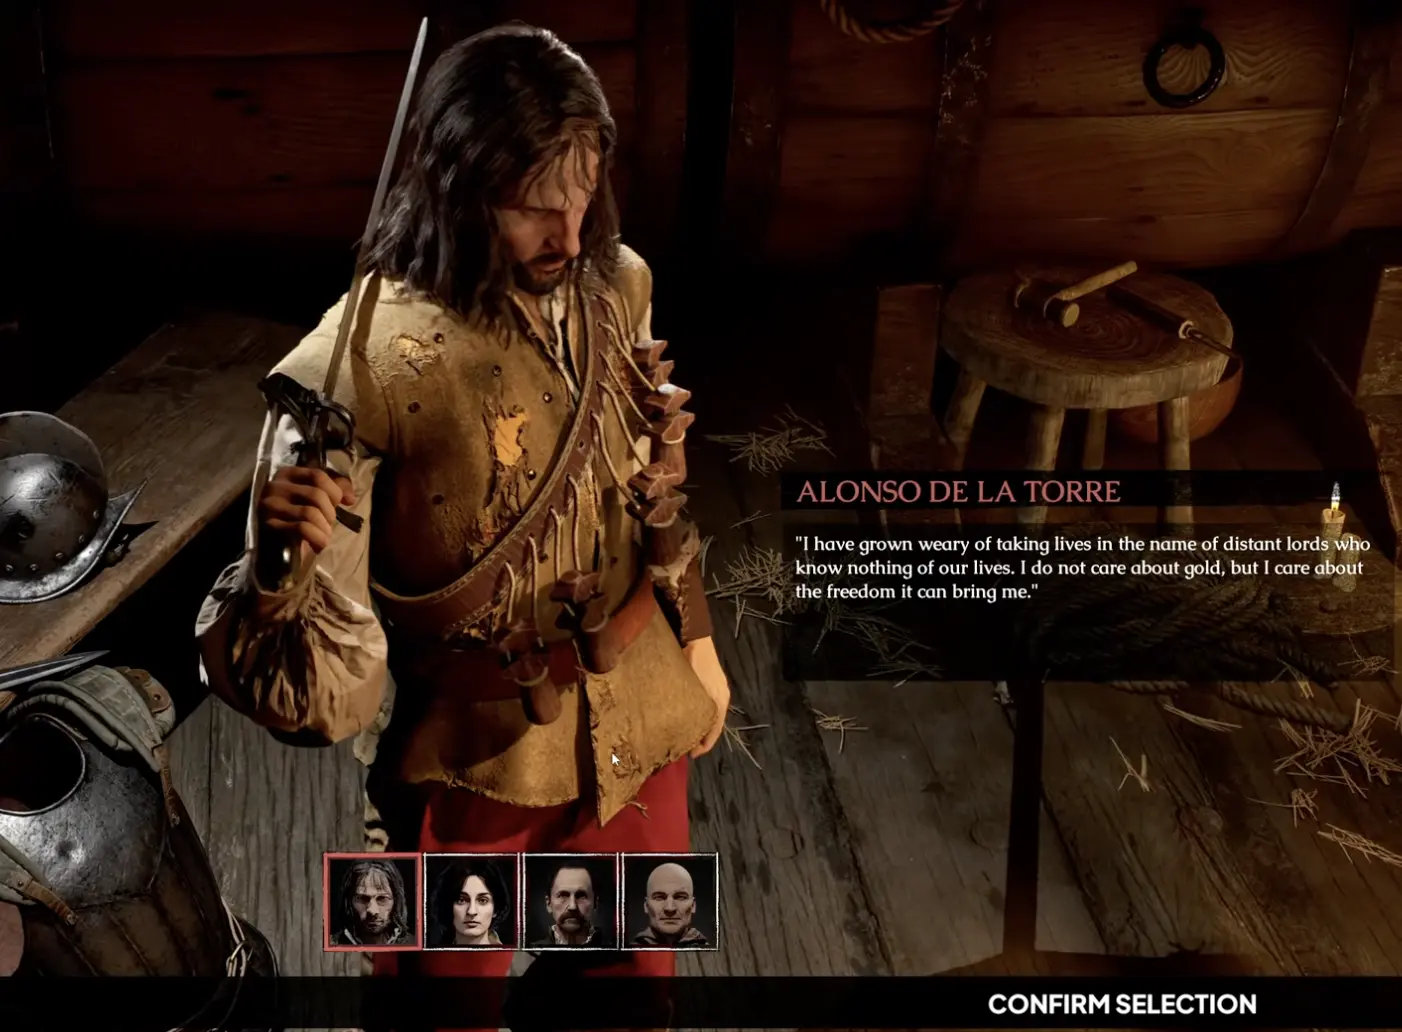
| Prologue | Finish the short introduction and choose an explorer. |
| First contract | Complete the tutorial requiring at least 540 value. |
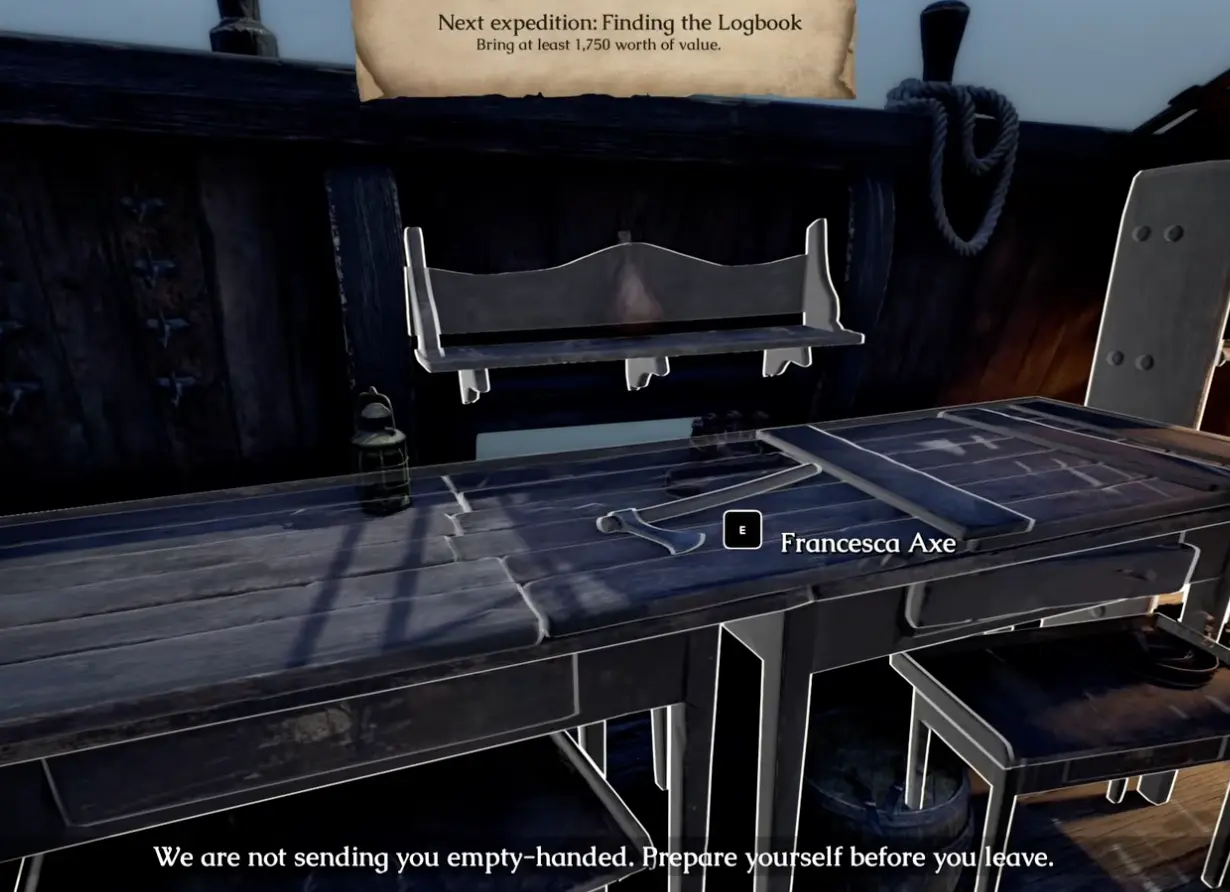
| Ship preparation | Read the contract before taking anything from the shared gear pool. |
| Personal loadout | Carry one main weapon and keep two of six inventory slots flexible. |
| Expedition | Store valuables and unnecessary starting gear in the ox-wagon. |
| Progress check | Use Mission Information after major treasure pickups. |
| Extraction | Return once the main objective and required haul are secure. |
| First progression | Review Rank, Tokens, the Guidebook, and the next contract. |
| Early priority | Complete a manageable Logbook or Lost Survivor route to unlock progression. |
This is the only route summary the page needs. The sections below explain the decisions that usually cause a first expedition to succeed or fail.
Finish the Prologue and Choose an Explorer
The prologue is short. It introduces the journey toward the Mound before returning you to the Tempestad and the main expedition loop.
The starting roster includes explorers such as:
- Alonso;
- Leonor;
- Don Rodrigo de Medina;
- Fray Gaspar.
I would not treat this selection like a traditional class screen. The full-release opening does not present one character as the mandatory tank, healer, or ranged specialist.
Pick the explorer you want to use, then focus on the contract and equipment. Your temporary expedition role matters more than the starting portrait.
The roster expands later. Lost Survivors brought back to the Tempestad can become playable crew members, so the initial four are not the entire character pool.
Read the Contract Before Touching the Gear
Every expedition is built from three connected choices:
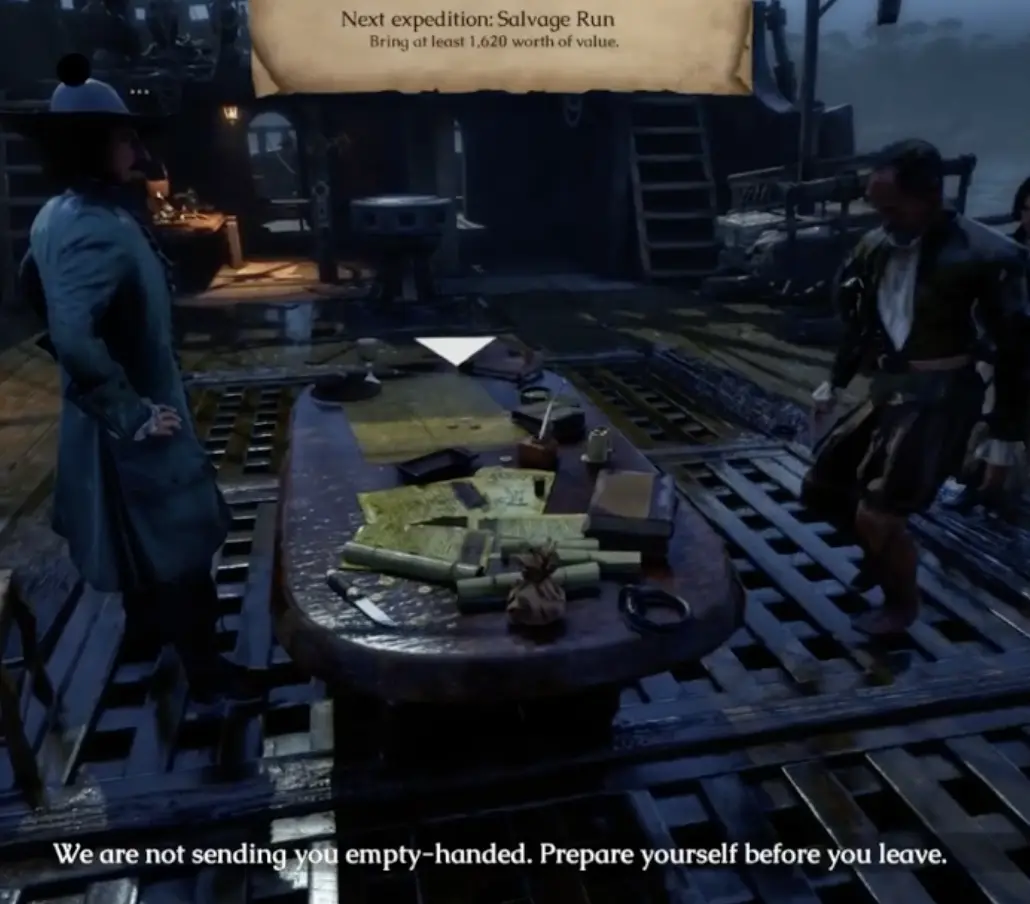
- Select a contract.
- Divide its shared equipment.
- Choose an available destination.
The contract can determine:
- the named objective;
- the minimum value requirement;
- the weapons and supplies provided;
- the Rank and Token reward;
- the destinations available for that objective.
The opening tutorial asks the team to return at least 540 value. An early full-release Treasure Hunt later showed a 920-value target. These numbers are not decorative; they tell you how much risk the route needs.
Later objectives include:
- Finding the Logbook;
- Lost Survivor opportunities;
- Treasure Hunts;
- named hunts such as 100 Legs;
- remedy and fort objectives;
- Mid and Advanced versions of some completed contracts.
Before I take a weapon, I confirm:
| Contract question | Why it matters |
|---|---|
| What is the main objective? | A full wagon can still fail without the named object or target. |
| Is there also a value requirement? | A Logbook does not automatically replace the required haul. |
| What equipment is shared? | Taking two weapons may leave another player without a role. |
| Where are we arriving? | Night, weather, distance, and region familiarity change the loadout. |
| What ends the run? | The team needs an extraction rule before the jungle becomes chaotic. |
Divide the Shared Gear Into Four Jobs
The equipment on the Tempestad belongs to the whole team.
A first contract may provide combinations such as:
- Machetes and swords;
- a Flintlock Pistol and Bandolier;
- Spear or Aged Pole Hammer;
- Bow, Crossbow, arrows, or bolts;
- Helmets and Breastplates;
- Oil Lamp or Torch;
- Food Ration;
- Bandages;
- Ammonia Salts.
I use four temporary jobs:
| Job | Useful gear | Main responsibility |
|---|---|---|
| Front player | Machete, Spear, Sword, Pole Hammer, Helmet, or Breastplate. | Handles controlled close-range fights and reports broken armor. |
| Ranged player | Bow, Crossbow, Flintlock, arrows, bolts, or ammunition. | Saves range and firearm noise for real danger. |
| Utility player | Oil Lamp, Area Map, Food Ration, Bandages, or Ammonia Salts. | Keeps navigation and recovery tools available. |
| Wagon player | Light loadout with open inventory space. | Banks objectives, checks Mission Information, and calls the return. |
These are not permanent classes. A new contract can completely change the split.
The mistake is building four individual loadouts from a shared table. One player does not need the strongest melee weapon, the only firearm, the last Food Ration, and the only Ammonia Salts.
You Start With Six Inventory Slots
The starting personal inventory contains six slots.
That space disappears quickly:
| Slot | Typical item |
|---|---|
| 1 | Main weapon |
| 2 | Ammunition or second combat item |
| 3 | Food Ration or Bandage |
| 4 | Oil Lamp, Area Map, or another utility item |
| 5 | Contract objective |
| 6 | Metal Idol or other valuable loot |
This is why I begin with only one primary weapon and keep two slots flexible.
Do not bring three weapons simply because they are available. The expedition still needs room for:
- a fort Logbook;
- a Metal Idol;
- a remedy;
- a survivor-related objective;
- an unexpected high-value plate or relic.
In the tested progression, reaching Rank 4 added another inventory slot. Until then, the six-slot limit is one of the most important early constraints.
The ox-wagon can hold excess gear after landing, but arriving completely full still wastes time and makes the first storage stop harder than it needs to be.
Use Father Escalona’s Ox-Wagon as the Team Inventory
Father Escalona’s ox-wagon is more than a treasure chest.
I use it as:
- shared storage;
- an objective bank;
- a resupply point;
- a regroup landmark;
- the anchor for the return route.
The wagon moves through the region, and its tracks can help reveal where it has gone. Calling Father Escalona can also help locate it, although repeated calls add noise when the forest is already tense.
My storage priority is:
- Main objective, such as a Logbook.
- High-value treasure, especially Metal Idols.
- Recovery items that the current player does not need immediately.
- Food and supplies intended for the return evaluation.
- Spare weapons and ammunition.
- Low-value objects only when space and time allow.
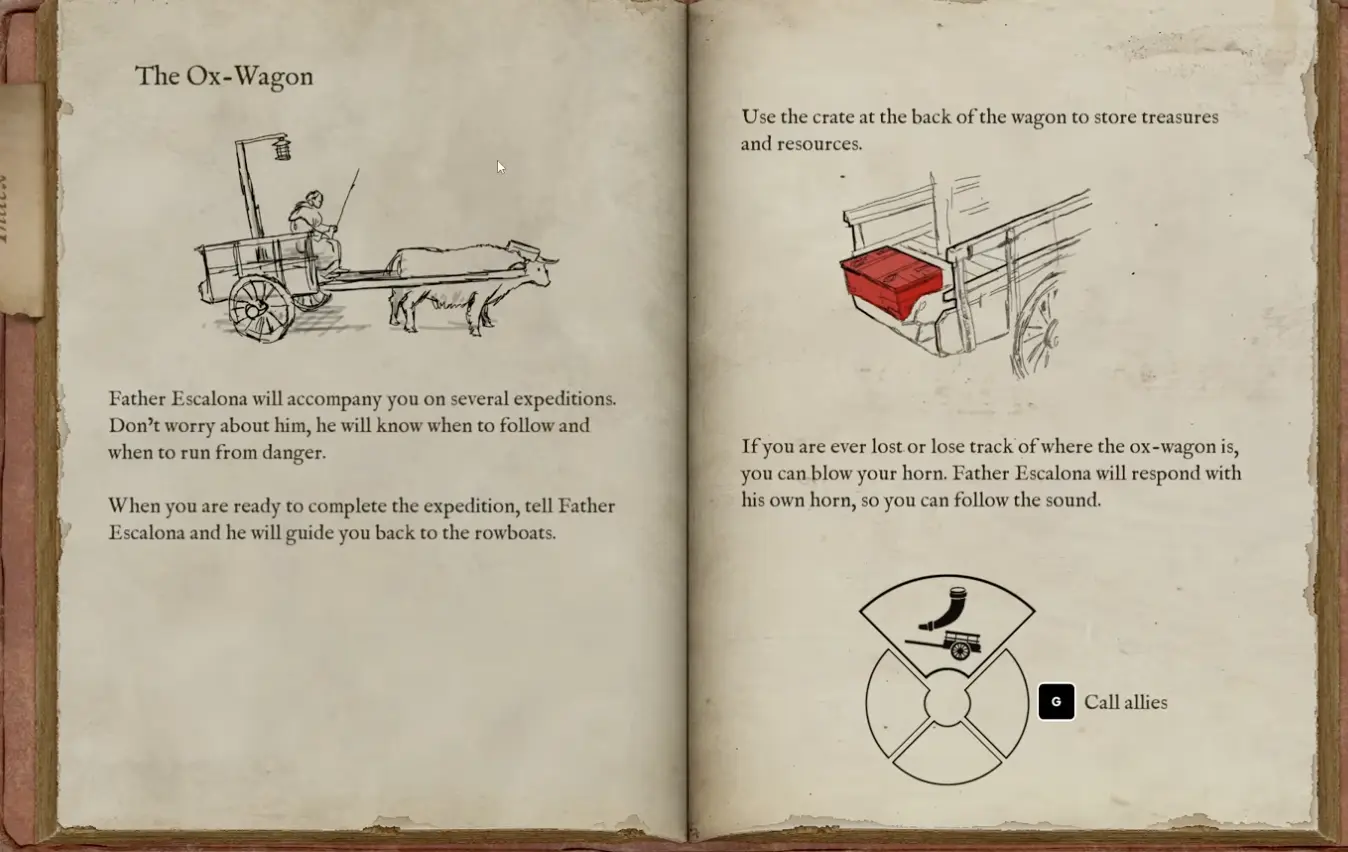
A dead player carrying the Logbook has not completed the objective. A Logbook stored in the wagon is much closer to being safely returned.
Check Mission Information After Major Pickups
The opening tutorial explains that most objects have some value, but Metal Idols are especially prized. It also warns that the exact value of some objects can be uncertain.
Use Mission Information rather than counting objects visually.
I check it:
- after the first Metal Idol;
- after storing the main objective;
- before entering another fort path;
- before following a distant treasure sound;
- before telling Father Escalona to return.
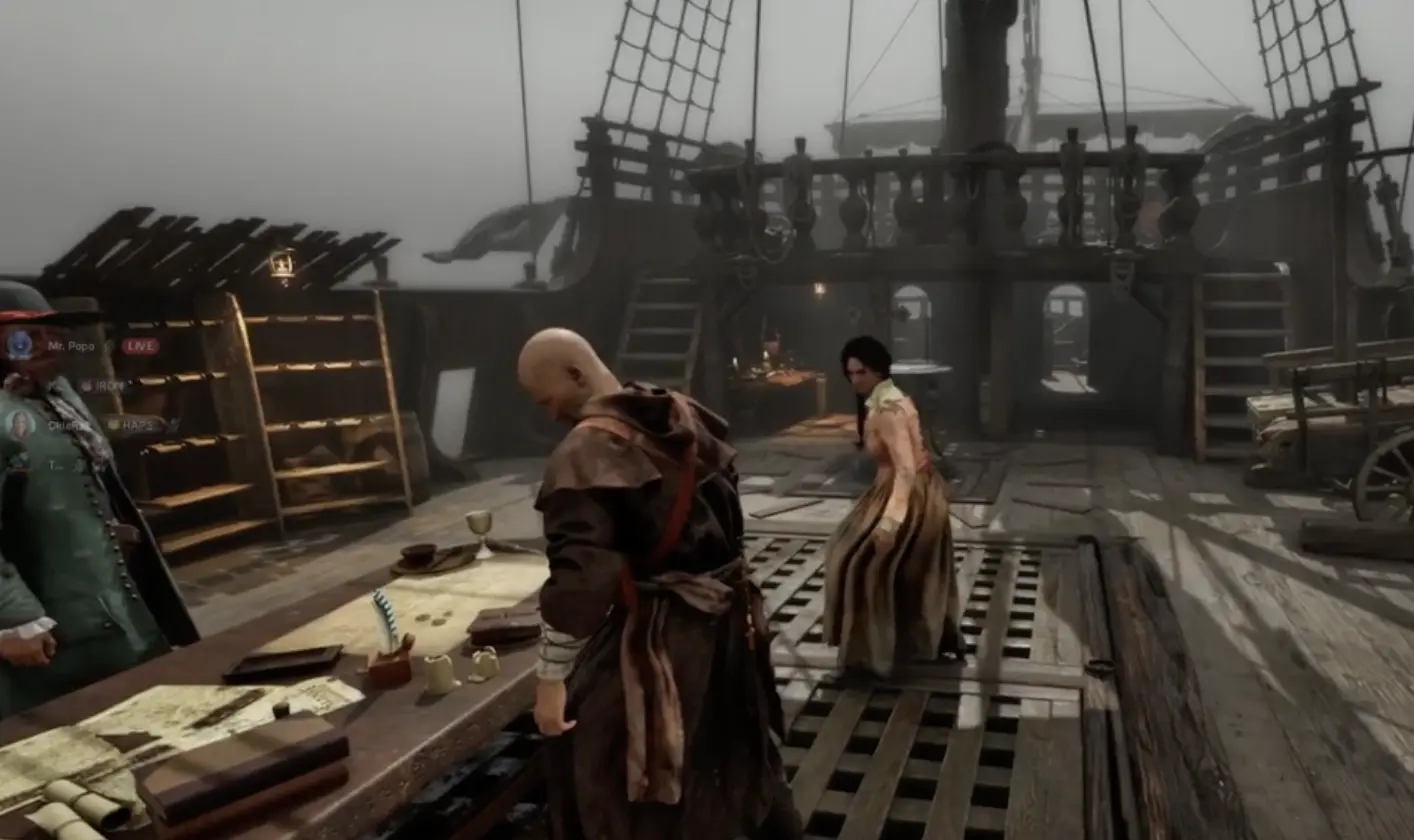
The basic decision is:
| Current state | Decision |
|---|---|
| Objective missing and value low | Follow the main route. |
| Objective secured but value low | Store it and take nearby reliable value. |
| Value met but objective missing | Stop chasing random treasure and finish the objective. |
| Objective and value both secure | Begin extraction. |
The Contracts and Extraction Guide covers the full decision process for Logbooks, Lost Survivors, hunts, uncertain values, and higher-tier contracts.
Understand Sanity Before It Causes Friendly Fire
Sanity is not only a visual filter. It changes whether the information from your own screen can be trusted.
In co-op:
- one player may see a teammate as a ghost or creature;
- everyone else may see the same teammate normally;
- corrupted proximity voice can become unreliable;
- a figure that looks hostile may still be a real explorer.
Do not attack based only on appearance.
Ask the suspicious player to perform a specific new action:
“Crouch once beside the wagon.”
A real teammate can respond intentionally. A hallucination may copy general movement but is less reliable when asked to complete a fresh action.
The same problem affects Solo. A false version of the Bot can appear in a location where the real companion should not be.
For a beginner, the rule is enough:
Regroup, verify behavior, and simplify the route when different players stop agreeing about what is real.
The Sanity and Survival Guide covers corrupted voice, false teammates, glowing mushrooms, identity checks, and extraction under sanity pressure.
Keep the First Expedition Quiet
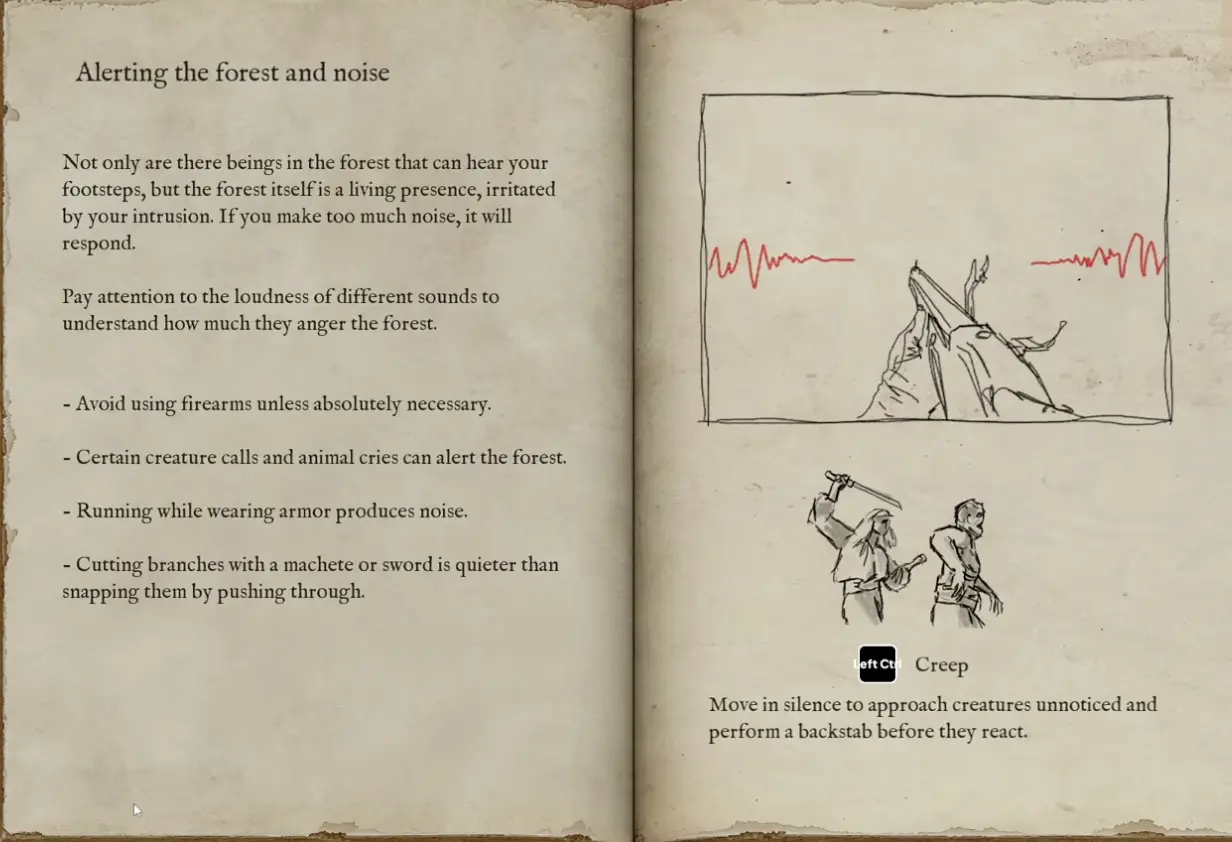
The forest itself reacts to noise.
The full-release tutorial identifies several noisy actions:
- firearms;
- running in armor;
- footsteps;
- creature calls;
- animal cries;
- pushing through branches.
Cutting branches with a Machete or Sword is quieter than forcing through them.
I use this early combat order:
- Backstab an isolated enemy when possible.
- Use controlled melee if the team is together.
- Use Bow or Crossbow when range is needed without a gunshot.
- Fire a gun when a teammate is pinned or the return route is collapsing.
Specific threats also change the route.
A Centipede can emerge after poisoning or vomiting and may remain dangerous after being split into multiple moving sections. That is not a beginner fight to chase for extra loot. Regroup, finish every moving section, and reassess the return.
Gunpowder weapons can also fail in rain, so a Flintlock should never be the team’s only combat answer.
Extract When the Objective and Value Are Safe
The safest first extraction is not the expedition with every chest opened.
It is the expedition where:
- the named objective is stored;
- Mission Information shows enough value;
- the team can still identify and reach each other;
- the wagon has a clear route back;
- the group still has enough equipment to survive the return.
One tested Solo route reached the quota, found the fort Logbook, and stored it in the wagon. The player stayed to search longer, the forest became increasingly hostile, and the Bot failed to recover the final collapse.
That run failed despite already having everything required for success.
What Unlocks After the First Return
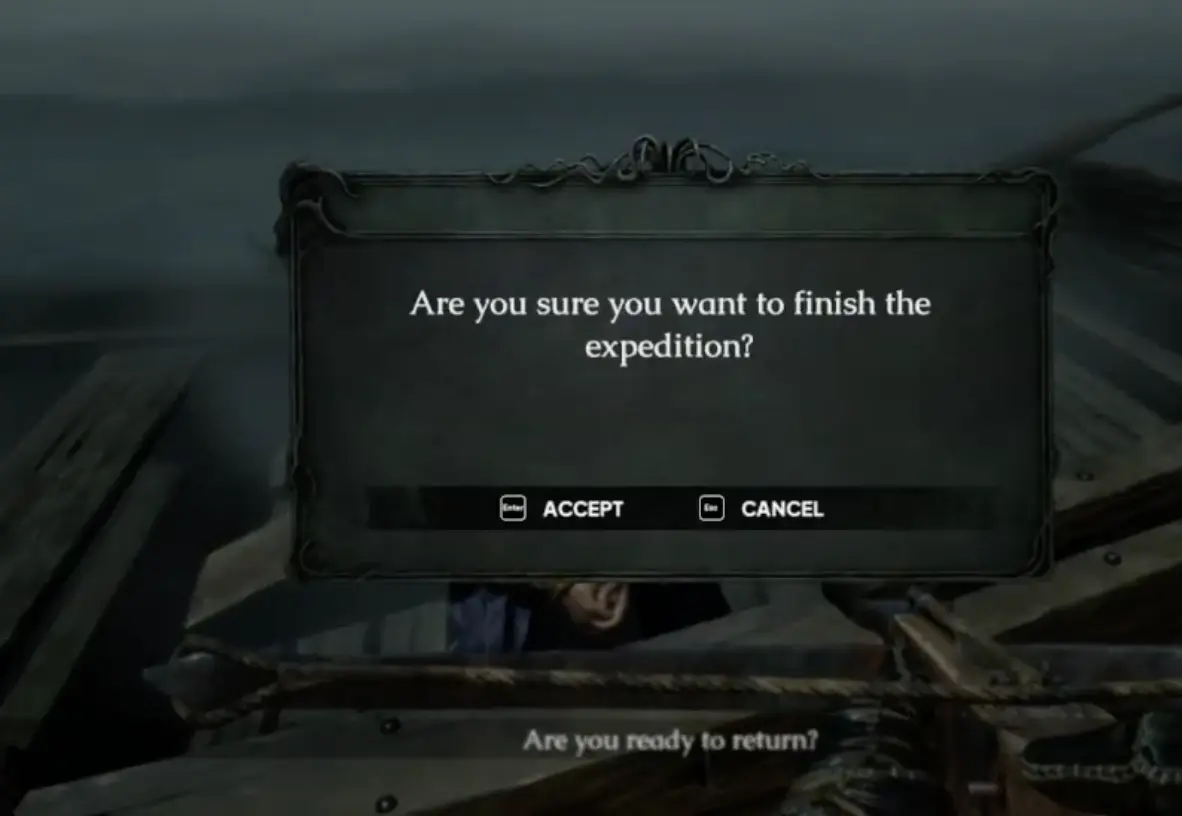
The tutorial return introduces the longer progression loop.
The ship evaluates:
- treasure;
- food;
- supplies;
- total worth;
- whether the agreement was fulfilled.
The tested opening route returned roughly twice the 540-value agreement and unlocked Rank 1: Beginner.
After that, check three systems.
Rank
Rank rewards provide longer-term improvements. Tested early progression included:
- an extra inventory slot at Rank 4;
- new knife choices;
- better ally revival health;
- weapon-handling bonuses.
Use the next visible Rank reward as a reason to choose a controlled contract rather than forcing the hardest mission available.
Tokens and Ship Equipment
Tokens are preparation currency, not expedition value.
The ship shop offers items such as:
- Area Map;
- Torch;
- Crucifix;
- special artifacts.
These items are loans for the next expedition rather than permanent possessions.
One tested successful contract awarded 10 Tokens, while another player later had 52 Tokens available before preparing the next run. Rewards vary, so read the selected contract rather than assuming every success pays the same amount.
Weapon Upgrades
Weapons can be upgraded before departure. One tested route upgraded a Spear into a Halberd.
Do not upgrade automatically. Compare the weapon with the actual route:
| Next route | Better early spending |
|---|---|
| Unfamiliar fort | Area Map before extra damage. |
| Night arrival | Reliable light. |
| Combat-heavy hunt | Weapon upgrade, armor, and recovery. |
| Lost Survivor | Navigation and enough room to manage the rescue. |
| Short familiar Treasure Hunt | Save Tokens if the supplied gear is already sufficient. |
Prioritize Logbooks and Lost Survivors
The next progression step should not always be another generic Treasure Hunt.
Logbooks
A recovered fort Logbook can:
- complete the contract;
- reveal expedition history;
- unlock a new map region;
- open later objectives;
- move progression closer to the Mound.
Once I find one, I put it in the wagon immediately.
Lost Survivors
A destination may report a Lost Survivor even when the selected contract is a Treasure Hunt.
A successfully returned survivor can join the Tempestad crew and become another playable explorer. That gives the rescue permanent progression value beyond the immediate haul.
If I find the survivor after already meeting quota, I do not restart the treasure loop. I secure the rescue and return.
Solo Bots Are Real, but They Are Not Another Player
Solo mode provides a Bot companion.
The tested Bot could:
- follow the player;
- respond to an attack command;
- switch between quieter and louder behavior;
- fight nearby enemies;
- pick up some objects;
- travel to collect items;
- attempt to revive the player.
The early assumption that Bots could not pick up loot was incorrect. Later in the same run, the Bot collected several objects and provided much more support than expected.
However, it did not reliably deposit everything or rescue a route that had already collapsed. It also lost armor, and sanity effects made it difficult to tell whether a visible Bot was the real companion.
For Solo:
| Task | What I trust the Bot to do |
|---|---|
| Basic protection | Usually useful. |
| Attacking a marked threat | Useful when the command works. |
| Picking up nearby objects | Possible, but inconsistent. |
| Managing the Logbook | I keep control of it myself. |
| Depositing the full haul | Do not assume it will happen. |
| Saving a fully awakened return | Too unreliable to build the plan around. |
First-Run Mistakes
| Mistake | Why it fails | Better decision |
|---|---|---|
| Taking gear before reading the contract | The wrong player consumes limited equipment. | Read objective, quota, destination, and rewards first. |
| Filling all six slots on the ship | There is no room for a Logbook or Metal Idol. | Carry one primary weapon and leave two slots flexible. |
| Treating portraits as fixed classes | Attention goes to the wrong decision. | Assign temporary jobs from the shared equipment. |
| Carrying the Logbook on a scout | One separated death can erase the objective. | Put it in the ox-wagon immediately. |
| Assuming every player sees the same teammate | A hallucination can cause friendly fire. | Ask the player to crouch and confirm position. |
| Shooting every enemy | Firearms increase forest pressure and can fail in rain. | Use backstabs, melee, Bow, or Crossbow first. |
| Ignoring vomiting or poison | A Centipede may emerge during an already messy route. | Call it out, regroup, and watch for multiple sections. |
| Spending all Tokens on a weapon | The next route may need an Area Map or light more. | Buy for the selected contract. |
| Expecting the Bot to manage loot | It picks up some items but is inconsistent. | Personally control objectives and wagon decisions. |
| Staying after objective and quota | A complete route can still fail before extraction. | Return while the team and wagon are still stable. |
What to Read Next
Use the Contracts and Extraction Guide for Treasure Hunts, value requirements, Logbooks, Lost Survivors, Mid and Advanced contracts, and extraction decisions.
Use the Sanity and Survival Guide for hallucinations, corrupted teammates, false Bots, Centipedes, bleeding, revives, rain, traps, and forest awakening.
Return to the The Mound Guide Hub for the complete progression route.
FAQ
How many inventory slots do you start with in The Mound? +
You begin with six personal inventory slots. In the tested full-release progression, reaching Rank 4 added another slot, so early inventory pressure becomes slightly easier after the first few successful contracts.
Should I buy a map for my first expedition? +
The compact 540-value tutorial does not need one, but an Area Map becomes much more useful on an unfamiliar fort or Lost Survivor route. I prioritize it more heavily in Solo because one player must handle navigation, loot, and the Bot.
Are shop items permanent in The Mound? +
No. Area Maps, Torches, artifacts, and other special equipment bought with Tokens are loans for the next expedition. They should not be treated as permanent account inventory.
How many Tokens do contracts give? +
The exact reward depends on the selected contract. One tested full-release contract awarded 10 Tokens, so check the contract reward before spending everything on an upgrade or utility item.
Can Solo Bots pick up loot in The Mound? +
Yes. A Solo Bot can attack, pick up some nearby objects, protect the player, and attempt revives. It does not reliably collect or deposit every item, so keep the Logbook and other critical objectives under your own control.
What happens when I rescue a Lost Survivor? +
A successfully returned survivor can join the Tempestad crew and become another playable explorer. This is separate from Rank progression, which provides account-wide benefits such as inventory and revival improvements.
How do I know whether a teammate is a hallucination? +
Ask the player to perform a new physical action, such as crouching once, and confirm their exact position through proximity chat. Hallucinations can be player-specific, so another teammate may see the same person normally.
Should I upgrade a weapon immediately? +
Only when the upgrade solves the next contract. A spear can be upgraded into a Halberd, but spending every Token on damage can leave you without an Area Map, light, or other utility needed for a longer route.