A full-release guide hub for The Mound covering first expeditions, contracts, extraction, sanity, Solo play, Rank progression, Logbooks, and the route into the Mound.
This hub covers the current full release of The Mound: Omen of Cthulhu, updated July 22, 2026. Start with the Beginner Guide for the Tempestad, six inventory slots, shared equipment, and the first successful extraction. Use the Contracts Guide for objectives, quota, Logbooks, Saints, and artifacts; the Sanity Guide for hallucinations, revives, and forest pressure; and the Mound walkthrough when you are ready to enter Passage Into the Depths and unlock the five Tulu cylinder stage.
Choose the Right Guide
Pick the page that matches the problem stopping your current progression.
Nearby destinations, reusable landmarks, Passage Into the Depths, the entrance journal, Finish Expedition, K’n-yan, and five Tulu cylinders
Deeper landing points have unlocked and you are ready for the first major story gate
What Kind of Game Is The Mound?
The Mound: Omen of Cthulhu is a four-player co-op expedition game about Spanish explorers entering a hostile continent in search of treasure, missing crew, ancient documents, and the route into K’n-yan.
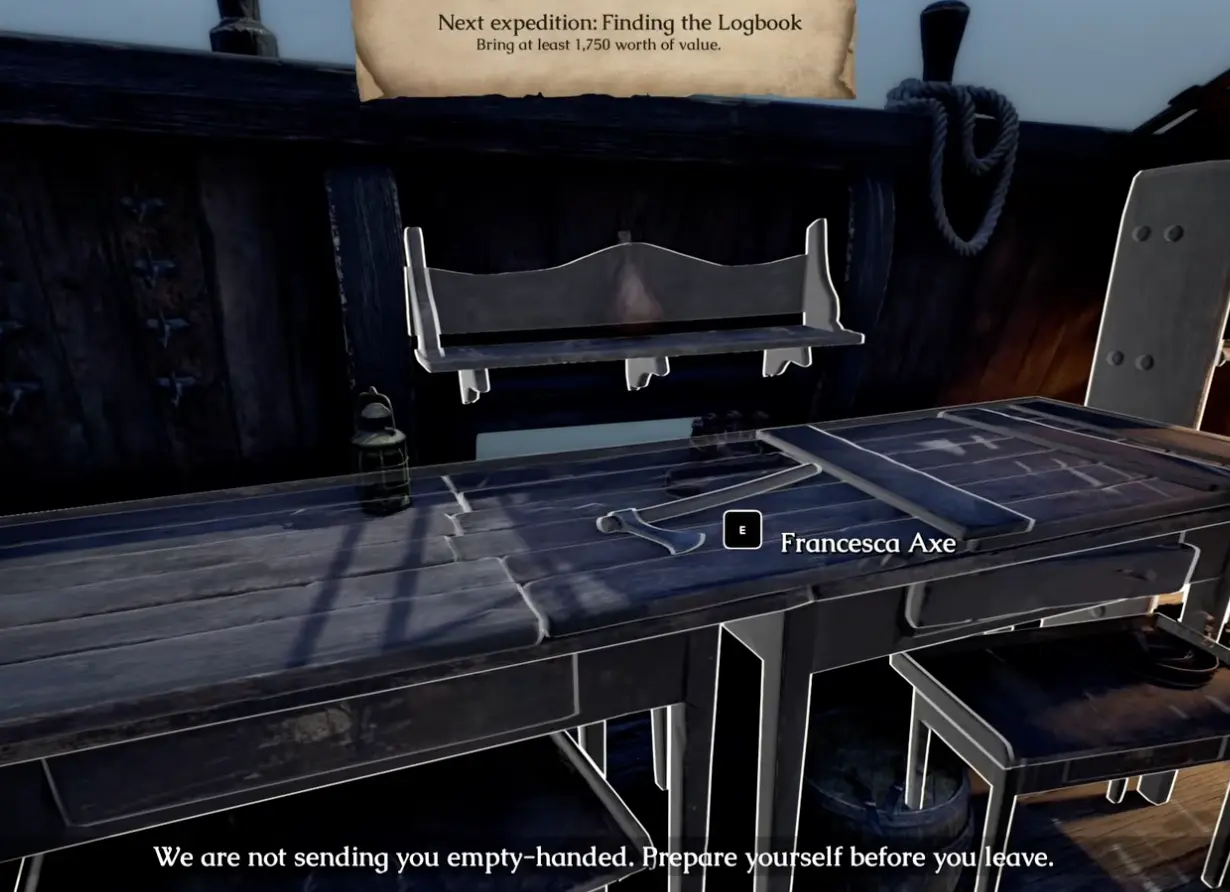
Every expedition begins on the Tempestad:
Choose a contract.
Divide its shared equipment.
Select a destination.
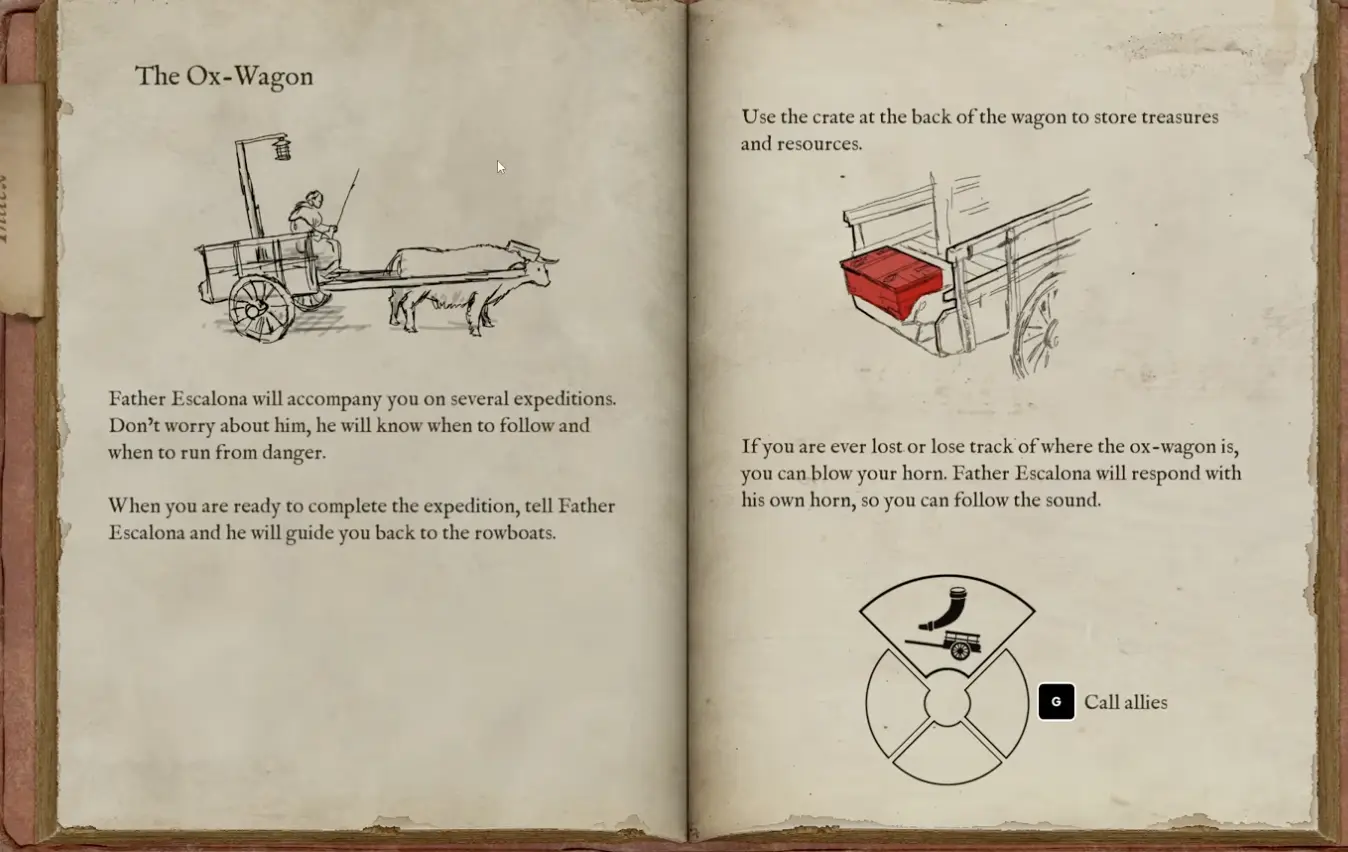
Enter the jungle with Father Escalona’s ox-wagon.
Complete the named objective.
Return enough required value.
Finish the expedition before the route collapses.
The combat is only one part of that loop.
The game also changes what individual players see and hear. A real teammate may appear hostile to one person while looking normal to everyone else. Blood rain or a reassuring horn can exist only for the affected player, and there is no visible sanity meter telling you when perception has become unreliable.
That combination of extraction, communication, and hidden hallucinations is the reason a good route needs more than strong weapons.
The expedition starts on the Tempestad. Read the objective, quota, equipment pool, reward, and destination before boarding.
Full-Release Progression at a Glance
Progression expands significantly after the first successful return.
Progress stage
What changes
Main decision
Guide
Tutorial expedition
Learn value, Mission Information, the ox-wagon, and Finish Expedition
Return the required haul without clearing the whole region
The destination should be checked before buying equipment because it can add conditions the contract title does not reveal.
A Treasure Hunt may lead to:
an unfamiliar region;
night arrival;
poor weather;
a Lost Survivor;
a route much closer to the Mound.
The Beginner Guide handles the complete first-hour preparation. The Hub only needs the core rule:
Do not take equipment until you know what the selected route is asking the team to do.
Six Inventory Slots and Shared Gear
You begin with six personal inventory slots.
Those slots must cover some combination of:
a weapon;
ammunition;
armor or utility;
food or Bandages;
an objective item;
treasure.
Rank rewards later increase inventory capacity, but the opening six-slot limit makes shared preparation important.
The strongest opening setup is not four independent builds. It is one expedition kit divided across the group:
one player handles controlled close combat;
one protects ranged ammunition;
one carries navigation or recovery tools;
one keeps enough space to move objectives and value into the wagon.
The complete four-job setup remains in the Beginner Guide so it is not repeated across every page.
Father Escalona’s Ox-Wagon Is the Route Anchor
The ox-wagon solves several problems at once:
shared storage;
objective protection;
spare equipment;
regrouping;
route recovery;
extraction organization.
I place progression items and strong treasure in the wagon before opening another route.
The most important storage distinction is:
contract value helps complete the current haul;
progression value can unlock destinations, crew, or story even when the object itself has little sell value.
A Fort Logbook is more important than its normal treasure value suggests. A high-tier Metal Idol can provide hundreds of value but does not replace a missing Logbook.
Use the ox-wagon to protect objectives, bank high-value treasure, regroup the team, and organize the return.
Contracts Are Objective Plus Quota
The named objective and the required haul are often separate.
A contract may ask you to:
recover a Fort Logbook;
rescue a Lost Survivor;
complete a hunt;
recover a special artifact;
return a stated amount of value.
Finding the named object does not automatically mean the expedition is ready.
The safest check is Mission Information:
objective missing and quota short: continue the primary route;
objective complete and quota short: collect nearby reliable value;
quota met and objective missing: stop general looting;
objective and quota complete: begin extraction.
The Contracts Guide expands this into contract tiers, equipment pools, Boss fields, Metal Idol values, Saints, artifacts, and Token decisions.
Rank, Tokens, Saints, and Artifacts
The between-expedition systems support contracts rather than replacing them.
Rank
Successful contracts award XP toward a 30-rank progression path.
Early rewards include improvements such as:
additional inventory capacity;
new knife choices;
stronger ally revives;
weapon-handling bonuses;
better resistance to expedition pressure.
Tokens
Tokens buy temporary equipment and weapon upgrades.
An expensive purchase is not automatically the best one. An Area Map can solve an unfamiliar Logbook route more effectively than another damage upgrade.
Patron Saints
Recovered Saint figures unlock blessings that can support:
blades;
polearms;
bows;
firearms;
regeneration;
healing;
rain control;
altered-state recovery;
protection from a fatal hit.
Choose the Saint after checking the contract equipment, not before.
Artifacts
Artifacts have specific route uses:
the Medallion points toward treasure;
the Jar of Black Ichor draws creatures toward its landing point;
the Mask of Nyarlathotep provides concealment but creates friendly-fire risk;
the Area Map supports navigation;
Ammonia Salts restore a fallen ally.
These decisions are covered together in the Contracts and Extraction Guide because their value depends on the selected contract.
Sanity Has No Visible Meter
There is no standard sanity bar telling you when to stop trusting your own screen.
Confirmed effects include:
blood rain visible to only one player;
a false horn call;
altered teammate models;
distorted voices;
one-way proximity communication failure;
a false Solo Bot;
treasure or threats that teammates do not see.
The short Hub rule is:
When the team disagrees about what exists, stop moving deeper and verify a physical action.
The full identity-check process, mushroom limits, corruption, isolation, Centipedes, revives, bleeding, rain, durability, and forest awakening belong in the Sanity and Survival Guide.
When the Route Reaches the Mound
Returned Logbooks eventually open landing points closer to the Mound.
One confirmed destination, Wreck of The Lazarillo – East, appears two leagues away. From there, reusable landmarks lead toward familiar prologue terrain and the blue-lit entrance.
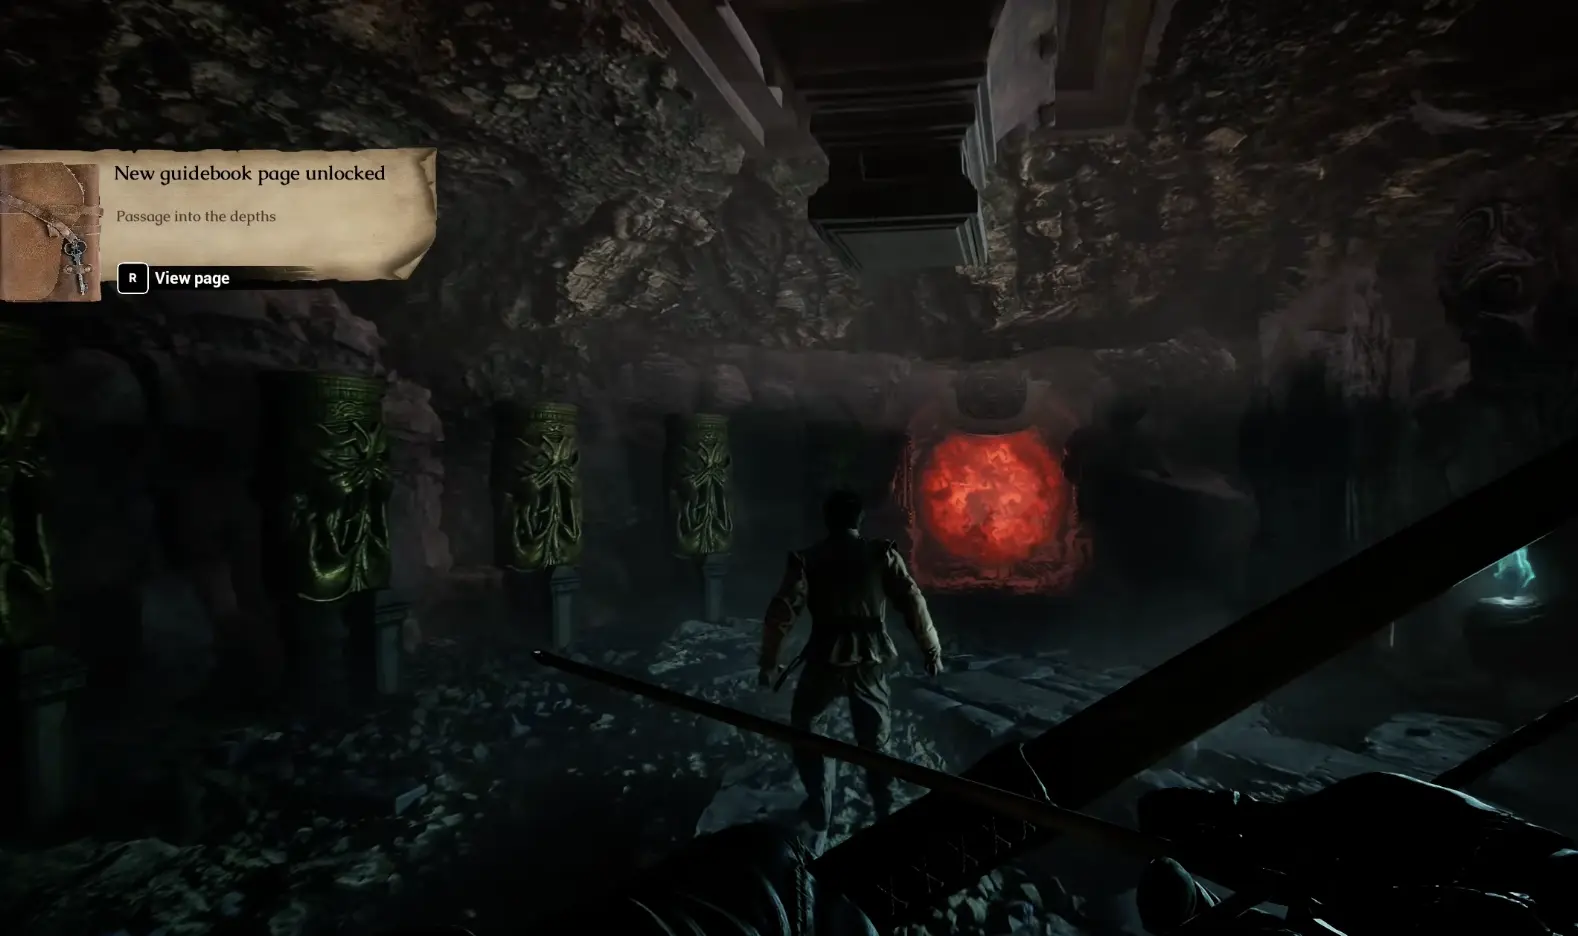
Inside Passage Into the Depths, the first visit reveals:
an arcane barrier;
five pillars;
a new Guidebook entry;
a journal found near the entrance;
new work that must be completed from the Tempestad.
Passage Into the Depths is the first major story gate. The barrier remains closed until the next contract stage is completed.
The most important route detail is not finding the chamber. It is returning successfully.
When my first entrance expedition failed during the return, the progression did not remain available. I had to reach the area again, secure the journal, and use Finish Expedition.
After the successful return:
the document appears as Journal found at the mound – Note from Inés;
most of the journal is attributed to Zamacona;
Inés’ note introduces five cylinders made from Tulu metal;
This is a problem-solving guide cluster, not a complete database.
The current pages do not attempt to catalog:
every weapon;
every enemy;
every treasure object;
all 30 Rank rows;
every contract equipment variant;
every Patron Saint as a separate article;
all cylinder altar locations;
the complete K’n-yan route;
every achievement condition.
Those topics should only become separate guides when they produce a real route, decision, or player obstacle that cannot be solved inside the current pages.
Recommended Route Through the Cluster
For a clean progression path:
Read the Beginner Guide before the first serious contract.
The Hub is enough when you only need to know where to go next. The four Spokes carry the actual routes, numbers, and troubleshooting.
The Mound: Omen of Cthulhu FAQ
Which The Mound guide should I read first?+
Read the Beginner Guide before your first serious contract. Use the Contracts Guide when you understand the ship but keep failing objectives or quota, the Sanity Guide when hallucinations or rescues break the return, and the Mound walkthrough once nearby destinations begin appearing.
What full-release progression does this hub cover?+
The cluster covers the opening expedition, Rank and Token progression, weapon upgrades, Solo Bots, rescued crew members, returned Logbooks, Patron Saints, artifacts, deeper destination unlocks, Passage Into the Depths, and the five Tulu cylinder stage.
Do I need to read every guide before playing?+
No. The Beginner Guide is enough for the opening expedition. Move to another page only when you reach its problem: contract failure, sanity pressure, or the story route toward the Mound.
Are shop items permanent in The Mound?+
No. Tools such as the Area Map and special artifacts are expedition loans bought with Tokens. Rank rewards and rescued crew members provide longer-term progression, while most purchased equipment is selected for the next contract.
Can I play The Mound solo?+
Yes. Solo mode provides a Bot that can fight, collect some objects, and attempt revives, but it does not reliably manage the main objective, wagon, or extraction decision. Shorter contracts and earlier returns are safer in Solo.
Is Rank 7 required to reach the Mound?+
I reached the nearby route around Rank 7, but returned Logbooks and unlocked destinations were the clearer requirements. Continue story progression if no landing point close to the Mound appears.
How many Tulu cylinders are required after reaching the Mound?+
Inés' note sends the expedition after five Tulu cylinders at jungle altars. This hub covers the unlock, while the Passage Into the Depths walkthrough ends before the individual altar locations.
Does this guide cover the full K'n-yan route?+
No. The current cluster covers reaching the Mound, returning its journal, and unlocking the five-cylinder stage. It does not claim to include every cylinder altar or the complete underground K'n-yan walkthrough.