Star Wars Galactic Racer Campaign Guide: Act 1–3 Walkthrough
Finish all three Campaign acts, manage League Tokens, beat Sebulba, survive Kestar's disqualification, unlock a Podracer, and win the Championship.
Updated:
Quick Answer
Star Wars Galactic Racer has 3 Campaign acts. Each act has its own Tour progression, and losing your final League Token restarts the current act rather than the entire Campaign.
Act 1: take the League Entry Token, survive the qualifying Tour, and beat Sebulba. Losing to Sebulba starts another Act 1 Tour from Jakku rather than sending you back to the beginning of the game.
Act 2: choose a Backer, keep advancing through the League, and defeat Kestar Bool in the Stadium Showdown. The win does not stick: Kestar disqualifies Shade and takes control of the League.
Act 3: race back toward the Championship, get Shade’s own Podracer, and reach Derven Acos. Win the final elimination race, then defeat Kestar in the Podracer Championship to finish the Campaign.
The Campaign has three acts, but individual Tours are not fixed race-by-race sequences. Each act keeps its planets in the same order while the available paths and events can change between runs.
That makes route judgment more useful than memorizing one exact chain of nodes. League Tokens decide how much failure a Tour can absorb, and reaching the end of an act with a weak vehicle can still send the run back to that act’s starting point.
How Campaign Tours Work
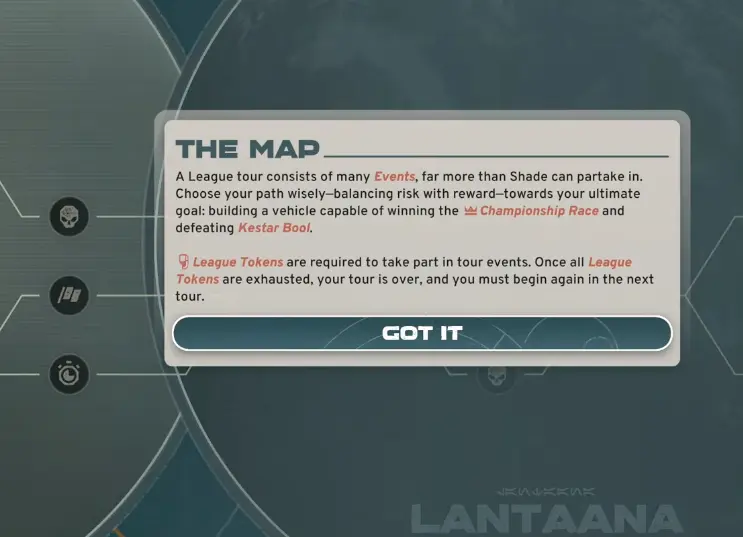
The first qualifying map already shows the basic structure used throughout the Campaign: there are more events than you need to complete, so a branch is a choice rather than a checklist.
The important event rules are:
- Standard races: wrecking out can cost a League Token.
- Time Trials: a failed target does not cost a League Token.
- Field Tests: failure does not cost a League Token, making them useful when the current route needs a lower-risk event.
- Eliminators: finish in the top three or risk losing a League Token.
- Mystery Encounters: these are generally character encounters rather than another full race, so they can be useful stops when the alternative branch carries more racing risk.
Once the final League Token is gone, the current Tour ends. The Campaign does not restart from Act 1 every time this happens: a failure in a later act sends you back to the beginning of that act.
The selected regular vehicle type also stays locked for that Tour. If crashes, heat, handling, or the loadout are already causing repeated failures, fix the vehicle before committing to another long run. The Builds and Upgrades Guide covers the vehicle, Racer Style, Favor, Ability, Part, and Ramjet decisions in detail.
Act 1: Get the League Entry Token and Qualify
The opening exhibition gets Shade noticed, but qualifying does not begin until Pax provides the first League Entry Token.
Take the Token, go to the large event-selection droid, and begin the Tour. Act 1 runs through Jakku, Lantaana, Ando Prime, and Derven Acos, with different branches available inside that progression.
There is no need to clean every branch before leaving a planet. Once the closing event is available, move forward if the current vehicle and Token count can survive the next important race.
Eliminators: Finish in the Top Three
Eliminators can appear on different planets during a Tour. Racers at the back of the field are removed as the event continues, and the result only becomes safe once Shade finishes inside the final three.
The cutoff is simple:
1st, 2nd, or 3rd is enough. Fourth place fails the requirement and can cost a League Token.
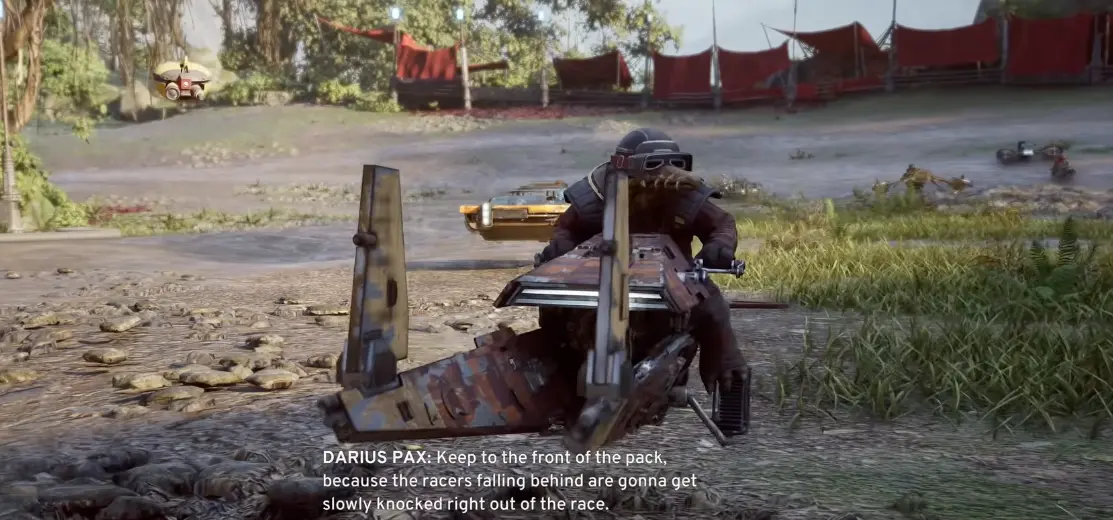
Do not treat every Eliminator as a race that must be won. Once the field has shrunk to three racers, protecting second or third is often the better choice than forcing another overtake through a dangerous section.
Act 1 Final Qualifier: Beat Sebulba
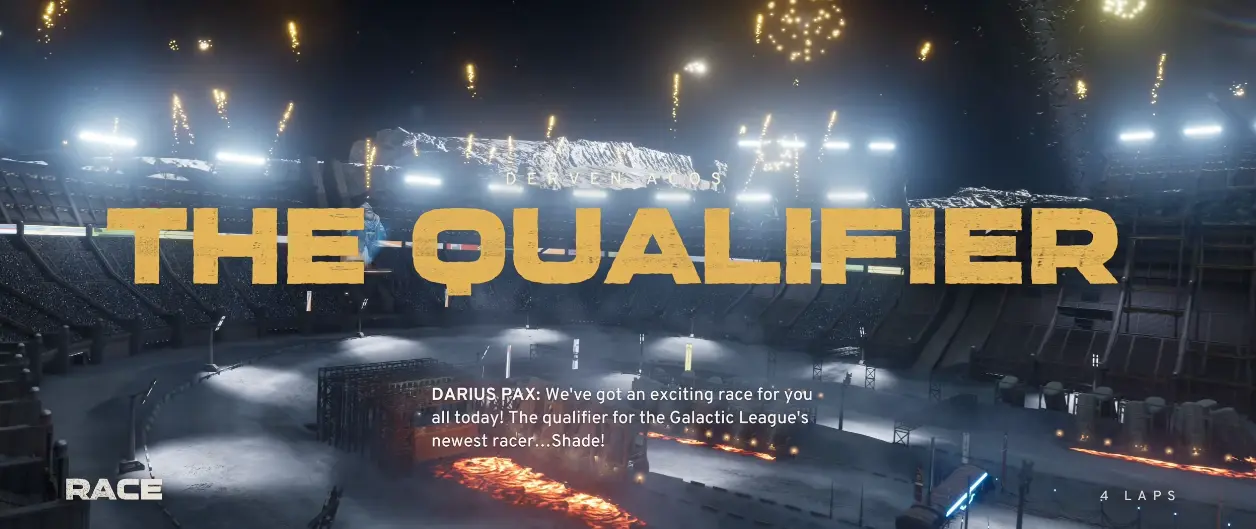
At the end of qualifying, Kestar changes what would normally be a routine final test by putting Shade against Sebulba in a head-to-head race.
Check the vehicle before entering. A setup that has already been struggling with heat or repeated crashes is unlikely to become easier in the qualifier.
What Happens If Sebulba Wins?
Losing here does not continue from the same point with another immediate Sebulba attempt.
Shade is given another Token, but the next Tour starts back on Jakku. In other words, the failed qualifier resets the Act 1 run; it does not reset the entire Campaign.
The second trip through qualifying does not have to reproduce the exact route from the failed run because the available branches and events can change. Use the stronger vehicle and permanent progress earned along the way, then work back toward the qualifier.
Beat Sebulba and Shade becomes an official Galactic League racer.
What Actually Restarts a Tour
The failures that matter are easier to understand when separated:
- The final League Token is lost: the current Tour ends and the act must be started again.
- An Eliminator ends below third: the failed result can cost a Token, and losing the last one ends the Tour.
- Sebulba wins the Act 1 qualifier: a new Act 1 Tour begins from Jakku.
- A later-act Tour fails: the Campaign returns to the beginning of that act rather than sending Shade all the way back through Act 1.
Permanent progress means the next attempt does not necessarily begin with the same vehicle strength, even though the Tour route itself has restarted.
Act 2: Choose a Backer and Climb the Galactic League
After qualifying, Shade is officially introduced as a Galactic League racer and needs a Backer. Use the terminal in the paddock to make that relationship official before continuing.
Backers add their own objectives and rewards, but Campaign progression still comes from surviving the Tour and reaching the decisive races. Do not turn a safe run into a failure just to force every optional objective into the same Tour.
The detailed choice between Favors, Backer objectives, Credits, and vehicle upgrades is covered in the Builds and Upgrades Guide.
Act 2 is longer than the qualifying act, but the route logic has not changed: look ahead, preserve the Tokens needed to reach the end, and use safer event types when the vehicle is not ready for another high-risk race.
The main target is eventually Kestar Bool.
If you are also working toward the Platinum, complete one Galactic Gauntlet win with Clandestine Aid equipped before leaving Act 2. This Favor cannot be equipped in Act 3, so missing the win means returning to an earlier Campaign act later. The Trophy Guide and 100% Roadmap covers the remaining Gauntlet requirements.
Beat Kestar in the Stadium Showdown
The first major confrontation with Kestar comes before the final resolution of the Campaign. Reach the end of the Act 2 run and defeat him in the Stadium Showdown.
Shade appears to have won the championship, but the result does not survive the scene that follows.
Kestar accuses Shade of receiving secret support from Pax, has the previous Tour result disqualified, and takes control of the Galactic League. He then announces that he will defend his championship using a Podracer.
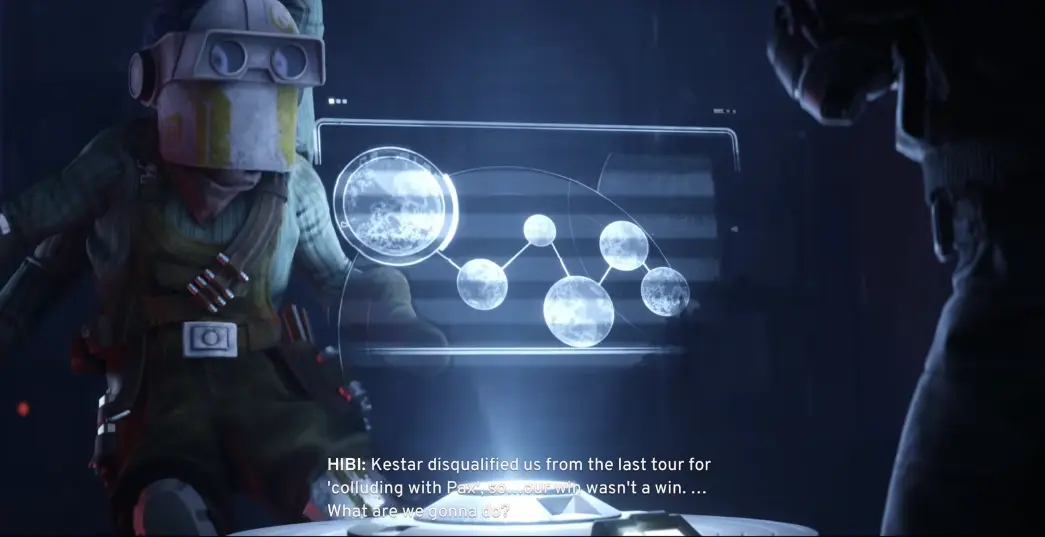
Do not treat the disqualification as a failed run that needs to be replayed. This is the Campaign progression point that changes the goal for Act 3.
Act 3: Race Back Toward Kestar
Kestar’s new rules create an important distinction for the final act:
the Tour is still raced in regular speeders, but the eventual Championship against Kestar requires a Podracer.
So the immediate job is still to survive the Tour. Keep advancing through the planet sequence, protecting League Tokens and taking the routes that keep the run alive.
At the same time, Shade needs a machine capable of answering Kestar at the end.
Tatooine: Test Shade’s Podracer
The final matchup cannot be solved with a regular speeder. By the time the Tour reaches Tatooine, Hibi has Shade try the Podracer built for the eventual race against Kestar.
The first test makes the difference obvious: the Podracer is substantially faster than the regular vehicles and much harder to control. Do not treat the test as a signal to rebuild the entire Tour around Podracing, though. The remaining Campaign route still includes regular-speeder racing before the final Championship.
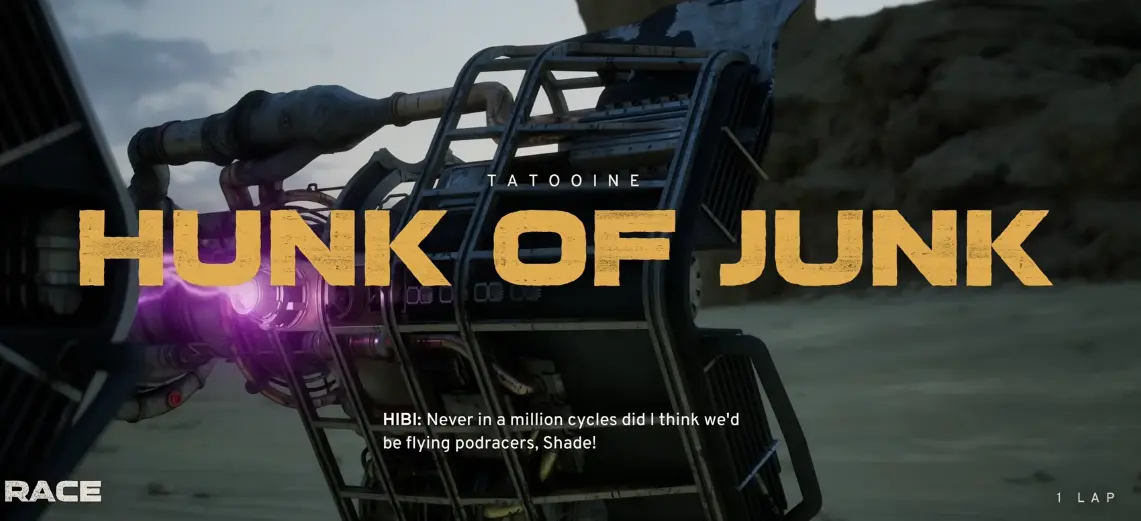
Hibi can adapt Parts already collected for the Podracer, so the progress made through the regular vehicle build is not discarded.
After Tatooine, keep the normal Tour alive through Crait before the final return to Derven Acos. A wreck or failed Eliminator can still cost a League Token, and losing the last one ends the Tour before Shade reaches the Championship. Surviving those races therefore matters more than over-tuning the Podracer too early.
Reach Derven Acos for the Galactic League Championship
The final stretch brings Shade back to Derven Acos, the site of the Galactic League Championship.
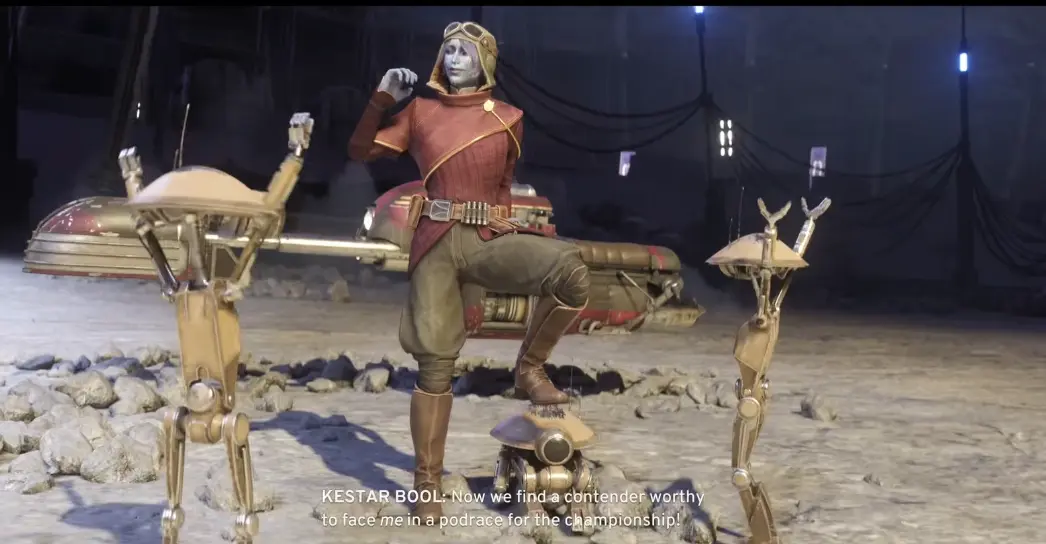
The Championship does not begin with an immediate one-on-one against Kestar. First, survive the field of racers and win the event that decides who earns the right to challenge him.
Once Shade takes that win, the final head-to-head begins.
Final Race: Beat Kestar Bool
Kestar enters the last race in his Podracer, and Shade answers with the Podracer prepared during Act 3.
At this point, route selection is finished. The remaining job is to keep the vehicle alive long enough to beat Kestar on the track.
Heat is the main resource not to throw away carelessly. If the build has been running close to the Ramjet limit throughout Act 3, make the necessary loadout changes before committing to the last race rather than trying to solve an overheating problem while chasing Kestar.
For the detailed Ramjet, Redline, Part, and Ability choices, use the Builds and Upgrades Guide.
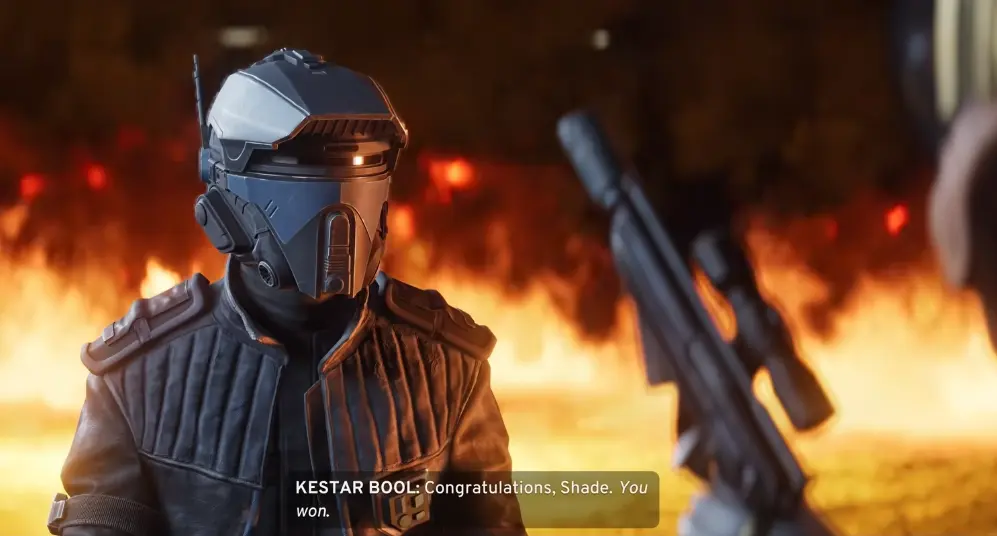
Players completing the separate Champion-difficulty requirement can check the exact condition in the Achievements and Trophies Guide.
What Happens After Beating Kestar?
The final victory is allowed to stand. Kestar is pushed out of the League, and the racers who had been competing under his control are left with a much more open championship.
The epilogue closes the required Campaign racing after the final confrontation. There is no additional mandatory Tour needed to make the Championship win count.