Shroom and Gloom Forgotten Path Walkthrough: Routes & Camps
A practical Forgotten Path route for choosing branches, managing camp threat, spending Food, thinning weak cards and reaching the final encounter in good shape.
Updated:
Quick Answer
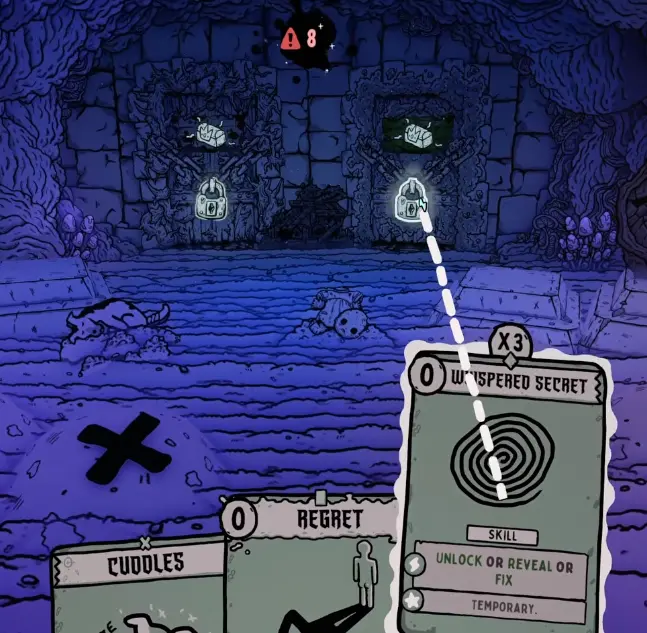
In the Forgotten Path, choose branches around what the current run is missing rather than memorizing left or right. Keep enough Break, Unlock, Reveal, Dig or Fix access to reach the interactions that matter, and use the current exploration hand before paying for another Rest.
Once a camp starts demanding a large chunk of health for one more redraw, leave. A strong deck arriving at the next fight with resources left is worth more than a room that has been completely emptied.
The Forgotten Path became much easier once I stopped trying to solve it like a fixed map.
I have taken a route for 25 Max HP, ignored a chest because the health mattered more, abandoned a camp when another cycle was threatening 45 damage, and chosen card removal over a full heal because the deck was already stable enough to survive without it. None of those decisions are permanent rules. They worked because they solved the weakness of that particular run.
That is how I approach the whole pathway now: read the map, read the hand, take the value that actually changes the run, then leave before the room starts charging more than it is worth.
Read the Map by Need, Not by Direction
A branch is useful because of what it offers, not because it is left or right.
Early in a run, I pay particular attention to Max HP, healing, card removal and exploration access. Later, once the combat deck is already functioning, shops and permanent upgrades become more attractive only when they improve the engine I already have.
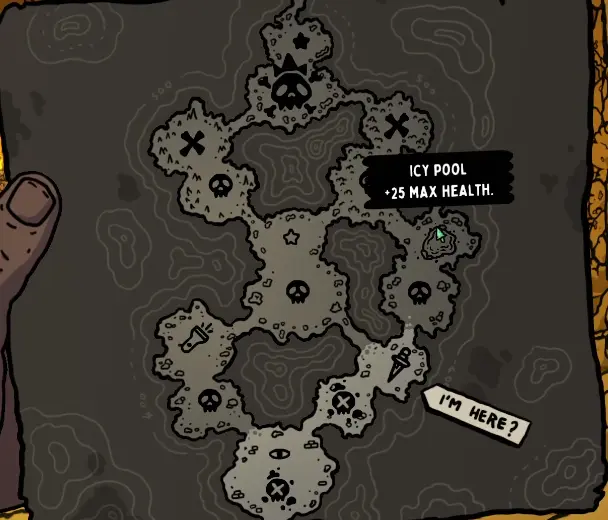
The 25 Max HP branch was an easy call on that Lunch Lady run because she already had ways to heal. Increasing the ceiling meant later recovery had more room to matter, and it bought extra safety for fights where the opening hand was poor.
That does not mean Max HP always wins. If the deck is healthy but bloated, a removal route can be worth more. If I already have enough sustain and the next shop contains the card that completes the build, the shop becomes the better branch.
I use the map to answer one question: what is currently limiting this run?
Spend the Exploration Hand Before You Rest
The Forgotten Path repeatedly asks for actions such as Break, Unlock, Reveal, Dig and Fix, and the order in which I spend them can decide how much value I get from a room.
If I use the only Reveal on something marginal and later discover that the best structure in camp also needs Reveal, the solution may be another Rest. That redraw has a cost because camp threat keeps climbing.
So I scan first.
I look for the route forward, any permanent upgrade, healing, a Toad or removal option, and the interactions that require specific exploration actions. Only then do I start spending the hand.
A Rest is worth taking when the missing card unlocks something important. I have used one specifically because I needed another Reveal, wanted to finish a valuable structure or needed the right action to reach an interaction that materially improved the deck.
Once that objective is finished, staying becomes much harder to justify.
Camp Threat Is the Real Price of Greed
The danger of a camp is easy to underestimate because the first few interactions can feel almost free.
The problem appears after several redraws.
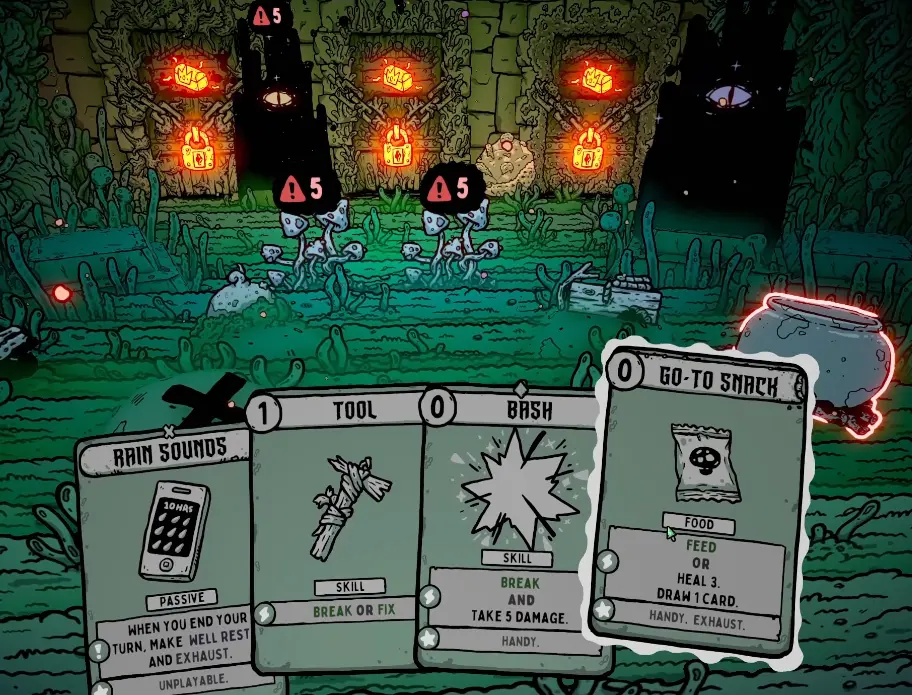
I have continued when the next cycle was heading toward roughly 20 damage because a remaining interaction was still worth the risk. On another run, the camp had escalated to 45 damage, and there was nothing left in the room valuable enough to justify paying that price.
I left.
That single decision improved my Forgotten Path runs more than trying to memorize every possible room interaction. The room does not need to be empty before it has done its job.
Food Gets Expensive When Three Systems Want It
Food is not only a healing resource on this path.
It can keep combat alive, pay for useful rewards and fund card removal. Those three jobs start competing with each other quickly, which is why a Food total that looks comfortable can disappear within one camp.
One early shop gave me the option to take Inferno for four Food. That purchase was worth it because the deck needed a real AoE payoff. Afterward, though, I passed on another respectable attack rather than emptying the remaining Food into the shop.
The deck already had damage. What it still needed was room to draw that damage consistently.
That is the point where Food stops being “money I should spend before leaving” and becomes something I budget for the rest of the path.
The Toad Is Often Better Than Another Good Card
The Toad changed how I evaluated rewards once the deck had a real direction.
Starter cards such as Whack, Roast and Bite are useful early because I still need enough basic actions to survive. Later, when stronger attacks and support pieces have taken over, those same cards can become the reason the important part of the deck arrives one turn late.
During one run, the cost of forgetting a card rose from three Food to four as I kept using the Toad. I still paid it.
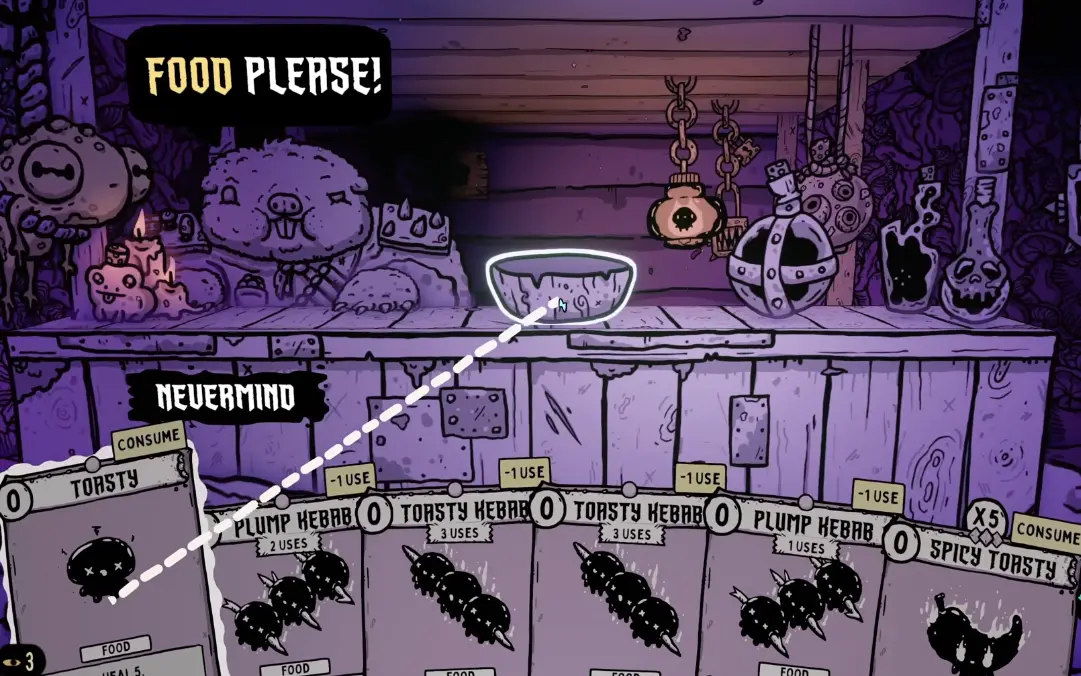
The clearest example came when I was offered Grand Maul, a strong one-cost attack with a useful Fatal effect. It was not a bad card. I passed anyway and took another removal.
At that stage, the problem was no longer finding damage. The run already had damage; I needed to draw the right damage more often.
That is also where I stop judging shop rewards purely by card strength. A card can be objectively good and still make the current deck worse.
For character-specific engines and which rewards are worth committing around, the Shroom and Gloom builds guide goes deeper into the actual build lines.
Full Heal or Another Removal?
One of the best Forgotten Path forks I reached made the tradeoff unusually clear.
One side contained hot springs for a full heal. The other gave me another chance to forget a card.
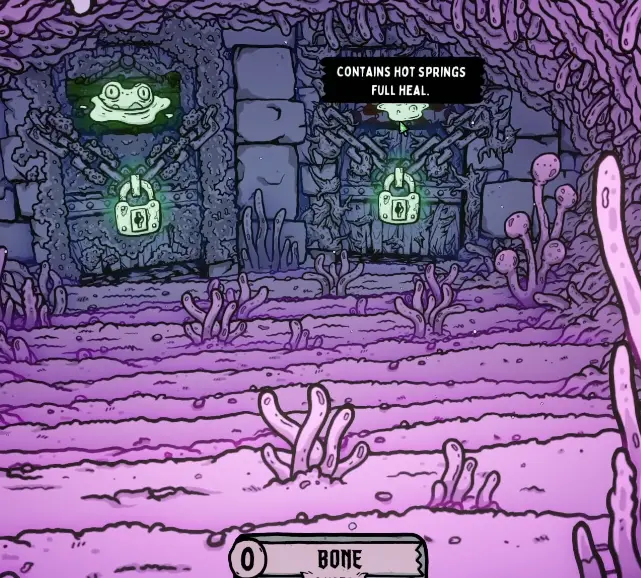
I took the removal because the health bar was not the problem.
That decision flips immediately when the next encounter can kill me before the deck stabilizes. A perfectly trimmed deck has no value if I die during the first bad draw.
When healing and Max HP are already supporting the run, though, removing a weak card improves every later shuffle. That permanent improvement can be worth more than topping off health I was likely to recover anyway.
This is why I rarely assign a fixed value to individual room rewards. Hot springs can be the best branch on one run and unnecessary on the next.
Max HP Matters Most Before the Run Feels Safe
I value Max HP aggressively while the build is still fragile.
It gives me tolerance for bad opening hands, lets healing recover more total life and makes exploration choices that cost health easier to absorb. That is why the 25-HP branch was so appealing early.
Its relative value drops once the build becomes self-sustaining.
If Food generation, healing and combat damage are already consistent, I start favoring things that improve access to the engine: card removal, a missing exploration action, a permanent attack upgrade or a shop that contains a piece I genuinely need.
More survivability is always useful. It simply stops being the only bottleneck.
Foresight Can Change What an Exploration Action Is Worth
One Forgotten Path choice gave me three Foresights that all looked useful for different reasons.
One could draw an Edible at the start of every exploration. Another healed me whenever I killed an enemy. The third was Hard-Headed, which heals after I Bash and starts the next combat with Pissed Off.
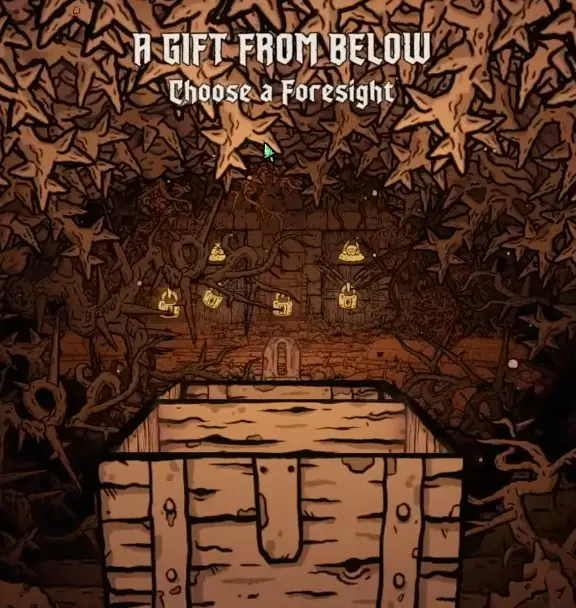
I took Hard-Headed because Bash was already part of the way I was moving through rooms.
That mattered more than the passive first appeared to. Bash can open a route immediately, but taking damage every time makes repeated use expensive. With Hard-Headed active, some of that cost comes back as healing, and the next fight starts with an offensive payoff instead of the exploration damage being purely negative.
So when a Foresight choice appears on the Forgotten Path, I do not rank the three effects in isolation. I look at what the current Explore deck is already doing.
If I am using Bash repeatedly, Hard-Headed becomes much better. If the run is short on Food access, an Edible-generating passive can solve a different problem. If ordinary fights are wearing me down, passive healing after kills may be worth more than either.
The best Foresight is usually the one that makes an action I already use more valuable, rather than the one that asks the rest of the run to change direction.
A Forgotten Path Clear Is Not the Same as Mapping Every Tunnel
A successful progression run does not automatically mean the whole pathway has been explored.
I finished runs with 15 tunnels explored and still reached a three-way section where the center route had already been taken while the left and right branches remained relevant for later attempts.
That matters if you are chasing Spelunker, which asks you to map every tunnel of the Forgotten Path.
I separate that goal from the first clear.
If an unexplored branch is cheap and the run is comfortable, I take it. When the build is finally strong enough to reach the end and an optional branch would put that clear at risk, I would rather finish the run and come back later with exploration as the main objective.
The same pathway can support both goals, but they do not always belong in the same run.
What I Want Before Leaving the Last Camps
The final camps are where I stop spending resources as though another shop is guaranteed to appear later.
By then, I want answers to four practical questions:
- Can I survive a poor opening hand?
- Can I reach the card or combo that actually deals my late-game damage?
- Is a weak starter still appearing often enough that one last removal would matter?
- Will the Food or health I am about to spend improve the final encounter, or only make the camp look more complete?
If the deck can already answer the first two questions, I become much more selective about everything else.
I have walked away from useful-looking interactions because another Rest would cost more than 20 health, and I have also spent the last meaningful resources in a camp when the reward directly fixed something the boss would expose.
The difference is whether that interaction improves the next fight.
There is no bonus for reaching the final encounter with every chest opened behind me.
The Route Ends When the Fight Becomes the Problem
Once the last meaningful camp is behind me, route optimization has done its job.
From there, the questions are different: how Cosmic Horror changes card costs, when the limbs are worth killing, how Guts can rescue a collapsing turn and when to commit the damage that actually ends the fight.
Those mechanics are covered in the Shroom and Gloom final boss guide.
If the boss is already handled and the real question is what opens afterward, the progression and unlocks guide covers the next step.