How to Beat the Forgotten Path Final Boss in Shroom and Gloom
Beat the Forgotten Path final boss by controlling Cosmic Horror, using Guts at the right time and saving enough burst to finish the late phase.
Updated:
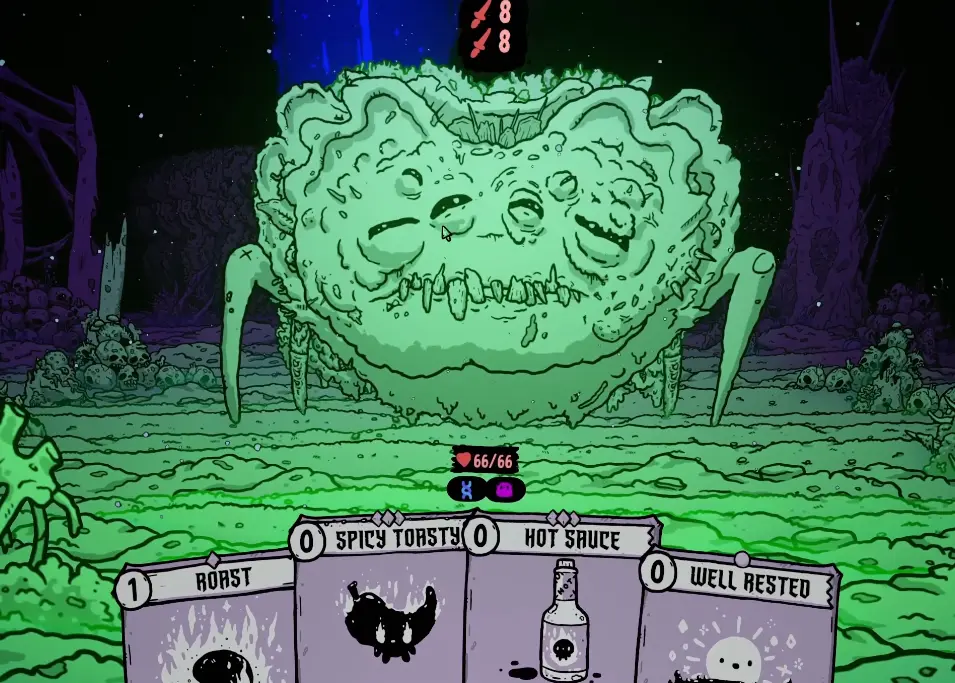
Quick Answer
Once Cosmic Horror appears, decide which Attack or Skill has to resolve before playing anything else. Every extra Attack or Skill can raise the cost of the cards still sitting in your hand.
Use Food when it lets you heal or keep the turn moving without feeding that cost spiral. If the fight starts slipping away, killing a limb can give you Guts, which in my run restored 25 HP and added 1 max energy. Save your real burst for the main body, then take the Mushroom Key and open the Gloom Door after the kill.
The fight finally clicked for me on a run that dropped to 19 HP while two Cosmic Horrors were active and two Psychosis cards were adding even more pressure.
The deck was not weak. The sequencing was wrong.
I had entered the turn with enough energy to play the cards I wanted, but after using a few smaller Attacks and Skills first, Inferno had become too expensive to cast. At the same time, limbs were still alive on the board, which meant I had left healing and extra energy sitting inside the encounter while the hand was collapsing.
That is the real test at the end of the Forgotten Path. Raw damage gets you there; the boss asks whether that damage still works after your normal play order stops being reliable.
The First Form Is Only the Opening
The first body has Evolves on death, so I treat its health bar as the beginning of the encounter rather than the place to spend every premium resource.
If the opening form can be handled with ordinary damage, I keep the expensive setup for later. The dangerous part of the fight is not getting through the first health bar; it is reaching the evolving phases with enough flexibility left to respond when card costs start changing.
That also affects how I approach the last camp. Arriving with slightly less loot but a healthy, functional deck has been much better than squeezing one final interaction out of the route and entering the boss already damaged. If the run is still falling apart before this point, the Forgotten Path walkthrough covers those route and camp decisions.
Cosmic Horror Changes the Order of the Entire Turn
The important Cosmic Horror text is simple:
When you play an Attack or Skill, +1 cost of all Attacks and Skills.
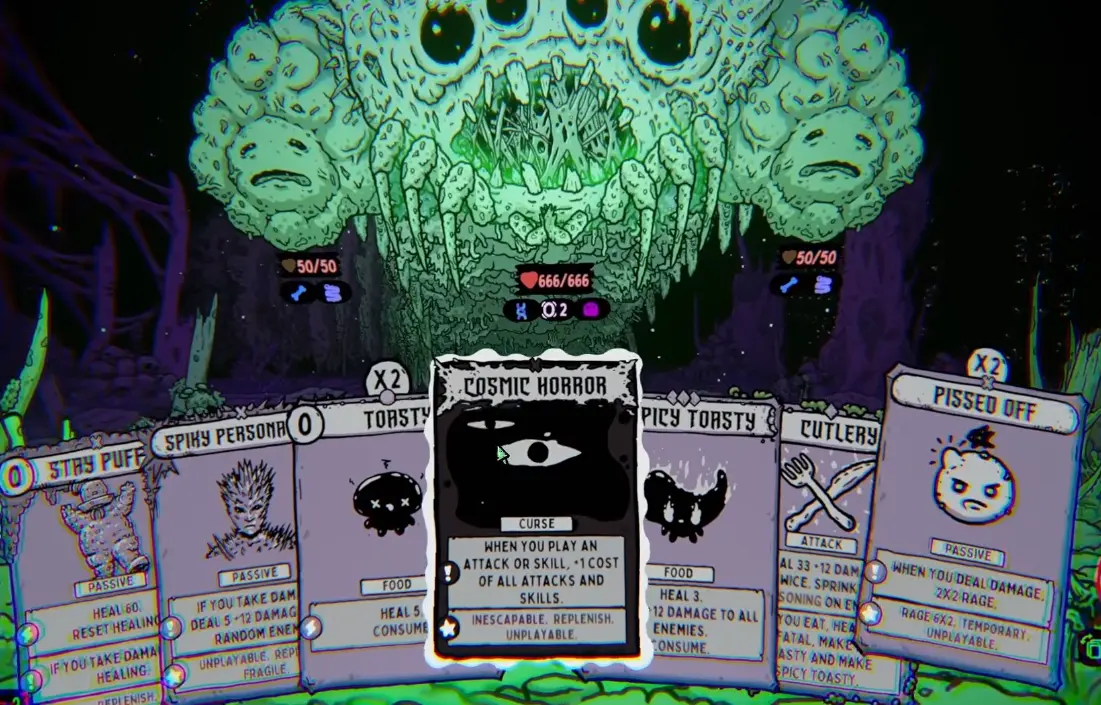
That means a one-cost setup card is not necessarily cheap.
Suppose I have a draw Skill, Inferno and another attack in hand. In an ordinary encounter, playing the draw Skill first may be obvious. Here, that same play spends energy and pushes Inferno up another cost before I ever reach it.
I now decide the turn from the expensive end first. If Inferno, Hot Poker or another key card needs to resolve, I check what it will cost after the setup rather than what it costs right now. Any minor Attack or Skill that does not materially improve that plan can wait.
There was another useful detail in the successful run: cards already in my hand were carrying the accumulated cost increases, while newly drawn cards did not arrive with all of that previous inflation attached. That made fresh draw one of the few ways to recover after a hand had become too expensive to use normally.
Food Gives You a Safer Lane Through Cosmic Horror
Food became much more valuable here than its healing number suggested.
It does not trigger Cosmic Horror’s Attack-or-Skill effect, so I could still heal, consume Food and keep parts of the engine moving without immediately making every Attack and Skill in hand more expensive.
That does not make every Food card an automatic play. Some are worth holding because they are tied to later healing, draw or burst setup. The important part is that Food gives the turn somewhere to go when repeatedly casting Skills would price the real damage card out of reach.
This was especially noticeable with Lunch Lady. Her Food-heavy turns could keep recovering and setting up while a hand full of otherwise excellent Skills would have been choking itself.
For the broader character engines rather than this fight-specific sequencing, the Shroom and Gloom builds guide covers the tested Paperboy, Lunch Lady and Janitor setups.
Limbs Are Part of Your Resource Pool
I initially treated the limbs as distractions from the main body. That stopped making sense once one of them dropped Guts.
The Guts card I used had:
+1 Max Energy
Heal 25
Consume
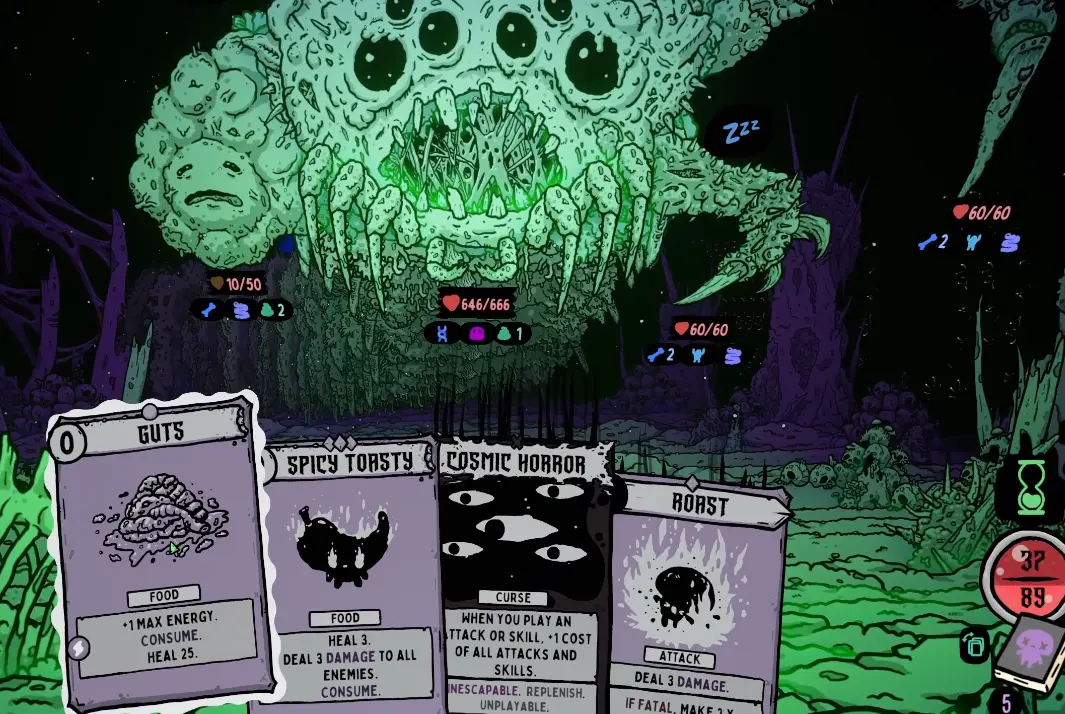
I do not clear every limb automatically.
When the main body is already vulnerable, my health is comfortable and the finisher is ready, spending several attacks on side targets can waste the best damage window of the fight. The limbs become much more attractive when I am low, the hand has become too expensive or the next turn needs another energy breakpoint to keep working.
That was the difference in one of my successful Lunch Lady attempts. Guts was not extra value after the fight was already under control; it was what gave the deck enough room to survive the ugly middle of the encounter.
Two Cosmic Horrors Turn Small Mistakes Into Dead Turns
One Cosmic Horror forces discipline. Two make the punishment immediate.
I lost access to Inferno once because I planned the turn around its starting cost, played several other cards first and only noticed afterward that the remaining energy could no longer cover it. At that point the decision was no longer “what is my strongest line?” It had become “which card is still affordable?”
The danger compounds when Psychosis is also in the hand. During the 19-HP run, I was dealing with two Cosmic Horrors and two Psychosis cards at the same time. Healing and Guts kept the run alive long enough to recover, but there was very little room for throwaway sequencing.
The Late Fight Can Become a Damage Check
A slower failed run showed the other side of the encounter.
The later body reached 999 HP and was recovering 20 HP each round. That amount of healing would have been manageable by itself, but the deck was also fighting through rising costs from multiple Cosmic Horrors.
The problem was not that the run died instantly. It survived too long without creating a finishing window.
Every extra round gave the boss another chance to recover while my useful cards became harder to sequence. At that point a defensive deck could look stable on the health bar and still be losing the damage race underneath it.
That is where I stop valuing another safe turn and start looking for a way to convert the setup into a real burst.
Vulnerable Can End the Fight Before the Cost Spiral Wins
The cleanest finish I had came from turning Vulnerable into one decisive hit.
On that Lunch Lady run, the boss reached 18 Vulnerable, and the UI showed 900% more damage received. Hot Poker then killed the remaining body in one shot.
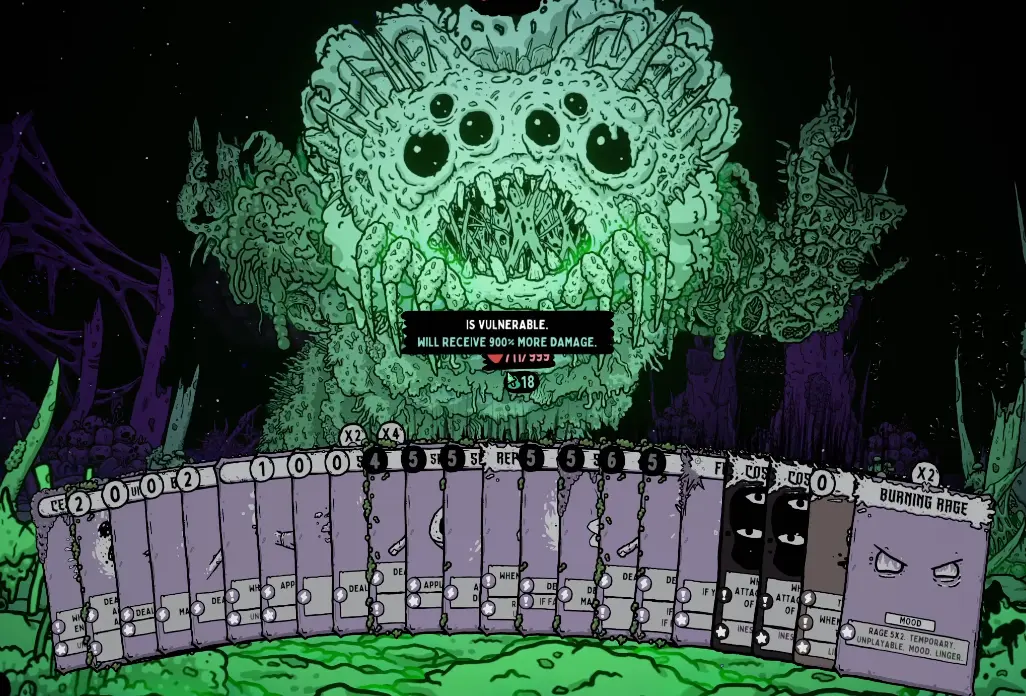
The important part is not reproducing Hot Poker exactly. Other builds can create their own finishing window. What matters is recognizing when the fight has become hostile to slow attrition.
If the boss is healing, two Cosmic Horrors are active and the current hand already contains the damage I need, saving that damage for a theoretically better turn can be worse than committing now.
Before I fire the burst, I check whether the finisher is already in hand, whether the setup will leave enough energy to cast it, and whether another round genuinely improves the position. If the next turn only means more healing for the boss and more expensive cards for me, I take the damage window I already have.
What I Want Before Entering the Fight
I stopped preparing for this boss by looking only at Max HP.
A large health pool is useful, but it does not solve a hand that needs three Skills before its main attack becomes effective. The builds that felt safest had another way to act when Cosmic Horror started taxing Attacks and Skills, plus enough healing to recover from one bad turn.
I am most comfortable entering with reliable Food, a clear damage card rather than several interchangeable medium attacks, and enough draw or recovery to escape a hand that has become too expensive.
That preparation is much more specific to this boss than simply asking whether the deck is strong enough to clear normal rooms.
Take the Mushroom Key and Open the Gloom Door
After the final body dies, the reward is the Mushroom Key. Its text tells you exactly what it is for: Unlock a Gloom Door.
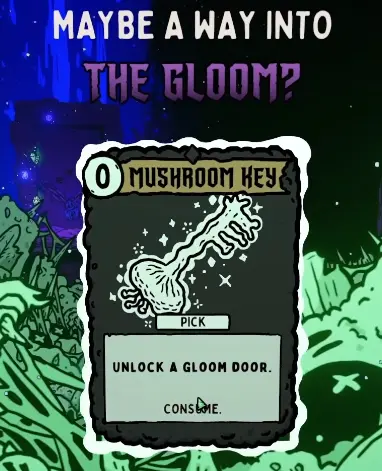
Take the key, open the Gloom Door and continue into the Gloom. That closes the Forgotten Path boss sequence.
The character and pathway unlocks that appear after entering the Gloom are covered in the progression and unlocks guide.