SAND Raiders Trampler Guide: Repair Legs, Walls & Reactor
Protect your Trampler in SAND Raiders: repair legs and walls, use the multitool and repair kits, power the reactor, fix reachability errors, and stop hijacks.
Updated:
Quick Answer
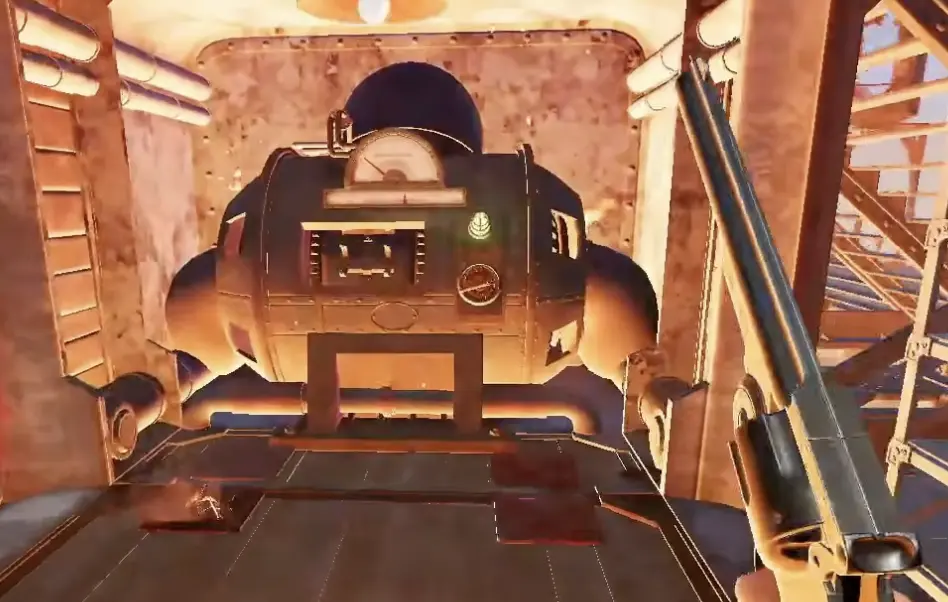
A good Trampler in SAND Raiders is not just a bigger walking base. I load Energy Rods, hold F to start the reactor, use the multitool for small sparking damage, save repair kits for major damage, repair walls from the outside hull, fix reachability before deployment, and defend captain quarters because a terminal hijack can turn my own machine against me.
The Trampler is the center of every SAND: Raiders of Sophie run.
It carries loot, stores food, powers the route, respawns the crew, mounts cannons, and becomes the thing other players want to disable, board, or steal. A good Trampler does not need to be fancy. It needs to survive one bad fight without becoming impossible to repair, impossible to defend, or impossible to drive.
Trampler priority cheat sheet
When something goes wrong, I do not repair everything in order. I repair what keeps the run alive.
| Priority | System | What I do first |
|---|---|---|
| 1 | Reactor | Keep it loaded, switched on, reachable, and protected |
| 2 | Legs | Repair movement-critical damage before greed |
| 3 | Critical walls | Fix walls exposing reactor, captain quarters, ladders, or internal routes |
| 4 | Flywheel / steering | Check it when the Trampler drifts, pulls, or spins after damage |
| 5 | Captain quarters | Defend control access before chasing boarders elsewhere |
| 6 | Airlocks / ladders | Lock or control entry routes before PvP pressure |
| 7 | Cannons | Keep one weapon online if I need to survive extraction or repel a push |
| 8 | Storage and food | Keep loot, food, rods, shells, and repair tools readable |
This is not a permanent order. If I am seconds from extraction, movement and boarding defense matter most. If enemies are already inside, captain quarters become the emergency. If I am under cannon fire, I repair legs and reactor cover before worrying about cosmetic damage.
Power the reactor before leaving
The reactor has two beginner checks: fuel and startup.
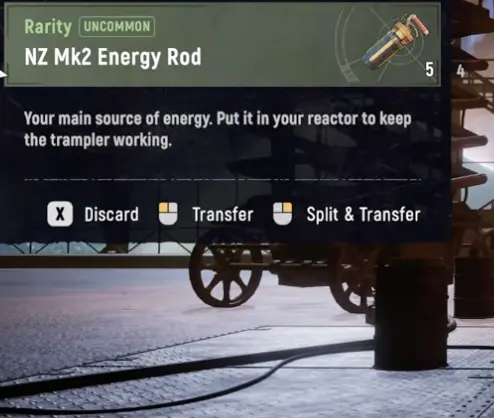
First, I load an Energy Rod into the reactor. Then I hold F on the reactor switch to start the Trampler system. If I only bring fuel but never start the reactor, the machine can still feel dead at the worst possible moment.
I plan around one Energy Rod giving roughly 10 to 12 minutes of continuous driving. That is enough for a controlled route, but not enough to waste power while parked, lost, or looting slowly.
| Reactor check | What I want |
|---|---|
| Energy Rod loaded | The Trampler has fuel |
| Reactor switch started | The system is actually powered |
| Spare rods stored | I am not trapped after one power problem |
| Reactor protected | It is not the easiest cannon or boarding target |
| Reactor reachable | I can refuel or repair without fighting my own layout |
| Smoke controlled | I shut down while looting only when the area is quiet |
How repairs actually work
Repair priority is important, but it does not help if I use the wrong tool.
I separate Trampler repairs into two types: small sparking damage and major component damage.
| Damage type | Tool | How I treat it |
|---|---|---|
| Small sparking damage | Multitool from the quick wheel | Hold the repair action on the sparking part when it is safe |
| Damaged legs | Repair kit | Major movement damage; usually worth a charge |
| Damaged walls / hull sections | Repair kit from outside the shell | Go outside to the damaged exterior section before trying to fix it |
| Damaged cannon | Repair kit | Repair only if I need that weapon to survive or extract |
| Damaged compartment / module | Repair kit | Repair if it protects power, control, storage, or movement |
| Cosmetic damage | Usually wait | Do not spend limited repair-kit charges on looks |
A repair kit is not a casual tool. I treat it as a bulky, two-handed repair item for major damage. I do not plan around stuffing it away like small loot, and I do not waste it on damage that does not affect power, movement, control, or extraction.
Repair kit rules and priorities
Repair kits are limited. I plan around 3 charges per kit, so each use has to matter.
For major repair-kit work, I shut down the reactor first. I do not treat this as optional prep. It is part of the repair sequence, which means every repair-kit use has a real timing cost: the Trampler loses readiness, the crew has to cover the repair window, and a solo player becomes much more vulnerable while fixing major damage.
That is why I do not spend repair-kit charges casually. If I am going to shut down the reactor and commit to a bulky repair item, the damage needs to be important enough to justify the risk.
| Spend a repair-kit charge on… | Usually delay… |
|---|---|
| Reactor access or reactor cover | Cosmetic wall damage |
| Movement-critical legs | Storage that is ugly but still usable |
| Flywheel or steering problem | Non-critical room damage |
| Wall exposing captain quarters | Outer wall damage that protects nothing |
| Wall exposing ladder, hatch, or repair route | Extra parts not needed for escape |
| Cannon needed to survive extraction | Cannon repair if I am already leaving safely |
Repair kits are also valuable loot. I look for them around higher-value loot areas and after tougher PvE fights, especially when Ironclad-type enemies are involved. If I find one during a quiet route, I treat it as route-saving utility and store it carefully.
How to repair Trampler legs
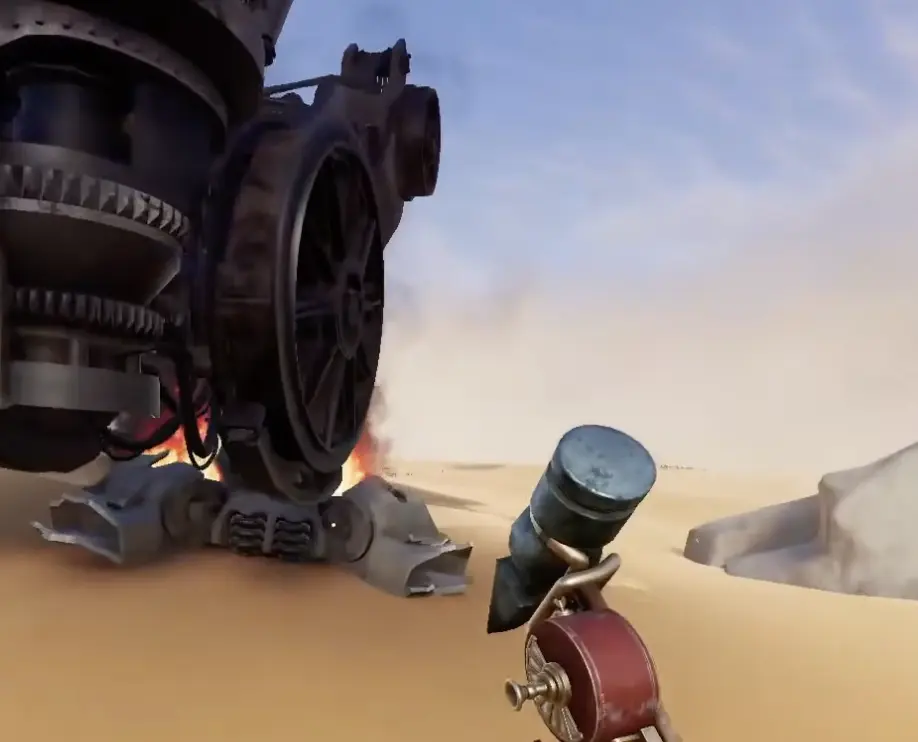
Legs decide whether the Trampler can escape, chase, turn, or reach extraction.
If I am defending, I repair movement-critical legs before cosmetic damage. If I am attacking, legs are one of the best targets because they create control without needing to destroy the whole machine.
| Leg state | What it means | My response |
|---|---|---|
| Light damage | Movement still works, but risk is building | Repair when the fight slows down |
| Heavy damage | Turning and escape become risky | Use a repair kit before pushing deeper |
| One side damaged | Trampler may pull or handle unevenly | Stop blaming only the driver |
| Multiple legs damaged | Extraction becomes much harder | Repair movement before looting |
| Leg damaged near extraction | A small problem can become a failed exit | Repair before calling if enemies are close |
| Enemy legs exposed | Their movement can be controlled | Disable legs before chasing kills |
My rule is simple: if broken legs can stop extraction, they are not optional damage.
How to repair Trampler walls
I do not repair walls from the inside just because I can see damage nearby.
For wall and hull damage, I go outside to the damaged exterior section and use a repair kit from the shell side. This is one of the easiest repair mistakes to make because it feels natural to stand inside the room and try to fix the wall from there.
| Wall damage | Repair priority | Why |
|---|---|---|
| Wall exposing reactor | Highest | One more hit can turn into a power problem |
| Wall exposing captain quarters | Highest | Boarders may reach control and hijack the Trampler |
| Wall protecting ladder or hatch route | High | Entry control matters during PvP |
| Wall blocking my repair route | High | I need internal movement during a fight |
| Wall around storage | Medium | Repair if it protects valuable boxes, food, or rods |
| Cosmetic outer wall | Low | Do not waste the last repair use on looks |
| Wall damage while extracting | Depends | Repair only if it affects survival or boarding defense |
The best wall repair is the one that preserves control. If I cannot drive, refuel, defend captain quarters, or move inside the Trampler, the wall problem is real. If it only looks ugly, I can fix it later.
Flywheel damage explains bad steering
Flywheel damage is one of the easiest problems to misunderstand.
When the Trampler starts drifting, pulling, spinning, or refusing to handle cleanly, it can feel like bad driving. Sometimes it is. But if the flywheel or movement systems are damaged, the machine may be physically unstable.
I treat strange steering as a damage signal.
| Symptom | What I check first |
|---|---|
| Trampler keeps drifting | Flywheel and same-side leg damage |
| Trampler pulls while turning | Leg damage and uneven movement systems |
| Trampler feels unstable after a fight | Flywheel damage |
| Driver keeps overcorrecting | Movement damage before blaming control skill |
| Extraction route feels impossible | Repair flywheel or legs before calling |
If the Trampler feels cursed after a fight, I do not keep forcing the same route. I stop, repair movement, and only then decide whether to continue.
What does reachability mean?
If the Trampler editor gives a reachability warning, I do not ignore it.
Reachability usually means the crew cannot reach one or more compartments in the current layout. The build may look fine from the outside, but the internal path is broken, blocked, or missing a required door, hatch, ladder, or access route.
| Reachability problem | What I check |
|---|---|
| Missing ladder | Can I move between floors from inside the Trampler? |
| Missing hatch | Can I reach the upper or lower compartment after editing? |
| Bad door placement | Did I close off the only path to a module? |
| Captain area blocked | Can I reach the captain controls without leaving the Trampler? |
| Reactor isolated | Can I reach the reactor to refuel or repair? |
| Cannon or utility module isolated | Can a crew member actually reach and use it? |
| Storage blocking movement | Did I make a path that works visually but fails in practice? |
| Overbuilt airlock | Did my anti-boarding setup also block my own crew? |
For solo, reachability is more than a save error. It affects survival. If I cannot reach the reactor, cannon, storage, repair route, or captain controls quickly, the build may fail even if it technically deploys.
Captain quarters and hijack terminals
Boarding is dangerous because the enemy is not only trying to kill me.
They are trying to reach captain quarters.
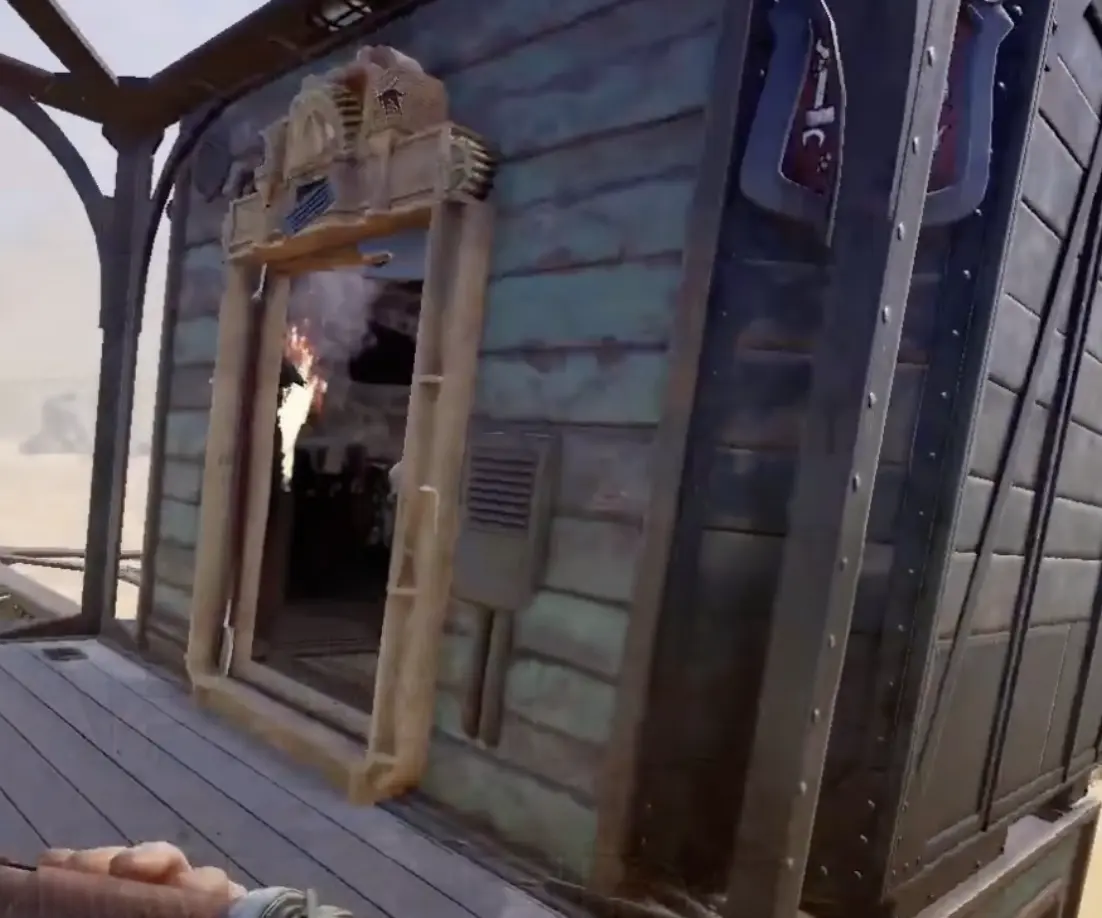
If enemies break into captain quarters and interact with the control terminal, they can effectively hijack the Trampler. That can take control away from my crew, disrupt respawns, affect door control, and turn my own machine into the thing that kills the run.
| Captain quarters risk | Why it matters |
|---|---|
| Enemy reaches the control room | They may interact with the terminal and take over |
| Enemy controls doors | My own layout can work against me |
| Enemy disrupts respawns | A normal defense can become a wipe |
| Enemy holds the room during extraction | The machine may leave without me controlling it |
| Captain route is visible from outside | Boarders know exactly where to push |
This is why I build captain quarters like a protected objective, not like a decorative bridge.
Can you capture or repair another Trampler?
When players ask about capturing a Trampler, I separate three ideas: disabling, hijacking, and repairing.
I can disable another Trampler by shooting legs, board it if the angle is safe, loot it, or fight toward captain quarters. If I reach the control terminal and take over, that is the hijack moment that matters.
But I do not rely on repairing enemy, captured, or destroyed Tramplers during a fight. Repair tools are for my own team’s machine. If I leave my Trampler to gamble on fixing someone else’s, I may win a hallway fight and lose the machine that actually carried my loot.
| Capture / repair situation | My decision |
|---|---|
| Enemy boarders are near my captain quarters | Drop everything and defend control |
| Enemy Trampler has exposed legs | Disable movement before boarding |
| Enemy Trampler is still crewed | Do not board unless my own Trampler is safe |
| I reach enemy captain quarters | Look for the control terminal if I am committing |
| Captured or destroyed enemy Trampler needs repairs | Do not rely on repairing it mid-fight |
| I already have valuable loot | Extract instead of gambling on a hijack |
Lock airlocks and access ladders
The easiest anti-boarding improvement is not always another gun. Sometimes it is a locked door.
Airlocks and access ladders can be locked. That matters because a boarder who expects to run straight inside may instead hit a locked path, lose time, and give me a chance to react.
| Entry point | Why I care | My habit |
|---|---|---|
| Airlock | Common boarding path | Lock it before dangerous routes |
| Access ladder | Lets enemies climb into the layout | Lock or control it when PvP is likely |
| Door near captain quarters | Last line before takeover pressure | Keep it closed and protected |
| Storage path | Boarders may loot or disrupt shelves | Avoid making it a straight road to valuables |
| Internal choke | Buys defender time | Keep the route readable for my crew, not for enemies |
For solo, locked access matters even more because I cannot watch every entrance while driving.
Trampler size: small is easier, not automatically faster
For solo and small crews, I prefer a smaller or more compact Trampler early.
But I do not choose a small Trampler because I expect it to have a much higher top speed. The real solo advantage is management: less space to defend, less walking to repair, a smaller target profile, and cleaner parking.
| Size choice | What it helps | What it does not solve |
|---|---|---|
| Small Trampler | Easier repairs, defense, parking, and role control | It is not a magic speed upgrade |
| Medium Trampler | Better storage and more flexible layout | Still needs clear internal paths |
| Large Trampler | More guns, rooms, and cargo options | Too many systems for one player early |
| Compact layout | Faster access to reactor, legs, storage, and driver seat | Requires disciplined storage placement |
| Tall / exposed layout | More visibility and space | Easier for enemies to see and target |
For solo, the best Trampler is the one I can control under pressure. For crews, bigger layouts become more realistic when someone can drive, someone can repair, someone can watch doors, and someone can run loot.
For a full solo route plan, use:
Storage, food, and respawns
Storage is not just convenience. It decides whether extraction becomes calm or chaotic.
If food, shells, black boxes, and valuable cargo are scattered across the floor, I spend the extraction timer organizing instead of defending. If shelves and racks are readable, I can store, call, defend, and leave.
Food also affects recovery after death. If food is stored in the Trampler, respawns feel much faster. Without food stocked, I plan around a slower respawn that can cost roughly an extra minute during a bad fight.
| Storage item | Where I want it |
|---|---|
| Food | Fridge shelves, racks, bunks, or safe compartments |
| Valuable boxes | Clear shelves, not floor clutter |
| Shells | Near cannon access, but not blocking movement |
| Energy Rods | Close enough to reactor checks |
| Repair supplies | Easy to reach from movement and reactor paths |
| Crafting materials | Organized near workbench or storage route |
| Black boxes | Stored clearly so I do not lose them during extraction |
After a big fight, storage discipline matters even more. A Trampler packed with random boxes can become harder to defend, harder to loot, and harder to extract with.
Workshop and blueprint planning
Trampler building is not only something I do after a loss.
While waiting in the lobby, I can use the Trampler Editor to design, adjust, and save layouts. A saved blueprint helps me rebuild faster after a bad run instead of improvising under pressure.
I also watch for Workshop access through progression because it changes how comfortable long routes feel. Once I can build or use a Workshop setup on the Trampler, repairs and construction become less tied to returning to base, which makes route planning more flexible.
For beginners, I would not start by designing a huge “perfect” machine. I would make one simple layout with:
- reachable reactor;
- clean driver path;
- protected captain quarters;
- locked entry points;
- clear shelves;
- fast access to legs or repair routes;
- one cannon plan I understand;
- no reachability warnings before saving.
A simple saved blueprint beats a complicated layout I cannot defend.
My final pre-deploy check
Most of the checklist is already covered above, so I only do one final pass before leaving:
- reactor has fuel and is started;
- repair kit is available if I am risking a serious route;
- walls, legs, and captain access are not already compromised;
- storage is clear enough to accept loot;
- no reachability warning is still unresolved;
- I know whether this is a loot run, rebuild run, or PvP-risk run.
This setup is not about winning every fight. It is about making the Trampler understandable while damaged.
Common Trampler mistakes
| Mistake | Why it hurts | Better habit |
|---|---|---|
| Loading an Energy Rod but not starting the reactor | The Trampler still may not move | Load fuel, then hold F on the reactor switch |
| Treating every repair as a repair-kit job | Charges disappear fast | Use the multitool for small sparking damage |
| Starting repair-kit work without shutting down the reactor | The repair sequence can fail or waste time under pressure | Shut down first, then commit the repair-kit charge |
| Trying to repair walls from inside | The wall repair may not work | Go outside to the damaged hull section |
| Repairing cosmetic walls first | Limited repair-kit charges disappear fast | Repair reactor cover, legs, and captain defense first |
| Ignoring damaged legs | Extraction becomes harder or impossible | Repair movement before greed |
| Treating strange steering as only bad driving | Flywheel or leg damage may be the real cause | Check movement systems after fights |
| Leaving airlocks and ladders unlocked | Boarders get free entry pressure | Lock entry points before danger |
| Exposing captain quarters | One terminal hijack can become a takeover | Protect the control route |
| Ignoring reachability errors | The build may not save or may fail in a real route | Check ladders, hatches, doors, and blocked modules |
| Building too large too early | One player cannot manage every system | Build for clarity before size |
A beginner Trampler does not need to impress anyone. It needs to be understandable while damaged.
Related Guides
- SAND Raiders Beginner Guide — Start here for the first-voyage checklist, mode choice, loot priorities, and beginner FAQ.
- SAND Solo Guide — Use this if you need a smaller Trampler, safer routes, smoke scouting, shovel routes, and rebuild planning.
- How to Extract in SAND Raiders — Learn radio towers, 90-second countdowns, green smoke, escape lines, loot storage, and beacon boxes.
- SAND Raiders Voyage vs Storm Dive Guide — Choose between relaxed Voyage routing and higher-pressure Storm Dive runs.
- SAND Raiders 40mm vs 80mm Cannon Guide — Pick the right cannon, shells, and manual loading plan.
FAQ
What is the most important part of the Trampler in SAND Raiders? +
The reactor is the most important part because the Trampler depends on it for power. I protect it first, load Energy Rods, hold the reactor switch to start the system, and avoid exposing it to easy cannon or boarding pressure.
How do I power the reactor? +
Load an Energy Rod into the reactor, then hold F on the reactor switch to start the Trampler system. I check this before leaving because a Trampler with fuel that was never switched on can still sit dead.
How do repairs work in SAND Raiders? +
Small sparking damage is handled with the multitool from the quick wheel. Bigger damage to compartments, legs, cannons, walls, and major Trampler parts needs a repair kit.
How many charges does a repair kit have? +
I treat a repair kit as a bulky major-repair tool with 3 charges. Before repair-kit work, I shut down the reactor first, then spend charges only on damage that can lose the run: reactor cover, movement-critical legs, captain-quarter walls, cannons needed for defense, or critical access routes.
Where do I find repair kits in SAND Raiders? +
I look for repair kits around higher-value loot areas and after tougher PvE fights, especially when Ironclad-type enemies are involved. Because repair kits are bulky and limited, I treat every one I find as route-saving utility, not casual loot.
How do I repair Trampler legs? +
Use a repair kit on damaged legs when movement is at risk. I repair movement-critical legs before cosmetic damage because broken legs make escaping, turning, and extracting much harder.
How do I repair Trampler walls? +
For wall repairs, I go outside to the damaged hull section and use a repair kit from the exterior. I do not waste limited charges on cosmetic walls unless they protect the reactor, captain quarters, ladders, or storage routes.
What does reachability mean in the Trampler editor? +
Reachability usually means the crew cannot reach one or more compartments in the current layout. Check doors, hatches, ladders, captain access, reactor access, isolated modules, and blocked internal paths before saving the blueprint.
Can enemies capture my Trampler? +
Enemies can effectively capture or hijack your Trampler if they board, break into captain quarters, and interact with the control terminal. That can take control away from your crew, including respawn and door control.
Can I repair an enemy or captured Trampler? +
I do not rely on repairing enemy, captured, or destroyed Tramplers during a fight. Repair tools are for my own team's machine, so I protect my Trampler first instead of gambling on fixing someone else's.
Why is my Trampler drifting or spinning? +
Flywheel or leg damage can make the Trampler drift, pull, or handle badly. If the machine keeps turning or feels unstable, I check the flywheel and movement systems before assuming it is only a driving mistake.
Should solo players use a small Trampler? +
I prefer smaller Tramplers solo because they are easier to manage, park, repair, and defend. I do not choose them because I expect much higher top speed; the main value is control and lower management pressure.