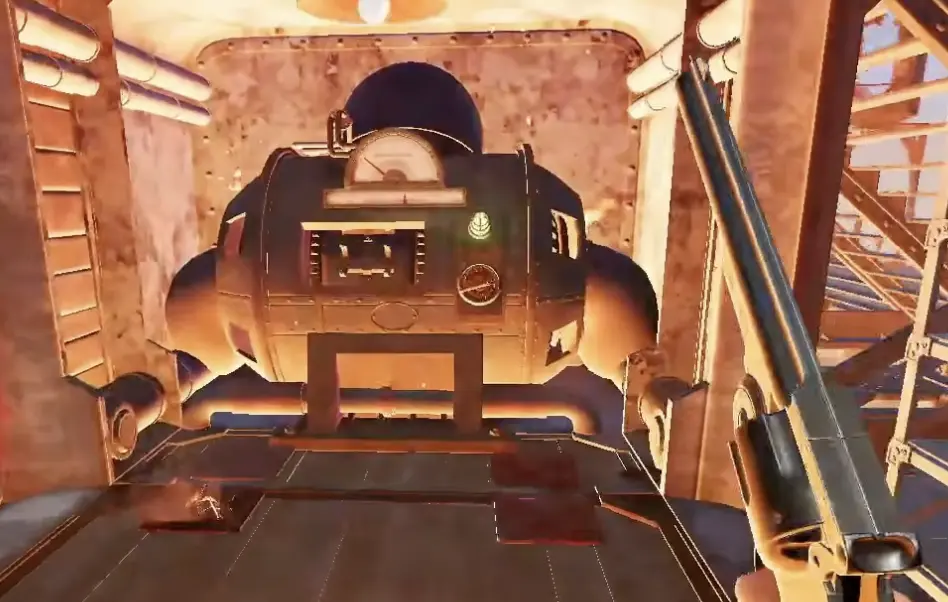
Extract in SAND Raiders with radio tower steps, 90-second countdown, green smoke warning, escape lines, loot storage, Storm Dive tower rules, and camper checks.
Protect your Trampler in SAND Raiders: repair legs and walls, use the multitool and repair kits, power the reactor, fix reachability errors, and stop hijacks.
A practical SAND Raiders solo guide covering best solo build, tech tree factions, Grumpy Walker, Dune Runner, Energy Rods, stealth routes, Upior PvE, and extraction timing.
A practical SAND Raiders Radio Beacon Box guide explaining where to deliver it, what the green box icon means, how to extract it normally, how the 2-hour limit works, how to sell it for 2,000 Crowns, and when to skip or chase one.
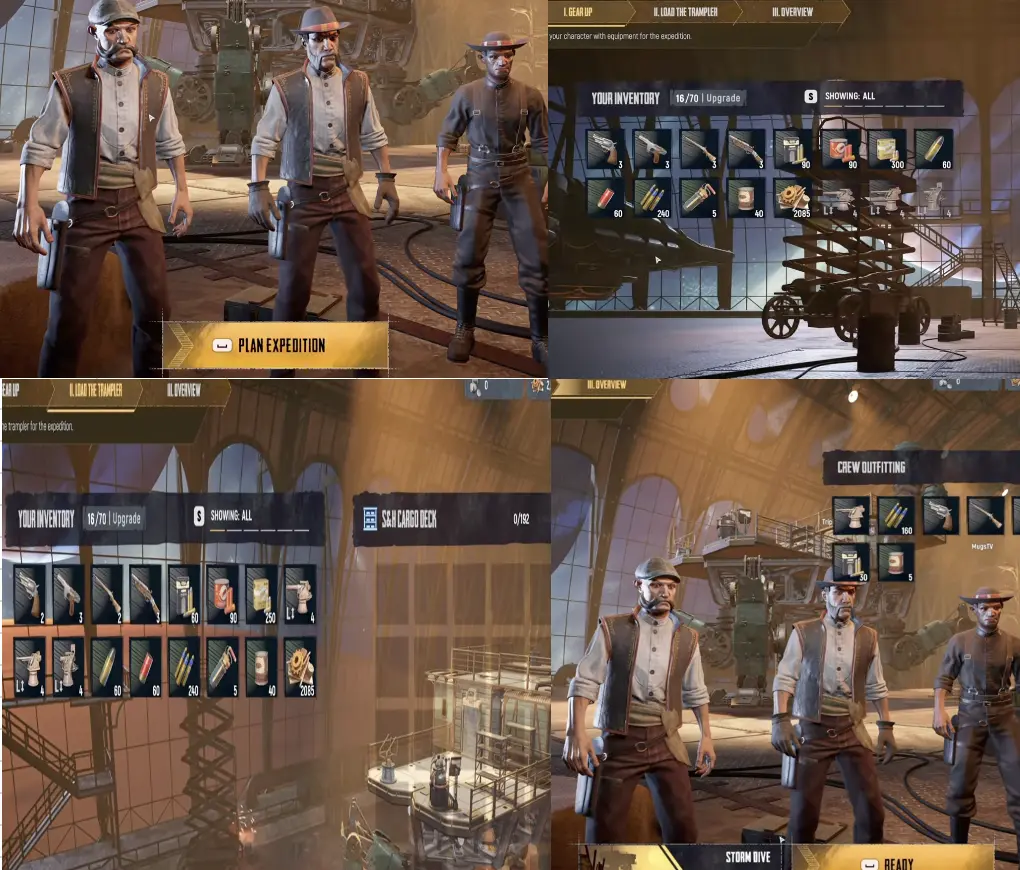
For my first SAND Raiders runs, I start in Voyage, use a manageable Trampler, load and start the reactor, bring food, shells, repair supplies, and a basic weapon, store loot before extraction, and leave after one useful haul. If I am stuck on extraction, solo routing, repair kits, reachability, shovel loot, Storm Dive exits, cannon choice, or the box with radio beacon, I use this hub to jump to the matching guide.
This is the guide hub for SAND: Raiders of Sophie.
SAND is not just an extraction shooter where I bring a gun and leave with loot. The Trampler is the base, the vehicle, the respawn point, the storage room, the weapon platform, and the thing every bad decision eventually breaks.
A good beginner run is not the richest run. It is the run that teaches the loop and still brings something home.
My first goal is not to clear the map. It is to leave with enough value to make the next run easier.
Start here if you are stuck
Use this table first. Many SAND problems look like “I died,” but the real cause is often extraction timing, messy storage, a blocked Trampler layout, repair confusion, or choosing Storm Dive too early.
This hub gives short answers. The linked guides handle the deeper mechanics.
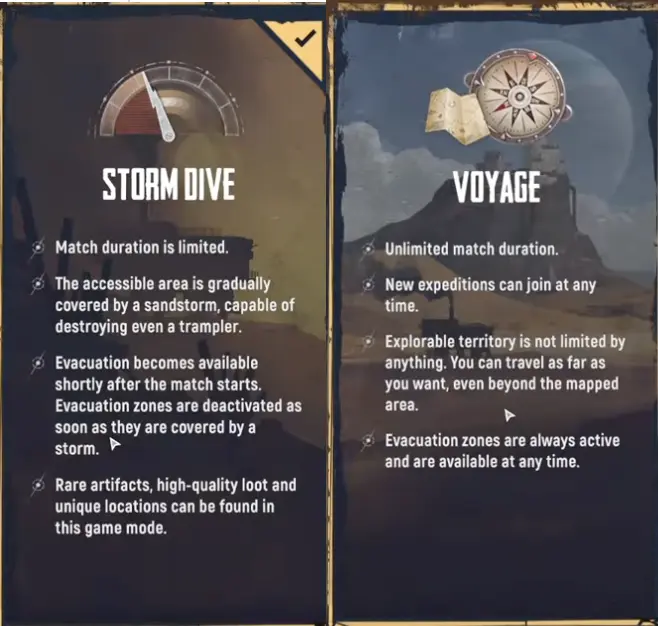
First run rule: Voyage before Storm Dive
For a first run, I choose Voyage.
Voyage gives me room to learn the basic loop: drive the Trampler, loot a small target, store valuables, call extraction, climb the rope or escape lines, and bring something back. Storm Dive adds shrinking storm pressure, route compression, contested extraction choices, stronger PvP concentration, and higher-value endgame targets before I have learned how to leave cleanly.
I start in Voyage because I want to learn the loop before storm pressure starts deciding for me.
Mode
When I use it
Beginner risk
Voyage
First runs, solo routes, rebuild runs, extraction practice
Still has PvP, but the pacing is easier to manage
Storm Dive
Later runs with a real goal, enough supplies, and an exit plan
The storm can damage the Trampler, compress routes, and force contested exits
I need to drive, repair, store loot, and defend without confusion
Reactor
Energy Rod loaded and system started
Fuel alone is not enough if the Trampler is not powered
Energy Rods
Spare rods stored if I can bring them
A good haul is useless if I cannot reach extraction
Shells
Matching shells for my cannon
An installed cannon with no ammo is false confidence
Food
Stored for respawn value
Faster recovery can save bad extraction fights
Weapon
Basic weapon with matching ammo
Boarders and PvE pressure need an answer
Repair tool
Multitool access and repair kit if I can spare one
Small damage and major damage need different answers
Shovel
Bring one if I have it
Buried treasure can turn a small route into a good route
Storage
Clear shelves or racks
Loose loot creates extraction chaos
Route
One or two small targets, then extract
Early progress matters more than map greed
Exit
Know where I can leave
Loot only counts if I bring it home
If I fail several of these checks, I fix the setup before leaving. A bad deployment creates a bad extraction later.
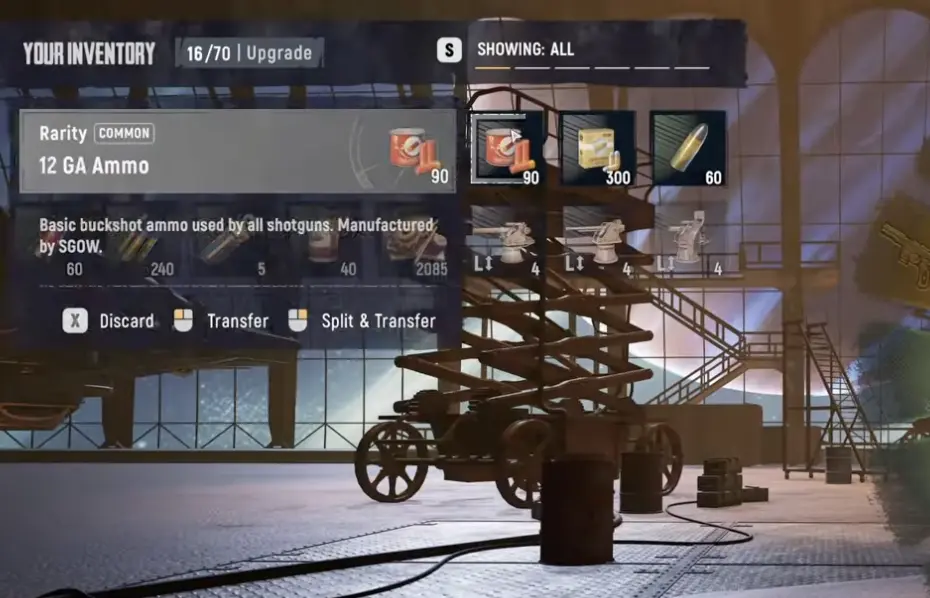
My early loadout is about function: food, ammo, shells, Energy Rods, storage, and a Trampler I can manage.
Extraction short answer
Extraction is the first thing I want to understand because loot is only real after I leave.
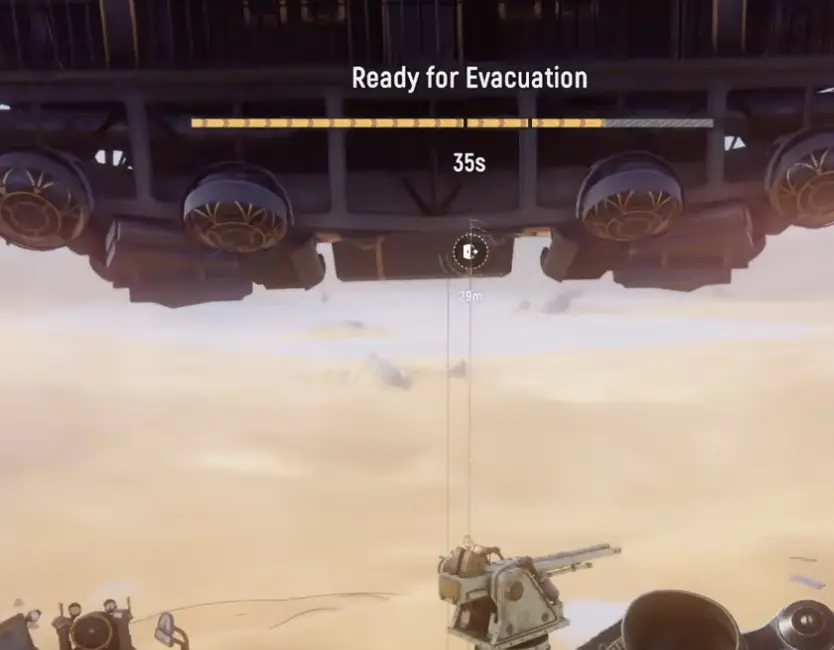
My hub-level extraction rule is simple: store first, call second, defend third, climb out last. I do not call extraction while loot is scattered on the floor, and I do not treat the pickup arrival as the end of the run. When the rope or escape lines appear, I still need to leave the Trampler and climb out myself.
When the pickup arrives, I still need to climb the rope or escape lines. The final seconds are not a victory screen.
If I find a box with radio beacon, I do not pick it up like ordinary quiet loot. I clear the immediate danger, loot nearby first if it is safe, then pick up the beacon box only when I am ready to commit to the route.
The Trampler is not just transport. It is the run.
My hub-level rule is: power, movement, control, storage. If a problem affects the reactor, legs, steering, captain quarters, reachability, or loot storage, I treat it as a real run threat. If the damage is only cosmetic, I do not let it steal my last repair resources.
The deeper repair guide covers the exact mechanics: multitool vs repair kit, repair-kit charges, wall repair from the outside hull, reachability errors, captain-quarter hijacks, and what to fix first.
If the Trampler loses power, movement, or captain quarters control, the loot route stops mattering.
Solo short answer
Solo is playable, but it is not forgiving.
A solo death spiral usually starts before the death: deploying the last Trampler, last shells, and last materials into a risky route is already the mistake. When I play solo, I keep the route small, watch smoke and sound, store rebuild materials first, and leave after one good haul.
The solo guide covers the specific build details, Trampler presets, tech tree order, weapon pairing, Energy Rod timing, and rebuild route.
Solo is not about proving I can fight every crew. It is about bringing home enough value to keep the next run possible.
Choose a small target, not a perfect route
My first run should not be a tour of the whole map.
I want one or two targets I can loot, store, and leave from. Smaller town routes, ship routes, minor POIs, and shovel opportunities are better learning targets than huge objectives where I park too long and invite PvP.
Route idea
Why I use it early
Small town loot
Good for basic supplies and mixed materials
Minor POI
Lower commitment and easier to abandon
Small ship route
Useful if the area is quiet and I can leave quickly
One PvE box
Good only if I can take it and return to the Trampler fast
Buried treasure with shovel
Worth checking if I brought a shovel and the route stays safe
Large fortress or hot objective
Later, when I have supplies, a cannon plan, and an exit route
If I already stored mechanical parts, raw materials, shells, Energy Rods, repair kits, or one valuable box, the run may already be successful. The next stop has to justify the risk.
What loot should I care about first?
Early loot should help future runs survive.
Loot color is a quick risk signal: white crates are common, green crates are uncommon, and red boxes or red crates are rare. I do not risk the Trampler for every common crate, but I pay more attention when a green or red container is realistic to extract.
Loot
Why I care
Mechanical parts
Keeps Trampler rebuilding possible
Raw materials / weapon parts
Supports crafting and recovery
Energy Rods
Keeps future routes and extraction possible
Shells and ammo
Makes the next run defendable
Food
Helps respawns and bad extraction fights
Repair kits
Can save legs, walls, reactor cover, or captain defense
Shovel
Opens buried treasure without requiring a huge fight
Black boxes
Useful for value and tech tree progress
Box with radio beacon
Timed delivery value if I can finish the route
Valuable boxes
Worth taking if extraction is realistic
Rare weapons
Good, but not worth losing the rebuild economy
I do not chase a flashy item if the Trampler is weak, the route is contested, or I have no clean extraction plan.
Cannon choice: start forgiving
For early runs, I start with 40mm because it is forgiving enough for a player who is still learning driving, repairs, storage, and extraction.
The 70mm shotgun-style cannon is more specialized for close crew pressure and spread damage. The 80mm can hit harder later, but it needs manual loading, enough shells, cleaner spacing, and better positioning.
Cannon
Hub-level use
40mm Autocannon
Safest first cannon for pressure and recovery
70mm shotgun-style cannon
Close-range crew pressure and spread damage
80mm Naval Cannon
Stronger later when loading, shells, and spacing are under control
That means I can extract reliably, store loot quickly, repair under pressure, bring enough shells and Energy Rods, read smoke, and leave without greed.
Storm Dive is where Dreadnought, Sandworm Pit, red boxes, artifacts, contested extraction types, and higher-value routes start to matter. It is also where the sandstorm can damage the Trampler, close exits, compress players into the same routes, and punish every slow decision.
SAND Raiders Cannon Guide — Compare 40mm, 70mm, and 80mm cannon choices before committing to fights.
SAND: Raiders of Sophie FAQ
What should I do first in SAND Raiders?+
Start in Voyage, use a manageable Trampler, load and start the reactor, bring food, shells, a basic weapon, repair supplies, and a shovel if you have one, loot one or two smaller targets, store valuables, then extract before greed turns the run into a loss.
How do I extract in SAND Raiders?+
Find the doorway-style evacuation icon, drive to the extraction point, climb to the radio tower call point, activate extraction, defend the countdown, then leave the Trampler and climb the rope or escape lines.
What does box with radio beacon mean?+
The box with radio beacon is a delivery-style objective that can change the route. I loot nearby first, pick it up only when I am ready to move, then commit to the delivery or extraction plan.
Is SAND Raiders solo friendly?+
SAND Raiders is playable solo, but it is not forgiving solo. I use a manageable Trampler, protect the reactor, keep routes small, avoid unnecessary PvP, and leave after one useful haul.
What should I repair first on my Trampler?+
I repair what keeps the run alive: reactor cover, movement-critical legs, steering or flywheel problems, walls exposing captain quarters, and access paths that stop boarders.
What does reachability mean in the Trampler editor?+
Reachability usually means the crew cannot access part of the Trampler layout. Check ladders, hatches, doors, captain access, reactor access, isolated modules, and blocked internal paths.
Should I play Voyage or Storm Dive first?+
I start with Voyage. It gives more room to learn driving, storage, extraction, food respawns, repairs, and rebuild planning before Storm Dive adds shrinking storm pressure and contested exits.
Which Trampler cannon should I use first?+
I start with 40mm because it is forgiving. The 70mm shotgun-style cannon is more specialized for close crew pressure, while the 80mm can hit harder later but needs cleaner loading, shells, and spacing.