SAND Raiders Solo Guide: Best Build, Tech Tree & Routes
A practical SAND Raiders solo guide covering best solo build, tech tree factions, Grumpy Walker, Dune Runner, Energy Rods, stealth routes, Upior PvE, and extraction timing.
Updated:
Quick Answer
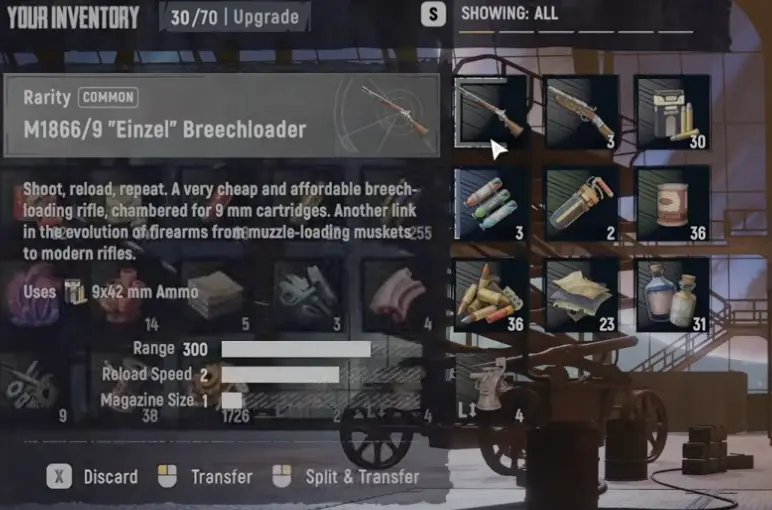
SAND Raiders is solo playable, but not solo forgiving. My safest solo plan is a cheap, manageable Trampler such as Grumpy Walker, a protected reactor, an airlock before captain access, enough Energy Rods for the route, a 40mm-first cannon plan, a revolver plus rifle weapon setup, and a route that leaves after one useful haul instead of trying to win the whole map alone.
Solo in SAND: Raiders of Sophie is not about proving I can fight every crew.
It is about making each run survive contact with the map. A good solo run brings back mechanical parts, raw materials, fuel rods, shells, a shovel haul, a black box, or tech-tree progress without losing the Trampler that makes the next run possible.
The biggest solo mistake is not dying. Dying happens. The real mistake is turning one bad fight into a rebuild crisis.
Is SAND Raiders solo friendly?
Yes, but only if I lower the scope of each run.
Solo players can loot, fight Upior, extract, rebuild, and make tech progress. The problem is that one person has to do every job: drive, scout, shoot, repair, store loot, manage fuel, stop boarders, and call extraction.
That changes the whole mindset. I do not ask “Can I win this fight?” first. I ask:
- can I rebuild if this Trampler dies?
- do I have enough Energy Rod time to reach extraction?
- is my smoke giving away my position?
- can I store the loot quickly?
- is the next POI worth the parking risk?
If the run already has rebuild value, I do not need to make it perfect.
Best solo build for early runs
My best early solo build is not the biggest Trampler I can afford. It is the cheapest build that can move, hide, repair, and extract without asking one player to do too many jobs.
| Build choice | My solo recommendation | Why |
|---|---|---|
| Starter preset | Grumpy Walker | Good beginner baseline because it is cheap, manageable, and easier to replace after a loss |
| Lightweight direction | Dune Runner once I can choose or build around it | Better when I want stealth, mobility, quick looting, and early extraction over heavy fighting |
| Trampler size | Small or medium | Easier to park, repair, defend, and hide than a large layout |
| Reactor | Protected inside the layout | An exposed reactor turns one bad angle into a lost run |
| Captain access | Airlock before captain quarters | Boarders should not walk straight into control |
| Power | Enough Energy Rods for the route | I plan around roughly 10–12 minutes of continuous driving per rod |
| Cannon | 40mm first | More forgiving while I am also driving, repairing, and watching smoke |
| Personal weapons | Revolver + rifle | Revolver for close/mid-range pressure, rifle for distant enemies or vehicle pressure |
| Food | Stored in safe storage | Respawns during bad extraction fights can save the run |
| Repair kit | Bring one if I can spare it | Legs, walls, or reactor cover can decide whether I leave |
| Storage | Clear shelves or racks | Loose loot creates extraction chaos |
The build is good if I can drive it, defend it, repair it, store loot in it, and still extract under pressure.
Best solo tech tree priorities
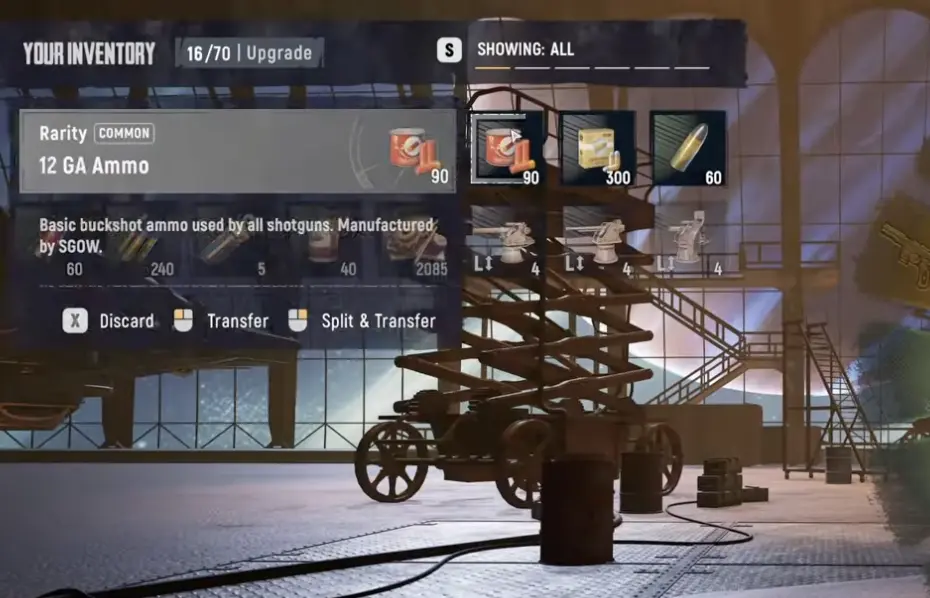
The tech tree is split into three faction lines with four tiers: Godlewski’s Expedition, K.K. Landwehr, and Kaiser’s Friends.
For solo, I do not treat these as equal at the start. I want upgrades that make my route easier to survive and easier to recover from, not only upgrades that make the Trampler look stronger.
| Tech tree line | What it supports | Solo priority | My solo logic |
|---|---|---|---|
| Godlewski’s Expedition | Energy, medical, crew facilities, structure pieces | First priority | Best early solo value because energy, survival, and structure support reduce the chance that one mistake ends the run |
| Kaiser’s Friends | Mobility, firepower, and practical combat pressure | Second priority | Good once the Trampler can already survive; helps me move, fight, and finish routes faster |
| K.K. Landwehr | Ballistic protection, ammo production, breaching tools | Later or PvP-focused | Strong for crews and PvP-heavy routes, but I do not rush it before my solo economy is stable |
My solo upgrade order is usually:
- Godlewski’s Expedition for energy, survivability, medical support, crew/facility comfort, and structure support.
- Kaiser’s Friends when I need better mobility or enough firepower to end fights faster.
- K.K. Landwehr after I am taking more PvP, breaching, or crew-style fights.
This does not mean K.K. Landwehr is bad. It means I do not want to become a heavily armored solo player with no route discipline, no fuel plan, and no rebuild reserve.
Airlock and reachability check before deployment
Before I take a solo Trampler out, I check the inside route, not just the outside shape.
A solo build can look safe from the editor view but still fail if I block my own ladder, hatch, door, reactor path, cannon access, or captain route. If the editor gives a reachability warning, I fix it before deploying. I do not want to discover during a fight that I cannot reach the reactor, storage, or captain controls quickly.
| Check | Good solo sign | Bad solo sign |
|---|---|---|
| Captain access | Protected by an airlock or extra door | Boarders can walk straight into control |
| Reactor path | I can reach it fast from inside | It is blocked by storage, walls, or awkward ladders |
| Ladder / hatch route | Floors connect cleanly | The editor warns that compartments are unreachable |
| Cannon access | I can reach the gun without trapping myself | The cannon deck is isolated or slow to reach |
| Storage path | Loot is close but not blocking movement | Boxes or shelves turn the hallway into a choke |
| Escape route | I can move from driver to repair points quickly | The layout looks strong but is slow during damage |
For the full blueprint, reachability, and repair breakdown, use:
Energy Rods, smoke, and stealth parking
Energy Rods matter more solo because I am the driver, scout, repair crew, and extraction planner at the same time.
I plan around one Energy Rod giving roughly 10 to 12 minutes of continuous driving. A new character starts with 5 Energy Rods, but that does not mean I waste them while parked.
When I stop to loot and the area is quiet, I shut off the power switch. That does two useful things:
- it saves Energy Rod time;
- it cuts the chimney smoke that can tell other players where I parked.
I do not do this blindly. If I am near enemies, extraction, or a contested POI, I may keep the Trampler ready so I can move fast. The stealth trick is for controlled looting, not for every stop.
Smoke and sound are solo scouting tools
Solo players do not have a second pair of eyes.
That means I use smoke, engine sound, cannon fire, silence, and Upior activity as information. I would rather skip a good-looking loot spot than park my only Trampler where another crew already has the angle.
| Signal | What I assume | My response |
|---|---|---|
| Distant chimney smoke | A Trampler is active or recently parked | Slow down, scout, or change route |
| My own chimney smoke while parked | I may be visible to other players | Shut off power if the area is quiet |
| Cannon shots | Someone has angle and ammo | Do not drive straight toward the sound |
| Fire or black smoke near a POI | A fight or damage happened recently | Treat the area as contested |
| Sudden silence after gunfire | A crew may be looting or waiting | Scout before entering |
| Upior pressure near loot | PvE may delay me long enough for PvP to arrive | Kill quickly, store, and leave |
Information is a defensive resource. I cannot out-role a crew, but I can avoid letting them choose the fight.
Where I go first as a solo player
Concrete locations matter because “small POI” is too vague.
For early solo runs, I think about locations by parking risk, loot type, and escape difficulty.
| Location | Solo value | Main risk | My solo approach |
|---|---|---|---|
| Segen | Mixed town loot; the bank area is worth checking | Other players may pass through | Loot quickly, store basics, leave if smoke appears |
| Kaiserplatz | Mixed town loot; the high mansion area can be valuable | Can become a contested town route | Use it when the route is quiet, not when I hear engines nearby |
| Archipel von Leopold | Ship routes and black box attempts | Another Trampler can trap me while I am off-board | Hit one ship or a short chain, then reassess |
| Feste Königsmarck | Higher-risk fortress target | Red doors and heavier requirements | Not my first solo target unless I have a real plan |
| Metal ships | Better loot potential than normal wrecks | Parking and boarding risk | Stop only if the area looks quiet |
| Small roadside / minor POIs | Lower commitment loot | Lower ceiling | Good for rebuild runs and learning |
| Shovel / buried treasure spot | Can create a strong haul without a long fight | The dig can delay me in open terrain | Dig if quiet, then treat the haul as a reason to leave |
This does not mean Segen and Kaiserplatz are always safe. It means they are easier to reason about than driving blind into a huge objective with no exit plan.
Shovel and buried treasure routes
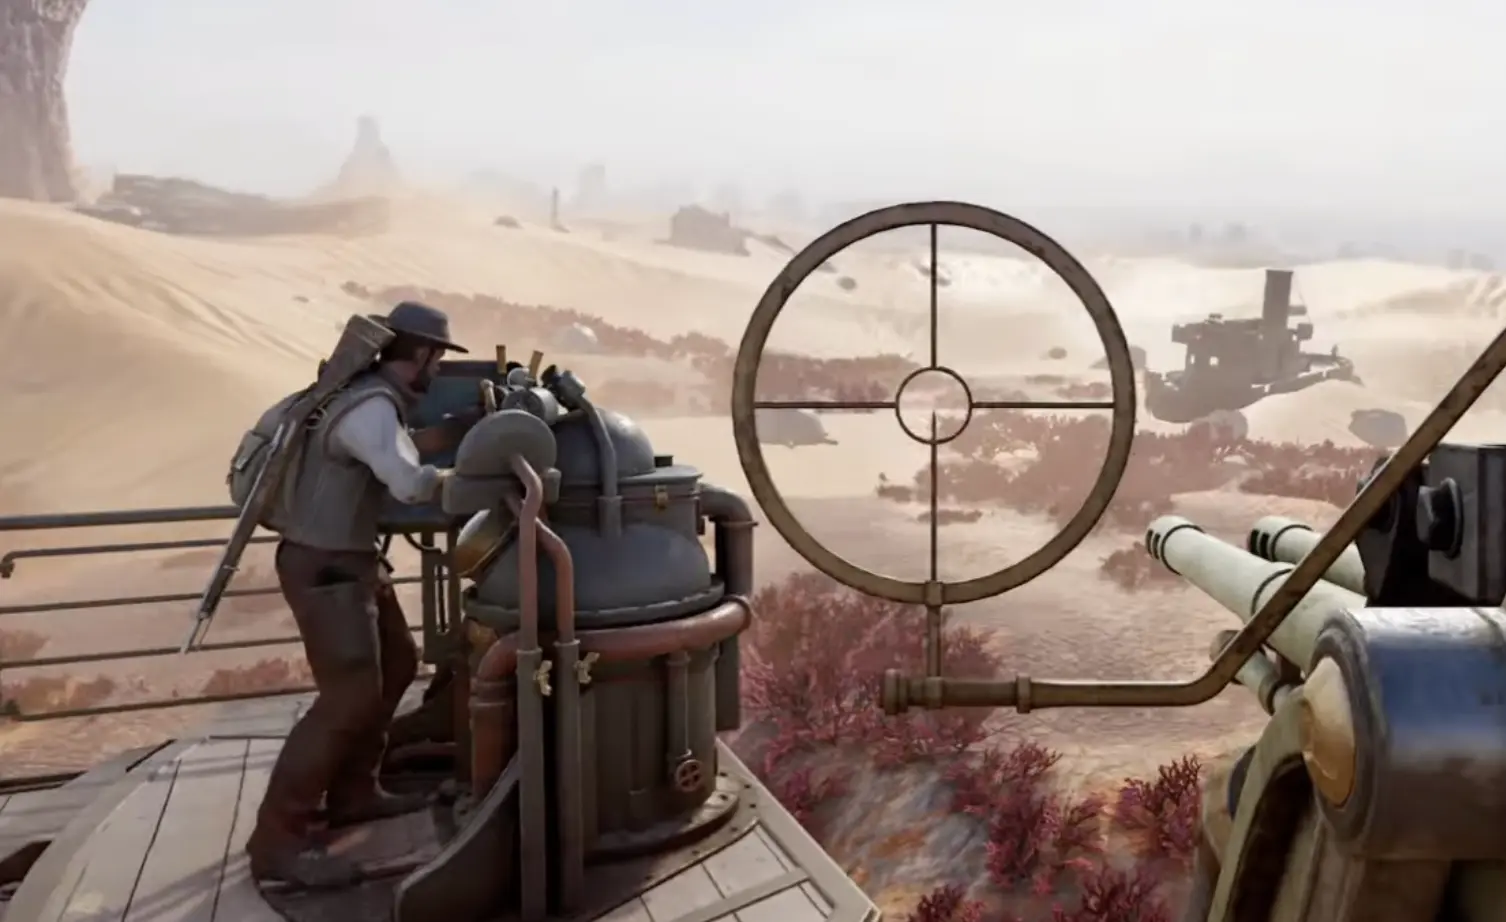
A shovel can change a solo run because buried treasure can pay out without requiring a long PvP fight.
If I find a suspicious or gleaming sand pile and the area is quiet, I treat the dig as a serious route option. The important habit is not “always dig.” The habit is dig, store, reassess.
A good shovel pull can give me the run’s main value. If I get fuel rods, meds, ammo, thread, weapons, or useful materials, I do not need to add a risky PvP stop just to make the route look bigger.
Upior PvE has a parking cost
Upior fights are not free loot just because they are PvE.
The real solo question is not “Can I kill the enemies?” It is “Can I park, fight, loot, store, and leave before another Trampler arrives?”
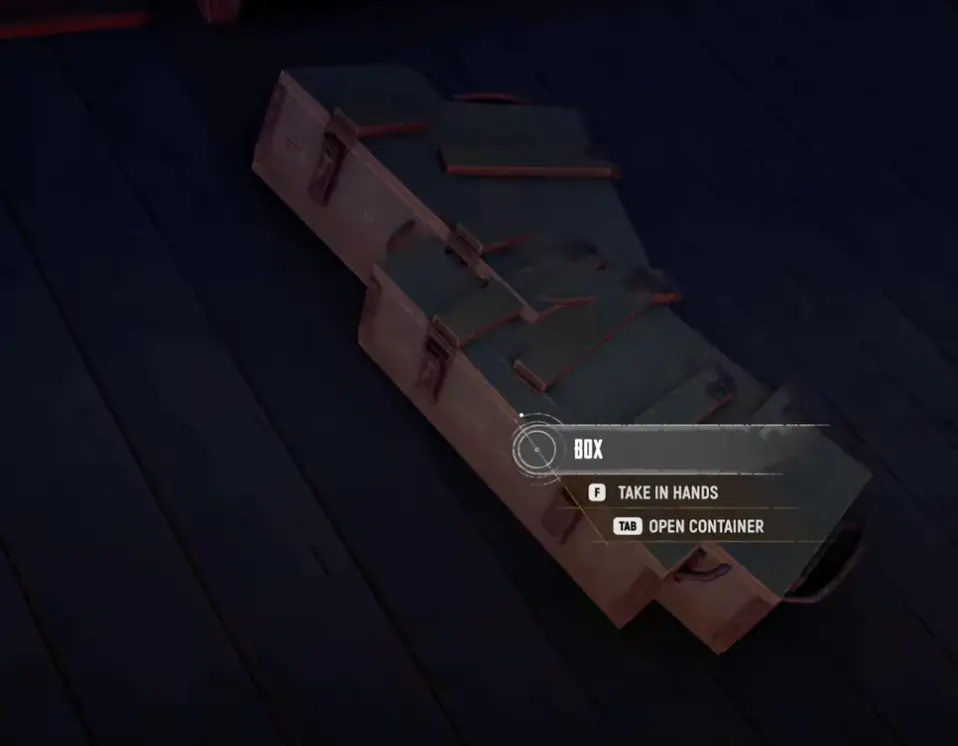
I fight Upior when the exit is clear, the Trampler is close, and the loot carry is short. I skip or abandon the fight when the Trampler is exposed, another engine appears, or the loot drop is too far from safe storage.
A loot box on the ground is not profit. A loot box extracted is profit.
40mm first, 80mm later
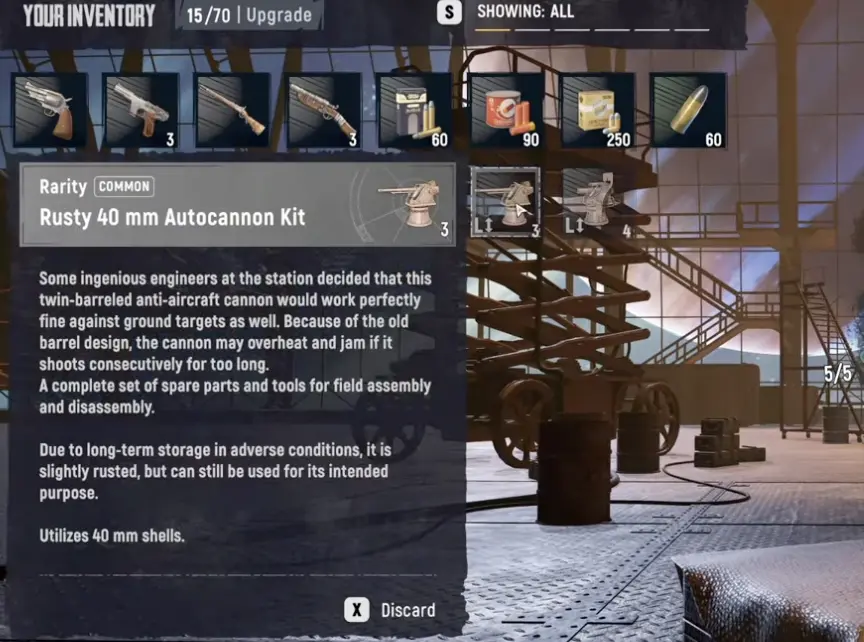
For solo, I usually start with 40mm because it is more forgiving.
When it overheats, that pause is not wasted time. I can use the window to steer, repair, check the route, or reset my angle.
The 80mm can be stronger later, but it has three solo problems:
- it needs cleaner spacing;
- it can start empty if I forget to manually load it;
- missed shots hurt more when I am also the driver and repair crew.
That is not a good panic tool for a new solo player.
For the full setup, shell count, manual loading, and 40mm vs 80mm decision tree, use:
SAND Raiders 40mm vs 80mm Cannon Guide
How I rebuild after a bad run
After losing gear, I do not chase glory. I rebuild the economy first.
| Situation after a loss | What I do next | What I prioritize |
|---|---|---|
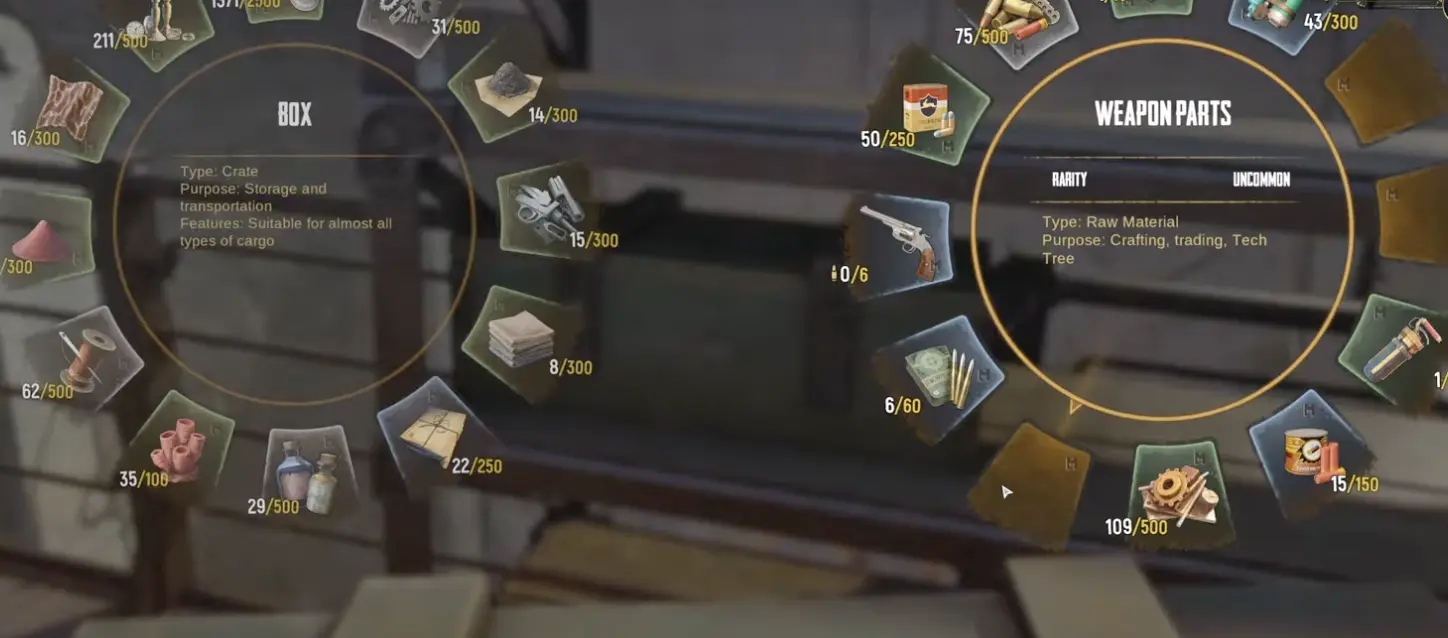
| I have materials but no good Trampler | Rebuild a cheap baseline, usually around Grumpy Walker logic | Mechanical parts, raw materials, shells |
| I have a weak Trampler but no gear | Run a quiet Voyage material route | Basic ammo, food, fuel rods, repair kit |
| I have gear but no shells | Avoid PvP and extract support supplies | Shells, raw materials, fuel |
| I have fuel but no reserve materials | Do not gamble on big POIs | Mechanical parts and raw materials |
| I extracted one black box but lost gear | Do not chase the next tech step immediately | Rebuild reserve first, tech progress second |
| I have no Trampler and no materials | Join another crew or restart the economy | Avoid reaching this state again |
My prevention rule is simple: I do not spend the last of everything on one risky route unless I accept that a loss may force a fresh start or group recovery.
When I should extract solo
Solo extraction timing is not a separate philosophy. It is the result of the whole build.
I leave when the run has already solved a problem:
- I found rebuild materials.
- I found fuel rods, shells, or a repair kit.
- I got a shovel haul.
- I secured a black box or valuable cargo.
- My Trampler took movement or reactor damage.
- The next POI would require parking in a contested area.
- I have enough value that losing the Trampler would feel worse than leaving.
For the full extraction loop, use:
How to Extract in SAND Raiders
How I fight solo
I only take fights that help the run.
That usually means I can disable the enemy fast, I have an exit angle, I am close to my own Trampler, the reward is visible, and I can leave after winning.
My personal weapon pairing is simple:
- Revolver for boarders, close-range threats, and mid-range pressure.
- Rifle for distant players, exposed enemies, and safer pokes around enemy Tramplers.
If the enemy has a full crew, better cannon angle, and clean pressure, I do not need to prove anything. I route away, use terrain, cut smoke when parked, or extract.
My safer solo route template
This is the route I would use for early solo progress:
- Start in Voyage.
- Use Grumpy Walker or another cheap, manageable Trampler.
- Bring food, Energy Rods, a basic weapon pair, shells, and repair awareness.
- Shut off power when looting only if the area is quiet.
- Hit one small target first: Segen, Kaiserplatz, a minor POI, a metal ship, or a shovel spot.
- Store mechanical parts, raw materials, fuel rods, shells, black boxes, or shovel loot immediately.
- If the route already has rebuild value, extract.
- Save Feste Königsmarck, long PvP routes, and heavy Storm Dive pushes for a better reserve or a crew.
That route is not exciting. That is why it works.
Common solo mistakes
| Mistake | Why it hurts | Better habit |
|---|---|---|
| Calling it a “tech tree guide” without naming the branches | The player still does not know what to upgrade | Prioritize Godlewski’s Expedition, then Kaiser’s Friends, with K.K. Landwehr later for PvP |
| Using only “small Trampler” advice | The player cannot copy a real setup | Start with Grumpy Walker; consider Dune Runner for lighter stealth routes |
| Leaving power on while parked | Energy drains and chimney smoke gives away position | Shut down while looting if the area is quiet |
| Ignoring Upior parking cost | PvE delays can invite PvP | Fight only when the Trampler is close and the exit is clear |
| Bringing only one vague “simple gun” | Boarders and distant threats need different answers | Use revolver plus rifle when possible |
| Rushing K.K. Landwehr too early | Defense tech does not fix a weak solo economy | Stabilize energy, structure, mobility, and extraction first |
| Driving to big POIs first | Parking risk is too high | Start with towns, ships, shovel spots, or minor targets |
| Spending the last reserve on one run | A loss can force a reset | Keep materials, shells, and fuel behind |
Solo SAND rewards specific preparation more than heroic decisions.
Related Guides
- SAND Raiders Beginner Guide — Start here for the first-voyage checklist, mode choice, Trampler basics, shovel routes, and beginner FAQ.
- How to Extract in SAND Raiders — Use this for radio towers, 90-second countdowns, green smoke, escape lines, and beacon boxes.
- SAND Trampler Guide — Learn reactor, legs, walls, flywheel, captain quarters, reachability, and repair priorities.
- SAND Raiders Voyage vs Storm Dive Guide — Choose Voyage or Storm Dive based on pressure, loot ceiling, and rebuild risk.
- SAND Raiders 40mm vs 80mm Cannon Guide — Pick the right cannon, shells, and manual loading plan before fighting.
FAQ
Is SAND Raiders solo friendly? +
SAND Raiders is playable solo, but it is not forgiving solo. I keep the route small, use a manageable Trampler, protect the reactor, control smoke, avoid unnecessary PvP, and extract once the run has rebuild value.
What is the best solo build in SAND Raiders? +
My best early solo build starts from a cheap, manageable Trampler such as Grumpy Walker, with reactor protection, an airlock before captain access, food for respawns, spare Energy Rods, a repair kit if available, a 40mm-first cannon plan, and a revolver plus rifle weapon setup.
Which tech tree should solo players upgrade first? +
For solo, I prioritize Godlewski's Expedition for energy, medical, crew, facility, and structure support, then Kaiser's Friends for mobility and firepower. I delay heavy K.K. Landwehr investment unless I am doing frequent PvP or crew fights.
Should solo players use Grumpy Walker or Dune Runner? +
I use Grumpy Walker as the safer beginner baseline because it is cheap and balanced. I consider Dune Runner when I want a lighter, stealthier route focused on moving, looting, and extracting before larger crews react.
How long does an Energy Rod last? +
I plan around one Energy Rod giving roughly 10 to 12 minutes of continuous driving. Because a new character starts with 5 Energy Rods, I still avoid wasting power while parked or looting.
How do I stay hidden while looting solo? +
When I stop to loot and the area is quiet, I shut off the power switch to save Energy Rod time and reduce chimney smoke. I only keep power ready if I expect a fight or need to move immediately.
What does reachability mean for a solo Trampler? +
Reachability means the crew may not be able to access part of the Trampler layout. Before deploying solo, I check ladders, hatches, doors, reactor access, cannon access, storage paths, and captain controls so I do not block myself during a fight.
What personal weapons should I bring solo? +
A revolver plus rifle setup is a strong early solo pairing: the revolver handles close and mid-range threats, while the rifle lets me tap distant enemies, players, or pressure around enemy Tramplers.
When should I extract as a solo player? +
I extract after securing rebuild materials, a shovel haul, a black box, valuable cargo, or enough fuel and supplies to make the next run safer. Solo progress comes from leaving with value, not clearing the whole map.