How to Extract in SAND Raiders: Radio Tower Guide
Extract in SAND Raiders with radio tower steps, 90-second countdown, green smoke warning, escape lines, loot storage, Storm Dive tower rules, and camper checks.
Updated:
Quick Answer
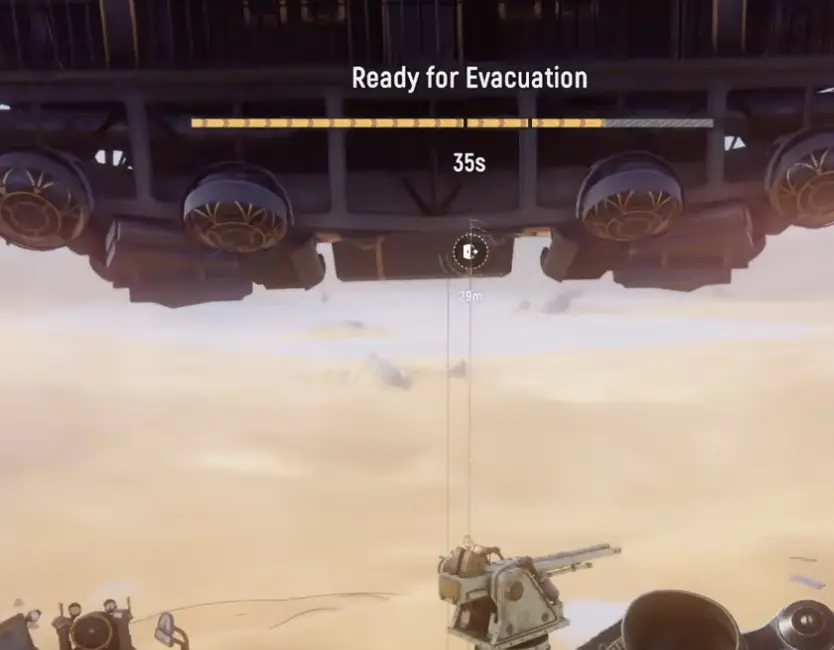
To extract in SAND Raiders, I drive to the doorway-style evacuation icon, find the radio tower, climb to the call point, activate the radio, wait through the 90-second extraction countdown, keep the Trampler still, then jump off and climb the escape lines when they appear. I store loot before calling because green smoke exposes the extraction and nearby players can push the timer.
Extraction is where a good SAND: Raiders of Sophie run becomes real progress.
The mistake is thinking extraction means safety. It does not. Calling extraction creates a loud, visible, timed objective around a Trampler that probably has loot inside. The moment I call it, I stop playing like I am still exploring and start defending an exit.
The two rules that prevent most beginner extraction failures are simple:
- store first, call second;
- do not move the Trampler after calling unless staying would definitely lose the run.
How to extract in SAND Raiders
This is the full extraction flow I follow:
- Open the map and look for the doorway-style evacuation icon.
- Drive to the extraction area.
- Look for the radio tower, mast, or tall call structure.
- Climb to the radio call point.
- Park the Trampler before calling.
- Store valuable loot on shelves, racks, or safe storage.
- Put the Trampler in Halt if possible so it stays ready without drifting away.
- Activate the radio.
- Defend the 90-second extraction countdown.
- When the pickup arrives, leave the Trampler and climb the rope or escape lines.
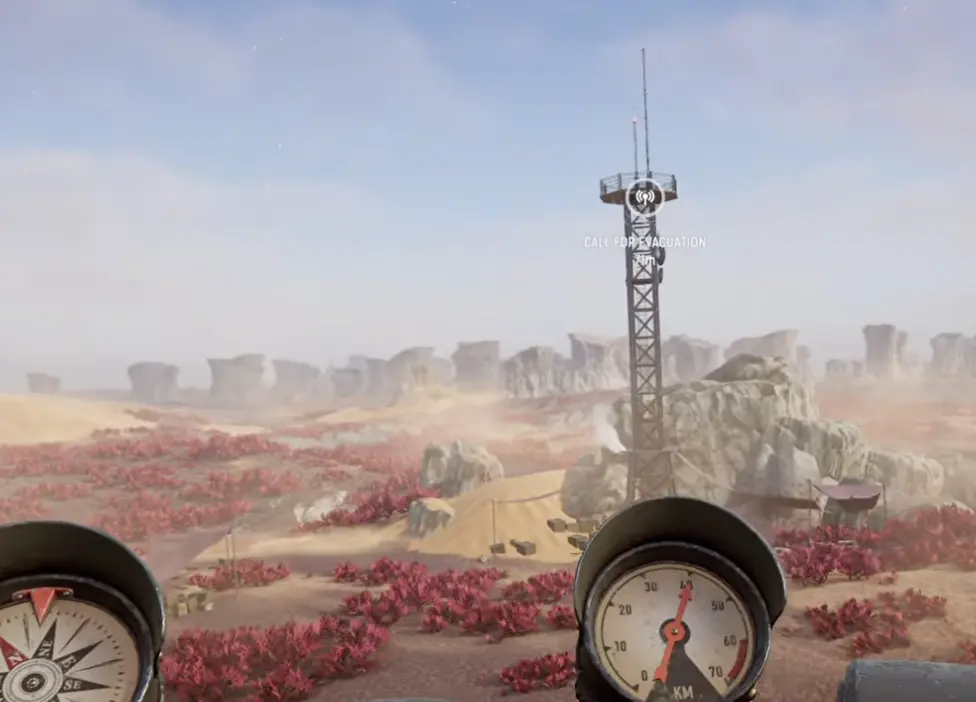
Radio tower marker and the 200m range
The map icon gets me into the right area, but the actual call happens at the radio tower or mast.
I do not expect the game to guide me perfectly from across the whole map. I drive toward the evacuation area first, then look for the tower structure. Once I am close enough, around 200 meters, the extraction guidance becomes much easier to read.
That small detail matters because a lot of “where is extraction?” confusion comes from being near the correct area but not close enough to clearly read the tower route.
How long extraction takes
After I call extraction, I plan around a 90-second countdown.
That is long enough for another crew to see green smoke, hear fighting, rotate toward the tower, shoot legs, board the Trampler, or force me into a bad last-second choice. I do not treat the 90 seconds as waiting time. I treat it as a defense phase.
Depending on the pickup state, I may also see final positioning or ready-for-evacuation seconds before the lines are usable. I keep defending until my character has actually climbed out.
Green smoke exposes your extraction
Calling extraction can create green smoke around the Trampler or extraction area.
That smoke is useful because it marks the extraction state, but it also broadcasts intention. A nearby crew does not need to know exactly what I have. The smoke already tells them I am trying to leave, which usually means I have something worth protecting.
My response is preparation, not panic. Before calling, I want the Trampler parked, loot stored, at least one cannon ready, and a clear plan for who watches boarders.
Do not drive the Trampler after calling
One of the easiest ways to ruin extraction is moving the Trampler after the call starts.
If I drive away or reposition after activating extraction, the process can cancel and I may have to start over. That is painful because I lose time, reveal myself, and may give enemies another chance to rotate in.
The best fix is to park correctly before calling. If the Trampler has a Halt mode available, I use it before activation instead of fully powering down, because I still want to be ready if another crew rushes the tower.
I only move after calling if staying is worse than canceling.
| Situation after calling | My decision |
|---|---|
| Trampler is parked safely | Do not move; defend the timer |
| Legs are damaged but still usable | Repair if possible instead of driving away |
| Enemy is approaching from distance | Hold if the timer is close |
| Enemy has a clean kill angle | Move only if staying loses the run |
| I called too early with bad parking | Canceling may be better than dying |
| Escape lines are ready | Stop fixing the Trampler and climb out |
Voyage vs Storm Dive extraction
Mode choice changes how forgiving extraction feels.
In Voyage, evacuation is much easier to practice because evacuation zones are available at any time and I have more room to learn storage, tower calls, and escape-line timing.
In Storm Dive, extraction is more pressured. I treat radio towers as one-use contested extraction points. Once another crew activates a tower, I do not assume that same tower will stay available. I move quickly toward another extraction option instead of wasting time around a dead tower.
The storm also makes slow looting, bad parking, and late repairs much more expensive.
For the full mode comparison, use:
SAND Voyage vs Storm Dive Guide
Store loot before calling extraction
I use one loot rule: if I care about it, I store it before I call.
I do not want the 90-second timer to become a storage panic. If a box, rod, weapon, or material matters, I put it on a shelf, fridge shelf, cargo rack, bunk storage, or another safe storage point before activating the radio.
| Loot or item | Store before calling? | Why I care |
|---|---|---|
| Black boxes | Yes | Useful value and possible tech progress |
| Fuel rods | Yes | Future routes and emergency movement may depend on them |
| Food | Yes | Respawns during extraction fights can save the run |
| Loose shells | Yes, if I have time | I do not want shells lost in floor clutter |
| Loaded cannon shells | No panic unload | A loaded cannon may defend the timer |
| Raw materials / mechanical parts | Yes | Rebuild economy matters more than flashy loot |
| Repair kits | Yes, but keep accessible | They can save legs, walls, or reactor cover |
| Rare weapons | Yes | Useful only if they actually leave with me |
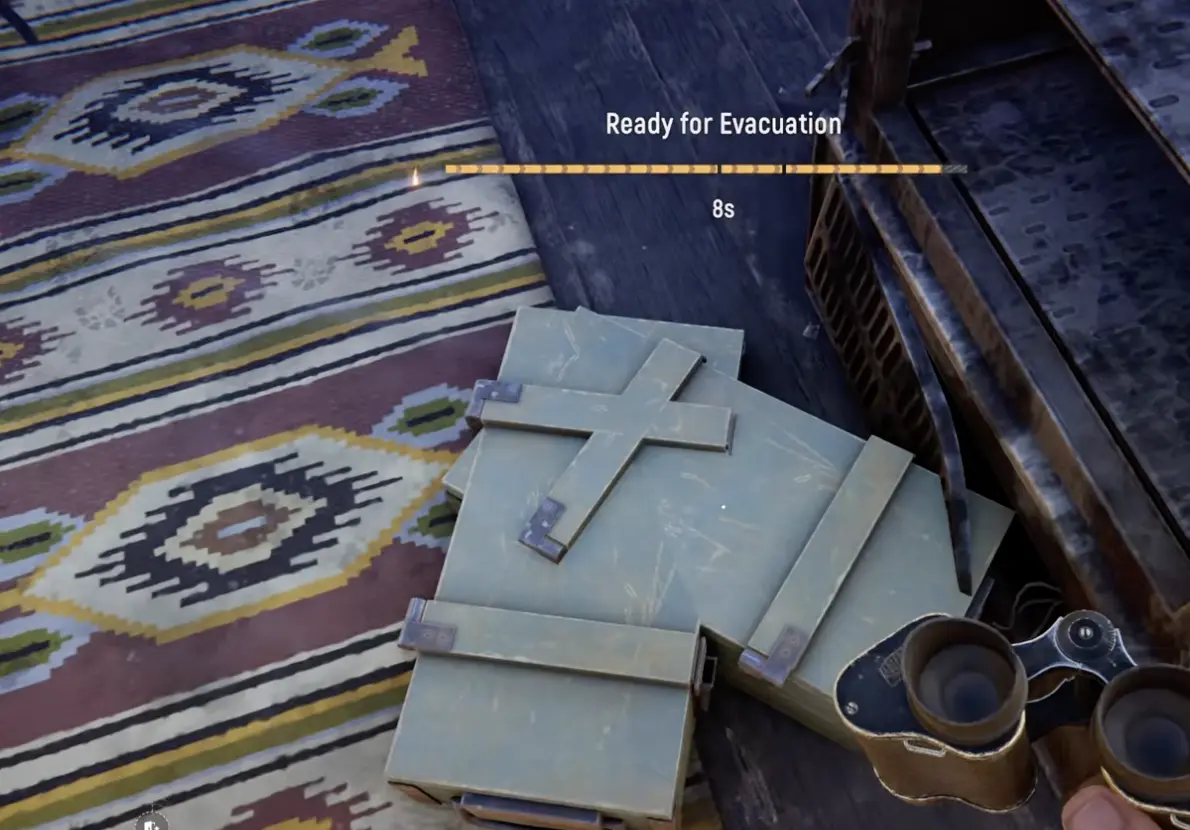
Radio Beacon Box: marked loot, normal extraction
The Radio Beacon Box does not create a separate delivery route.
If I find one during an extraction run, I treat it as marked high-value loot. I put it inside the Trampler, extract through the same radio tower process described in this guide, return to base, then sell it from the shop.
The important difference is not the extraction method. The important difference is the green box icon. Once I have the box, other players may be able to read my position and decide to chase, intercept, or camp the exit.
For the full box-specific decisions — when to pick it up, when to skip it, how the 2-hour expiry works, how to stack boxes, and when to chase another carrier — use the SAND Raiders Radio Beacon Box Guide.
Climb the escape lines yourself
This is the beginner mistake that hurts the most because it feels like the game already gave me the win.
The Trampler or cargo can be lifted, but that does not mean my character has extracted. When the rope or escape lines appear, I get off the Trampler, move to the lines, and climb out before the timer ends.
My final extraction habit is simple: stop looting before the final seconds, keep a path to the lines clear, do not chase enemies when the pickup is ready, and climb first.
Defending against campers and enemy Tramplers
Extraction points naturally attract PvP. Other players know I am probably carrying something worth taking, and green smoke gives them a reason to check the area.
If another Trampler appears, I do not try to win a long fight. I try to preserve extraction.
| Threat | My response |
|---|---|
| Enemy approaching from distance | Keep my Trampler angled toward open sand |
| Enemy closing fast | Shoot legs first to slow or stop them |
| Enemy cannon pressure | Disable cannon angles after movement is controlled |
| Boarders nearby | Defend captain access with a personal weapon |
| Pickup nearly ready | Leave instead of chasing |
| My legs are damaged | Repair only if movement or final positioning depends on it |
| I have a Radio Beacon Box | Finish extraction instead of chasing kills; the green box icon makes me a better target |
For cannon target priority, use:
SAND 40mm vs 80mm Cannon Guide
Can you extract without your Trampler?
Yes, but I treat it as a recovery play, not a normal plan.
If my Trampler is destroyed and I am still alive, I do not instantly give up. I check whether I can carry one valuable box, hide long enough to reach extraction, or steal another Trampler after the enemy crew overextends.
New player setup before extraction
For a first extraction attempt, I prefer Voyage because it gives me more room to learn the loop before Storm Dive pressure starts compressing routes.
Before calling extraction, I want:
- food stored for respawns;
- fuel rods loaded or stored;
- loose valuables placed on shelves or racks;
- at least one loaded cannon;
- repair kit access if I have one;
- a parked Trampler with an exit angle;
- a plan to climb the escape lines myself.
The extraction process is the same one described at the top of this guide. The beginner difference is that I should make the run smaller: one or two small targets, store the loot, call, defend the 90 seconds, and leave.
Common extraction mistakes
| Mistake | Why it hurts | Better habit |
|---|---|---|
| Not climbing to the radio point | Parking nearby does not start extraction | Find the tower, climb, and activate the radio |
| Calling before storing loot | The 90-second timer becomes storage panic | Store first, call second |
| Ignoring green smoke | Other players may see the extraction | Defend as if someone is rotating in |
| Driving after calling | Extraction can cancel and force a restart | Park before calling and keep still |
| Treating Storm Dive towers like Voyage | Used towers may no longer be available | Move quickly to another tower |
| Treating the Radio Beacon Box like a special delivery route | I waste time looking for a separate destination | Store it in the Trampler, extract normally, then use the dedicated box guide for risk decisions |
| Parking with no exit angle | The Trampler gets trapped near the tower | Face open sand before calling |
Extraction punishes disorder. If my route is unclear, storage is messy, parking is bad, and nobody knows who is defending, the 90-second timer exposes all of it.
Related Guides
- SAND Raiders Radio Beacon Box Guide — Use this for the green box icon, 2-hour expiry, 2,000-Crown sale, stacking boxes, solo decisions, and chase risk.
- SAND Raiders Beginner Guide — Start here for the first-voyage checklist, Trampler basics, loot priorities, and beginner FAQ.
- SAND Trampler Guide — Build a Trampler that survives reactor damage, leg shots, wall breaches, reachability errors, and boarding pressure.
- SAND Solo Guide — Use this if you are extracting alone and need safer routes, shovel loot, earlier exits, and lower-risk fights.
- SAND Raiders Voyage vs Storm Dive Guide — Compare Voyage, Storm Dive, storm pressure, one-use tower risk, and beginner routing.
- SAND 40mm vs 80mm Cannon Guide — Pick the right cannon before an extraction fight starts.
FAQ
How do you extract in SAND Raiders? +
Find the doorway-style evacuation icon, drive to the extraction point, climb to the top of the radio tower or call structure, activate the radio, wait through the 90-second extraction countdown, then leave the Trampler and climb the escape lines when they appear.
How long does extraction take in SAND Raiders? +
After calling extraction, I plan around a 90-second pickup countdown. I keep defending until the escape lines appear and my character has actually climbed out.
Why did my extraction cancel? +
Driving or moving the Trampler during the extraction process can cancel the call and force you to start over. Park before calling, use Halt if possible, and only move if staying would definitely lose the run.
What does green smoke mean during extraction? +
Green smoke signals that extraction has been called. It marks the pickup, but it also tells nearby players that someone is trying to leave with loot.
What does the Radio Beacon Box mean during extraction? +
The Radio Beacon Box is marked high-value loot, not a separate extraction route. I store it in the Trampler, extract normally at any extraction point, then sell it at base. The main risk is that picking it up can expose my position with a green box icon.
Why can’t I find the radio tower marker? +
The extraction guidance becomes much clearer when you are close to the tower area. If the marker feels vague, drive toward the evacuation icon and look for the radio tower or mast.
Are radio towers one-use in Storm Dive? +
In Storm Dive, I treat radio towers as one-use contested extraction points. Once another crew uses a tower, I do not rely on that same tower staying available and I move toward another option fast.
Do I have to climb the escape lines myself? +
Yes. Cargo extraction and player extraction are separate enough to confuse new players. The Trampler can be lifted, but I still need to jump off, grab the rope or escape lines, and climb out before the timer ends.