How to Unlock All Enforcer and Acolyte Skills in Hallowed Concepts
Complete all seven Enforcer and Acolyte skill challenges, from Magma Worm hits and Supernova parries to Elder Lemurian juggling and Sacrifice kills.
Updated:
Quick Answer
Enforcer has four skill challenges: Burning Lead requires 24 Magma Worm hits in 12 seconds, +PARRY requires a Wandering Vagrant Supernova parry, Safe and Sound requires blocking attacks from 12 enemies in one Teleporter event, and Indomitable requires surviving a full Stone Titan laser without blocking. Acolyte has three: 15 Anima Harvester kills in one transformation, an Elder Lemurian airborne for 11 seconds, and 20 different monster types finished with Sacrifice in one run.
Hallowed Concepts adds four alternate skill unlocks for Enforcer and three for Acolyte. Each challenge can be completed independently, so you do not need to finish the entire set before changing your loadout.
Enforcer is available as soon as the DLC is enabled. Acolyte must first be rescued through A Broken Ritual in Soulbound Threshold. If she is still locked on your character selection screen, complete the Acolyte unlock walkthrough before attempting her three challenges.
Most of these objectives are easier on Drizzle. Artifact of Command also helps when you need a particular equipment item or defensive setup. The exception is any run where your chosen Artifacts make it harder to control the specific enemy required for an achievement.
Enforcer: Burning Lead — Hit a Magma Worm 24 Times in 12 Seconds
Requirement: As Enforcer, shoot a Magma Worm 24 times within 12 seconds.
Burning Lead is about landing enough shots during a short window, not about dealing a large amount of damage. A Magma Worm that dies too quickly is just as unhelpful as one that stays out of range.
Prepare Backup Magazines and Attack Speed
Start on Drizzle with Artifact of Command if you want to prepare the required items more reliably.
Aim for:
- Two Backup Magazines to give Enforcer additional Secondary charges.
- Soldier’s Syringes for faster attacks.
- Lens-Maker’s Glasses and Predatory Instincts if you want additional attack-speed potential through critical hits.
The interaction that makes Backup Magazine useful is Enforcer’s reload. Switching into or using his Secondary defensive stance reloads his Primary weapon, letting you resume firing without relying only on the normal reload cycle.
With extra Secondary charges, you can fire, use the stance to reload, and return to shooting while the Magma Worm is still within range.
Avoid stacking excessive automatic damage before finding the boss. You want enough attack speed to land 24 hits without accidentally killing the Worm halfway through the attempt.
Find a Magma Worm
Magma Worm can appear as a Teleporter boss in environments including Rallypoint Delta, Abyssal Depths, Siren’s Call, and Sky Meadow.
Rallypoint Delta is a useful early target because it gives you a chance to attempt Burning Lead before a run becomes unusually long.
A Blue Portal can help you reach a preferred environment through the Lunar Seers in the Bazaar Between Time. It does not guarantee which Teleporter boss will spawn there.
When you reach an eligible stage, activate the Teleporter and identify the boss. If it is not a Magma Worm, continue to another suitable environment if your build is already prepared. Otherwise, restarting may be faster.
Land All 24 Hits
Wait until the Magma Worm emerges close enough for reliable shots. Its movement between the ground and the air can cause long gaps in your damage if you begin firing too early.
Once it is in range, keep shooting and use your Secondary to reload between bursts.
The requirement counts hits, not ammunition fired. Missing shots or killing the Worm before reaching 24 hits can prevent the achievement.
If the Worm survives but you run out of time, improve your attack speed and firing position on the next attempt. If it dies too quickly, remove unnecessary damage effects rather than adding even more attack power.
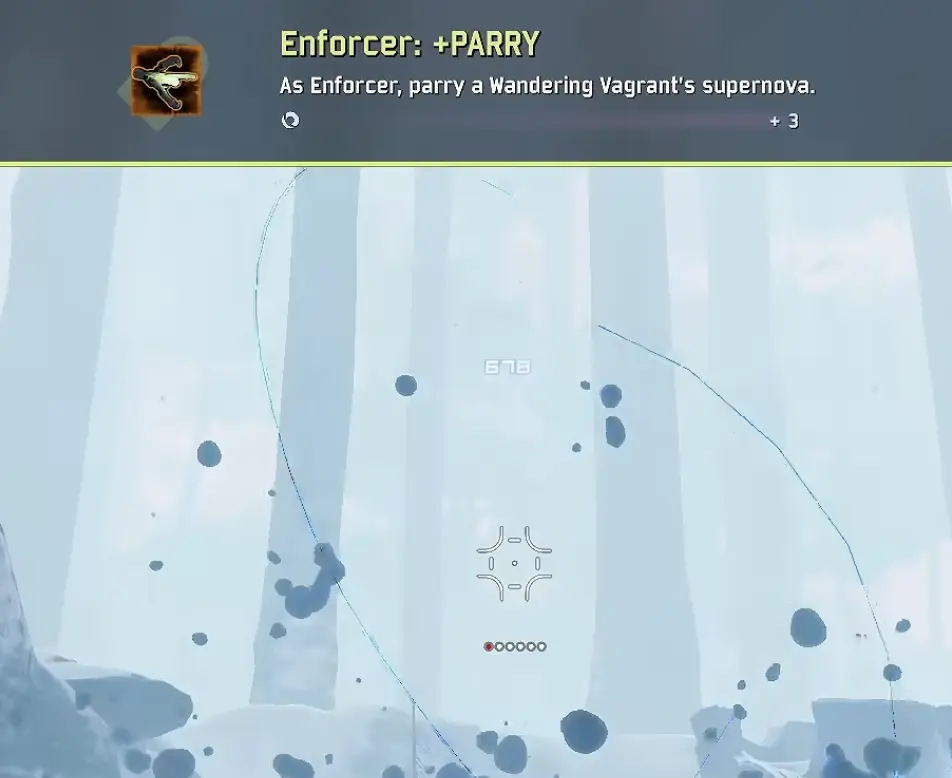
Enforcer: +PARRY — Parry a Wandering Vagrant’s Supernova
Requirement: As Enforcer, parry a Wandering Vagrant’s Supernova.
Skill slot: Alternate Secondary
Wandering Vagrant can appear during early Teleporter events, making +PARRY one of Enforcer’s more convenient unlocks to attempt.
Start a run on Drizzle and activate an early Teleporter. If the boss is a Wandering Vagrant, keep it alive long enough to perform its Supernova attack.
The explosion happens when the Vagrant reaches low health. Reduce its health gradually as you approach that point instead of finishing it with one large burst.
Set Up Steel Protection for the Parry
Enforcer’s Steel Protection allows him to enter a defensive stance and reactivate it to perform a parry.
You can change how that input behaves in the gameplay settings:
Gameplay Settings → Enforcer Steel Protection Hold Input
With the Hold Input option enabled, you can hold the defensive input to maintain the stance and release it to perform the parry. This can make the timing easier if you find the default toggle behavior awkward.
Keep the Wandering Vagrant in front of your shield. Steel Protection is directional, and attacks from behind are not covered by its normal defensive protection.
Parry When Supernova Releases
As the Vagrant begins charging Supernova, enter your defensive stance and keep facing it.
Wait until the explosion actually releases, then activate the parry by pressing your Secondary input again, or releasing it if you are using Hold Input.
The important distinction is between blocking and parrying. Simply remaining behind the shield during the explosion does not fulfill +PARRY.
The timing window is relatively forgiving, but parrying during the charge animation rather than the explosion can waste the attempt.
If the Vagrant dies before using Supernova, or you accidentally trigger Shield Tackle instead of the parry, wait for another eligible encounter.
For repeated attempts, the Hold Input setting is worth trying because it removes the need to toggle into and out of the defensive stance with separate presses.
Enforcer: Safe and Sound — Block 12 Different Enemies
Requirement: As Enforcer, block the attacks of 12 enemies during one Teleporter event.
Skill slot: Alternate Utility
Safe and Sound does not need a particular boss. What matters is allowing enough different enemies to attack Enforcer’s shield during the same Teleporter event.
Activate a Teleporter and enter Steel Protection while facing approaching monsters.
You must block attacks from 12 different enemies. Blocking one enemy repeatedly is not a substitute for encountering twelve separate attackers.
Let Smaller Monsters Attack Your Shield
A stage with numerous weaker enemies makes this easier. Allow monsters to gather within range and keep them in front of Enforcer.
Avoid killing everything immediately with automatic damage effects. Items that eliminate monsters before they can attack may slow your progress toward the achievement.
You do not need to stay completely motionless. Reposition as enemies approach, especially when another group begins attacking from behind.
Pay attention to the direction of incoming attacks. Enforcer’s shield protects the area in front of him, so enemies striking his back do not provide the same block interaction.
All twelve qualifying enemies must attack during one Teleporter event. You cannot carry progress from a previous Teleporter into the next one.
Once Safe and Sound unlocks, finish the event normally.
Enforcer: Indomitable — Survive a Full Stone Titan Laser
Requirement: As Enforcer, survive an entire Stone Titan laser without blocking.
Indomitable requires the opposite approach from Safe and Sound. Enforcer must remain alive through the Stone Titan’s complete laser attack while avoiding his usual shield protection.
Stone Titan can appear as an early Teleporter boss, so you can attempt this without building a long run.
Prepare to Tank the Laser
Start on Drizzle and consider Artifact of Command.
Repulsion Armor Plates are particularly useful because they reduce incoming damage. Additional health, armor, and healing can also improve your survival chances.
You need the Titan to remain alive until it uses its laser, so avoid an excessive damage build that kills the boss too quickly.
When you activate the Teleporter, keep enough distance to recognize the laser animation but remain close enough for the Titan to target you reliably.
Make Sure the Entire Beam Hits
The requirement is not merely to survive while the Titan fires a laser somewhere nearby.
You need to withstand the entire attack without blocking.
Do not activate Steel Protection during the beam. Stay within the Titan’s line of fire and rely on your defensive items to survive.
Several situations can interfere with the attempt:
- The Titan changes targets during a multiplayer encounter.
- Its laser misses you for part of the attack.
- The attack ends before a complete beam is registered.
- You accidentally block or interrupt the interaction.
- The Titan dies before the laser finishes.
If the achievement does not unlock after one attempt, keep the Titan alive and wait for another laser rather than immediately restarting.
A second attempt is especially worthwhile when the Titan turned away or the beam missed part of its intended target. You do not need to assume that every failed notification indicates a game bug.
In multiplayer, have other players move away while the Titan targets the Enforcer attempting Indomitable.
Acolyte: Bloodbath — Kill 15 Enemies in One Anima Harvester Transformation
Requirement: As Acolyte, kill 15 enemies during a single transformation into the Anima Harvester.
Bloodbath is a short burst challenge. You need a large enough group of enemies before transforming, then enough damage to kill them before the transformation ends.
Kills across multiple transformations do not combine toward this objective.
Gather a Group Before Transforming
Artifact of Swarms is useful because it increases enemy spawns. More available targets make it easier to reach 15 kills within one transformation.
Choose a stage where weaker enemies can accumulate without becoming impossible to manage.
Avoid killing the entire group with ordinary attacks before the transformation is ready. Instead, maintain enough distance to keep the monsters alive while they gather.
When there are sufficient enemies nearby, transform into the Anima Harvester and begin attacking.
Focus on groups of smaller enemies rather than spending the transformation chasing a durable boss. Eliminating several weaker targets quickly is usually more productive than using most of the transformation on one enemy.
If the transformation ends before reaching 15 kills, wait for another group and try again. The ability must complete all 15 kills during one activation.
Bloodbath does not require winning the run afterward.
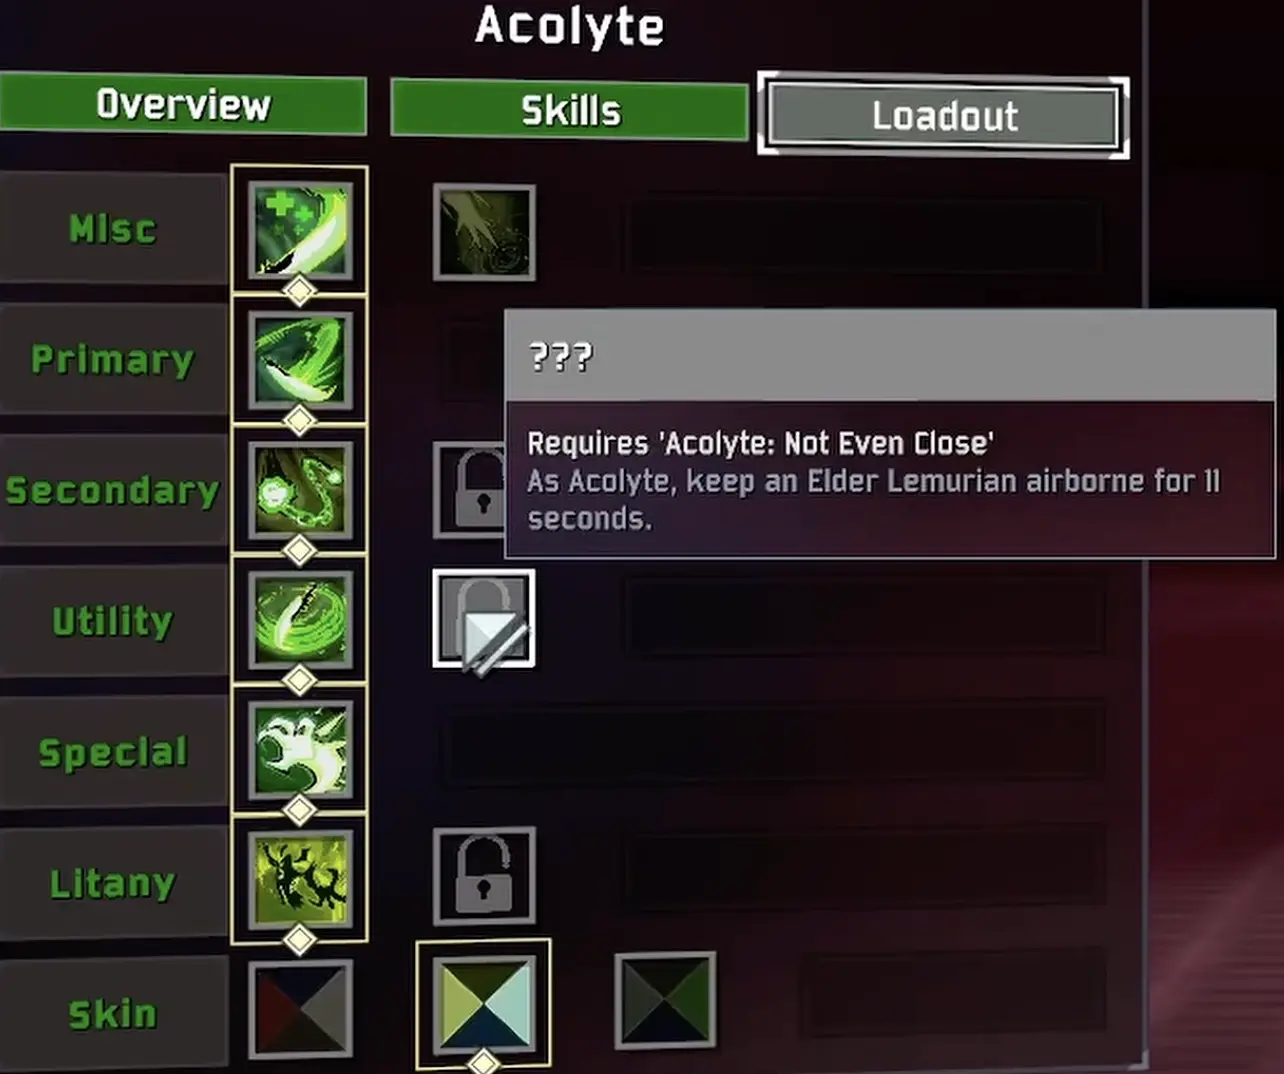
Acolyte: Not Even Close — Keep an Elder Lemurian Airborne for 11 Seconds
Requirement: As Acolyte, keep an Elder Lemurian airborne for 11 seconds.
Skill slot: Alternate Utility
Not Even Close is about controlling an enemy’s position, not dealing damage.
The most useful equipment for this is Primordial Cube, which creates a pull effect that can suspend enemies away from the ground.
Obtain Primordial Cube and Find the Right Enemy
Use Artifact of Command if you want a more reliable opportunity to obtain Primordial Cube.
Then continue through the run until you encounter an Elder Lemurian.
The target must be the larger Elder variant. A regular Lemurian does not satisfy the achievement.
Avoid excessive damage while preparing the attempt. If the Elder Lemurian dies before remaining airborne for the required duration, you will need another target.
Aim the Cube Straight Upward
Position yourself near the Elder Lemurian and aim directly upward before activating Primordial Cube.
The Cube’s gravitational pull can lift the enemy away from the ground and hold it in the air.
A Cube placed too low may drag the enemy sideways or toward nearby terrain, making the airborne duration harder to complete.
After activating it, let the pull hold the target rather than continuously attacking.
The Elder Lemurian must remain airborne for 11 seconds. If it falls back to the ground too early, wait for another opportunity and adjust the Cube’s placement.
When the achievement triggers, the alternate Utility option becomes available in Acolyte’s loadout.
Acolyte: Hit List — Finish 20 Monster Types With Sacrifice
Requirement: As Acolyte, land a killing blow with Sacrifice on 20 different monster types during one run.
Skill slot: Alternate Litany, functioning as her Special alternative
Hit List is the longest of Acolyte’s three skill challenges.
The requirement is based on enemy variety. Killing twenty ordinary Lemurians with Sacrifice does not count as twenty different types.
Each qualifying monster type must receive its killing blow from Sacrifice.
Use Dissonance to Find More Monster Types
Artifact of Dissonance is particularly useful because it allows monsters to appear outside their usual environments.
This gives you more chances to encounter unfamiliar enemies without depending entirely on the normal monster selection for each stage.
Artifact of Swarms can help provide more enemies to fight, but doubling spawns does not automatically increase the number of different monster types.
A longer run is generally more suitable than rushing to an ending. You may need to continue through additional environments to encounter enough distinct enemies.
Examples of different monster types include:
- Lemurian
- Elder Lemurian
- Beetle
- Beetle Guard
- Beetle Queen
These are examples rather than a complete route. Each new monster type creates another opportunity to advance the requirement.
Make Sacrifice Deliver the Killing Blow
The crucial part of Hit List is the final hit.
Damaging an enemy with Sacrifice and then killing it through another attack does not satisfy the stated requirement.
For stronger monsters, lower their health with normal attacks first, then use Sacrifice to finish them.
For weaker enemies, avoid uncontrolled damage from automatic item effects. As your build becomes stronger, incidental explosions or other attacks can kill a monster before Sacrifice connects.
You may use Artifact of Glass if Sacrifice struggles to finish targets, but the extra damage comes with significant survival risk. Because Hit List can require a long run, Glass is optional rather than essential.
Once your build can survive comfortably, control over the finishing blow matters more than adding further damage.
All 20 different monster types must be completed in one run. Ending the run before reaching the target means beginning a new attempt.
Which Skills Should You Unlock First?
Enforcer’s Safe and Sound can be attempted during almost any suitable Teleporter event, while +PARRY and Indomitable depend on Wandering Vagrant and Stone Titan encounters. Burning Lead becomes easier after collecting Backup Magazines and attack-speed items.
For Acolyte, Bloodbath is a good first target because Artifact of Swarms can provide the necessary group of enemies. Hit List is better suited to a longer run with Artifact of Dissonance.
You can also combine Not Even Close with Hit List. If an Elder Lemurian appears while you are carrying Primordial Cube, complete the airborne requirement first, then use Sacrifice to finish that monster as one of your distinct types.
After each successful challenge, check the corresponding Survivor’s loadout to equip the newly available skill option. There is no requirement to finish all seven challenges before using the abilities you have already unlocked.